How to Install Bike Pedals in 3 Easy Steps
To install your bike pedals, start by identifying the right and left pedals. Look for the “R” and “L” markings on them, or use the thread direction as a guide—right pedals tighten clockwise, while left pedals tighten counterclockwise. This simple step helps you avoid confusion and ensures proper installation from the get-go.
Next, position your crank at 3:00 and hand-thread each pedal carefully. Taking your time here is key to avoid cross-threading, which can damage your bike.
Once the pedals are threaded in smoothly, grease the threads generously.
Finally, tighten the pedals securely using a torque wrench, aiming for about 30-50 Nm. This ensures your pedals stay firmly in place and perform well while you ride.
Follow these steps for a safe, smooth fit, and keep going to uncover tips for perfect pedal installation.
Key Takeaways
- Identify pedals by “R” and “L” markings or thread direction before installation.
- Position crank at 3:00 and hand-thread pedals clockwise (right) or counterclockwise (left).
- Stop and realign if you feel resistance to avoid cross-threading.
- Apply grease to pedal threads and fully thread before tightening with a torque wrench.
- Tighten pedals securely using proper torque (30-50 Nm) and check alignment regularly.
Easy, right? Just take your time, and your pedals will be on in no time!
How to Identify Left and Right Pedals and Prepare Them for Installation
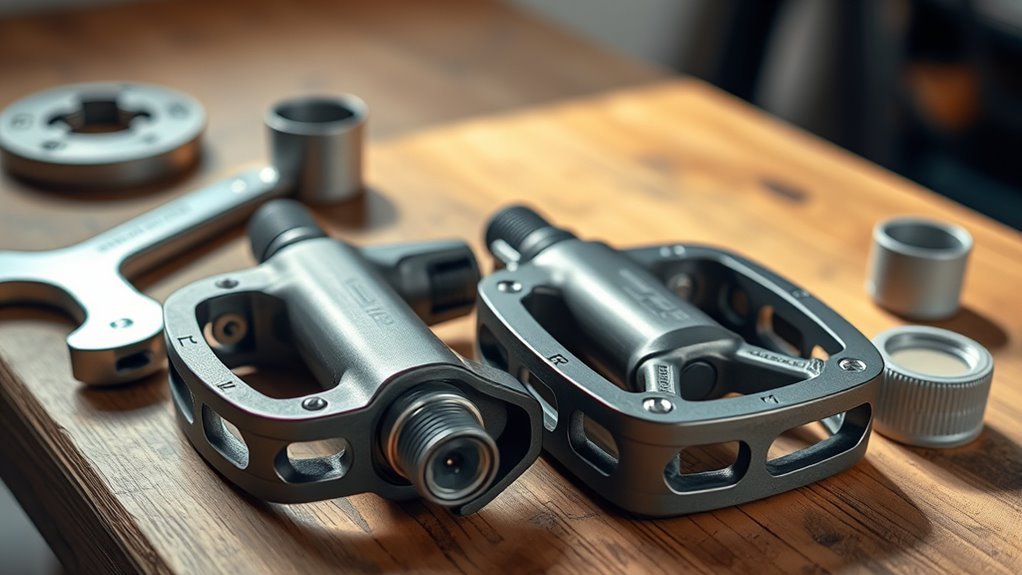
Before you install your bike pedals, you’ll need to identify which pedal goes on the left and which on the right. Most pedals are marked with an “R” for right and an “L” for left, making this step straightforward.
Identify your bike pedals by their “R” or “L” markings before installation to ensure proper placement.
However, if your pedals lack these markings, you might use the thread direction to tell them apart. The right pedal has standard threads that tighten clockwise, while the left pedal features reverse threads that tighten counterclockwise.
Knowing this distinction is essential because installing pedals on the wrong side or turning them the wrong way can damage the crank threads. Always double-check for markings or thread direction before starting.
Proper pedal orientation guarantees smooth threading, prevents cross-threading, and maintains your bike’s safety and performance. Taking a moment to identify your pedals correctly saves you from costly repairs and hassle during installation.
Position Your Pedals on the Crank and Avoid Cross-Threading
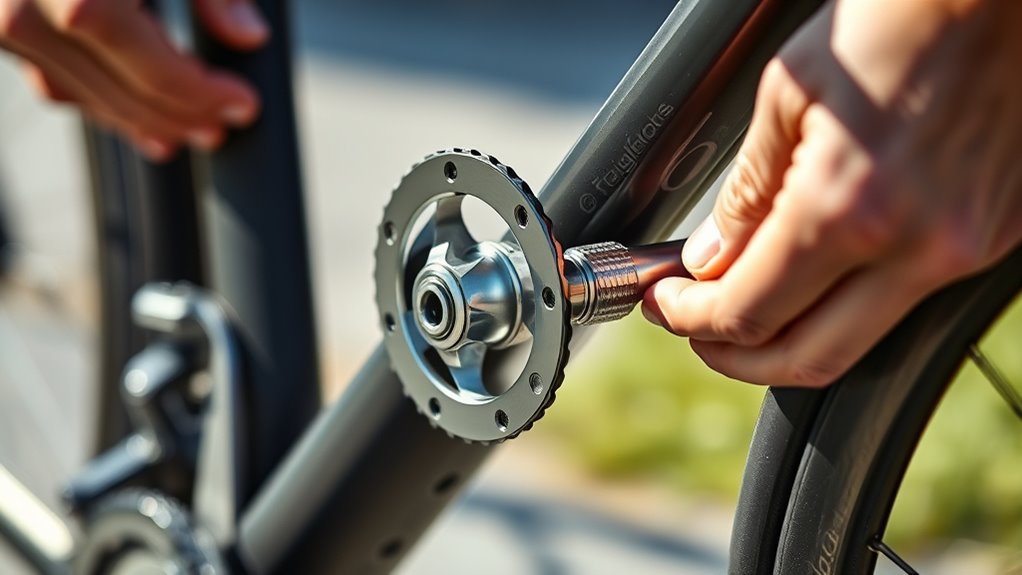
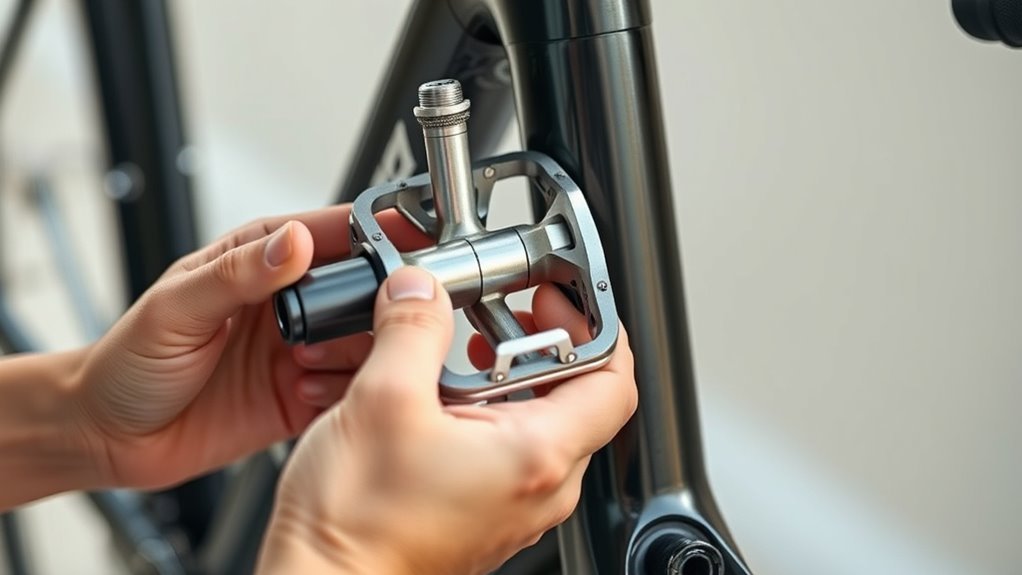
Once you’ve identified the left and right pedals and checked their thread direction, position the crank at about 3:00 to line up the pedal threads with the crank axle. This makes installing the pedals much easier and helps avoid cross-threading.
Always start threading clockwise on the right pedal and counterclockwise on the left, matching the crank’s threading.
To guarantee proper alignment and avoid damage, follow these steps:
- Gently hand-thread the pedal into the crank, making sure it turns smoothly.
- If you feel resistance, stop and back the pedal out to realign it properly.
- Confirm the pedal is turning easily before moving on to tightening it with tools.
Taking your time here prevents stripped threads and keeps your bike running smoothly. Don’t force the pedals in—that’s the quickest way to cause damage during installation.
Tighten Bike Pedals Securely Using the Right Tools and Torque
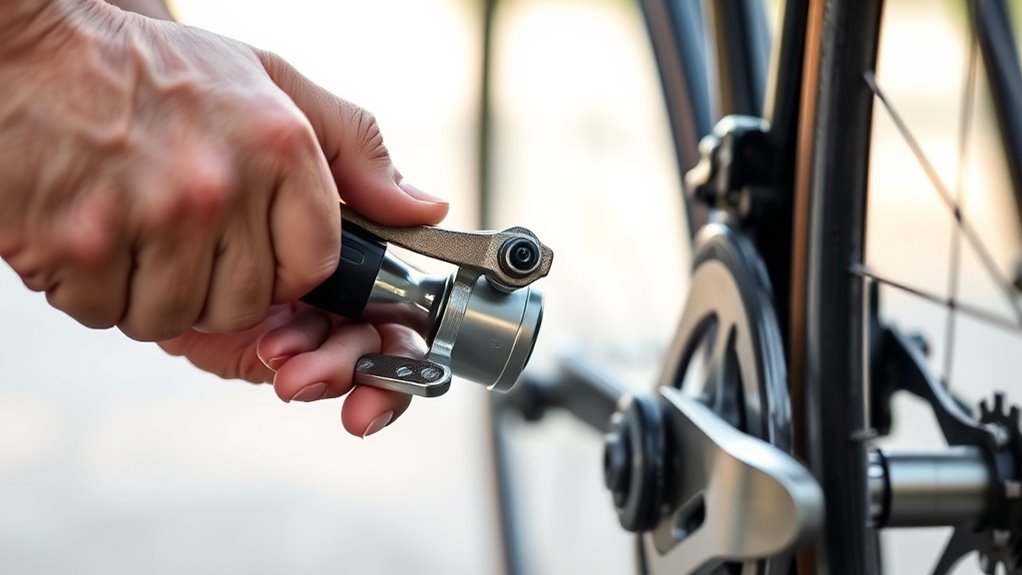
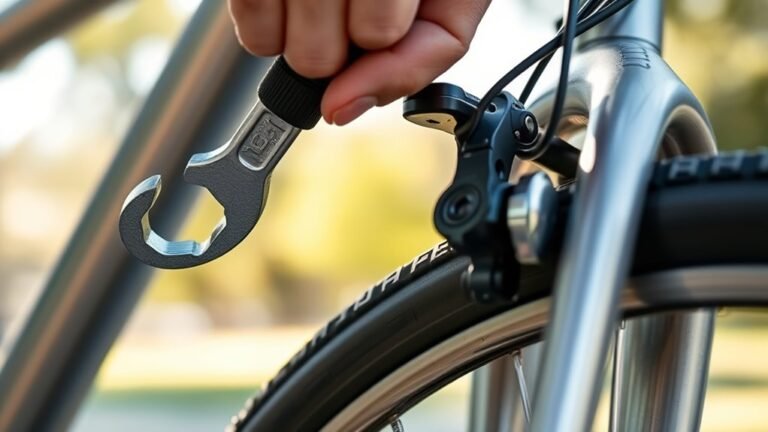
Although hand-threading helps prevent damage, you’ll need the right tools to tighten your bike pedals securely. Use a torque wrench set to the manufacturer’s recommended torque—usually between 30-50 Nm—to avoid under- or over-tightening.
Remember, the right pedal tightens clockwise, while the left pedal tightens counterclockwise, matching the threading direction. Before installation, apply grease to the pedal threads; this prevents seizing and helps you achieve the correct torque without forcing the pedals.
Make sure the pedal is fully threaded before tightening to avoid cross-threading. This can damage the crank arm and compromise the fit, so take your time here.
After installation, regularly check and re-torque your pedals during maintenance to keep them secure and performing safely. Using the correct tools and torque settings not only protects your bike’s components but also makes your ride smoother by preventing pedal loosening or damage.
Frequently Asked Questions
How to Properly Install Bike Pedals?
You’ll start by greasing the pedal threads, then carefully screw the right pedal clockwise and the left counterclockwise into the crank arms.
Make sure to tighten them securely with an Allen key to avoid damage or loosening during rides.
It’s a simple step, but doing it right keeps your pedals safe and your ride smooth!
Which Pedal Screws Backwards?
Think of the left pedal as a puzzle piece that fits in reverse. You’ll screw the left pedal backward (counterclockwise) to tighten it, unlike the right pedal, which twists forward like normal.
Keep that in mind!
How Are Pedals Attached?
You attach pedals by screwing them into the crank arms—right pedal tightens clockwise, left pedal tightens counterclockwise.
Make sure to grease the threads first. This helps things go on smoothly and keeps them from seizing up later.
Then, securely tighten the pedals. This prevents them from loosening while you ride and keeps everything safe.
What Tool Do I Need to Install Bike Pedals?
You’ll need an 8mm Allen wrench or a pedal wrench, depending on your pedals. While one fits snugly inside, the other grips the outside.
Always check your pedals’ instructions to choose the right tool and avoid damage.
It’s pretty simple once you know which tool to use. Just make sure you don’t force anything!
Conclusion
Now that you know how to tell your left pedal from your right and avoid cross-threading, installing bike pedals is a breeze. Just position them correctly and tighten with the right tools—no need for a medieval wrench!
Remember, secure pedals mean safer rides and better performance. With these easy steps, you’ll be ready to hit the road or trail in no time, feeling confident and in control.
Installing bike pedals correctly is key to a smooth cycling experience. When your pedals are properly installed, you reduce the risk of damage and improve your bike’s efficiency. So, take your time, follow these simple steps, and enjoy every ride with peace of mind. Whether you’re commuting or hitting the trails, good pedal installation ensures a safer and more enjoyable journey every time.