How to Raise Bike Handlebars in 10 Easy Steps
To raise your bike handlebars, start by gathering a few essential tools: an Allen wrench, adjustable wrench, and torque wrench. These will help you make precise adjustments safely.
Next, figure out whether your bike has a threaded or threadless stem, as this affects how you’ll raise the bars.
Once you know that, loosen the stem cap and handlebar bolts carefully. Then, slide the stem up or add spacers to increase the height to your comfort level.
It’s important to adjust your brake and shift cables if they feel tight or stretched after raising the bars.
After that, securely tighten all bolts to the recommended torque, usually between 5-8 Nm.
Don’t forget to align your handlebars straight with the front wheel before you finish.
Finally, test the stability by giving the bars a good shake to make sure everything is locked in place.
Keep going to discover tips for perfect adjustments and safety so you can enjoy a comfortable and secure ride every time!
Key Takeaways
- Identify if your bike has a threaded (quill) or threadless stem to determine the correct adjustment method.
- Loosen the stem cap bolt and stem clamp bolts using the appropriate Allen wrench or wrench.
- For threaded stems, raise the stem inside the steerer tube; for threadless stems, add or rearrange spacers to adjust height.
- Align handlebars with the front wheel and tighten all bolts evenly to 5-8 Nm torque for secure fit.
- Re-route brake and shift cables if needed, then test brakes, gears, and stability before riding.
Tools You’ll Need to Raise Your Bike Handlebars
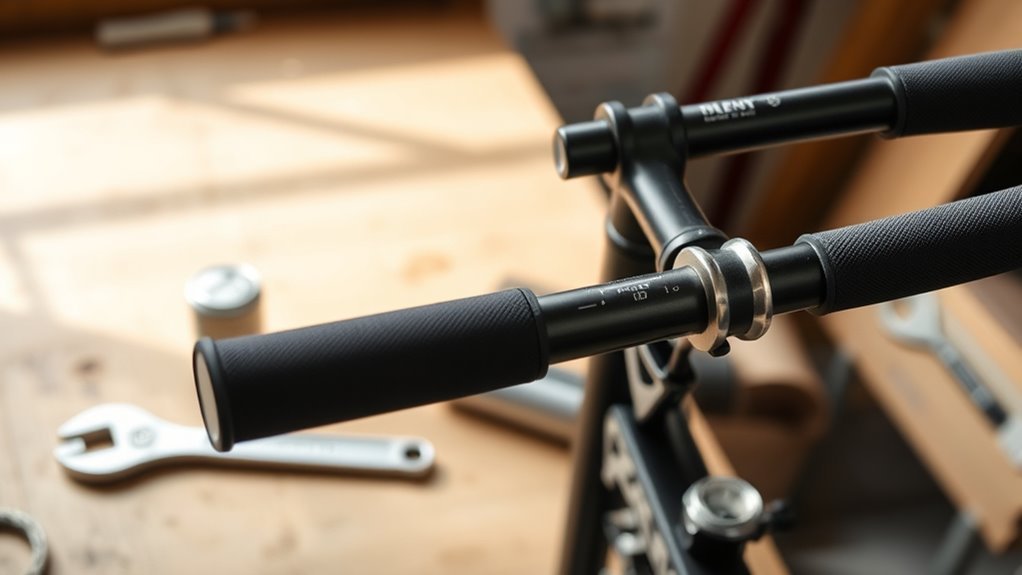
To raise your bike handlebars, you’ll need a few essential tools. First, an Allen wrench is vital since most handlebar and stem bolts require this tool. Make sure the Allen wrench fits the bolt size on your stem or faceplate—typically 4mm, 5mm, or 6mm.
Using the correct size prevents stripping the bolts, which is super important. You’ll also want an adjustable or large wrench handy to loosen or tighten any nuts involved in the adjustment.
Choosing the right wrench size is key to avoiding stripped bolts and smoothly adjusting your bike’s nuts.
If you have a torque wrench, it’s a great addition. It helps you tighten bolts to the manufacturer’s recommended handlebar height settings, usually between 5-8 Nm. This ensures safety and precision.
Some bikes may call for specialized tools depending on unique fittings or integrated components. So, it’s a good idea to check your bike’s specifications before starting.
Using the right tools protects your bike’s hardware and makes raising your handlebar height a straightforward and damage-free process. Easy, right?
Identifying Threaded vs. Threadless Stems
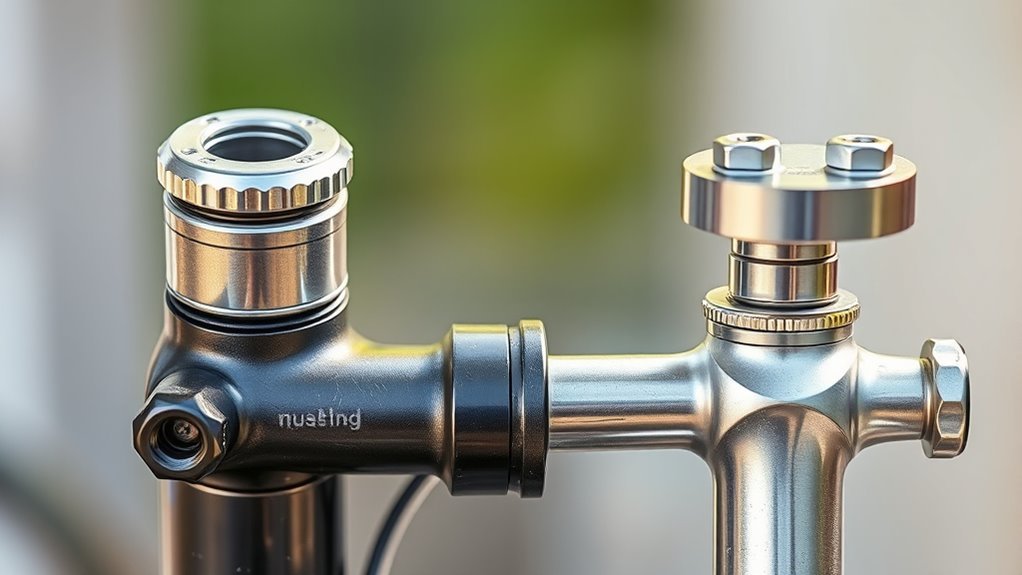
To raise your bike handlebars, you first need to identify whether you have a threaded or threadless stem. Threaded stems slide into the steerer tube and adjust by loosening a top bolt.
On the other hand, threadless stems clamp around the outside and use spacers for height changes. Knowing these key visual and mechanical differences will make adjustments much easier.
Once you spot which type you have, making changes becomes way less confusing. It’s all about recognizing those small but important details!
Stem Types Overview
Although both threaded and threadless stems serve the same purpose of connecting your handlebars to the bike, you can easily tell them apart by their design and adjustment methods.
A threaded stem, or quill stem, inserts into the steerer tube and secures with an expanding wedge or bolt at the top. To adjust it, you loosen the top bolt, slide the stem to the desired height, then tighten it back up.
In contrast, a threadless stem clamps around the outside of the steerer tube with bolts tightening its circumference. Instead of moving the stem itself, you adjust handlebar height using spacers placed above or below the stem.
Knowing these differences helps you handle your bike’s setup confidently and safely. It’s pretty straightforward once you get the hang of it!
Visual Identification Tips
When you’re trying to identify whether your bike has a threaded or threadless stem, start by looking closely at the top of the stem. A threaded stem, also called a quill stem, has a visible bolt or top cap you can loosen to adjust height.
In contrast, a threadless stem clamps externally onto the steerer tube and lacks this bolt, relying on spacers instead.
Here’s a quick visual comparison:
| Feature | Threaded (Quill) Stem | Threadless Stem |
|---|---|---|
| Top cap presence | Bolt or wedge at top | No bolt at top |
| Height adjust | Slide stem inside steerer | Use spacers below stem |
| Stem grip | Inside steerer tube | Clamped around steerer tube |
This helps you quickly spot which stem type you have. Easy, right? Just take a quick peek and you’ll know!
Adjustment Mechanism Differences
Since the adjustment methods differ markedly between stem types, knowing how each works helps you raise your bike handlebars correctly. Threaded stems, also called quill stems, fit inside the steerer tube.
Their adjustment mechanism involves loosening a bolt at the top, sliding the stem up or down within marked limits, then tightening it securely. You’ll spot a threaded stem by this top bolt.
On the other hand, threadless stems clamp around the outside of the steerer tube with bolts on the faceplate. Instead of sliding the stem, you adjust height by adding or removing spacers above or below it or swapping the stem for one with a different angle.
Understanding these adjustment mechanisms guarantees you raise your handlebars safely and effectively. It’s really about knowing which type you have and what moves where.
Removing the Stem Cap and Bolts
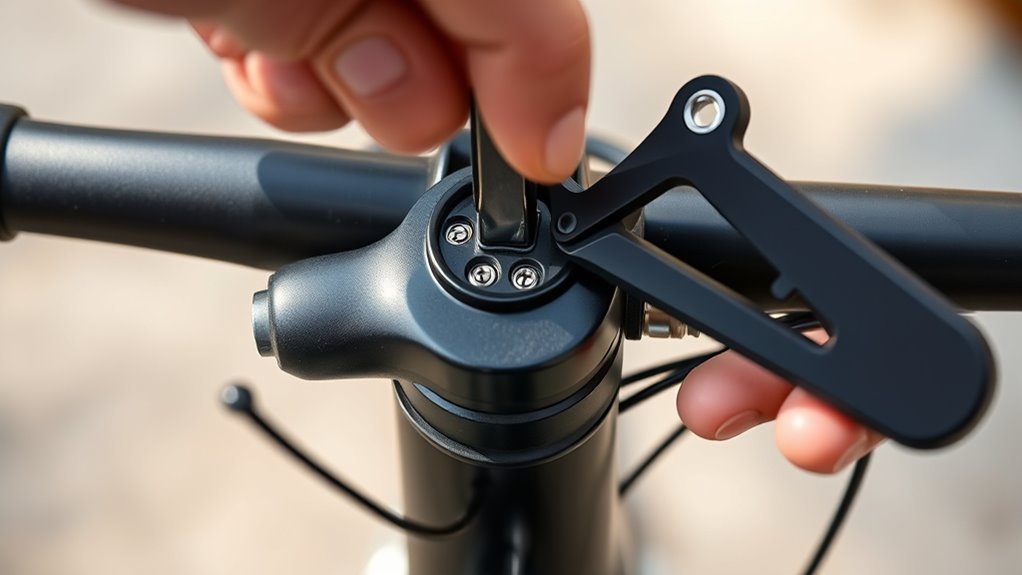
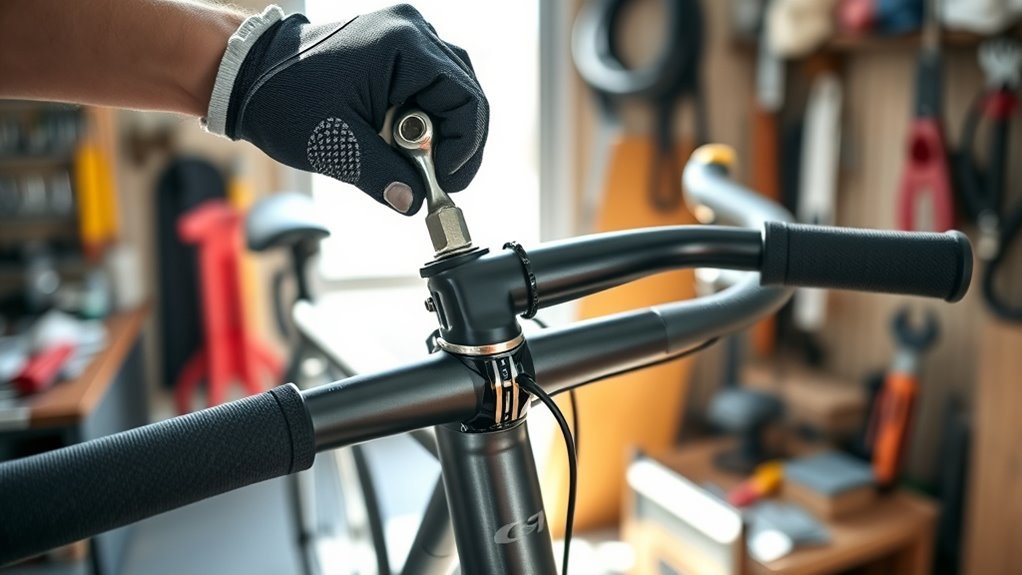
Start by removing the stem cap, which covers the bolt securing the stem to the steerer tube. Use the right size Allen wrench to carefully loosen and take off the cap without stripping the bolt.
Once the cap is off, you can loosen the stem bolts to adjust your handlebar height. It’s pretty straightforward, just take your time so you don’t damage anything.
Removing Stem Cap
How do you access the mechanism that adjusts your bike’s handlebar height? First, you need to remove the stem cap. It covers the top of the steerer tube and is held in place by a bolt.
Grab an Allen key, usually 4mm or 5mm, and carefully unscrew the bolt to avoid damaging the threads. Once the bolt is out, gently lift off the stem cap to expose the bolt assembly beneath.
This bolt secures the stem or headset, allowing you to make height adjustments. Before you go any further, take a moment to inspect the bolt and surrounding components for dirt or wear. If you spot any, apply some grease.
When you’re ready to put everything back, be sure to replace the stem cap and tighten the bolt to the manufacturer’s recommended torque. This keeps the right pressure and helps avoid damage.
Loosening Stem Bolts
After removing the stem cap, you’ll need to loosen the stem bolts to access the spacers and adjust your handlebar height. Use an Allen wrench to carefully loosen these bolts without damaging surrounding parts.
If your bike has a top nut securing the stem, remove it as well. Loosening the stem bolts gives you the clearance needed to raise or lower your handlebars safely.
Always check the manufacturer’s torque specifications before re-tightening. This helps you avoid over-tightening and potential damage.
| Step | Tip |
|---|---|
| Loosen stem bolts | Use the correct Allen wrench size |
| Remove top nut | Only if present, for height adjustment |
| Re-tighten bolts | Follow torque specs carefully |
Loosening Handlebar Stem Nuts
Before loosening the handlebar stem nuts, make sure your bike is stable and the front wheel is aligned straight to prevent misalignment.
Grab an adjustable or socket wrench that fits the stem nuts—usually 13mm or 14mm. If the nuts feel stuck, spray some penetrating oil or WD-40 to loosen any rust or dirt.
Turn the stem nuts counterclockwise carefully while holding the handlebar steady to avoid sudden movement. Keep control of the handlebar throughout the process to prevent damage or injury.
Once the stem nuts are loosened enough, you’ll be ready to adjust the handlebar height. Remember, loosening the stem nuts doesn’t mean removing them entirely; just loosen them so the handlebar stem can slide up or down the steerer tube safely.
Taking these steps will guarantee you can raise your handlebars without causing misalignment or compromising your bike’s stability.
Raising the Handlebar Stem Safely
Once you’ve loosened the stem nuts enough to allow movement, it’s time to raise the handlebar stem safely. Start by loosening the stem or faceplate bolts with the right wrench.
Make sure to check the minimum insertion line on the steerer tube. This helps you avoid over-insertion, which can cause stem failure.
Adjust the height by adding or removing spacers above or below the stem. Keep a 3-5mm gap between the stem and headset top for proper fit.
After positioning, gradually tighten the bolts evenly to the manufacturer’s torque specs, usually 5-8Nm. This step is key to securing the handlebar properly.
Finally, align the handlebars with the front wheel and test their stability before you hit the road.
| Step | Action | Key Point |
|---|---|---|
| Loosen bolts | Use Allen or wrench | Allows stem movement |
| Check insertion line | Prevent over-insertion | Prevents stem failure |
| Tighten bolts evenly | Torque 5-8Nm | Secure handlebar fixation |
Following these steps guarantees you safely raise your handlebars.
Adjusting Height With Spacers and Stems
To raise your handlebars with spacers and stems, start by understanding how to place spacers correctly on the steerer tube. Knowing the different stem types will help you choose the right one for your desired height.
It’s all about getting the fit just right. Follow some key tips to adjust the height safely and securely. You’ll feel the difference once it’s set up properly!
Spacer Placement Techniques
When you want to raise your bike’s handlebars, adjusting the spacers and stem on the steerer tube is an effective solution. Start by loosening the stem clamp bolts and carefully sliding the stem off.
Add or reposition spacers either below or above the stem to achieve your desired height. Just remember to keep the stem’s minimum insertion line covered for safety.
Once positioned, reassemble everything and tighten the stem bolts to the recommended torque, usually 5-8 Nm. Finally, check that your handlebars align with the front wheel and move smoothly.
Here are some key spacer placement tips to keep in mind:
- Place spacers evenly to maintain balance and stability
- Avoid exceeding the steerer tube’s exposed length
- Tighten bolts gradually and evenly to prevent misalignment
This technique ensures a secure, comfortable handlebar height adjustment.
Stem Types Explained
Adjusting spacer placement gives you one way to raise your handlebars, but understanding the type of stem your bike uses reveals more precise options.
If you have a threadless stem, you can loosen the stem clamp bolts to slide the stem up or down the steerer tube, adjusting handlebar height directly. Reinstall spacers above or below the stem to secure it properly after adjustment.
For threaded (quill) stems, simply loosen the top bolt, raise the stem within the marked insertion limits, then retighten to set the handlebar height.
Alternatively, using a higher-rise stem or flipping the stem can also increase handlebar height on both stem types. This gives you more control over your riding position without complicated modifications.
Height Adjustment Tips
Although it might seem simple, raising your bike handlebars requires careful attention to spacer placement and stem adjustments to guarantee safety and comfort.
To adjust handlebar height on a threadless steerer tube, you’ll typically add or rearrange spacers between the stem and headset. For threaded stems, slide the stem upward but never expose the minimum insertion mark to avoid damage.
Loosen the stem clamp bolts to move the stem, then tighten securely.
Here are key tips for effective stem adjustment:
- Use riser stems with higher rise angles to increase handlebar height without extra spacers.
- Always check that the stem is fully inserted past the minimum insertion line.
- Tighten bolts firmly after adjusting to maintain stability and safety.
Follow these steps to enjoy a comfortable ride with properly adjusted handlebars.
Adjusting Brake and Shift Cables
Because raising your bike’s handlebars increases the distance between components, you’ll likely need longer brake and shift cables to guarantee smooth operation. Start by loosening the cable pinch bolt on each brake and shift lever.
Slide the cables out of their housings and re-route them to match the new handlebar position. When adjusting the cables, check the housing length carefully—make sure there’s no slack or tight spots that could impair function.
You may need to trim the housing to fit perfectly. After repositioning, reconnect the cables securely to the brake levers and shifters.
Then, adjust the tension to ensure the brakes engage properly and the gears shift smoothly. Finally, test both brakes and gear shifts thoroughly to confirm everything works safely and efficiently.
Taking these steps will help your bike handle reliably after raising the handlebars, ensuring both comfort and control.
Re-Tightening Bolts to Secure Handlebars
Once you’ve positioned your handlebars correctly, you’ll need to re-tighten the bolts to secure them firmly. Start by tightening the stem bolts gradually in a clockwise direction. This prevents any sudden shifts and helps you achieve a snug fit.
After positioning your handlebars, tighten the stem bolts gradually clockwise for a secure, snug fit without sudden shifts.
Use a torque wrench to tighten the bolts to the manufacturer’s recommended torque, usually between 5-8 Nm. This helps avoid over-tightening or stripping the threads.
Before fully tightening, make sure the handlebar aligns with the front wheel for proper steering. It’s a small step but super important.
Here’s a quick checklist to follow:
- Tighten the stem bolts evenly, alternating between them to maintain balance.
- Use a torque wrench for precise tightening according to specs.
- Reinstall protective caps over the bolts to shield the threads and improve appearance.
Finally, test the handlebar’s stability by applying gentle pressure. If it stays firm and doesn’t creak or move, you’re ready to ride safely. Easy, right?
Checking Handlebar Alignment
After securely tightening the bolts, take a moment to double-check that your handlebars line up properly with the front wheel. Proper handlebar alignment is essential for safe and responsive steering.
First, make sure the handlebar clamp and stem are centered and straight relative to your bike frame. Then, visually verify that the handlebar is parallel to the front wheel.
To be more precise, use a level or a straight edge against the front fork or wheel rim to confirm alignment. If you notice any misalignment, loosen the bolts slightly and adjust the handlebar until it sits perfectly in line.
Once you’re satisfied, retighten the bolts securely. Finally, take your bike for a short test ride and pay attention to the steering feel.
If the handlebars don’t track straight or shift during riding, just readjust the handlebar alignment as needed. This way, you’ll guarantee ideal control and a safer ride every time.
Common Mistakes to Avoid When Raising Handlebars
When raising your bike’s handlebars, you’ll want to avoid common mistakes that could compromise safety and performance. One key error is failing to verify the handlebars are aligned with the front wheel before you tighten the stem. Misalignment affects steering and control, so double-check this before securing everything.
Another mistake is over-tightening bolts, which risks damaging components or causing failure while riding. Always use the correct tools and tighten the stem just enough to hold the handlebars firmly in place.
Finally, neglecting safety checks after adjustments can lead to accidents. Make sure the minimum insertion line on the stem is covered to prevent bending or breaking, and test handlebar stability before hitting the road.
Here are three common mistakes to avoid:
- Over-tightening bolts and damaging parts
- Not confirming handlebars are aligned before tightening
- Skipping final safety inspections after adjustments
Frequently Asked Questions
How Do I Raise My Bicycle Handlebars?
You raise your handlebars by loosening the stem bolt, then sliding or flipping the stem up if possible.
Adding spacers or upgrading to a higher-rise stem also works. Always keep safety and insertion limits in mind.
It’s pretty straightforward once you get the hang of it. Just take your time and double-check everything before you ride!
How to Raise Children’s Bike Handlebars?
You’ll loosen the stem bolts, slide the handlebars up or add spacers, then tighten everything securely.
Make sure you don’t expose the steerer tube’s minimum insertion line. Align the bars with the wheel, and test ride safely.
It’s pretty simple once you get the hang of it! Just take your time and double-check everything before you ride.
How to Raise Bike Handlebars Without Stem?
You can’t raise bike handlebars without involving the stem since it connects to the steerer tube.
Instead, try adding spacers, flipping a reversible stem, or swapping to a stem with a higher rise to get more height.
These options let you adjust handlebar height without major changes.
It’s all about finding the right setup that feels comfortable for your ride!
How to Increase Bar Height?
Think of your bike as a tall tree—raising the handlebars means adding spacers or flipping the stem to reach new heights.
You’ll want to guarantee everything’s tight and aligned so your ride stays smooth and safe.
It’s pretty simple once you get the hang of it! Just take your time and double-check each step.
Conclusion
Raising your bike handlebars means loosening bolts, adjusting cables, and securing everything tight. It means checking alignment, avoiding common mistakes, and ensuring comfort on every ride.
It also means using the right tools, knowing your stem type, and taking your time for safety. These steps help make the process smooth and hassle-free.
By following these steps, you’re not just changing your bike’s setup—you’re improving your riding experience. You’ll boost control and enjoy every mile with confidence.
Taking time to raise your bike handlebars properly can make a big difference in comfort and handling. It’s all about getting that perfect fit for your ride so each trip feels better and safer. With the right approach, raising your handlebars becomes a simple task that enhances your cycling journey every time you hit the road.