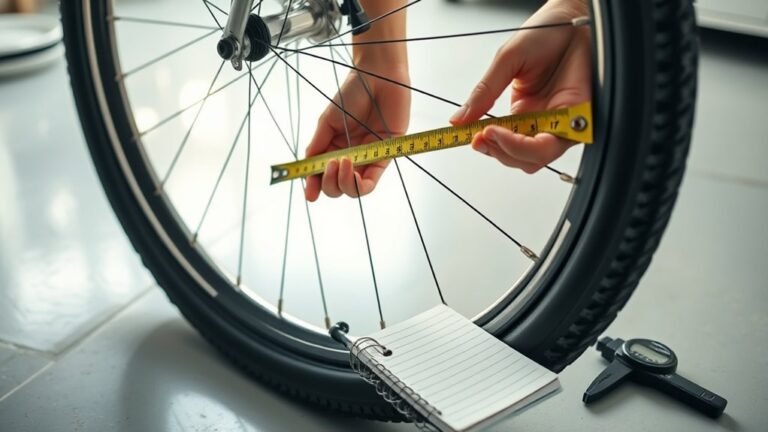
Change a Bike Tire in 3 Easy Steps
To change a bike tire in 3 easy steps, start by removing the wheel from your bike. Next, fully deflate the tire by pressing down on the valve to let out all the air.
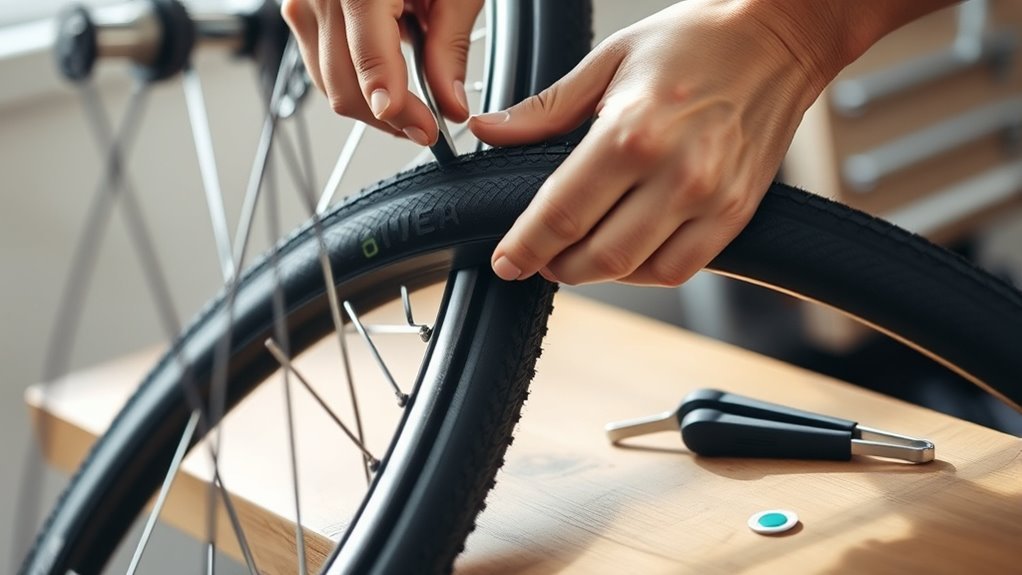
Now, grab some tire levers and carefully pry off one side of the tire. Once that’s done, take out the inner tube and give both the tire and tube a good look for any damage or punctures.
Finally, slightly inflate a new inner tube just enough to give it shape. Place it inside the tire, then remount the tire back onto the rim. Inflate the tire to the recommended pressure, and you’re good to go!
Keep practicing these steps, and you’ll find some handy tips along the way to make the process even smoother. Plus, you’ll learn how to prevent future flats so you can enjoy a worry-free ride.
Removing the Wheel and Deflating the Tire
How do you begin changing a bike tire? Start by removing the wheel from your bike to give yourself room to work.
Next, fully deflate the tire by pressing down on the valve to release all the air. Once it’s all out, use a tire lever to unseat one side of the tire bead from the rim. It’s easiest to start near the valve.
Carefully pry the bead over the rim edge, working your way around the wheel with the tire lever until the bead loosens completely. After that, gently pull the inner tube out from inside the tire, detaching the valve from the rim hole.
Finally, take a moment to inspect both the tire and inner tube for any damage or debris before moving on to the next step.
Taking Off the Old Tire and Inner Tube
Once the tire is fully deflated, use tire levers to carefully pry one side of the tire bead away from the rim, working your way around until it’s loose enough to remove. Slide the tire levers along the rim to detach the bead from the wheel edge without damaging it.
Start by deflating the tire fully, then carefully pry the bead from the rim using tire levers.
With one side off, reach inside the tire and pull the tube gently, lifting the valve stem through the rim hole. Now, remove the tube completely from the tire.
Take time to inspect damage both inside the tire and on the tube, checking for sharp objects or wear that might cause punctures. This careful step ensures you won’t install a new tube on a damaged surface.
Removing the old tire and inner tube properly sets you up for a smooth tire replacement. It might take a little patience, but doing it right makes all the difference!
Installing the New Tube and Tire
Start by slightly inflating the new inner tube to give it shape. Then, insert it into the tire, making sure the valve stem aligns perfectly with the rim hole.
Carefully work one side of the tire bead onto the rim, starting opposite the valve stem. You can use your hands or tire levers if needed.
Next, mount the second bead onto the rim. Take care not to pinch the new tube between the tire and rim.
Use your palms to press the tire bead evenly around the rim. This helps ensure proper seating all the way around.
Finally, inflate the tire to the recommended pressure. Check that the bead remains seated and the tube isn’t bulging or pinched.
Proper installation guarantees a secure fit and smooth ride. Easy, right?
Conclusion
Now that you’ve installed the new tube and tire, your bike is almost ready to hit the road.
But before you pump up the tire fully, double-check that the tube sits evenly and nothing’s pinched. One wrong move here could leave you stranded later.
Take a moment, breathe, and make sure everything’s just right. Once you’re confident, inflate your tire and get ready to enjoy the smooth ride you’ve earned.
Changing a bike tire might seem tricky at first, but following these simple steps makes it easy and stress-free. With the tube properly seated and the tire inflated just right, you’re set for a safe and comfortable ride. Remember, a little patience now saves a lot of hassle down the road. So next time you face a flat, you’ll know exactly how to get back on your bike quickly and confidently!