How to Replace a Bike Tire in 5 Easy Steps
To replace a bike tire in five easy steps, start by removing the wheel. Shift to the smallest gear, open the quick-release or loosen the nuts, and release the brake if needed.
Next, fully deflate the tire.
Use tire levers to carefully remove the tire and tube from the rim.
Inspect both the tire and tube for any damage or debris.
Then, insert a slightly inflated tube and reseat the tire carefully onto the rim.
Finally, inflate the tire evenly to the recommended pressure.
Reinstall the wheel securely, making sure everything is properly aligned.
Keep going for detailed tips on each step to make your bike tire replacement smooth and hassle-free. You’ll be back on the road in no time!
Key Takeaways
- Remove the wheel by shifting to the smallest gear. If needed, release the brakes and then loosen the axle or quick-release lever.
- Deflate the tire completely. Next, use tire levers to pry the tire bead off the rim and take out the inner tube.
- Take a good look at the tire, inner tube, and rim. Check for any damage, debris, or punctures before you install a new tube or tire.
- Insert the slightly inflated inner tube into the tire. Then, reseat the tire bead evenly onto the rim by hand.
- Inflate the tire gradually. Make sure the bead seats properly and the pressure is right. Finally, reinstall and securely tighten the wheel on the bike.
Remove the Bike Wheel Safely
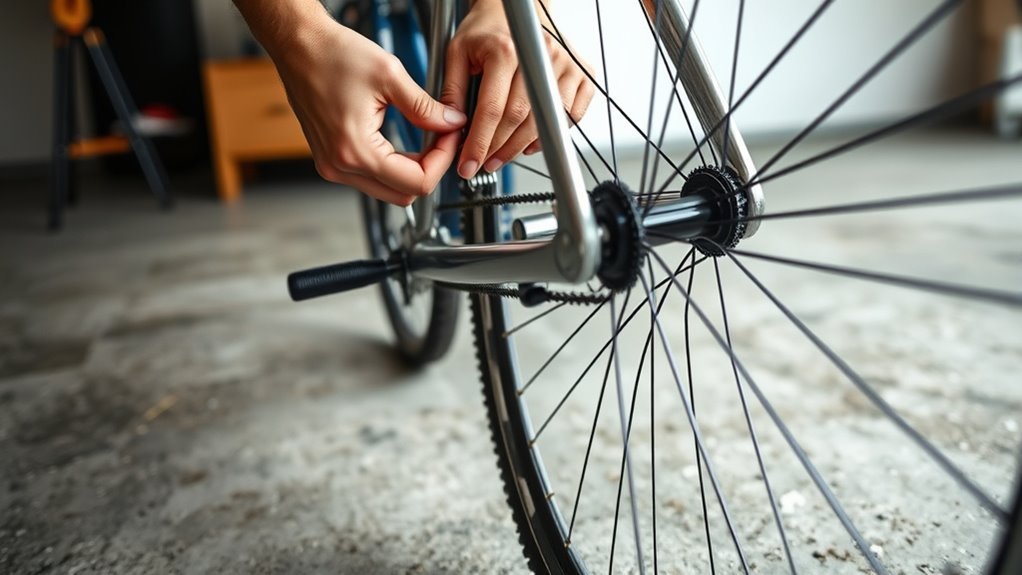
How do you safely remove your bike wheel? First, shift to the smallest gear on the rear wheel to reduce chain tension. This makes it easier to remove the wheel.
Next, open the quick-release lever or loosen the axle nuts with a wrench to detach the wheel from the frame. If your brake calipers interfere, release them so the brake pads don’t touch the rim.
Now, carefully lift the wheel away from the dropouts. Make sure to support the wheel to avoid dropping it or damaging the spokes and rim.
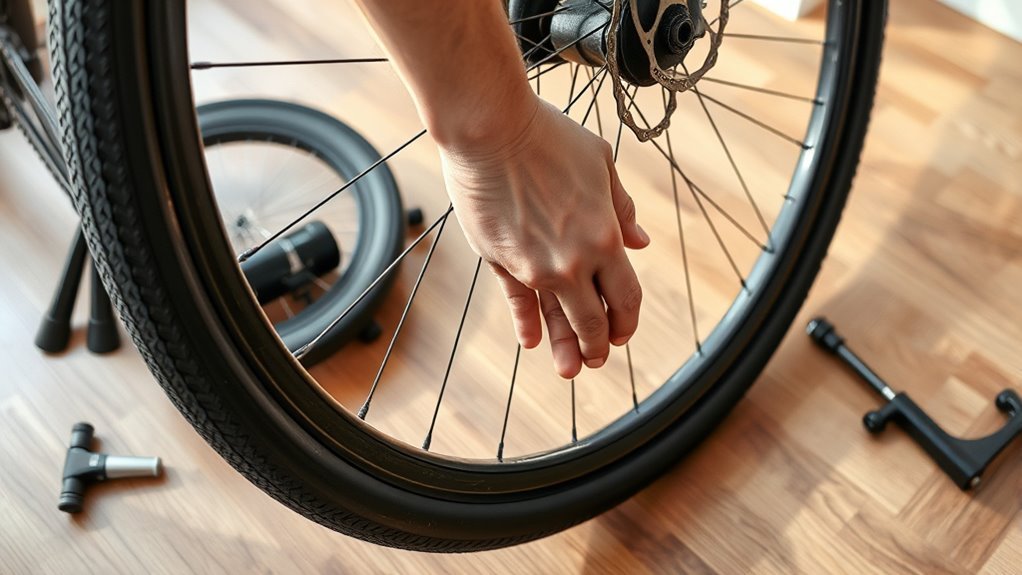
Once detached, place the wheel on a stable surface. Ensure it’s secure and clear of obstructions. This stable positioning lets you inspect the rim thoroughly for any damage or wear before you move on.
Following these steps helps you remove the wheel safely, protecting both your bike and yourself during the process.
Deflate and Remove the Tire and Tube

Why is fully deflating your tire essential before removal? Deflating releases all air by pressing down on the valve, preventing the tire from resisting when you remove it.
Start by pressing the valve to deflate completely. Next, take your tire levers and carefully pry the bead of the tire over the rim, beginning opposite the valve stem. Work the lever around the rim until one side of the tire loosens.
Once the tire bead is off, gently pull out the inner tube, starting at the valve stem to avoid damage. With the tube out, you can now remove the tire entirely from the rim.
Before moving forward, inspect both the tire and inner tube for any debris or damage. Handling these steps carefully guarantees a smooth removal process and prepares you for the next phase of tire replacement.
Inspect the Inner Tube and Tire

Before you install a new tube or tire, take the time to carefully inspect the inner tube and tire for any damage. First, inflate the inner tube slightly and listen closely for leaks or perform a water test by submerging it and watching for bubbles. This inspection helps you spot punctures or tears.
Next, thoroughly inspect the tire’s tread and sidewalls for embedded debris, cuts, or signs of wear that could cause flats. Don’t forget to check inside the tire casing for hidden objects like glass, nails, or thorns that might have caused the damage.
Also, examine the rim strip to ensure it’s intact and properly covering spoke holes, preventing potential tube punctures. If you find any damage during your damage check, replace or repair the inner tube.
Before installing, make sure the new or patched tube is clean and free of embedded debris to avoid future leaks. This careful inspection will save you time and trouble later.
Install the Inner Tube and Reseat the Tire
Once you’ve prepared the inner tube, insert it slightly inflated into the tire. Make sure the valve stem aligns perfectly with the rim hole.
Starting opposite the valve stem, carefully work the tire bead over the rim edge using your hands. Avoid tire levers here to prevent pinching the inner tube, which could cause a puncture.
Use your palms to press the tire fully onto the rim, ensuring the tire bead seats evenly all around.
Before you fully inflate, inspect both sides of the tire for any bulges or gaps that indicate improper seating. Proper seating is essential to avoid removing the tire again later.
Inflate the tire gradually, watching the bead as it settles into the rim. Keep an eye on the pressure, but don’t fully inflate until you’re certain the bead is uniformly seated and the inner tube is free of twists or damage.
This careful process prevents punctures and ensures a secure fit. Take your time here—it really pays off!
Inflate the Tire and Reinstall the Wheel
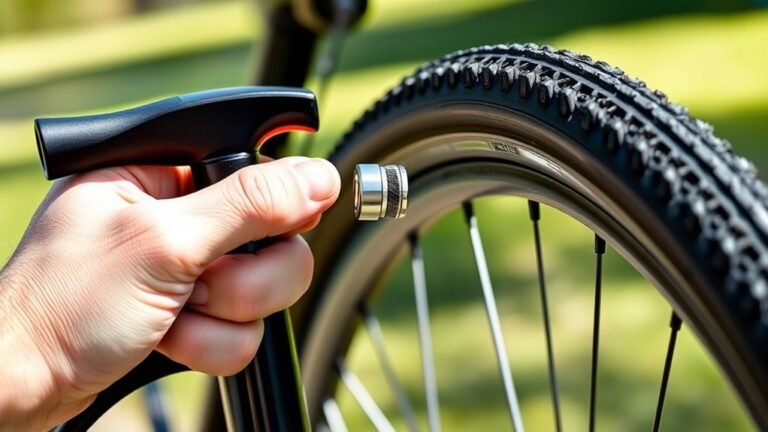
As you attach the pump securely to the valve, start inflating the tire gradually. Keep an eye on the bead to make sure it seats evenly around the rim.
Attach the pump firmly and inflate slowly, ensuring the tire bead seats evenly around the rim.
Inflate the tire in stages, checking the tire bead all around by inspecting the sidewall line for consistent height. Use a pressure gauge to verify the tire reaches the recommended pressure stated on the sidewall.
If you notice any bulges or irregularities, deflate slightly to help seat the bead properly before inflating again.
Once the tire is properly inflated and the bead is evenly seated, secure the valve cap to protect the valve from dirt and damage.
Now, reinstall the wheel onto your bike, making sure it’s aligned and tightened securely. With the tire inflated correctly and the wheel back in place, you’re ready to ride comfortably and safely.
Frequently Asked Questions
What Is the Easiest Way to Change a Bike Tire?
The easiest way to change a bike tire is to fully deflate it, use plastic tire levers to gently lift the tire bead off the rim, and remove the tube carefully.
Then, insert the new tube properly, and slowly inflate it while checking the alignment. It’s pretty straightforward once you get the hang of it!
How to Change a Tire in 5 Steps?
Did you know 70% of cyclists fix flats themselves? To change a tire in 5 steps: deflate, remove the tube, clean debris, insert and seat a new tube, then fully inflate and reinstall the wheel securely.
It’s pretty straightforward once you get the hang of it. Just take it one step at a time, and you’ll be back on the road in no time!
What Is the Easiest Way to Remove a Bike Tire?
The easiest way to remove a bike tire is to fully deflate it first. Then, use plastic tire levers to gently pry the bead over the rim.
Work slowly around the tire to avoid damaging the tube or rim. Taking your time here really helps make the process smoother.
How to Change a Tire in 4 Steps?
Changing a tire is like solving a quick puzzle: deflate and pry off the tire, remove and replace the tube, reseat the tire on the rim, then pump it up.
You’ll have it rolling smoothly in no time!
Conclusion
Replacing a bike tire is easier than you think—just five simple steps and you’re back on the road. Did you know that the average cyclist travels about 3,000 miles a year? That means your tires face a lot of wear and tear!
By regularly inspecting and replacing your tire, you’re not only ensuring a smoother ride but also boosting your safety. So take a deep breath, follow these steps, and enjoy every mile ahead!
Remember, knowing how to replace a bike tire is an essential skill for any cyclist. It helps prevent unexpected flats and keeps your ride smooth and safe. With a little practice, changing your bike tire becomes quick and hassle-free, so you can focus on enjoying your cycling adventures.