How to Put a Chain Back on a Bike in 3 Easy Steps
To put your bike chain back on quickly and get you riding smoothly again, start by looping the chain around the small rear gear and the larger front gear. Make sure the chain is facing the right way so it doesn’t slip off later.
Next, flip your bike upside down for easier access and better stability while you work on it. This way, you won’t have to struggle holding it up or balancing.
Finally, adjust the chain tension by loosening the rear axle. Pull the wheel back just enough to tighten the chain perfectly, then securely retighten the bolts.
Keep going to uncover tips for smooth pedaling and the best adjustments to avoid issues.
Key Takeaways
- Position the chain around the small rear gear and larger front gear, making sure the correct side faces down.
- Use one hand to guide the chain onto the gears while slowly pedaling forward. This helps the chain seat properly.
- Confirm the chain is fully engaged on both gears before you stop pedaling.
- If you need better access during the process, flip the bike upside down on a flat surface.
- To adjust chain tension, loosen the rear axle bolts first. Then, pull the wheel back and tighten the bolts securely.
Put the Chain Back on Your Bike Quickly and Correctly
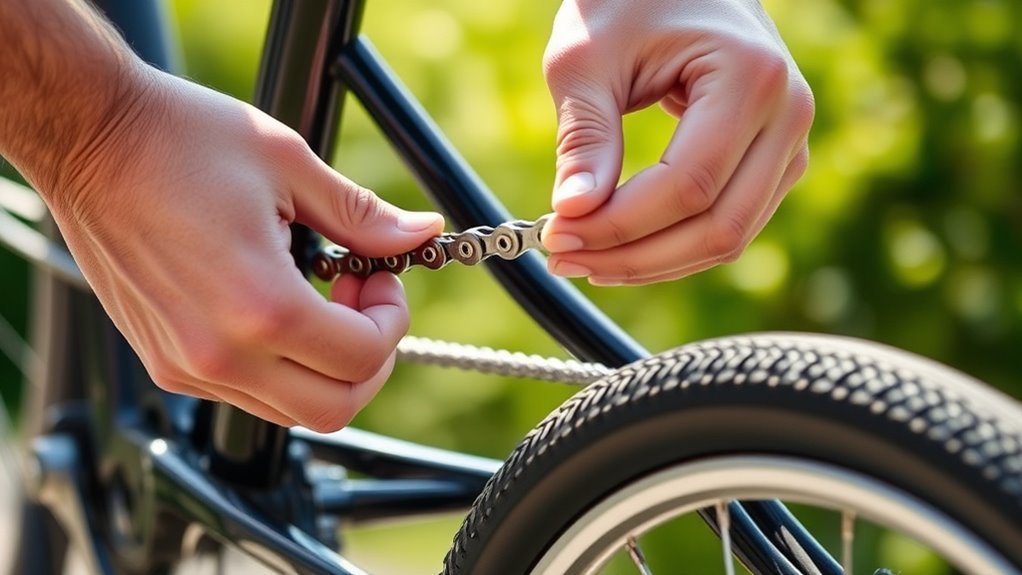
When putting the chain back on your bike, start by positioning it around the small gear on the rear axle and the larger gear near the pedals. Make sure the side facing down is correct.
To put your chain back smoothly, use one hand to guide it onto the gear while slowly pedaling forward. This motion helps the chain seat properly on both the back wheel and front gears.
Guide the chain with one hand while pedaling slowly to seat it properly on all gears.
Before stopping, confirm the chain is fully engaged on both gears. If you notice any slipping or resistance, adjust the derailleur to ensure the chain runs smoothly across all gears.
Taking these steps will make it easier to reinstall the chain quickly and correctly. Finally, test ride your bike briefly to verify the chain functions without issue.
Flip Your Bike to Make Chain Repairs Easier
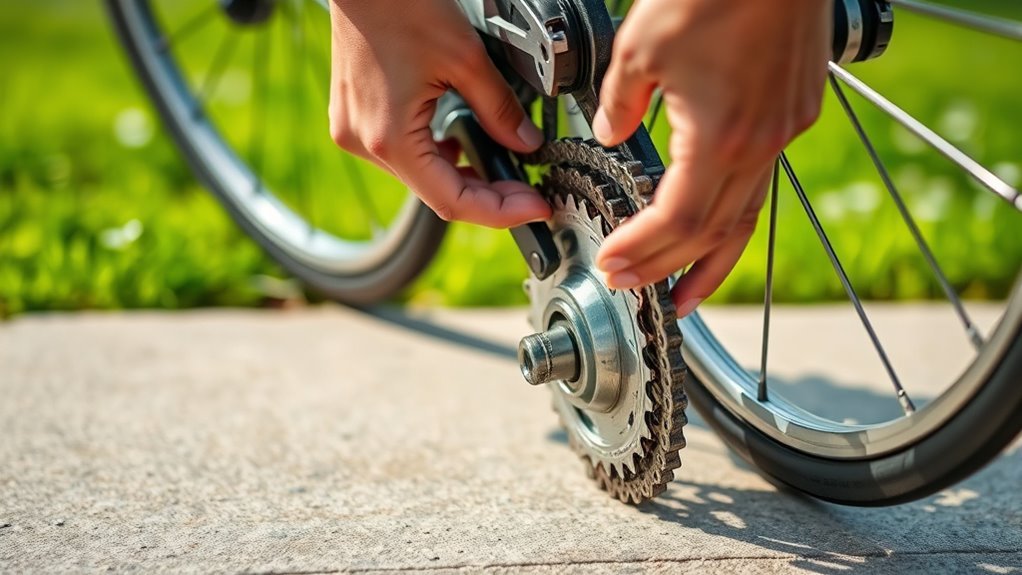
After you’ve positioned the chain correctly and guaranteed it runs smoothly, flipping your bike upside down can make further chain repairs much easier. To do this, carefully flip your bike so it rests on its handlebars and seat, elevating the rear wheel. This position gives you better access to the chain, allowing you to work more efficiently.
Before flipping, verify the bike is on a flat surface and stable. Use a bike stand or lean it securely against a wall to prevent tipping while you work. It’s important to keep things steady so you don’t risk any accidents.
Protect your bike’s components by placing a soft cloth or mat under the handlebars and seat. This little step helps avoid scratches or damage. Also, keeping your workspace clean and organized will help you avoid losing small parts and streamline the repair process.
Adjust Chain Tension and Wheel Alignment to Prevent Chain Falls

Although it might seem minor, adjusting your chain tension and wheel alignment plays an essential role in preventing the chain from slipping or falling off. Start by loosening the rear axle bolts to allow the wheel to move slightly.
Then, pull the wheel backward to increase chain tension—make sure the chain is snug but not too tight. Next, check that the wheel stays centered between the frame or fork to maintain proper wheel alignment.
This alignment is fundamental for smooth riding and avoiding chain derailment. Once you’re satisfied with the chain tension and wheel alignment, tighten the rear axle bolts securely.
Regularly checking these adjustments helps prevent future chain problems and keeps your bike running smoothly. Proper chain tension and wheel alignment work together to guarantee a safer and more reliable ride, so don’t skip this step when putting your chain back on.
Frequently Asked Questions
How Do I Put My Chain Back On?
You’ll start by placing the chain on the smallest rear gear, then guide it onto the front chainring.
Push the derailleur forward with your hand, and pedal slowly to help the chain snap into place smoothly.
It might take a little wiggle, but keep at it—soon enough, the chain will be right where it needs to be.
How to Put a Bike Chain Back on Without a Tool?
You slip the chain onto the nearest gear by hand, making sure it fits snugly into the teeth. Then, pedal slowly while guiding the derailleur if needed.
This helps ensure the chain runs smoothly without twisting or misalignment. Just take your time, and you’ll get it back on in no time!
How to Fix a Bike Chain That Fell Off?
Did you know over 30% of cyclists face chain drops? To fix yours, lift the derailleur pulley, guide the chain onto the nearest gear, then pedal gently.
Make sure it’s seated properly before riding again to avoid mishaps. It’s easier than it sounds, and you’ll be back on the road in no time!
What to Do if Your Chain Comes Off?
If your chain comes off, gently lift the derailleur pulley and guide the chain back onto the nearest gear.
Slowly pedal forward while making sure the chain seats properly on both the chainring and gears.
Take your time with this—it’s important everything is aligned before you start riding again.
Conclusion
Just like a skilled dancer knows every step, putting your bike chain back on smoothly keeps your ride graceful and efficient. Remember, flipping your bike makes the job easier, and adjusting the tension prevents future slips—much like tightening loose shoelaces before a run.
With these simple steps, you’ll be back on the road quickly, avoiding the frustration of a wandering chain and enjoying every mile with confidence. Getting your chain back on doesn’t have to be a hassle. Follow these easy steps, and you’ll keep your bike running smoothly and your ride enjoyable. Whether you’re a casual rider or a cycling enthusiast, knowing how to put a chain back on your bike is a handy skill that saves time and keeps your journey smooth every time.