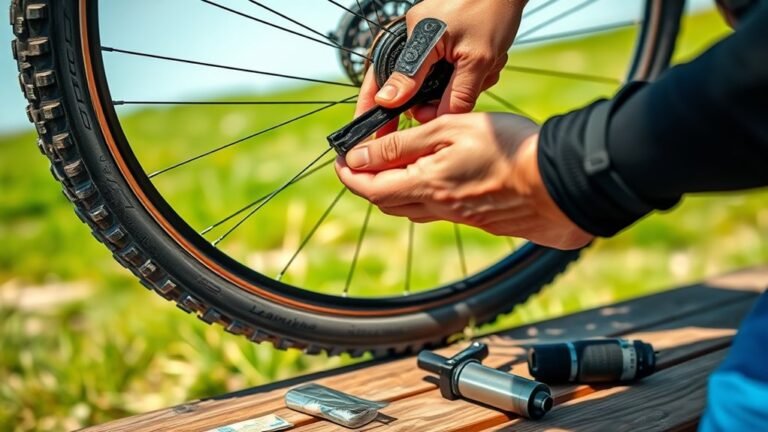
7 Simple Steps to Adjust Bike Brakes
To adjust your bike brakes in seven simple steps, start by inspecting your brake pads and rims for any wear or damage. This is super important because worn pads or damaged rims can seriously affect your stopping power and safety.
Next, pull the brake cable tight and secure it to make sure your brakes respond properly.
After that, fine-tune the tension using the barrel adjuster. It’s a small tweak, but it makes a big difference in how your brakes feel when you squeeze the levers.
Then, align the brake pads properly on the rim so they hit just right every time.
Once that’s done, center the calipers to ensure even contact on both sides. This helps your brakes work smoothly without rubbing against the wheel.
Don’t forget to tighten all bolts and locknuts securely to keep everything in place.
Finally, spin the wheel to check for any clearance issues and take your bike for a short test ride. This way, you can make sure your brakes are working safely and smoothly before hitting the road or trail.
Follow these basics, and you’ll soon enjoy safer, smoother stops.
Key Takeaways
- Inspect brake pads and rims, cleaning surfaces and ensuring pads align evenly with the rim center. This helps your brakes work better and last longer.
- Loosen caliper bolts, pull the brake cable taut, then tighten and adjust tension using the barrel adjuster. It’s a bit like tuning a guitar string—just get it nice and tight.
- Position brake pads squarely on the rim with a slight toe-in angle and securely tighten their bolts. This little angle helps reduce noise and improves braking.
- Center the calipers by squeezing the brake lever, then tighten caliper mount bolts while holding the lever. This keeps everything aligned when you brake.
- Spin the wheel to check clearance and brake responsiveness, making final tension adjustments for smooth, reliable stopping. Give it a few tries until it feels just right.
Check Brake Pads and Rims for Wear and Damage

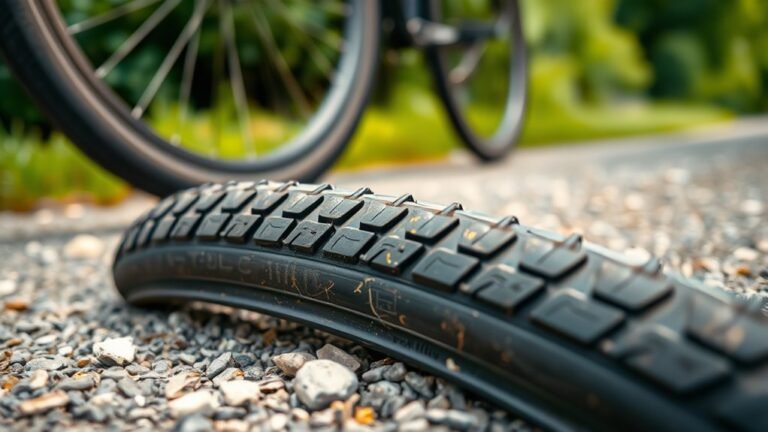
How often do you inspect your bike’s brake pads and rims? Regularly checking brake pads is crucial to maintaining a safe and effective brake system. You should check brake pads for grooves, wear lines, or thinning rubber.
If the brake pads wear past the indicator or show damage, replace them immediately. When you inspect rims, look closely for dents, cracks, or warping that can compromise braking performance.
Also, clean the braking surface to remove any dirt, debris, or oil using a suitable cleaner like isopropyl alcohol. Proper alignment is key; make sure brake pads contact the center of the rim’s braking surface evenly and don’t touch the tire or spokes.
Correct alignment ensures the brake pads engage fully without rubbing, preventing unnecessary wear. By routinely inspecting rims and brake pads, you keep your brake system reliable and safe on every ride.
Adjust Brake Cable Tension for Proper Engagement
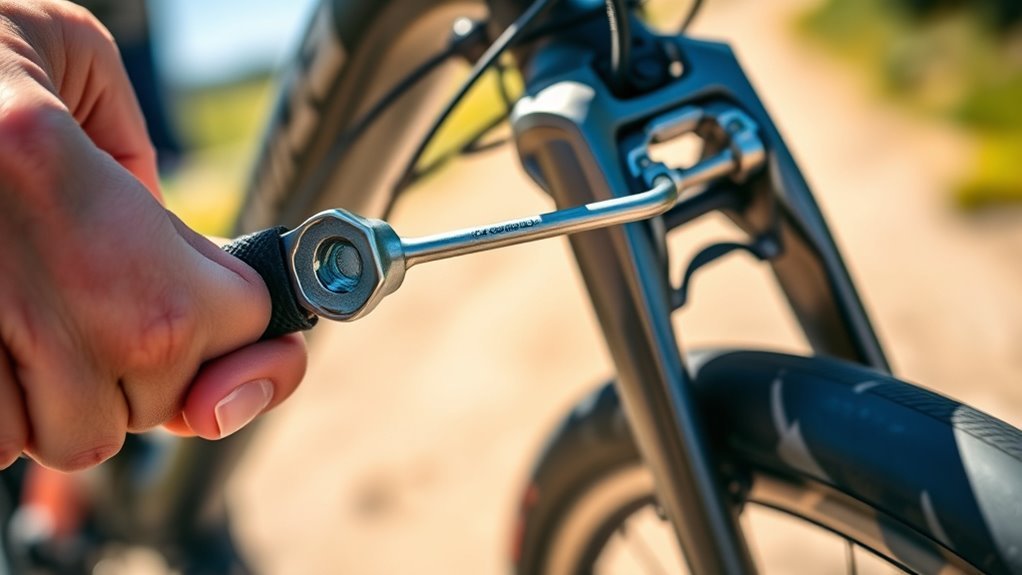
Although your brake pads and rims are in good condition, your brakes won’t perform well without proper cable tension. Start by loosening the brake caliper bolt so you can pull the brake cable taut.
Firmly pull the cable to remove any cable slack, then tighten the brake caliper bolt to hold the cable in place. Next, check the brake lever pull; it should move about 1.5 inches from the handlebar when fully engaged.
If it feels loose or the brake response is sluggish, increase brake cable tension by turning the barrel adjuster counterclockwise. This adjustment fine-tunes the tension without loosening the caliper bolt again.
After tightening the cable and adjusting the barrel, pull the brake lever several times to guarantee the cable is taut and the brakes engage quickly. Finally, spin the wheel and squeeze the lever to confirm a firm, responsive brake function.
Properly adjusted brake cable tension ensures safe and reliable stopping power every ride.
Fine-Tune Brakes With the Barrel Adjuster

Now, fine-tune your brake feel by turning the barrel adjuster counterclockwise to increase cable tension and bring the pads closer to the rim. Make small half-turn adjustments until the brake lever feels firm and responsive without excessive pull.
Once you’ve found the sweet spot, tighten the lockring to secure your setting. That way, your brakes stay just how you like them.
Adjust Barrel Tension
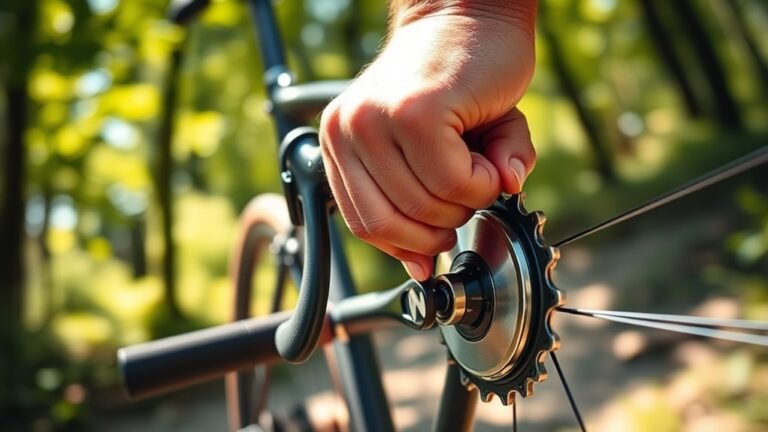
When you want to fine-tune your bike brakes without any tools, adjusting the barrel adjuster is your best bet. The barrel adjuster, located near the brake lever or inline with the brake cable, lets you easily adjust cable tension to improve brake responsiveness.
Turn the barrel adjuster counterclockwise to increase tension, which brings the brake pads closer to the rim. Make small, half-turn adjustments and then test the brake lever feel.
Aim for the brake lever to pull about 1.5 inches from the handlebar before the brakes engage firmly. If the barrel adjuster loosens during this process, just re-tighten it to maintain consistent tension.
This simple step helps you fine-tune your brakes quickly and keeps your ride safe and smooth.
Secure Lockring Tightening
After you’ve adjusted the barrel adjuster to get the brake tension just right, tighten the lockring clockwise to secure it in place. This step is vital for securing your brake cable and maintaining consistent tension.
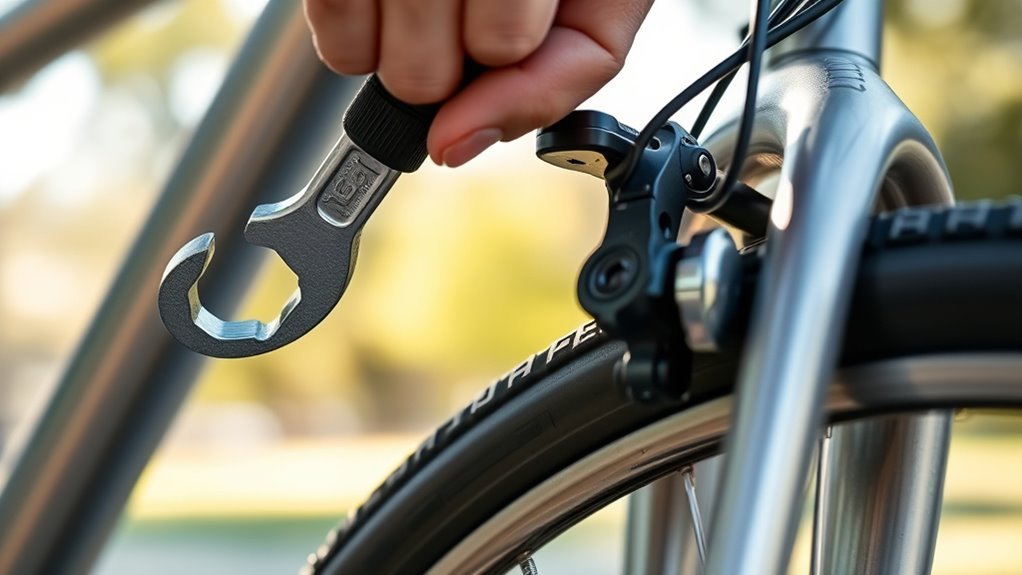
Use a wrench or your fingers to firmly tighten the lockring against the barrel adjuster. Make sure the lockring is fully tightened to prevent any slack from reappearing during your ride.
Once tightened, double-check that the lockring remains firmly in place and doesn’t loosen after initial adjustment. Properly securing the lockring ensures your brake cable holds steady, keeping your brakes responsive and safe.
Don’t skip this step; a loose lockring can undo all your careful tension adjustments and compromise your bike’s performance. It’s a small thing that makes a big difference!
Align Brake Pads Correctly on the Rim
How do you guarantee your bike brakes grip effectively every time you ride? Start by aligning the brake pads correctly on the rim. First, loosen the bolt holding the brake pad with an Allen wrench to allow repositioning.
Next, center the brake pad so it contacts the rim evenly across the entire braking surface. Make sure it doesn’t touch the tire or spokes.
Center the brake pad to evenly contact the rim without touching the tire or spokes for optimal braking.
For better performance and less noise, angle the pad slightly inward—this toe-in adjustment helps reduce squealing and ensures smooth contact. Once the brake pad is in the right position, tighten the bolt securely to prevent any movement during rides.
Double-check that the pad hits the rim squarely and aligns perfectly with the braking surface. This precise adjustment ensures consistent, powerful braking every time you hit the brakes, enhancing both control and safety on the road.
Center Brake Calipers for Even Pad Contact
First, loosen the caliper mount bolts just enough so the brake caliper can move freely. Then, squeeze the brake lever to center the caliper.
This helps align the pads evenly on the rim or rotor. Hold the lever tight while tightening the bolts to lock everything in place.
That way, you get smooth, even braking every time.
Loosen Caliper Mount Bolts
Two bolts hold your brake caliper in place, and loosening them just enough with an Allen wrench lets you adjust its position. Start by slightly loosening the caliper mounting bolts so the brake caliper can move freely.
This step is essential to achieve proper alignment and guarantee the caliper is centered over the rotor or rim. Once loosened, you can adjust the caliper’s position to improve braking performance.
After squeezing the brake lever to center the caliper, hold it firmly while you tighten the mounting bolts. Use a torque wrench to tighten the bolts to the manufacturer’s recommended torque, usually around 6-8 Nm.
This ensures the caliper stays securely in place without over-tightening, maintaining proper alignment for smooth braking.
Align Pads Evenly
After loosening the caliper mounting bolts and squeezing the brake lever to center the calipers, you need to verify the brake pads align evenly on both sides of the rotor or rim. Proper pad alignment ensures consistent braking and prevents uneven wear.
To do this, focus on these three key points:
- Check that both brake pads are equidistant from the braking surface for balanced contact.
- Hold the brake lever firmly while tightening the caliper bolts to lock the caliper in the centered position.
- Spin the wheel to confirm the pads engage evenly without rubbing or misalignment.
This brake adjustment step ensures the caliper is centered and the pads contact the braking surface uniformly. Doing this will improve your bike’s overall stopping power and safety.
Tighten Lock Nuts and Check Brake Lever Feel
When tightening the lock nut, make sure it’s properly threaded onto the adjustment bolt or cable fitting to prevent cross-threading. Securely tighten the lock nut against the brake caliper or brake lever using an appropriately sized wrench. This prevents the adjustment from loosening during rides.
Just be careful not to over-tighten it, as that could damage your components. After tightening, check the brake lever feel carefully. The lever should feel firm and not slip or feel too loose.
Give the brake lever a test pull to ensure it engages the brakes effectively without excessive travel or slack. Adjust as needed for maximum brake feel.
Final Safety Checks: Wheel Spin and Riding Test
Though you’ve tightened and adjusted the brakes, you still need to perform final safety checks to guarantee everything works smoothly. Start by spinning the wheel off the ground. Watch for smooth wheel spin and ensure the brake pads don’t touch the rim excessively.
Check that the brake pads sit at the center of the rim, making even brake contact across the braking surfaces.
Ensure brake pads are centered on the rim for consistent, even contact and reliable stopping power.
Next, pull the brake lever firmly to assess braking power. The wheel should stop quickly without feeling grabby or too loose. Listen carefully for rubbing sounds that suggest misalignment or poor clearance.
Finally, complete a brief riding test to confirm the brakes respond well under real conditions. Focus on smooth wheel spin with proper brake pad clearance, even brake contact, and centered pads on the braking surfaces.
Also, check for a responsive brake lever feel and consistent braking power. This final step ensures your adjustment works safely before you hit the road.
Frequently Asked Questions
What Is the 30/30/30 Rule for Brakes?
The 30/30/30 rule means your brake pads stay 30mm from the rim, the lever moves 30mm before resistance, and pads hit within 30mm of lever travel.
This keeps your brakes responsive and safe. It’s a simple way to make sure everything’s working just right.
What Are the Little Screws on Bike Brakes For?
The little screws on your bike brakes let you adjust the brake pads’ position and angle. You’ll turn them to fine-tune pad alignment, ensuring they contact the rim or disc properly.
This helps your brakes work smoothly, quietly, and effectively. It’s a simple tweak that makes a big difference when you’re riding.
How to Adjust Brakes on Kids Bike?
Picture your child’s bike slowing smoothly as you loosen the brake pad bolts. Realign the pads evenly on the rim, then tighten everything securely.
Next, adjust the cable tension. Give the lever a test to make sure the brakes stop safely and respond well. Easy, right?
How to Adjust Bike Brakes to Stop Rubbing?
You’ll want to loosen the caliper bolts first. Then, squeeze the brake lever to center the brake pads over the rim.
Once the pads are centered, tighten the bolts while keeping pressure on the lever. After that, adjust the cable tension so the pads stop rubbing.
Make sure the brakes still work effectively when you test them. This way, you’ll have smooth braking without any annoying rubbing sounds.
Conclusion
Now that you’ve tuned your brakes with care, your bike feels like it’s got a new heartbeat—steady, strong, and ready to respond. Like a trusted friend, your brakes will catch you when you need them most, giving you the confidence to fly down any trail or cruise city streets.
Keep this rhythm intact, and every ride will be a smooth, safe dance between you and the road. Regularly adjusting bike brakes ensures they work perfectly, helping you stop quickly and safely whenever necessary. Your journey just got a lot more secure, and with properly adjusted brakes, you can enjoy every adventure with peace of mind.