7 Steps to Shorten a Bike Chain Easily
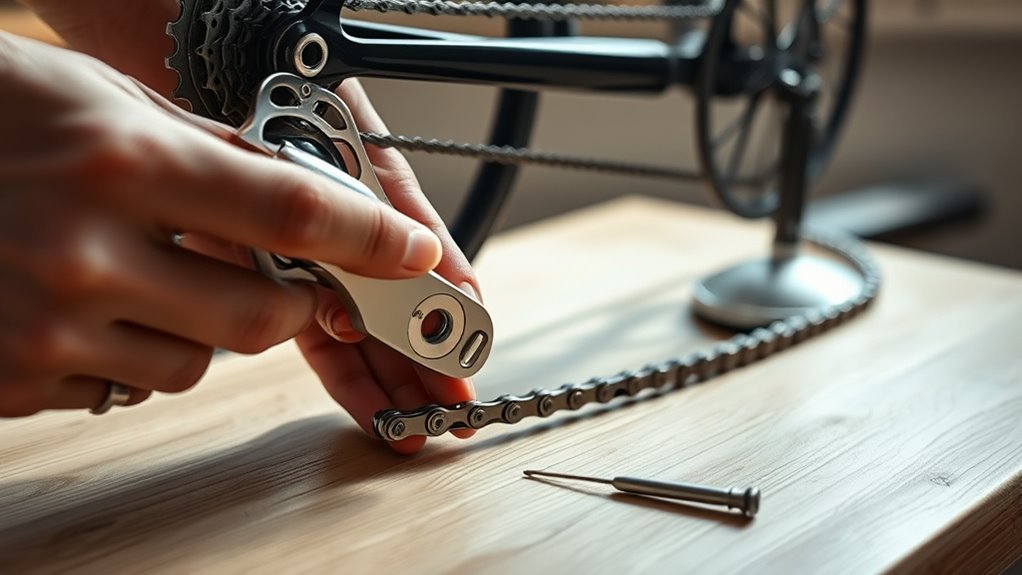
To shorten your bike chain easily, start by measuring it carefully. Wrap the chain around the largest chainring and rear sprocket to figure out the exact length you need. This step is crucial to make sure your chain fits perfectly and your bike shifts smoothly.
Next, gather the right tools like a chain breaker and quick link pliers. These will make the process much simpler and help you avoid damaging the chain.
When you remove the excess links, do it one by one with care.
After that, reconnect the chain using either a quick link or a chain pin. Make sure the connection is secure so your chain stays strong during rides.
Don’t forget to check the chain tension, lubricate it well, and take your bike for a test ride to ensure everything shifts smoothly.
Follow these steps, and you’ll find shortening your bike chain is easier than you thought!
Key Takeaways
- Measure chain length by wrapping it around the largest chainring and rear sprocket. This helps ensure a proper fit before you start cutting.
- Use a chain tool to carefully push out pins and remove excess links one at a time. Make sure to do this on a stable surface for safety.
- Avoid removing too many links at once. Also, take a moment to inspect the chain for any damage before you reconnect it.
- Reconnect the chain using a compatible quick link or chain pin. Double-check that everything is secure and properly seated.
- Finally, test the chain routing through the derailleur. Then, go for a quick test ride to confirm everything runs smoothly.
How to Measure Your Bike Chain and Assess If It Needs Shortening

Before shortening your bike chain, you need to measure it accurately and determine if it’s necessary. Start by wrapping the bike chain around the largest chainring and rear sprocket without routing it through the derailleur. Pull the ends together to find the proper length, making sure the chain isn’t too tight or too loose.
Next, assess the chain’s wear by comparing it to a new chain or following the manufacturer’s sizing method. You can count 12 links and measure their combined length; if it exceeds 12 1/8 inches, your chain likely shows chain stretch and needs shortening or replacement.
Using a chain tool or wear checker helps you assess chain stretch precisely. Double-check your measurements before cutting to avoid removing too many links, which can negatively affect shifting and tension.
This careful approach ensures your bike chain fits perfectly and performs well.
What Tools You Need to Shorten Your Bike Chain
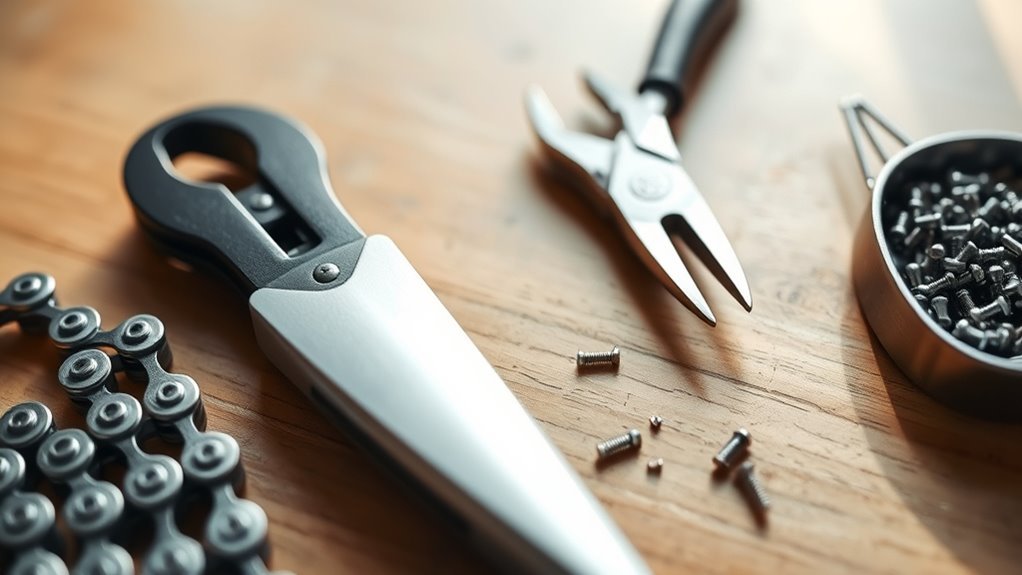
Once you’ve measured your chain and decided it needs shortening, gathering the right tools makes the task much smoother. To achieve the proper chain length without hassle, you’ll want to prepare carefully.
A reliable chain tool or chain breaker is essential for precise chain removal and pushing out chain pins safely. If your chain features a quick-release connector, quick link pliers will make reconnecting easier and faster.
Don’t forget to have a replacement quick link or joining pin on hand to secure the chain after trimming. To keep things clean and efficient, wearing gloves and having a rag nearby is a smart move.
Ultimately, a bit of chain lubricant ensures smooth operation once you’re done.
Here’s what you need:
- Chain tool or chain breaker
- Quick link pliers
- Replacement quick link or chain pins
- Gloves and clean rag
- Chain lubricant
With these tools ready, you’ll be set to shorten your bike chain confidently and correctly.
How to Remove Excess Links Without Damaging Your Chain
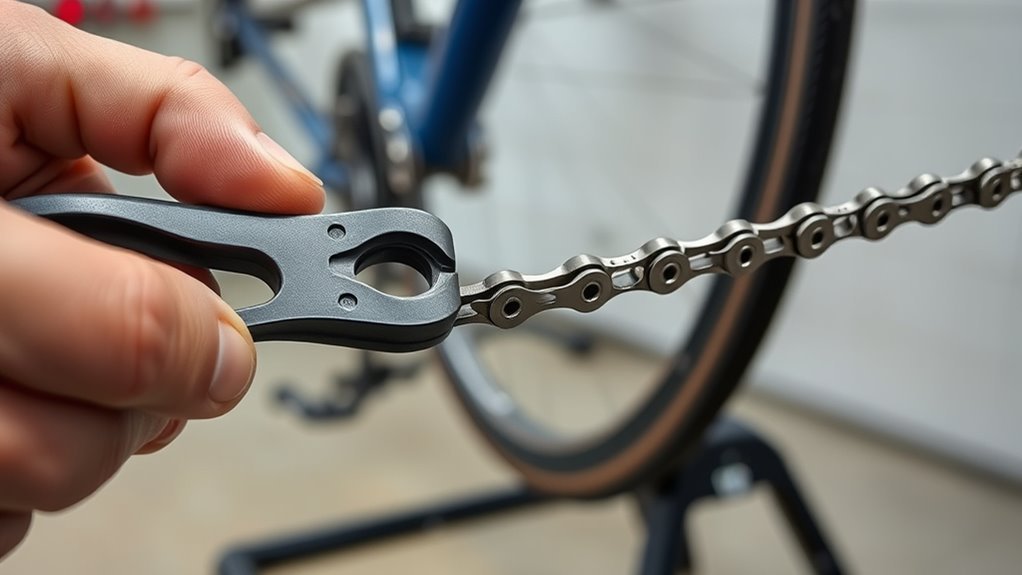
First, measure your chain carefully to pinpoint which links need removing. Grab a sturdy tool like a nail or punch to push the pins out gently, making sure you support the chain on a stable surface.
Take your time tapping the pin loose so you don’t damage the chain’s plates or links as you remove the excess. It’s all about being patient and gentle here—rushing can cause more harm than good.
Identifying Links To Remove
How do you determine which links to remove without harming your bike chain? Start by measuring chain length carefully. Route the chain around the largest chainring and rear cog without derailleur tension to find the correct chain length.
Then, mark links where you’ll remove excess links, ensuring proper chain tension remains after shortening. Count and measure chain links precisely; if it exceeds 12 1/8 inches for 12 links, consider replacement instead.
When removing, push out the pin with the chain tool gently to avoid damage.
- Feel confident by marking links accurately
- Avoid frustrating mistakes that harm your chain
- Ensure your bike runs smoothly with proper chain tension
- Save time by measuring chain length before cutting
- Protect your chain by handling pins carefully
Using Proper Removal Tools
Why risk damaging your bike chain when removing excess links? Use a proper chain tool designed specifically to shorten a bike chain.
First, place the chain securely in the chain tool, aligning the pin with the tool’s driving pin. Gradually push the pin out without bending the chain plates or applying excessive force.
Support the chain firmly to keep it stable and avoid damage. Only remove the number of links you identified earlier, making sure you don’t weaken the chain by removing too many.
When it’s time to reconnect the chain, align the chain plates carefully and fully seat the pin using the chain tool. This method helps you remove the chain links safely and ensures your chain moves smoothly after you reconnect it.
Avoiding Chain Damage
When removing excess links, you’ll want to take care to avoid damaging your chain. Use a proper chain tool to gradually remove the chain pin, applying steady pressure to prevent harm.
Always support the chain on a hard, flat surface with a groove or hole beneath the pin. Carefully align the chain and tool to guarantee even force, helping you avoid damage to the plates.
Remove only the necessary links to keep the proper chain length and tension. After removal, inspect the chain for wear or damage and handle it gently.
- Use the right chain tool to prevent slipping
- Support the chain firmly to avoid bending
- Align the chain precisely for smooth pin removal
- Remove one link at a time for accuracy
- Inspect the chain thoroughly before reassembly
How to Reconnect Your Bike Chain Using Quick Links or Pins
Although reconnecting your bike chain might seem tricky, using quick links or pins makes the process straightforward and efficient. If your chain has quick links, simply align the two halves of the bike chain, snap the quick link securely into place, and guarantee proper alignment.
For chains without quick links, use a chain pin with a chain tool to reconnect the chain by inserting the pin precisely and pushing it through the chain links. It’s pretty simple once you get the hang of it!
Before you ride, always check that the quick link or chain pin is fully engaged and seated properly to guarantee a secure connection. You definitely don’t want it coming apart mid-ride!
Regular inspection of quick links for wear or damage is essential—replace them if you notice any fatigue to maintain chain integrity. Keeping an eye on this can save you from unexpected breakdowns.
| Step | Description |
|---|---|
| Quick Link Alignment | Align links properly before snapping |
| Snapping Quick Link | Snap until it clicks securely in place |
| Using Chain Pin | Insert pin with chain tool precisely |
| Final Check | Ensure full engagement for safety |
How to Check Bike Chain Tension and Adjust Shifting
Since proper chain tension directly affects how smoothly your bike shifts, you’ll want to check it regularly. To guarantee ideal bike chain tension, lift the chain near the derailleur—it should move about 1/2 inch vertically.
If it’s too loose or tight, your chain length might need reevaluation using a chain tool. Next, adjust shifting by fine-tuning the derailleur’s limit screws and indexing the cable tension for precise gear alignment. This keeps your gears clicking smoothly without skipping.
Regular checks help you catch chain wear early and prevent issues on your rides. Remember, a well-tuned derailleur and proper chain tension mean safer, more enjoyable cycling.
- Feel the confidence in smooth, reliable shifting
- Avoid frustrating chain slips mid-ride
- Protect your drivetrain from premature wear
- Master your bike’s performance with simple tweaks
- Enjoy the thrill of perfectly aligned gears every time
How to Lubricate Your Bike Chain for Better Performance
To keep your bike chain running smoothly and extend its lifespan, you’ll need to lubricate it regularly with bike-specific chain lubricant. Apply the lubricant to the inner side of the chain while turning the pedals backward to guarantee even coverage.
Regularly lubricate your bike chain’s inner side while pedaling backward for smooth, lasting performance.
This method helps the lubricant penetrate all moving parts, which is critical to improve shifting performance and reduce wear. After applying, let it sit for several minutes before wiping off any excess with a dry, clean cloth.
Removing surplus lubricant prevents dirt buildup that can cause chain slippage and accelerate drivetrain wear. How often you lubricate depends on your riding conditions; aim to consistently lubricate every 100-200 miles or immediately after wet or muddy rides.
Proper lubrication not only enhances performance but also contributes to your wear safety by maintaining smooth, reliable chain movement. Keep this routine consistent to get the best from your bike chain and avoid premature damage.
Common Mistakes to Avoid When Shortening Your Bike Chain
When shortening your bike chain, you need to be careful to avoid common mistakes that can affect your ride’s safety and performance. Using a chain tool without double-checking the proper length can leave you with a chain that’s either too tight or too loose.
Removing too many links or failing to account for extra links may cause poor shifting. Reusing damaged chain pins or incompatible quick links increases the risk of chain failure.
Incorrect routing through the derailleur often leads to shifting issues and increased wear. Finally, skipping testing the chain after shortening could mean unnoticed slipping or chain drops during your ride.
Avoid these pitfalls:
- Cutting the chain without confirming the proper length
- Removing too many or too few extra links
- Reusing damaged chain pins or incompatible connectors
- Incorrect routing through derailleur components
- Forgetting to test the chain after installation
Being cautious helps ensure smooth, safe rides every time.
Frequently Asked Questions
How Can I Shorten My Bike Chain Without Any Tools?
You can’t properly shorten your bike chain without tools because removing pins requires precision and force.
Instead, try adjusting your bike’s derailleur or skipping links temporarily. But for a secure fit, using proper tools is essential.
How to Reduce Chain Length?
Did you know over 80% of bike chain issues stem from improper length? To reduce it, remove just a few links by pushing pins out carefully.
Then reconnect and check the tension for smooth riding. It’s a simple fix that makes a big difference!
What Happens if My Bike Chain Is Too Long?
If your bike chain is too long, you’ll experience slipping gears, poor shifting, and sagging near the derailleur. It can also cause faster wear, get caught in parts, and make maintaining proper tension difficult.
Basically, a chain that’s too long just messes with your ride. It’s annoying and can even lead to bigger problems down the road. So, it’s worth making sure your chain is the right length!
How to Cut a Chain to Correct Length?
Ready to fix that chain? You’ll need to mark where to cut, then use a chain tool to push out the pin carefully.
Remove the extra links, reconnect, and make sure it fits perfectly before your next ride. It’s easier than it sounds, trust me!
Conclusion
Now that you’ve mastered measuring, removing, and reconnecting your bike chain, imagine this: your bike gliding smoothly, every shift crisp and effortless.
But don’t rush—double-check that tension and lube it well. One wrong move could leave you stranded or struggling with sloppy gears.
So, take a moment, avoid common pitfalls, and enjoy the satisfying click of a perfectly shortened chain. Your ride’s about to feel brand new.
With a properly shortened bike chain, you’ll notice improved performance and smoother shifting on every ride. Following these 7 steps to shorten a bike chain easily ensures your bike stays reliable and efficient. Ready to hit the road with confidence?