How to Replace a Bike Tube in 10 Easy Steps
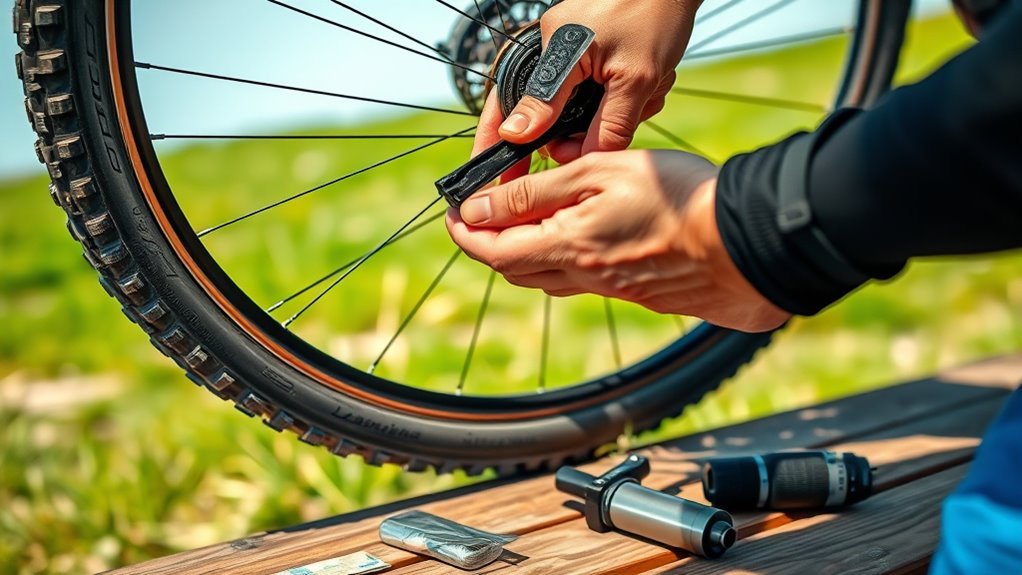
Start by gathering tire levers, a pump, and the correct tube for your bike. These are the essential tools you’ll need to replace a bike tube smoothly.
Next, shift your bike to the smallest gear. Then, loosen your wheel’s axle or quick-release and carefully remove the wheel from the bike.
Make sure to fully deflate the tire before you begin. Use the tire levers to unseat the tire bead gently, and pull out the old tube without pinching it.
Now, insert the new tube into the tire, making sure to align the valve correctly. Seat the tire evenly around the rim and inflate the tube slowly while checking everything looks good.
Finally, reinstall your wheel and secure it tightly. Give your wheel a spin to check for smooth rotation and proper installation.
Follow these simple steps, and you’ll be able to replace your bike tube confidently every time!
Key Takeaways
- Remove the wheel by loosening the axle nuts or quick-release lever. Shift the derailleur to the smallest gear to create some slack in the chain.
- Deflate the tire fully. Then, use tire levers to unseat the tire bead and carefully take out the inner tube.
- Before you put in a new tube, inspect the tire and rim for any damage or debris. Make sure the valve on the new tube matches the rim hole.
- Insert the new tube and partially inflate it. Seat the tire bead evenly around the rim so you don’t pinch the tube.
- Inflate the tire gradually. Keep an eye on the bead seating and make sure the wheel is aligned properly before you reinstall it securely.
Prepare Your Bike With Essential Tools
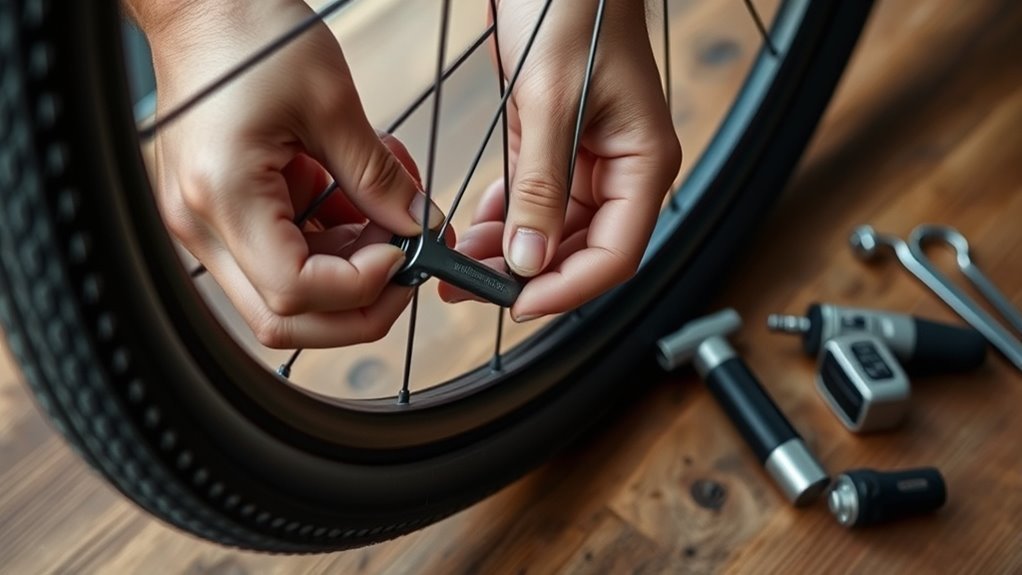
Before you begin replacing your bike tube, gather all the essential tools you’ll need, including tire levers, a bike pump, and a compatible inner tube. Start by selecting high-quality plastic tire levers to safely unseat the tire from the rim without causing damage to the rim or tire bead.
Gather quality tire levers, a pump, and the right inner tube before replacing your bike tube.
Make certain your bike is stable—use a repair stand or flip it upside down to access the wheel easily. Next, check your valve type, whether it’s Presta or Schrader, and choose an inner tube that matches the valve and fits your rim size perfectly.
Removing the wheel from the bike gives you unobstructed access to work on the tire and inner tube. Having these tools and preparations done beforehand will make the replacement process smoother and prevent unnecessary frustration.
Being organized with the right tools ensures you can efficiently tackle the repair without interruptions. It really makes the whole process a lot easier!
Loosen The Chain To Remove The Rear Wheel
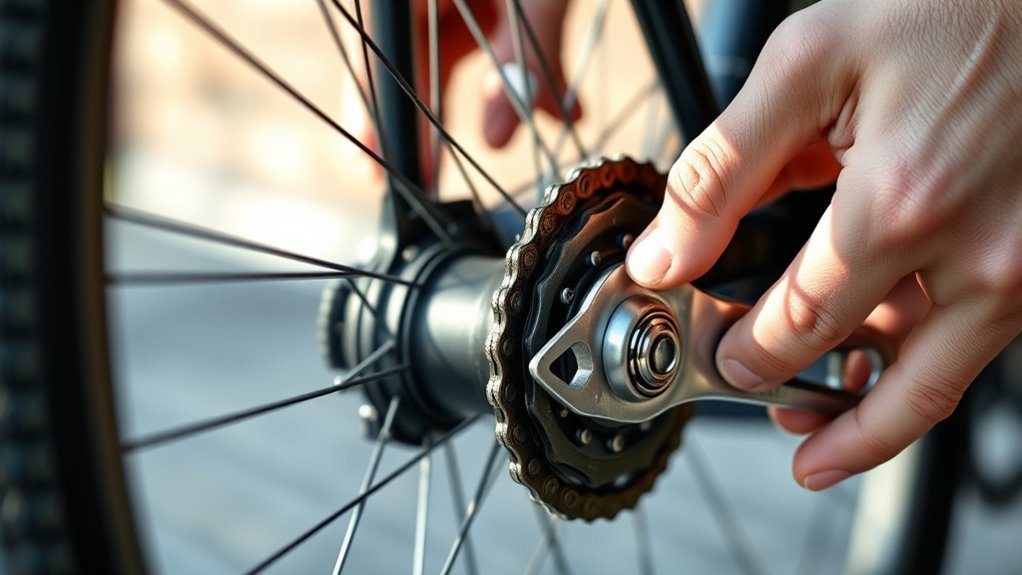
When you shift your derailleur to the smallest gear, it slackens the chain, making it easier to remove the rear wheel. This chain slack reduces tension, allowing the rear wheel to come out smoothly from the dropouts.
Start by shifting the derailleur to the highest gear, which positions the chain on the smallest sprocket and loosens it effectively. Next, use a wrench or quick-release lever to loosen the axle nuts or skewer securing the rear wheel.
Push the rear derailleur cage forward gently to create extra space for the wheel’s removal. As you pull the wheel out of the dropouts, guide the chain off the sprockets carefully to avoid tangling or damage.
Keep the chain supported during this process to prevent it from falling or getting caught. By following these steps, you’ll guarantee a smooth and safe removal of the rear wheel while maintaining proper chain slack and derailleur positioning.
Remove The Wheel From The Frame Safely
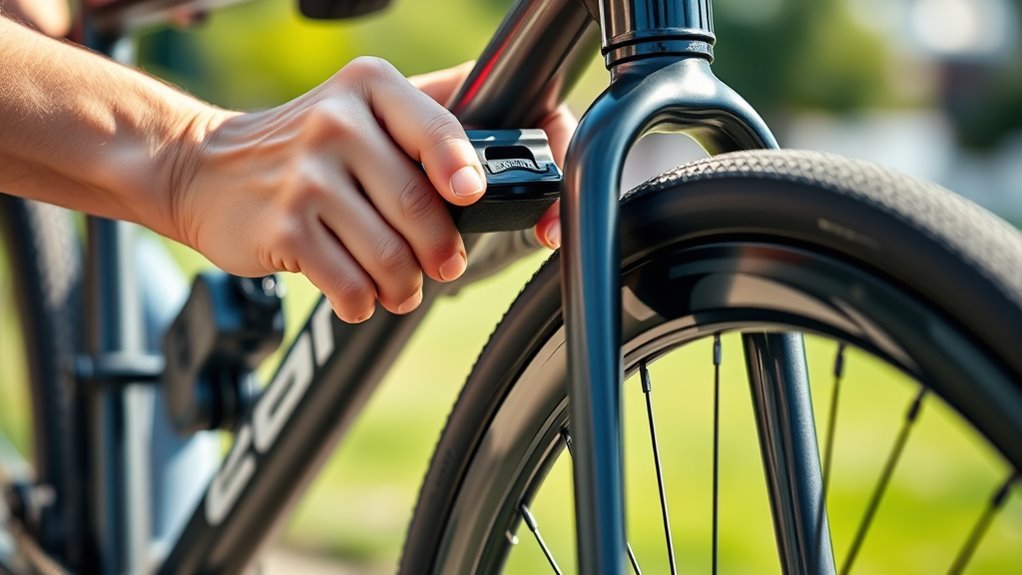
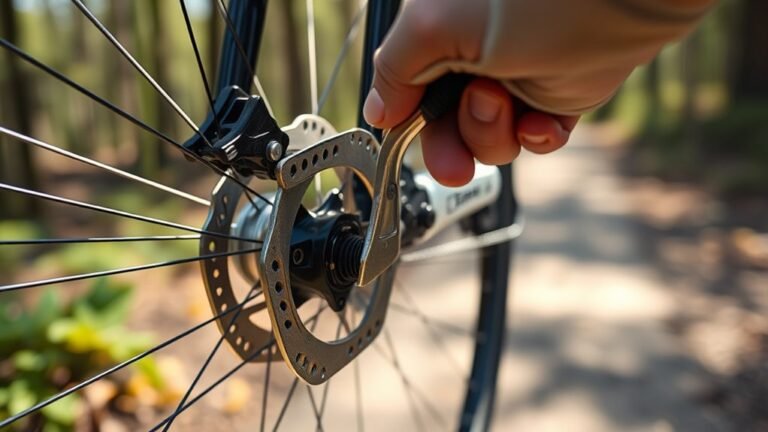
Start by loosening the axle nuts with a wrench or opening the quick-release lever to free the wheel. Make sure your brake calipers are released if you have rim brakes.
Then, carefully lift the wheel out of the frame, guiding the chain over the smallest sprocket if you’re removing the rear wheel.
It’s easier than it sounds once you get the hang of it! Just take your time and keep everything steady.
Loosen Axle Bolts
How do you safely remove your bike wheel without causing damage? Start by loosening the axle bolts or quick-release lever that secure the wheel in place. Use a wrench to turn the axle bolts counterclockwise until they’re fully loosened, or flip and open the quick-release lever if your bike has one.
This action releases the tension holding the wheel firmly in the dropouts. If your bike uses nuts instead of bolts, unscrew them carefully and keep them safe for reinstallation. Once the axle bolts or nuts are loose, you’re ready to remove the wheel.
Supporting the wheel as you do this helps prevent it from falling or damaging the frame, especially around the dropouts and nearby components. This step is essential before proceeding to remove the wheel completely.
Remove Wheel Carefully
Why is it important to remove your bike wheel carefully? Removing the wheel without caution can damage the axle, brake calipers, or dropouts, which could lead to costly repairs.
First, make sure your bike is stable on a repair stand or a flat surface. Shift to the smallest gear to reduce chain tension.
Next, loosen and fully remove the axle nuts or quick-release lever. When you’re taking the wheel off, pull it straight out of the dropouts, making sure the brake calipers or disc rotors clear properly.
If it’s a rear wheel, gently pull back the derailleur to avoid damaging the gears or chain. Following these steps helps you remove the wheel safely, protects your bike’s components, and makes tube replacement easier.
Deflate And Unseat The Tire Using Tire Levers
Before you unseat the tire, fully deflate it by pressing down on the valve to release all the air. This step guarantees the tire bead can be loosened without resistance.
Fully deflate the tire by pressing the valve to release air before unseating the bead.
Next, carefully insert a plastic tire lever under the tire bead at the 12 o’clock position. Avoid metal tools to prevent damaging the rim.
Wedge the tire lever between the bead and rim, then gently lift the bead over the rim edge to start unseating it. Place a second tire lever about 1-2 inches away from the first, and continue working around the rim, gradually unseating the bead all the way around.
Once the bead is loosened, use your thumbs to push it away from the rim, fully unseating the tire. This process exposes the punctured inner tube, preparing you to remove it without causing further damage.
Using tire levers properly makes unseating smooth and protects your wheel throughout the repair. It’s a simple trick that really helps keep things easy and safe.
Remove The Old Bike Tube Without Damage
Once you’ve fully unseated the tire bead with your levers, you can carefully start removing the old bike tube. Take your time to avoid damaging the tube or tire.
Here’s how to remove the tube safely: Use your tire levers to lift the tire bead gently away from the rim edge. Locate the valve stem and ensure it’s straight, not caught on the inside rim.
Slowly pull the tube out through the valve hole, maintaining steady pressure. Work your way around the wheel, freeing the tube from under the tire bead.
Just be careful—avoid sharp tugs or bending the tube harshly to prevent tears. It’s all about being gentle and patient!
Inspect The Tire And Rim For Damage Or Debris
As you remove the old tube, take the time to carefully inspect the inside of the tire and the rim for any damage or debris. Look closely for sharp objects like glass shards, nails, or wire that might cause another puncture.
Check the tire thoroughly to guarantee nothing is lodged inside that could harm your new tube. Next, examine the rim strip—make sure it’s intact, properly positioned, and free of tears that might expose spoke holes.
Inspect the rim itself for cracks, dents, or rough edges that could damage the tube. Don’t forget to clear any debris, dirt, or small stones stuck between the tire bead and rim, as these can prevent the tire from seating properly.
Finally, check the valve hole to confirm it’s free of debris and that the valve stem fits snugly without wobbling. Taking these steps helps prevent future punctures and ensures a smooth ride.
Insert And Align The New Bike Tube Properly
After thoroughly checking the tire and rim, you’re ready to insert the new bike tube. First, align the valve stem carefully with the rim hole to guarantee proper seating.
Then, partially inflate the tube to give it shape. This makes it easier to fit inside the tire. As you insert the tube, start at the valve and gently push it around the rim to avoid pinching.
Keep these steps in mind:
- Align the valve stem straight with the rim hole.
- Partially inflate the tube before placing it inside.
- Insert the tube carefully, starting at the valve.
- Work the tire bead back around the rim evenly.
- Guarantee the valve stays centered and secure before full inflation.
Seat The Tire Beads And Avoid Pinching The Tube
Before seating the tire beads, partially inflate the tube to help prevent pinching. Make sure to push the beads into the rim’s center channel and use your thumbs to work them evenly around.
Keep the tube flat inside the tire and check that the beads sit properly to avoid any damage. It’s a simple step but really important to get right.
Proper Bead Seating
When seating the tire beads, you’ll want to push them fully into the rim’s deepest channel, starting opposite the valve. Proper bead seating assures your tire beads sit evenly, preventing issues during inflation.
Follow these tips for seating properly:
- Push tire beads firmly into the rim’s center channel before inflation. Inflate slowly at low pressure to help beads settle evenly against the rim.
- Avoid overinflating initially; the bead should snap into place with gentle pressure. Check the tire’s sidewall and bead line for consistent alignment around the rim.
- Adjust as needed before reaching full inflation to maintain even seating and avoid problems later.
Taking time on bead seating guarantees a smooth inflation process and a secure fit between the tire and rim. It’s definitely worth the extra care!
Prevent Tube Pinching
If you want to avoid frustrating flats and damage, you need to prevent pinching the tube as you seat the tire beads. Start by inserting the valve straight through the rim hole and make sure the tube isn’t twisted or creased inside the tire.
Use your thumbs or palms to seat the beads fully into the rim’s deepest channel, avoiding sharp tools that can cause damage. Inflate the tire gradually, stopping to check the inside and verify the tube isn’t caught or pinched between the tire beads and rim.
After inflation, run your fingers around the tire edge to confirm the beads are evenly seated and the tube sits properly inside. Taking these steps helps you avoid pinching and keeps your tube safe and functional.
Inflate The Tire And Check For Proper Seating
As you gradually inflate the tire to the recommended PSI, make sure the bead fully seats in the rim’s deepest channel to guarantee a secure fit. Proper bead seating ensures your tire stays in place during rides and prevents sudden air loss.
Gradually inflate to recommended PSI, ensuring the bead seats fully for a secure, leak-free fit.
Pay attention to the valve to avoid twisting or damage during tire inflation. Once inflated, carefully inspect the tire for even bead seating and uniform inflation.
Here’s what to check for proper tire inflation and bead seating:
- Look for even seating of the tire’s sidewalls and bead line along the wheel rim.
- Ensure the tire is centered and the bead rests evenly on both sides.
- Watch for bulges, gaps, or irregularities around the rim.
- Use soapy water around the bead to spot air leaks or poor seating.
- Spin the wheel to confirm consistent inflation and proper seating all around.
Following these steps will help maintain a secure, well-inflated tire on your bike. It’s a simple way to keep your rides smooth and safe.
Reinstall The Wheel And Tighten Axle Securely
Now that your tube is inflated, carefully align the wheel with the dropouts to guarantee it sits straight and centered. Tighten the axle bolts or quick-release lever evenly to secure the wheel without causing misalignment.
Make sure you don’t over-tighten, but get it snug enough so the wheel won’t move around. Finally, spin the wheel to check it rotates smoothly and feels stable before you hit the road.
Align Wheel Correctly
Before tightening the axle, make sure you align the wheel so the axle holes or quick-release skewer sit properly in the dropouts. Proper wheel alignment ensures a smooth ride and prevents damage.
Focus on achieving a centered wheel by checking equal gaps on both sides of the fork or frame stays. Here’s how to do it right:
- Pull the wheel straight into place for proper positioning
- Ensure the axle nuts or quick-release lever sit securely in the dropouts
- Gradually tighten axle nuts or quick-release evenly to avoid misalignment
- Spin the wheel to confirm it rotates freely without wobbling
- Check brake calipers engage the rim evenly after installation
Following these steps guarantees your wheel is aligned and ready to ride safely. Easy, right? Just take your time and double-check everything before you hit the road!
Secure Axle Bolts
Once you’ve aligned the wheel properly, you’ll need to secure the axle bolts firmly to keep everything in place. If your bike uses axle bolts, use a wrench to tighten them snugly—but don’t overtighten, as this can damage the threads.
For quick-release wheels, close the quick-release lever firmly until you feel firm resistance. This ensures the wheel is securely clamped. Make sure the wheel is centered in the frame or fork before fully tightening.
After securing the axle bolts, spin the wheel to confirm it rotates freely without rubbing against brake pads. And remember, to keep your wheel secure during rides, you’ll want to periodically check and re-tighten the axle bolts or quick-release lever as needed. This helps prevent any slippage or loosening.
Check Wheel Stability
After securing the axle bolts or closing the quick-release lever firmly, reinstall the wheel into the dropouts. Make sure it sits centered and aligned with your bike’s frame. Proper wheel alignment is essential for safe riding and smooth performance.
Check these key points to confirm wheel stability:
- Confirm the wheel is properly seated in the dropouts.
- Tighten the axle nuts securely with a wrench or close the quick-release without overtightening.
- Spin the wheel to check for wobbling or rubbing against brake pads.
- Double-check that the axle nuts or quick-release lever are fully tightened.
- Verify the wheel is firmly held in place before riding.
Following these steps guarantees your wheel’s stability and prevents issues on the road. It’s a quick check that makes a big difference in your ride’s safety and comfort.
Frequently Asked Questions
How Easy Is It to Change a Bike Tube?
Changing a bike tube is pretty easy once you get the hang of it. You’ll just need some basic tools, patience, and careful attention to avoid pinching the tube.
With practice, you’ll finish quickly every time. It’s really not as tricky as it seems at first!
Can You Replace a Bike Tube Without Removing the Wheel?
Yes, you can replace a bike tube without removing the wheel, but it’s trickier. You’ll need to deflate, unseat the tire bead, and work carefully.
Honestly, removing the wheel usually makes the job much easier and safer. But if you’re in a pinch, it’s definitely doable!
How to Replace a Bike Tube Without Tools?
Like peeling a stubborn orange, you can replace a bike tube without tools by deflating the tire fully. Then, carefully pry the bead off with your hands.
Next, remove the tube and gently insert the new one. After that, reseat the tire by hand. It’s easier than you might think!
How to Change a Bike Tire Step by Step?
You’ll deflate the tire, use levers to lift the tire bead off, and remove the tube through the valve.
Then, check for any damage on the tire or rim before moving on.
Next, seat the tire back onto the rim, insert a new tube, and make sure it’s properly positioned.
Finally, inflate the tire carefully to finish up. Easy, right?
Conclusion
Replacing a bike tube is easier than you might think—most riders can do it in under 30 minutes once they know the steps. Did you know that nearly 60% of cyclists fix their own flats to avoid costly repairs?
By following these 10 simple steps, you’re not only saving money but also gaining confidence in bike maintenance. So grab your tools, and get ready to keep your rides smooth and worry-free!
Learning how to replace a bike tube yourself means less downtime and more time on the road. Plus, knowing these repair skills helps you handle flats quickly and efficiently wherever you are. With just a few basic tools and some practice, tube replacement becomes second nature. This handy skill is a must-have for every cyclist who wants to stay independent and enjoy hassle-free biking adventures.