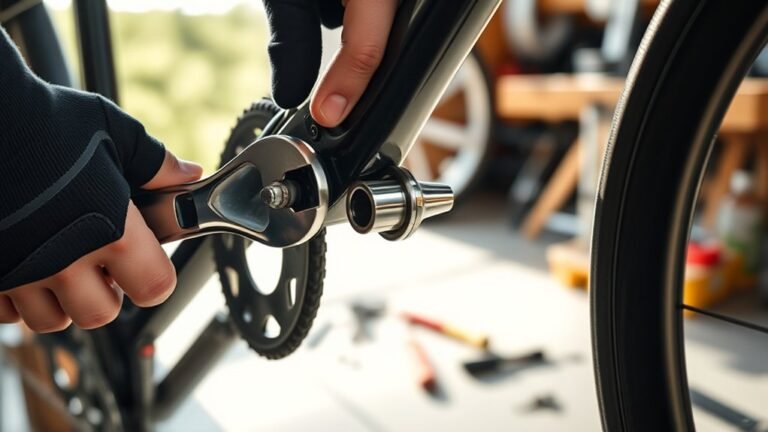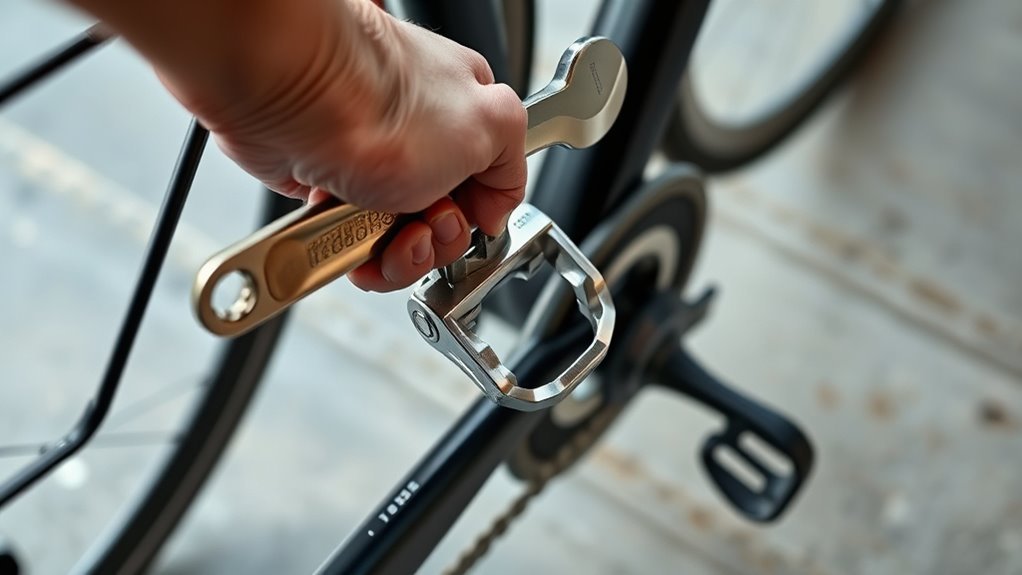
Remove Bike Pedals Off in 3 Easy Steps
To remove bike pedals in three easy steps, start by identifying the left (reverse-threaded) and right pedals. You can usually tell by their markings or how they’re oriented. Knowing which pedal goes where is super important before you begin.
Next, grab the right tool—this is usually a 6mm or 8mm Allen wrench or a pedal wrench. Turn the right pedal counterclockwise and the left pedal clockwise to loosen them.
If the pedals are stuck, try applying some penetrating oil to make things easier.
Finally, when you’re ready to reinstall, make sure to grease the threads first. Hand-tighten the pedals to avoid any damage. Keep following along to learn how to secure your pedals properly and keep your bike in great shape!
Key Takeaways
- Identify the left (reverse-threaded) and right pedals by “L” or “R” markings or crank orientation.
- Use a 6mm or 8mm Allen wrench or pedal wrench, fitting securely to avoid damaging threads.
- Turn the right pedal counterclockwise and the left pedal clockwise to loosen, turning wrench toward bike rear.
- Apply penetrating oil if pedals are stuck, waiting a few minutes before retrying removal.
- Remove pedals by fully unscrewing once loosened, ensuring proper technique to prevent damage.
It’s pretty straightforward once you know which way to turn. Just take your time and make sure you’re using the right tool so nothing gets stripped.
How to Identify Left and Right Pedals and Pick the Right Tools
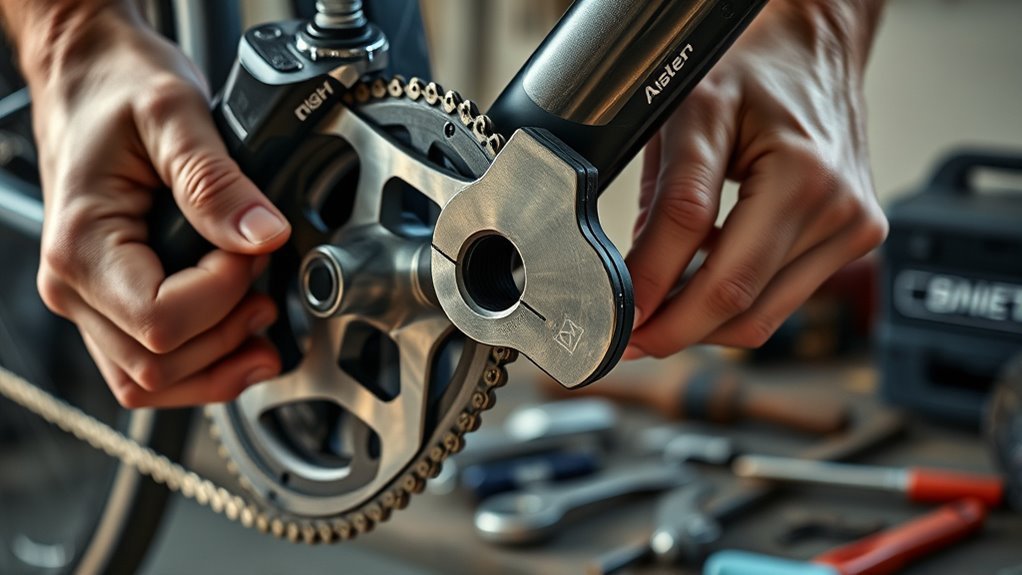
Before you remove your bike pedals, you need to identify which is left and which is right. Start by checking the pedal body for “L” or “R” markings. The right side pedal usually has an “R” and features a leading edge angled up, indicating it belongs on the drive side.
If markings are missing, take a close look at the crank’s orientation and the pedal profile to tell them apart. Remember, the right pedal tightens clockwise and loosens counterclockwise, while the left is reverse-threaded. This difference is super important when you start removal.
Next, pick the right tool based on your pedal design. You might need a 6mm or 8mm Allen wrench, a pedal wrench, or use flat spots on the pedal axle. Choosing the correct tool makes removal easier and helps prevent damage.
Loosen and Remove Bike Pedals With the Correct Technique
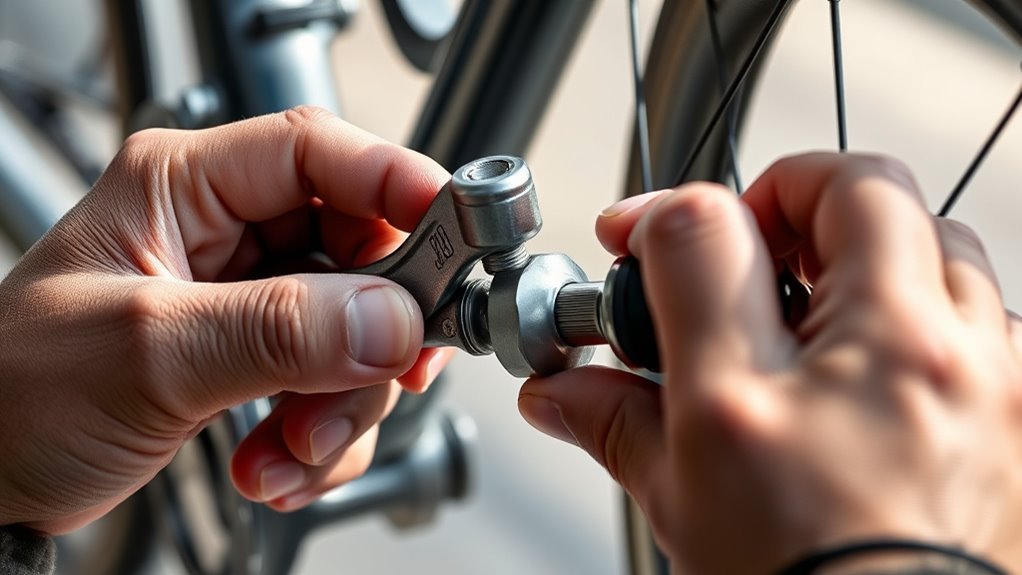
When you’re ready to remove your bike pedals, insert a 6mm or 8mm Allen wrench into the end of the pedal and turn it in the correct direction—counterclockwise for the right pedal and clockwise for the left. Make sure you identify each pedal’s side by checking the “L” or “R” markings or by looking at the pedal’s angle.
Always pull the Allen wrench toward the rear of the bike to effectively break the pedal free from the crank arm. If a pedal feels stuck, apply penetrating oil and wait a few minutes before trying again.
Make sure you’re turning the pedal in the proper direction to avoid damaging the threads. Using the correct technique not only makes removal easier but also protects your bike’s components.
This approach ensures you loosen the pedals smoothly without unnecessary force or risk of stripping the threads, setting you up perfectly for the next step.
Prepare Threads and Reinstall Pedals Securely
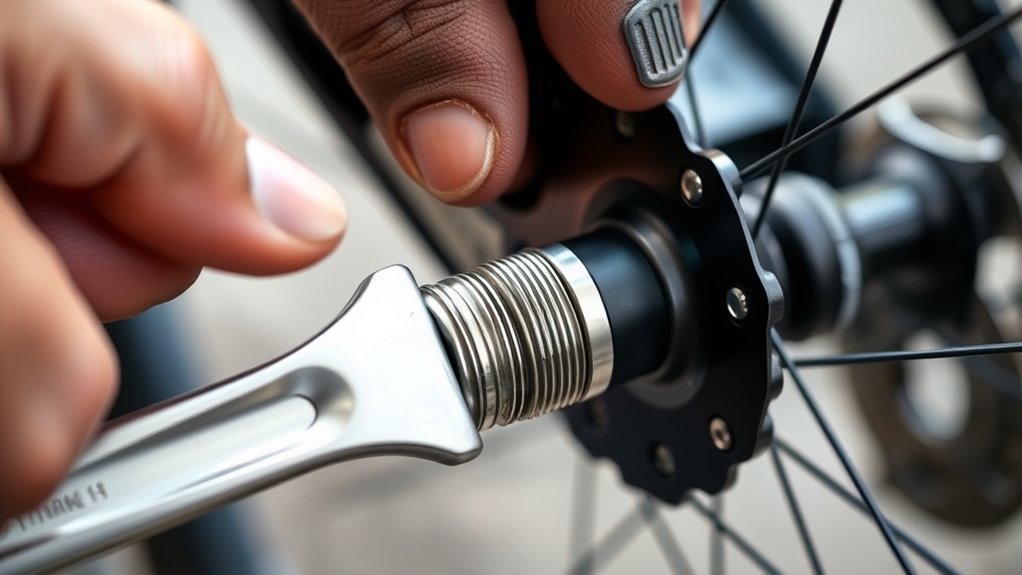
How can you guarantee your bike pedals stay secure and damage-free during reinstallation? Start by applying a small amount of grease to the pedal threads; this prevents seizing and makes future removal easier.
If you have pedal washers, use them to protect the threads and ensure a smoother fit. When reinstalling, remember the threading directions: turn the right pedal clockwise to tighten, and the left pedal counterclockwise, as it has reverse threading.
Begin threading the pedal fully into the crank arm by hand to avoid cross-threading or damage. Once properly threaded, tighten the pedal just enough to eliminate any play—avoid over-tightening, which can strip threads or damage components.
Following these steps will keep your pedals secure and your bike in great shape for the road or trail ahead.
Frequently Asked Questions
What Is the Easiest Way to Remove Bike Pedals?
The easiest way to remove bike pedals is to use the right size Allen wrench. Turn the right pedal counterclockwise, and the left pedal clockwise.
If they’re stubborn, apply some penetrating oil first. You’ll get them off smoothly.
How to Get Stubborn Bike Pedals Off?
When stubborn bike pedals refuse to budge, don’t wrestle endlessly! Spray penetrating lubricant and wait patiently.
Then, apply steady force with the right wrench. Sometimes, that’s all you need.
If needed, use extra leverage or give it a gentle tap with a mallet to break it free. It usually helps!
How to Remove a Bicycle Pedal Without a Tool?
You can wedge a flat tool between the pedal and crank arm to loosen it. Then, grip the pedal axle with a cloth or glove and turn it—the right pedal counterclockwise, the left clockwise—to remove it without tools.
It might take a bit of effort, but just keep turning gently. You’ll get the hang of it!
What Tool Can I Use to Remove a Bike Pedal?
You can use a 6mm or 8mm Allen wrench to remove bike pedals. If you don’t have one, a 15mm pedal wrench works well.
Avoid adjustable wrenches—they might damage your pedals or crank arms. It’s best to stick with the right tools to keep everything in good shape.
Conclusion
Now that you know how to identify pedals, use the right tools, and remove them with the proper technique, you’re ready to tackle the job like a pro.
Remember, a little patience goes a long way—don’t rush or force anything, or you might make a molehill out of a mountain.
With these simple steps, you’ll have your bike pedals off and ready for maintenance or replacement in no time. Taking the time to remove bike pedals properly ensures you avoid damage to your bike and pedals.
So, whether you’re doing routine maintenance or swapping out old pedals for new ones, following these easy steps will make the process smooth and hassle-free. Removing bike pedals off doesn’t have to be tricky when you know what to do!