How to Change a Bike Tube in 10 Easy Steps
To change a bike tube, start by loosening the axle bolts and removing the wheel from the frame. You might need to push the chain aside to get the wheel free.
Next, grab some tire levers to pry the tire bead off carefully. Pull out the old tube slowly so you don’t damage the tire.
Now, take a close look at the tire and rim for any damage or sharp objects. This step is important to avoid getting another flat.
Slightly inflate a new tube before inserting it into the tire. This helps the tube keep its shape and makes installation easier.
Once the tube is in place, seat the tire bead back onto the rim. Make sure it’s evenly fitted all the way around.
Reinstall the wheel onto the frame and tighten the axle bolts securely.
Finally, inflate the tire to the recommended pressure and you’re good to go!
Follow these steps and you’ll soon master the whole process of changing a bike tube with confidence.
Key Takeaways
- Loosen axle bolts, remove the wheel, and deflate the old tube completely before prying the tire bead away from the rim with tire levers.
- Carefully remove the old tube by pulling the valve stem first and inspect the tire and rim for sharp objects or damage.
- Slightly inflate the new tube to shape it, insert the valve stem into the rim hole, and tuck the tube evenly inside the tire.
- Seat the tire bead evenly onto the rim, inflate slightly to help the bead settle, and check for smooth, even placement around the rim.
- Reinstall the wheel, reattach the chain, tighten all fasteners securely, and fully inflate the tire to the recommended pressure.
Remove the Wheel From Your Bike
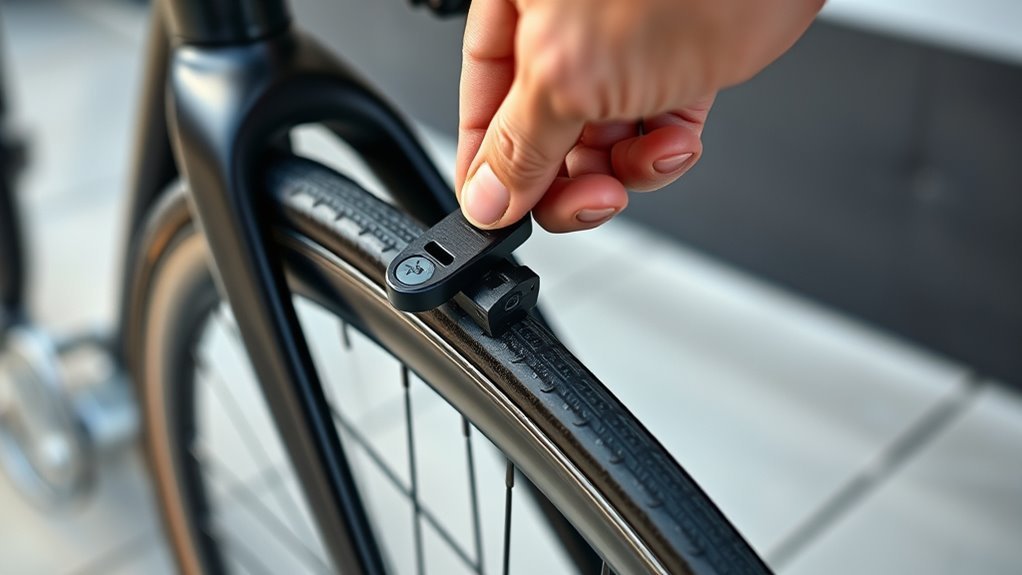
How do you begin removing your bike’s wheel? First, you need to loosen the axle bolts and push the wheel forward slightly to make removing the chain easier. Use your left hand to push the chain inward while rotating the crank with your right hand, disengaging it from the sprocket.
Make sure the chain rests on the inside of the sprocket to prevent slipping or damage. Once the chain is free, carefully pull the wheel out of the dropouts, watching that the derailleur or brake components don’t get caught.
This step is essential before you can remove the tire and tube. You need to know how to handle the tire bead properly with tire levers to avoid pinching the old tube between the rim and tire.
When you remove the tire bead from inside the rim, you can take out the old tube. After replacing it with a new tube, carefully place the tube around the rim, fit the bead onto the rim’s side, and inflate the tube through the valve stem.
Remove the Wheel (And Chain If Needed)
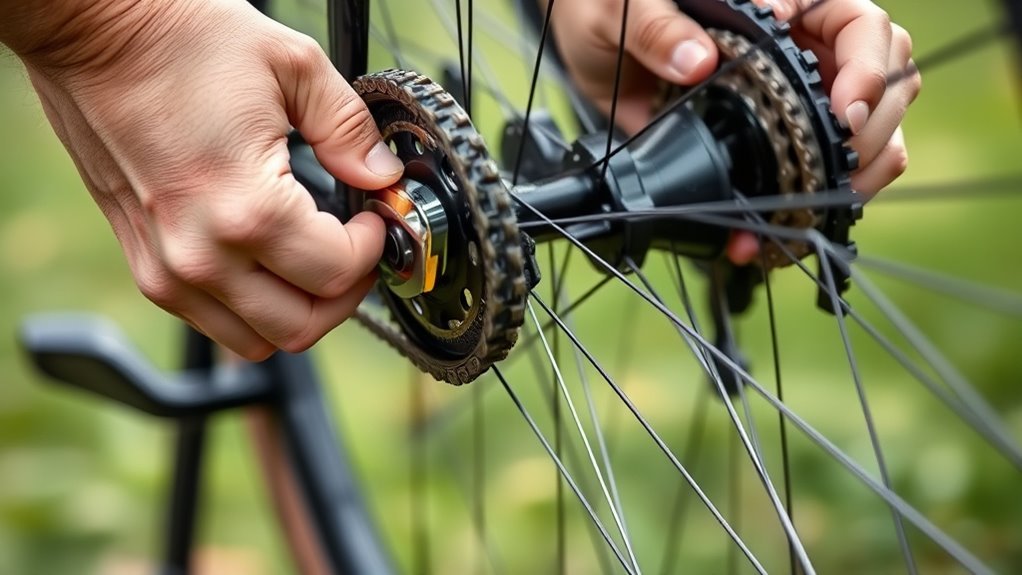
After loosening the axle bolts, you can push the wheel forward slightly to make it easier to lift the chain off the sprocket if needed. Make certain your bike is stable and supported before you start to prevent it from tipping over.
Loosen axle bolts and push the wheel forward slightly, ensuring your bike is stable before starting.
If the chain is still attached, gently lift or disengage it from the sprocket. This step is vital to avoid damaging the chain or the wheel. Next, verify your brake calipers are open or released to create enough clearance for the wheel to come out smoothly.
Carefully pull the wheel out of the dropouts, keeping control as you do so. Make sure not to force anything, as this can cause damage. If your bike has a quick-release lever, use it to speed up the process.
Removing the wheel and chain properly sets a solid foundation for the next steps in changing your bike tube.
Use Tire Levers to Remove the Tire and Tube

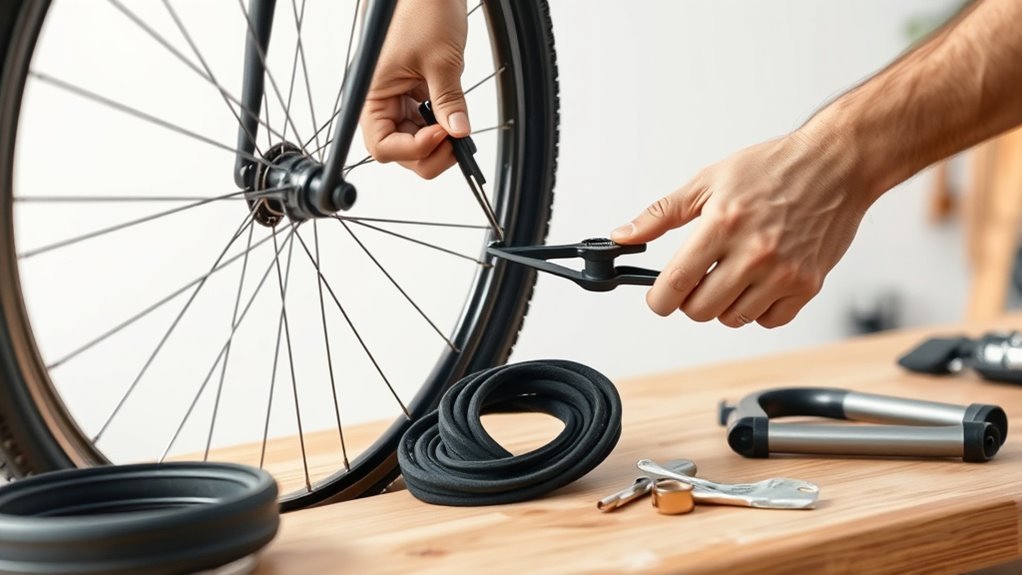
Once you’ve removed the wheel, use tire levers to carefully pry the tire bead away from the rim. Start by inserting a tire lever under the bead at the 12 o’clock position to lift it slightly.
Then, place a second tire lever about 1 to 2 inches away from the first. Work both levers around the rim in a circular motion to gradually loosen the bead. Be patient and gentle to avoid damaging the tire or pinching the inner tube.
Pry the bead over the rim edge, moving from one side around the wheel until the tire is partially or fully loosened. Using tire levers carefully prevents unnecessary damage and makes the process smoother.
Once the bead is free, the tire will be loose enough to continue with the next step. Remember to keep control of the levers as you work to avoid sudden slips that could harm the tire or tube.
Carefully Pull Out the Old Inner Tube
Before you pull out the old inner tube, make sure the tire is fully deflated by pressing down on the valve to release all the air. Using tire levers, carefully pry one side of the tire bead away from the rim, starting at a low point.
Then, gently pull the inner tube out, beginning with the valve stem. Work your way around until the entire tube is free. Double-check that no parts of the tube remain trapped inside the tire or rim.
Here’s a quick guide to help you pull out the inner tube safely:
| Step | Action | Tip |
|---|---|---|
| 1 | Deflate tire completely | Press valve to release air |
| 2 | Pry tire bead with levers | Start at the lowest point |
| 3 | Pull valve stem first | Prevents tube tearing |
| 4 | Remove rest of tube gently | Avoid sharp bends or pinches |
| 5 | Check tube fully removed | No sections caught under bead |
Following these steps guarantees a smooth removal without damaging the tube or tire.
Inspect the Tire and Rim for Damage
While the old tube is out, take the time to carefully inspect both the tire and rim for any damage. First, look inside the tire for sharp objects like glass, nails, or thorns that could cause another flat. Remove anything you find.
Next, check the rim strip to make sure it’s properly seated and free of tears or damage. A faulty rim strip can expose spoke holes and puncture your new tube.
Then, examine the rim itself for cracks, dents, or sharp edges that might harm the tube or cause leaks. Don’t forget to look inside the rim cavity for protruding spokes or debris that could puncture the tube.
Finally, verify the tire bead sits evenly on the rim, preventing pinching or uneven wear once you install the new tube. Taking these steps now saves you from future frustrations and keeps your ride smooth.
Slightly Inflate the New Tube Before Installing
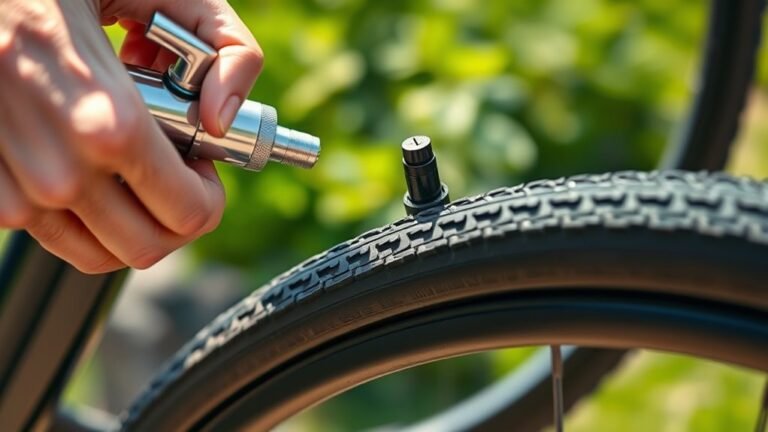
Before you install the new tube, slightly inflate it to help it hold its shape and make fitting easier. This small amount of air lets you position the tube properly and align the valve with the rim hole.
Just be careful not to over-inflate, or the tube might burst or become hard to fit inside the tire. Take your time with this step—it really makes a difference!
Pre-Inflation Benefits
Why should you slightly inflate the new tube before installing it? Doing this helps the tube take its natural shape, making installation smoother and preventing twists or pinches.
It also reduces the chance of the tube bunching up or getting caught between the rim and tire bead.
By pre-inflating, you can:
- Feel confident knowing the tube is leak-free before mounting
- Avoid frustrating tire bead misalignment and uneven pressure
- Save effort by making the tube easier to handle and fit
- Prevent flats caused by pinched or improperly seated tubes
- Enjoy a quicker, hassle-free tire installation process
Slight inflation sets you up for success and ensures your ride stays trouble-free.
Inflation Techniques
Because slightly inflating the new tube helps it take a firm, rounded shape, you’ll find installation easier and reduce the risk of pinching. Start by inflating the tube just enough to give it form but keep the pressure low so it can conform to the rim without stressing the valve.
Use a pump with a pressure gauge to monitor pressure carefully. This slight inflation also helps you spot any leaks or holes before installation, ensuring the tube is in good condition.
Avoid over-inflating at this stage; too much pressure might cause the tube to burst or deform while fitting it inside the tire. Gradually bring the tube to the recommended PSI after it’s properly seated, as indicated on the tire’s sidewall.
Insert the New Tube Into the Tire
How do you make sure the new tube fits perfectly inside the tire? Start by inserting the valve stem into the rim hole, keeping it straight and aligned. Then, partially inflate the tube to give it some shape, which makes positioning much easier.
Carefully tuck the tube inside the tire, beginning at the valve and working your way around the rim. This prevents pinching and twisting. Before you fully inflate, double-check the tube is smooth and correctly seated.
Remember:
- Insert the valve stem gently and straight.
- Partially inflate the tube for easier handling.
- Tuck the tube inside starting at the valve.
- Avoid pinching or twisting the tube.
- Confirm the tube sits evenly before full inflation.
Handling the tube with care ensures a snug fit and saves you from frustrating punctures or replacements. You’re almost done—keep that focus!
Seat the Tire Bead Onto the Rim
Once you’ve positioned the tube inside the tire, start seating the tire bead onto the rim by aligning one side of the bead at the valve stem. Use your hands or tire levers to gently work the bead over the rim edge, moving in small sections around the tire.
Make certain the bead fits snugly into the bead seat groove, with no parts hanging outside the rim. When you’ve got the bead mostly in place, inflate the tire slightly to help the bead settle evenly around the rim.
Keep an eye on the bead to ensure it’s seated properly all the way around. Gradually increase the air pressure to the recommended PSI, checking frequently that the bead stays evenly seated without any bulges or gaps.
Taking these steps carefully will help you avoid pinch flats and ensure a smooth, secure fit before moving on.
Reinstall the Wheel and Tube
Now that the tube is seated, carefully align the wheel with the dropouts and guarantee the axle fits securely. Make sure the chain is properly reattached to the sprockets before tightening the bolts or quick-release lever.
Double-check that the wheel is centered and spins smoothly without rubbing on the brakes. It’s important to get this right so your ride feels smooth and safe.
Wheel Alignment
Before tightening the axle bolts, make sure you align the wheel so its axle settles evenly into the dropouts on both sides. This ensures your bike rides smoothly without unwanted wobbling or rubbing.
Here’s how to nail the alignment:
- Center the wheel in the frame or fork by checking equal gaps between tire and frame.
- Push the wheel fully into the dropouts to avoid any side-to-side movement.
- Tighten the axle nuts or quick-release lever securely.
- Spin the wheel by hand to verify it rotates freely and doesn’t rub against brake pads.
- After tightening, re-check all fasteners and spin again to confirm the wheel stays true.
Following these steps will give you confidence and a safe, smooth ride every time you hit the road. Just take your time and double-check everything!
Chain Reattachment
After aligning the wheel and securing it in the dropouts, your next step is to reattach the chain. Push the chain onto the sprocket or cassette, then rotate the cranks backward to guarantee the chain fully engages all the gears smoothly.
Once the chain is in place, tighten the axle bolts or quick-release lever securely to keep the wheel aligned and prevent it from loosening during your ride. Double-check the wheel is centered in the frame and spins freely without any wobbling or rubbing against the brake pads.
Finally, confirm the chain runs smoothly over the sprockets and the wheel is firmly attached before you inflate the tire to the recommended pressure. This assures a safe and efficient ride after changing your bike tube.
Tighten Axle Bolts and Inflate to Proper Pressure
When tightening the axle bolts, use a torque wrench or regular wrench to gradually secure them in a crisscross pattern. This helps ensure even pressure and prevents wheel misalignment. Tighten the bolts until they’re snug but don’t overdo it—you want a slight movement to keep the wheel perfectly aligned.
Before fully tightening, double-check that the wheel is centered between the dropouts. This step is essential to avoid any wobbles while riding.
Ensure the wheel is perfectly centered in the dropouts to prevent any wobbling during your ride.
After securing the bolts, spin the pedals a bit to make sure the chain runs smoothly over the sprockets. No skipping or derailment allowed!
Finally, inflate the tire to the recommended PSI found on the sidewall. Proper pressure keeps your ride smooth and safe.
- Feel the confidence of a perfectly aligned wheel
- Enjoy the smooth spin of your chain
- Experience the safety of correct tire pressure
- Avoid frustrating wheel wobbles
- Ride with peace of mind knowing your bike is ready
Frequently Asked Questions
How Easy Is It to Change a Bike Tube?
Changing a bike tube is pretty easy once you get the hang of it. You’ll just need some basic tools, a bit of practice, and you’ll handle flats quickly and confidently without needing any professional help.
Seriously, once you try it a couple of times, it feels like second nature. No more waiting around or stressing when you get a flat on the road!
How to Change a Bike Tire Step by Step?
First, deflate the tire fully. Use tire levers to lift the bead off the rim.
Remove the tube, check for damage, insert the new tube. Then, reseat the tire, and inflate to the correct pressure. Easy, right?
Can You Change a Bike Tube Without Removing the Wheel?
Yes, you can change a bike tube without removing the wheel if your bike allows it. Just deflate the tire, loosen the bead with tire levers, and carefully pull out the damaged tube without damaging the tire or rim.
It might take a little patience, but it’s totally doable. Just be gentle and take your time to avoid any extra damage.
How to Replace a Bike Tube Without Tools?
You can confidently change your bike tube without tools by carefully coaxing the tire bead over the rim with your fingers. Pull out the old tube, slip in the new one, and slowly start inflating it to secure everything snugly.
It might take a bit of patience, but you’ve got this! Just take it step by step, and soon enough, you’ll be back on the road.
Conclusion
Changing a bike tube might seem tricky at first, but once you get the hang of it, you’ll be back on the road in no time. Just follow these steps, and you’ll avoid any unexpected flat tire blues.
Remember, practice makes perfect, so don’t get discouraged if it takes a couple of tries. With a little patience and these easy steps, you’ll soon be fixing flats like a pro.
Changing a bike tube can turn what feels like a big hassle into smooth sailing. By mastering these simple bike maintenance skills, you’ll save time and stay confident on every ride. So grab your tools, follow the guide, and keep your bike rolling strong!