How to Replace Bike Pedals in 5 Easy Steps
To replace your bike pedals, first gather a pedal wrench or Allen keys and clean your pedal threads. Having the right tools and prepping your bike properly makes the whole process much smoother.
Next, remember to turn the right-side pedal counterclockwise and the left-side pedal clockwise to remove them safely. This might seem a bit tricky at first, but once you get the hang of it, it’s pretty straightforward.
Prepare your new pedals by greasing the threads lightly, then hand-thread each pedal to avoid cross-threading. Taking your time here helps protect your bike and pedals from damage.
Finally, tighten them securely with the correct torque. Follow these simple steps, and you’ll find it’s easier than you thought to keep your bike rolling smoothly—there’s plenty more helpful tips ahead!
Key Takeaways
- Identify the correct pedal side and understand the threading direction before removal.
- Use the appropriate wrench or Allen key to loosen pedals: CCW on right, CW on left.
- Clean and grease pedal threads thoroughly to prevent rust and ensure smooth installation.
- Hand-thread new pedals carefully to avoid cross-threading, then tighten with a wrench to 30-40 Nm.
- Check pedal security and spin freely before riding to ensure safe and proper installation.
What Tools You Need to Replace Bike Pedals
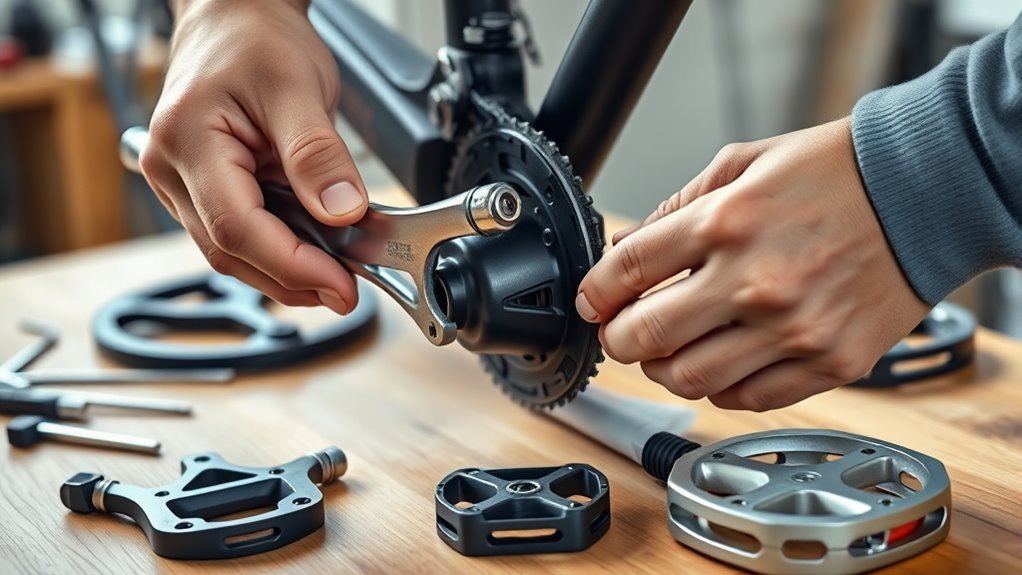
Before you start replacing your bike pedals, make sure you have the right tools on hand. A pedal wrench is your best bet for loosening and tightening pedals, as it’s specifically designed to fit the narrow flats on pedal spindles.
If you don’t have one, a plain 15mm wrench can work for basic pedals, but a pedal wrench gives better leverage. Many modern pedals require Allen keys—usually 6mm or 8mm—to remove and install, so keep these handy to avoid stripping bolts.
Using the correct size wrench or Allen key is essential; forcing the wrong size can damage the pedal or crank threads. Once you’re ready to install new pedals, apply a generous layer of high-quality grease to the threads.
This helps them screw in smoothly and prevents them from seizing over time. Having these tools and grease ready will make your pedal replacement quick and hassle-free.
Which Way to Turn Pedals for Removal and Installation

Because each pedal has a different threading direction, you’ll need to turn them the right way to remove or install them properly. I’ve got a little bit of advice to help you avoid damaging your pedals or crank arms.
Make sure you know which side you’re working on before you start turning.
Always confirm the pedal side before turning to avoid damage and ensure proper installation.
Here’s a quick guide:
- Right (drive side) pedal: turn counterclockwise to remove, clockwise to install.
- Left (non-drive side) pedal: turn clockwise to remove, counterclockwise to install.
The right pedal has standard threading, loosening by turning counterclockwise.
The left pedal has reverse threading to prevent loosening during rides.
Following these directions guarantees you won’t cross-thread or damage your bike. Remember, pedals are designed this way intentionally, so always double-check the side before you start turning.
With this little bit of know-how, you’ll make sure your pedal replacement goes smoothly.
How to Remove Old Pedals Safely and Easily
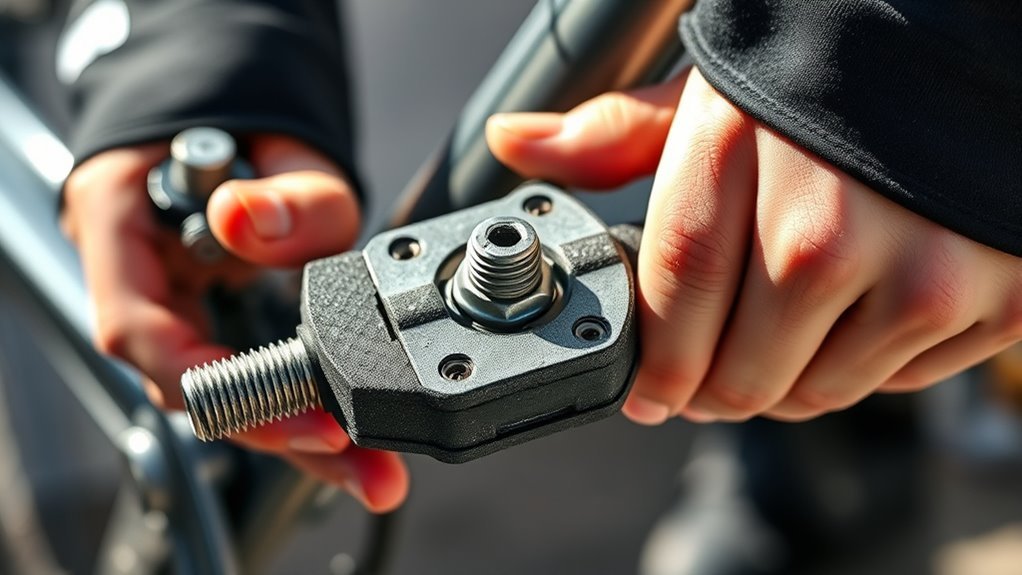
When you’re ready to remove your old pedals, position the crank facing downward and align the pedal so the Allen key points toward the rear to keep the crank from moving. Use the correct size Allen key—typically 6mm or 8mm—and turn the pedal counterclockwise on the drive side and clockwise on the non-drive side to loosen it.
Apply firm, steady pressure while turning, holding the pedal firmly to avoid slipping or injury. Before removal, clean the pedal and crank threads to prevent damage and make extraction easier.
If a pedal is stubborn, switch to a specialized pedal wrench for better leverage. Taking these steps ensures you remove your pedals safely and efficiently without damaging the crank or pedal threads.
How to Prepare and Grease Pedal Threads Before Installing
Although installing new pedals might seem straightforward, preparing and greasing the threads properly is essential to guarantee smooth installation and prevent future issues like seizing or damage. Start by thoroughly cleaning the threads on both the pedal and crank arm to remove dirt, rust, and old grease.
Properly cleaning and greasing pedal threads ensures smooth installation and prevents seizing or damage later on.
Use a wire brush or rag to ensure the surface is smooth and free of debris. Next, apply a generous but controlled amount of bicycle-specific grease evenly around the pedal threads. This lubrication helps prevent seizing and makes future removal much easier.
Be careful not to over-grease, as excess grease can attract dirt and complicate maintenance later on. Keep these tips in mind when prepping pedal threads:
- Clean threads thoroughly with a wire brush or rag
- Remove rust and old grease completely
- Apply a moderate, even layer of bike-specific grease
- Avoid over-greasing to prevent dirt buildup
Proper preparation sets you up for a hassle-free pedal installation. It really makes the whole process smoother and saves you headaches down the road.
How to Install and Secure New Pedals Correctly
Before you start threading the new pedals into the crank arms, make sure you identify the correct pedal for each side and the proper threading direction. Align the threaded end of the pedal with the crank arm—remember, the drive side pedal tightens clockwise, while the non-drive side tightens counter-clockwise.
Begin threading the pedal by hand to avoid cross-threading, which can damage the crank arm. Once the pedal is hand-tight, use an Allen key or pedal wrench to securely tighten it. Apply firm pressure, ensuring the pedal is snug without over-tightening.
For the best security, tighten to the manufacturer’s recommended torque, usually between 30-40 Nm. After both pedals are installed, double-check that they spin freely and are firmly attached. This prevents accidents or damage during your ride and guarantees your pedals stay reliable on every trip.
Frequently Asked Questions
Can You Change Bike Pedals Easily?
Yes, you can change bike pedals easily if you have the right tools and basic knowledge. Just use an Allen key or pedal wrench, grease the threads, and tighten securely to guarantee safety and smooth riding.
It’s pretty straightforward once you get the hang of it. Just take your time, and you’ll be good to go in no time!
What Is the Easiest Way to Remove Bike Pedals?
The easiest way to remove bike pedals is to use a pedal wrench or the correct Allen key. Hold the crank steady, apply downward pressure while turning the pedal in the correct direction, and it’ll come off smoothly.
It’s pretty straightforward once you get the hang of it. Just make sure you’re turning the pedals the right way—left pedal loosens counterclockwise, and the right pedal loosens clockwise. Easy!
What Tool Is Used to Swap Bike Pedals?
You’ll use a pedal wrench or a 15mm open-ended spanner for most pedals. Sometimes, an Allen key fits hexagonal sockets.
Choosing the right tool helps you swap pedals smoothly without damaging your bike’s crank arms.
It’s super handy to have the correct tool on hand before you start. That way, you avoid any unnecessary hassle!
How to Put New Bike Pedals On?
You’ll feel like a bike mechanic genius when you grease the threads, match “L” and “R” pedals, hand-thread them carefully, then tighten with a wrench—just snug, not Hulk-style—
and voilà, you’re pedal-ready in no time!
Conclusion
Replacing your bike pedals is simpler than you might think. By following these steps, you’ll save time and avoid common mistakes like cross-threading.
Some say pedal removal is tough, but with the right tools and turning the correct way, it’s actually quite easy. Greasing the threads before installing new pedals prevents damage and guarantees a smooth ride.
Now that you know the process, you can confidently swap pedals anytime and keep your bike performing at its best. Replacing bike pedals doesn’t have to be a hassle when you know how. With just a few simple steps, you can maintain your bike’s efficiency and safety. So, grab your tools, grease those threads, and enjoy a smooth, trouble-free pedal replacement that keeps your ride smooth and reliable for miles to come.