How to Patch a Bike Tire in 5 Simple Steps
To patch a bike tire in five simple steps, start by removing the wheel. You’ll need to release the brakes and loosen the bolts or quick-release levers first. This makes it easier to take off the wheel without any hassle.
Next, carefully take out the deflated tube using tire levers. Be gentle so you don’t damage the tube further. Once it’s out, inflate the tube a little to find the puncture. You can listen closely for escaping air or submerge the tube in water to spot bubbles.
Now, clean and roughen the damaged area. This helps the glue stick better. Apply the glue, then press on the patch firmly. Let it set for a few minutes so it bonds well.
Finally, put the tube back inside the tire, reinstall the tire and wheel, and inflate the tube again. Check everything fits properly before you ride. Keep reading to discover helpful tips for each step!
Key Takeaways
- Remove the wheel by releasing the brakes and loosening the quick-release or axle nuts. Then, lift it out of the frame or fork.
- Deflate the tube completely. Use tire levers to pry the tire bead, and carefully remove the tube from the rim.
- Inflate the tube and locate the puncture by listening or feeling for escaping air. You can also submerge it in water to spot bubbles.
- Clean and roughen the puncture area. Apply glue until it’s tacky, then firmly press and roll a patch over the hole.
- Reinstall the tube and tire onto the rim. Secure the wheel back to the frame, and inflate the tire to the recommended pressure.
Remove the Wheel
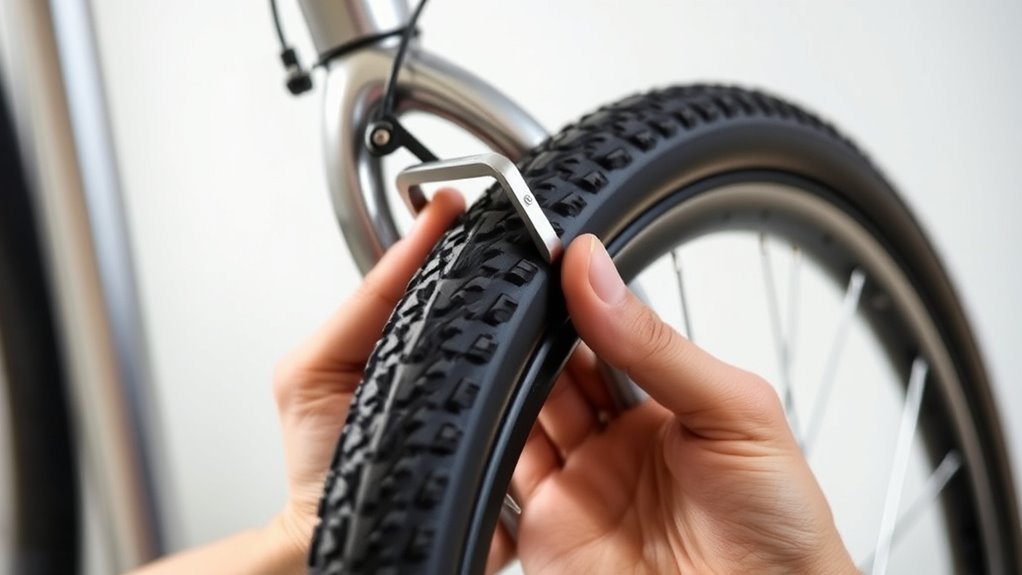
How do you remove a bike wheel safely? First, release the brakes by squeezing the brake arms or opening the quick-release lever. For the front wheel, open the quick-release lever and loosen the axle nuts if present.
Then carefully lift the wheel out of the fork. When dealing with the rear wheel, shift the chain to the smallest cog. Open the rear derailleur to create space, and then release the quick-release or axle nuts.
Make sure to fully loosen or remove all bolts, nuts, and quick-release levers before you detach the wheel to avoid damage. If your bike doesn’t have a quick-release, use an adjustable wrench to loosen the axle nuts.
Once everything is loose, lift the wheel gently from the frame. Taking these steps ensures you safely remove the wheel without harming your bike or yourself.
Remove the Deflated Tube
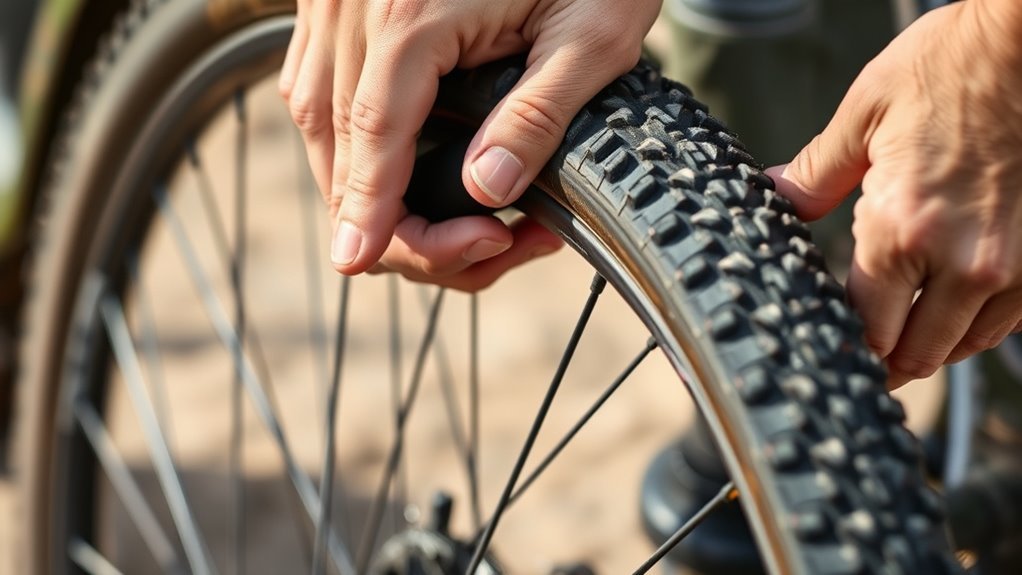
Before you can patch or replace the tube, make sure to fully deflate it by pressing down on the valve pin or unscrewing the valve core to release all the air.
Next, use tire levers to carefully pry the tire bead away from the rim. Start opposite the valve stem to create enough space for removal.
| Step | Action |
|---|---|
| Detach Valve | Remove the valve stem from the rim first. |
| Pry Bead | Use tire levers to pry the tire bead off. |
| Remove Tube | Gently pull the tube out for inspection. |
Once detached, carefully pull the tube from inside the tire without damaging the valve or rim edges. Make sure the tube is fully free from the tire bead and rim.
Before you move on to repairs or installing a new tube, take a moment to inspect the valve for any damage or debris. This helps avoid any issues down the road.
Locate the Puncture in the Tube
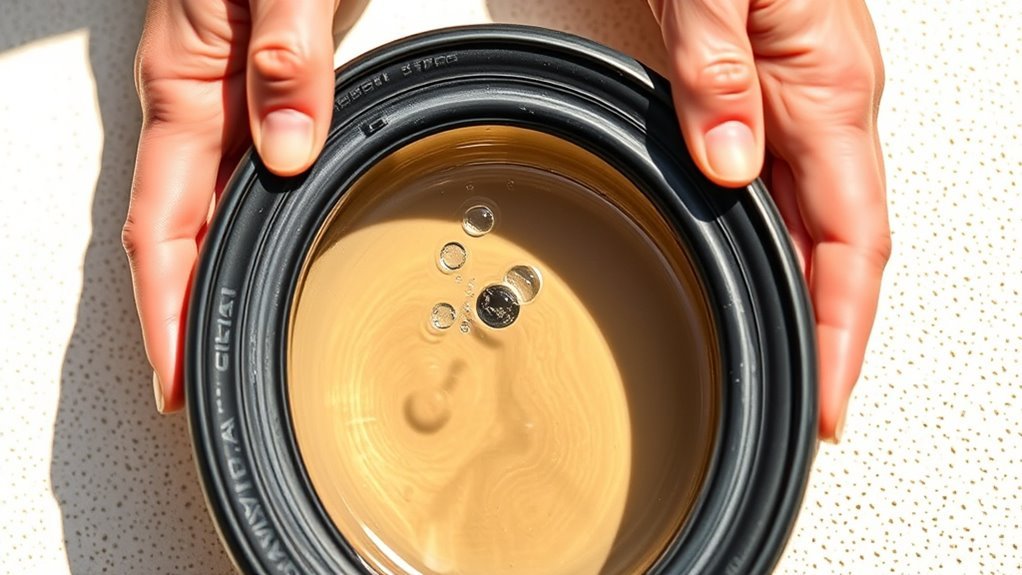
Where exactly is the leak hiding in your bike tube? To patch it effectively, you first need to detect the puncture’s exact spot. Start by inflating the inner tube to at least twice its normal size. This makes the leak easier to find.
Then, listen carefully for any hissing sounds or feel around the tube’s surface for escaping air. If that’s tricky, submerge the tube in water and watch for continuous bubbles—they’ll reveal the leak’s location.
Once you spot it, mark the puncture clearly with a pen and add four evenly spaced marks around it for reference. Finally, inspect the tire and inner surface thoroughly to check for any embedded debris or sharp objects that caused the puncture.
Here’s a quick guide to locate the puncture:
- Inflate the tube beyond normal size.
- Listen and feel for escaping air.
- Submerge in water and look for bubbles.
- Mark the puncture and inspect for debris.
This careful inspection ensures you know exactly where to patch.
Prepare and Patch the Tube
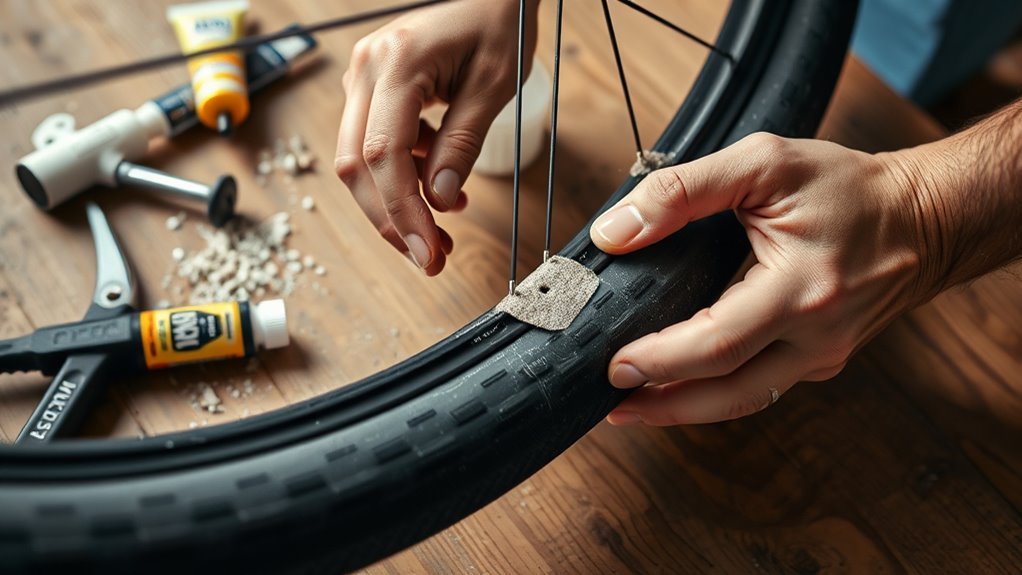
Once you’ve located the puncture, clean the surrounding area thoroughly with alcohol or solvent to guarantee the patch sticks properly. Next, lightly roughen the surface of the inner tube around the hole with sandpaper or an emery cloth.
This step is vital to improve adhesion between the tube and the patch. After roughening, mark the hole’s location with a pen, making sure to leave enough space around it so the patch doesn’t overlap the puncture edge.
Apply a thin, even layer of self-vulcanizing glue around the hole and let it dry until it feels tacky. Carefully center the patch over the hole, pressing firmly to assure a solid seal.
Roll over the patch to eliminate any air bubbles and reinforce adhesion. This careful preparation and patching process guarantees a durable repair, preventing air leaks and extending the life of your inner tube.
Reinstall the Tube, Tire, and Wheel
After patching the tube and making sure it’s sealed properly, carefully insert the partially inflated tube back into the tire. Make sure the valve stem lines up with the rim hole.
Next, work the tire bead over the rim edge. Start opposite the valve stem and move outward to seat the tire evenly.
Before inflating, double-check that the tube isn’t pinched between the tire bead and rim. Then, reinstall the wheel assembly onto the bike frame, making sure the axle is fully seated and secure.
Follow these steps:
- Reinstall the tube inside the tire with the valve stem properly aligned with the rim.
- Work the tire bead onto the rim carefully, ensuring it’s fully seated all around.
- Check for any pinched tube and adjust if necessary.
- Inflate the tire gradually to the recommended PSI, watching for proper seating and smooth wheel rotation.
Taking your time with this process helps you avoid flats and keeps your bike riding smoothly.
Frequently Asked Questions
How to Patch a Bike Tire at Home?
You’ll clean and roughen the punctured area, apply vulcanizing glue until tacky, then press the patch firmly.
Make sure to roll out any air bubbles so the patch sticks well. After that, let it cure fully.
Once it’s ready, reinflate the tube and reinstall it on your bike. Easy, right?
Can I Use Duct Tape to Patch a Bike Tire?
You shouldn’t use duct tape to patch a bike tire because it won’t hold up under pressure or moisture.
Instead, grab a proper bike patch kit for a safe, reliable, and long-lasting repair every time.
It’s way better to use something made for the job, trust me!
How Do I Repair a Hole in My Bike Tire?
You find the hole, clean the surface, apply glue, and stick the patch firmly.
You press, wait, and make sure the seal holds.
Then, you reinflate the tire, check for leaks, and get back on the road.
What Household Items Can I Use to Fix a Flat Bike Tire?
You can use a folded dollar bill, duct tape, a plastic bag, super glue, or rubber bands to fix a flat bike tire temporarily. These household items help cover holes or reinforce damaged areas until you get a proper repair.
They’re not perfect, but they can definitely get you back on the road in a pinch. Just make sure to replace or properly fix the tire as soon as you can!
Conclusion
Now that you know how to patch a bike tire in five simple steps, you’re ready to tackle flats with confidence. Remember, “a stitch in time saves nine”—fixing that puncture early prevents bigger problems down the road.
With a little practice, you’ll be back on your bike quickly, saving both time and money. Keep your repair kit handy, so you’re always prepared for unexpected flats.
Don’t let a flat tire slow you down on your next ride! Knowing how to patch a bike tire is a valuable skill that keeps you rolling smoothly. The more you patch, the easier it gets — and soon, you’ll handle bike tire repairs like a pro.