How to Put Chain Back on Bike in 3 Easy Steps
To put your bike chain back on in three easy steps, start by flipping the bike onto its handlebars and seat for easy access. This position makes it way simpler to work on the chain without the bike wobbling around. Plus, you get a clear view of the gears and chainrings.
Next, place the chain around the small rear gear, then guide it onto the larger front gear, making sure it’s properly aligned. Take your time here because if the chain isn’t seated right, it can slip or cause problems while riding.
Finally, adjust the chain tension by loosening the rear axle. Pull the wheel back slightly to create some slack in the chain, then tighten the bolts securely. This step is key to keeping your chain tight enough for smooth pedaling but not too tight to cause wear.
Keep going to discover how to fine-tune and check your setup for smooth riding.
Key Takeaways
- Flip the bike gently onto the handlebars and seat for easy access to the chain and gears.
- Position the chain on the small rear gear first, then guide it onto the larger front gear.
- Hold the chain securely and slowly turn the crank to engage it on both front and rear gears.
- Loosen the rear wheel bolts, pull the wheel back to create slack, then tighten the bolts to secure the chain tension.
- Check that the chain moves smoothly, is properly seated, and the wheel remains aligned before riding.
That’s it! You’re all set for a smooth ride.
Flip Your Bike Over To Reach The Chain Easily
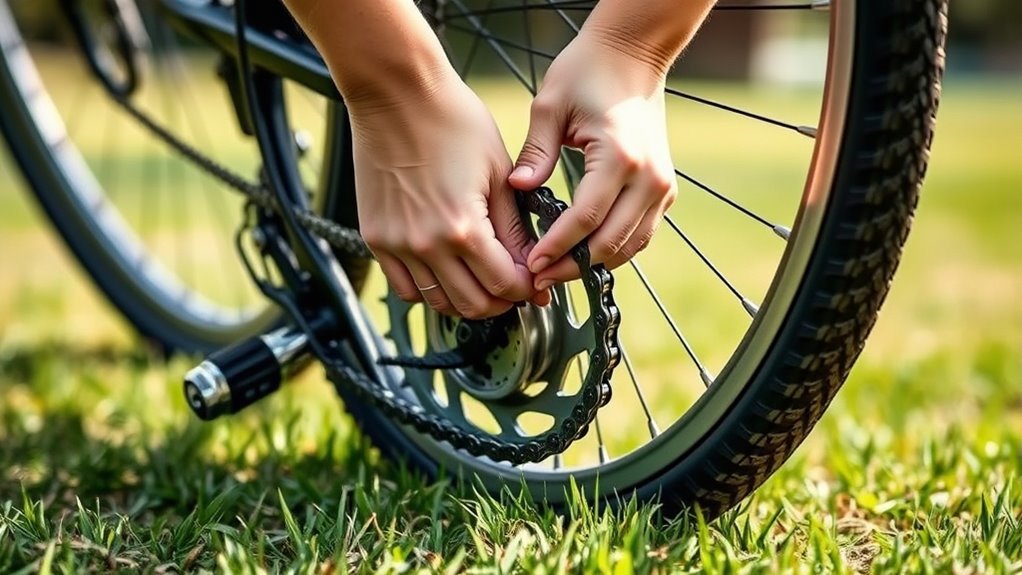
How can you make working on your bike’s chain much easier? The key is to flip your bike over so you can access the chain effortlessly.
Carefully flip your bike over and rest it on its handlebars and seat. This position elevates the rear wheel, giving you clear access to the chain around the gears.
Flip your bike onto its handlebars and seat to elevate the rear wheel and easily reach the chain.
Make sure the bike is stable and supported to prevent it from tipping over while you work. It’s a good idea to place some soft padding or a work surface underneath to protect the frame and components from scratches.
Once the bike is resting securely upside down, you’ll have free movement of the pedals and chain. This setup lets you spin the pedals smoothly, making it easier to inspect and prepare the chain without any hassle.
Put The Chain Back On Your Bike
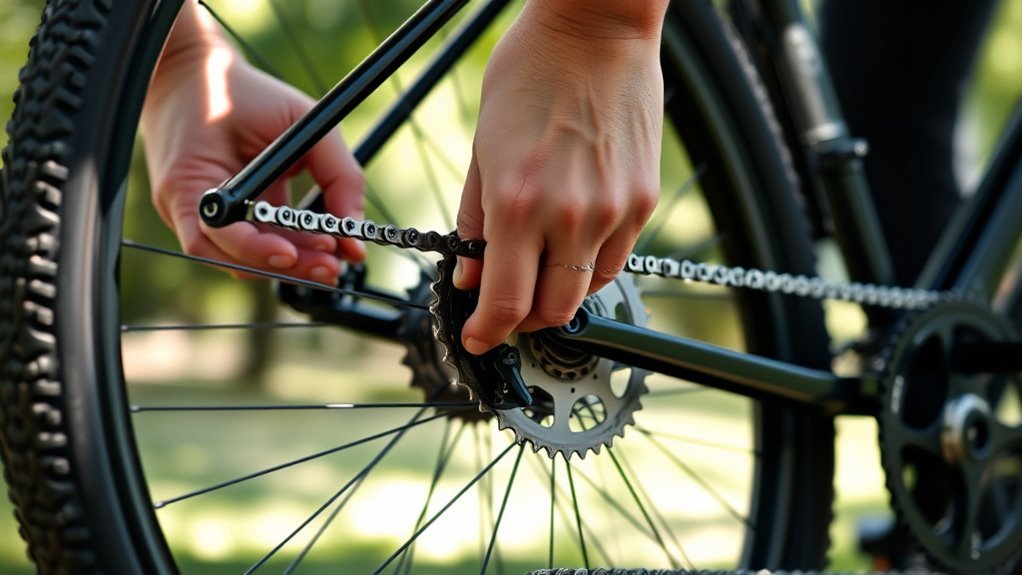
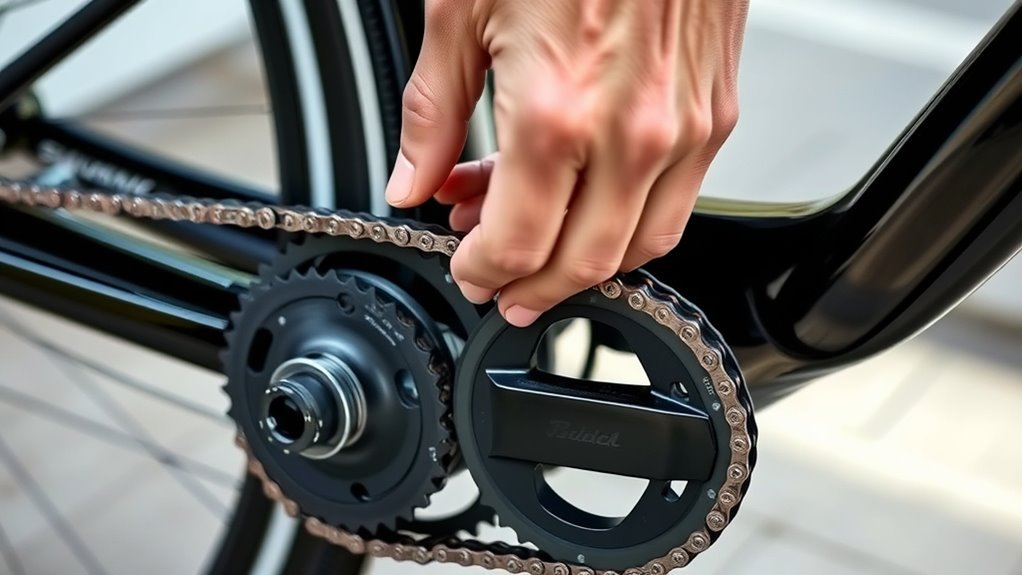
Once you’ve flipped your bike and have easy access, start by placing the chain around the small gear on the rear axle. Make sure it’s properly aligned before moving on.
Next, put the chain back over the larger gear near the pedals, with the chain side facing down. Hold it in place carefully so it doesn’t slip off.
Slowly begin turning the crank while guiding the chain onto the front sprocket. This helps the chain engage smoothly on both the front and rear gears.
Use your hands or a tool to firmly seat the chain fully onto these gears. Make sure it’s secure and doesn’t slip off as you work.
Afterward, check that the chain moves freely and is properly seated all around. You can do this by slowly turning the wheel and watching for any resistance or misalignment.
Putting the chain back correctly is super important for smooth riding. It also helps prevent damage to your bike’s drivetrain.
Adjust Chain Tension And Secure It
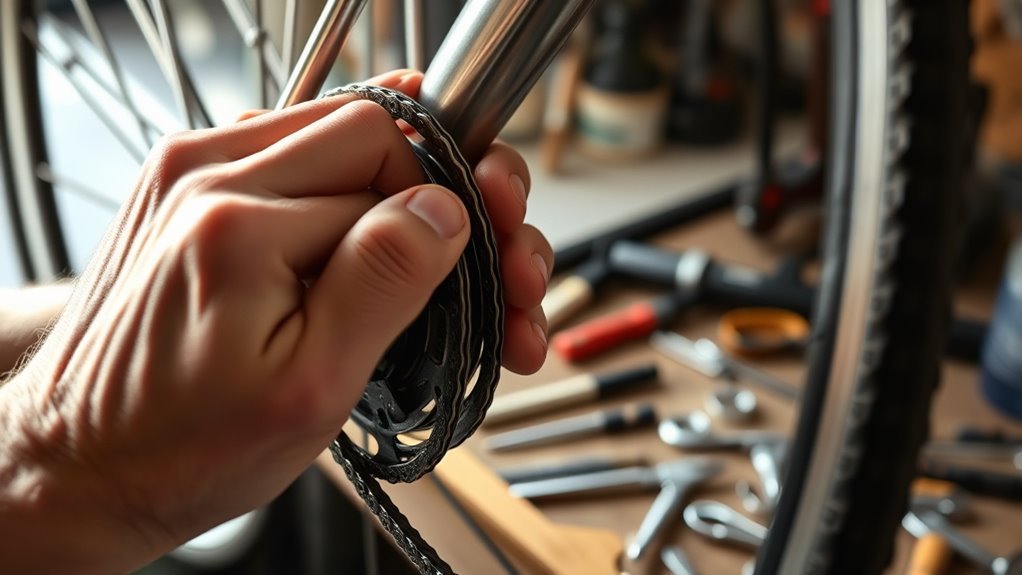
Why is adjusting the chain tension essential before you secure the rear wheel? Proper chain tension ensures smooth pedaling, prevents the chain from slipping, and protects your bike’s drivetrain.
To get it right, start by loosening the rear wheel axle bolts so you can move the wheel.
Follow these steps to adjust chain tension and secure the wheel correctly:
- Pull the rear wheel gently backward to increase chain tension until the chain has about 1-2 inches of vertical slack.
- Check that the rear wheel stays aligned straight with the bike frame to avoid uneven wear or handling issues.
- Tighten the axle bolts gradually and evenly, maintaining both the chain tension and wheel alignment.
Finally, spin the pedals to confirm the chain is taut but not overly tight. If needed, adjust before riding to make sure everything feels just right. This will help you get the best performance and stay safe on the road.
Frequently Asked Questions
How Do I Put My Chain Back On?
You place the chain around the rear small gear, then guide it over the front sprocket.
Turn the crank slowly to engage the chain, adjust the derailleur if needed, and pedal gently to guarantee smooth movement.
It might take a couple of tries to get it just right, but keep at it! You’ll have your chain back on in no time.
How to Put a Bike Chain Back on Without a Tool?
You can put a bike chain back on without a tool by shifting to the smallest gear. Then, pull the derailleur back to create slack.
Carefully guide the chain onto the sprockets. After that, slowly pedal to seat it properly. It’s easier than you might think once you get the hang of it!
How to Fix a Bike Chain That Fell Off?
Fixing a bike chain that fell off is like threading a needle—careful and precise. You’ll place the chain on the smallest sprocket, guide it over the chainring,
then pedal slowly to seat it smoothly without slipping. It might take a couple of tries, but you’ll get the hang of it quickly. Just take your time and keep steady hands.
What to Do if Your Chain Comes Off?
If your chain comes off, shift to the smallest gears to create slack. Then, lift the chain onto the chainring and sprocket.
After that, slowly pedal while guiding it back in place. If needed, retract the derailleur to help the chain seat more smoothly. Just take it easy, and you’ll have it fixed in no time.
Conclusion
Now that you know how to put the chain back on your bike in just three easy steps, you’re ready to tackle this common issue confidently.
Did you know that nearly 30% of bike maintenance calls involve chain problems? By mastering this quick fix, you’ll save time and avoid unnecessary trips to the shop.
Keep practicing these steps, and your rides will stay smooth and hassle-free every time you hit the road! Learning how to put the chain back on your bike not only boosts your confidence but also ensures your bike performs at its best. So next time your chain slips, you’ll handle it like a pro and get back to enjoying your ride without delay.