How to Calibrate Your Peloton Bike in 5 Easy Steps
To calibrate your Peloton bike, first power it on and gather essential tools like a Phillips screwdriver, Allen wrenches, and a calibration kit from Peloton support. Calibration is key to ensuring your bike’s resistance levels are accurate and your workouts feel just right. It helps maintain smooth performance and extends the life of your equipment.
Next, access the calibration menu through the home screen or device settings, depending on your bike model. Follow the guided on-screen steps carefully, turning the resistance knob as instructed and placing the calibration wedge in the correct position.
Testing resistance at different cadences is important to make sure everything is balanced.
Finally, reset the bike’s app data to finalize the process and lock in your calibration settings. Keep going to uncover detailed tips for smooth calibration and get the best ride possible on your Peloton bike!
Key Takeaways
- Power on the Peloton bike, remove accessories, and gather necessary tools including the calibration kit.
- Access the calibration menu via the home screen or device settings depending on your bike model.
- Turn the resistance knob 31 quarter turns with the white wedge between magnets, following on-screen prompts.
- Test resistance at different cadences to ensure accurate and consistent resistance response.
- Clear app data and cache, power cycle the bike, and restart to finalize calibration settings.
Prepare Your Peloton Bike and Gather Calibration Tools

Before you begin calibrating your Peloton Bike, make sure it’s powered on and the touchscreen is responsive. Start by removing the water bottle holder and sweat guard using a Phillips head screwdriver and Allen wrenches—set them aside safely.
Ensure your Peloton Bike is on and touchscreen responsive before removing the water bottle holder and sweat guard.
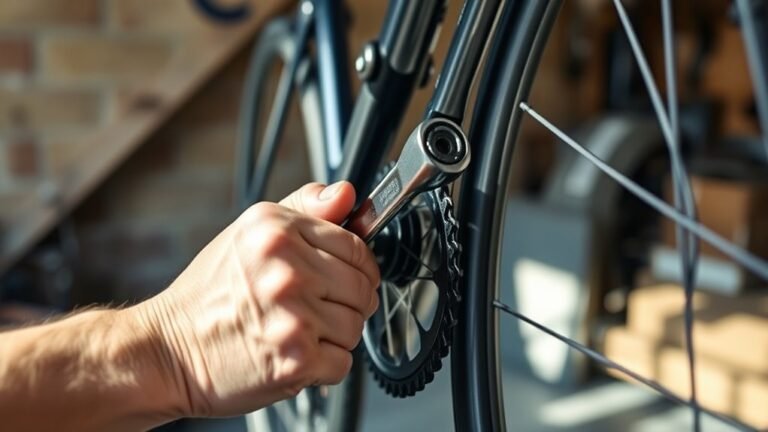
Next, gather the tools you’ll need: a Phillips head screwdriver, 3mm and 4mm Allen wrenches, and the Peloton calibration kit. Since Peloton no longer includes the calibration kit with the bike, you’ll need to contact Peloton support to obtain it.
The kit contains a plastic calibration wedge and white disks essential for precise adjustments. Once you have everything ready, you’ll be set to access the calibration menu via the touchscreen to begin the process.
Preparing your bike properly and having all necessary tools and the calibration kit on hand ensures a smooth and accurate calibration experience.
Access the Calibration Menu on Your Peloton Console
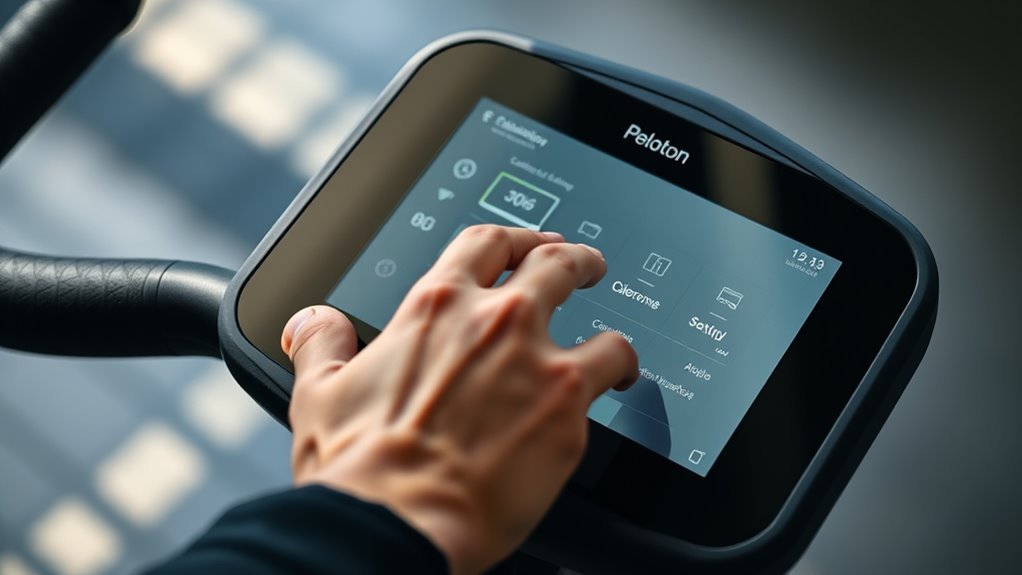
Once your Peloton bike is prepped and you have the calibration tools ready, you’re set to access the calibration menu on the console. Start by tapping the three dots in the bottom right corner of the home screen. From there, select the About menu.
On original Peloton bikes, repeatedly tap the top right corner of the screen to reveal the sensor calibration options. You might then see a Get Started button or similar prompts to initiate the calibration process.
If you’re using a Bike+ model, the process is a bit different. Head to Device Settings and select Home Calibration, which typically takes less than a minute to complete.
Regardless of the model, these steps get you into the sensor calibration mode on your console, allowing you to proceed with the necessary adjustments. Accessing this menu is essential before you move on with the calibration process.
Follow On-Screen Steps to Calibrate Your Bike (Including Resistance Adjustments)
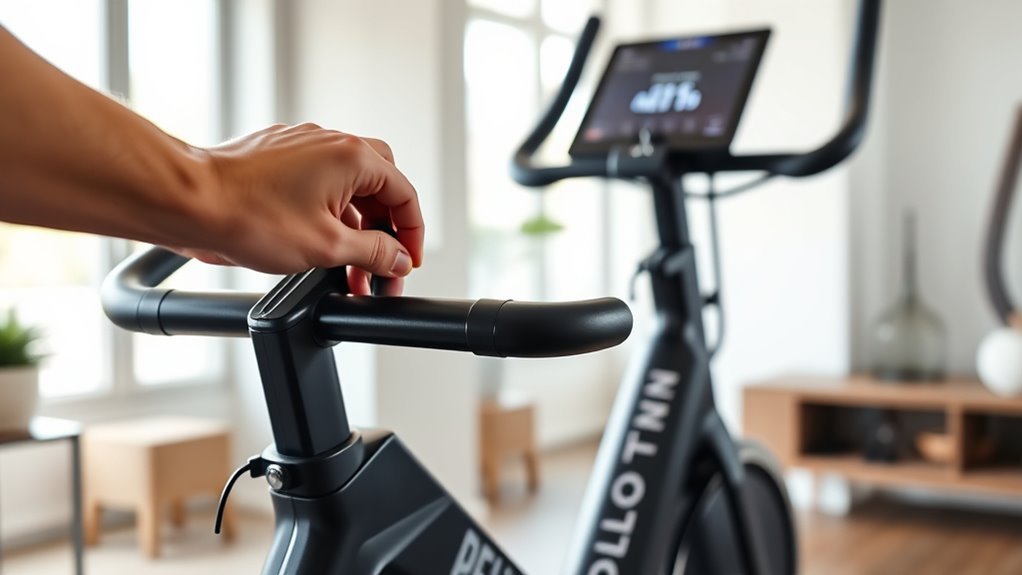
While following the on-screen instructions, you’ll turn the resistance knob 31 times, making precise quarter turns each time using the “P” as a guide. Start by placing the white plastic wedge between the magnets on the flywheel to set the resistance accurately.
Each time you complete a quarter turn, tap “Next” to move forward. You’ll notice a series of dots on the screen; these change from clear to red, helping you mark progress throughout the calibration process.
Consistently align the “P” on the knob to guarantee each quarter turn is uniform. Keep going step-by-step until all 31 dots turn red.
Once the final quarter turn is made and all steps are complete, tap “Set” to finalize calibration. Then, follow any additional prompts to either restart or prepare your bike for use.
This careful process assures your Peloton bike’s resistance is perfectly calibrated for your ride.
Test Your Bike’s Resistance After Calibration
After completing the calibration steps and setting your bike, it’s time to test the resistance to guarantee everything feels right. Pedal at various cadences and use the calibration app to check that resistance levels match what the instructor cues and your expected effort.
Turn the resistance knob to confirm resistance increases at higher settings and decreases at lower ones. This verifies correct resistance behavior after calibration.
Test resistance at different cadences, like 60 and 80 RPM, to verify consistency across speeds. If resistance feels off or inconsistent, you may need to recalibrate and retest.
| Test Condition | What to Observe |
|---|---|
| Low cadence (60 RPM) | Smooth resistance behavior |
| High cadence (80 RPM) | Consistent resistance response |
| Resistance increases | Resistance rises accurately |
| Resistance decreases | Resistance lowers appropriately |
This thorough resistance test confirms your bike’s calibration is precise and ready for your next ride.
Reset Your Peloton Bike Settings to Finalize Calibration
To finalize your Peloton bike calibration, you’ll need to reset its settings through the device menu. Start by navigating to “Settings,” then “Apps.” Select “Peloton,” and tap both “Clear Data” and “Clear Cache.”
This reset clears residual data that might interfere with your calibration without deleting your ride history. Doing this step makes sure your Peloton bike’s software accurately reflects the new calibration. That way, you get consistent resistance and metrics during your rides.
After clearing the data, power down your Peloton bike completely. Unplug it from the power source and wait at least 30 seconds before plugging it back in and turning it on.
This pause helps finalize the reset process and ensures the calibration settings take full effect. By following these steps, you prevent potential calibration-related issues and keep your bike performing at its best.
Frequently Asked Questions
How Do I Recalibrate My Peloton Bike?
You recalibrate your Peloton by accessing the Troubleshooting App on the console. Then, turn the resistance knob 31 quarter turns while following the on-screen prompts.
If you have the Bike Plus, it’s even easier. Just use the auto-calibration feature in the device settings for quick adjustment.
How Do I Tell if My Peloton Is Calibrated Correctly?
You might think it’s tricky, but you’ll know your Peloton’s calibrated correctly if resistance matches instructor cues smoothly, adjusts well across speeds, and hits 0 and 100 without sticking.
Plus, your output should feel consistent and accurate. It’s all about that seamless ride experience.
Does a Peloton Bike Need to Be Recalibrated?
You typically don’t need to recalibrate your Peloton bike unless you notice resistance issues, physical damage, or inaccurate output.
If you move the bike or experience mechanical shifts, recalibration can help restore proper performance. It’s a good way to make sure everything is running smoothly.
What Is the Average Lifespan of a Peloton Bike?
Think of your Peloton bike as a trusty steed—it typically lasts 5 to 7 years. With regular care and calibration, you can keep it running strong well beyond that.
You’ll be able to enjoy countless rides without major issues. Just a little maintenance goes a long way!
Conclusion
Now that you’ve tuned your Peloton bike like a finely crafted instrument, every ride will sing with smooth resistance and perfect balance. Calibration isn’t just a task—it’s the key that opens your full ride potential, transforming each pedal stroke into a harmonious rhythm.
Keep your bike in tune, and you’ll glide through workouts with ease, feeling every challenge melt away like a breeze on an open road. Your journey to peak performance starts here.
Regular Peloton bike calibration ensures your resistance feels accurate and your ride stays consistent. It’s a simple step that makes a huge difference in your cycling experience. When your bike is properly calibrated, every workout becomes more effective and enjoyable.
So, make calibration part of your routine. It’s the secret to unlocking smoother rides, better performance, and more fun every time you hop on your Peloton. Trust me, once you start calibrating regularly, you won’t want to ride any other way.