How to Ride a Bicycle in 10 Easy Steps
To ride a bike in 10 easy steps, start by choosing one that fits you well. Wearing a helmet along with knee and elbow pads is super important for safety. Adjust your seat and handlebars so you feel comfortable before you begin.
First, try balancing without using the pedals by gliding smoothly. This helps you get used to the feel of the bike. Once you’re steady, learn how to start and stop confidently by using both brakes gently.
Next, practice steering and turning on flat, open spaces where you have plenty of room. When you feel ready, move on to hills and varied terrain to challenge yourself a bit more.
Ride regularly to build your skill and confidence. Keep practicing, and you’ll soon handle every aspect of riding like a pro!
Key Takeaways
- Choose a bike that fits well. Adjust the seat and handlebars for comfort and safety. Don’t forget to wear a properly fitting helmet.
- Practice balancing by gliding without pedals. Try to maintain steady balance for at least 10 seconds before you start pedaling.
- Start riding by pushing off with one foot. Pedal smoothly and steer gently while looking ahead.
- Use both brakes gradually and evenly to stop safely. Practice controlled stops and emergency braking techniques to stay safe.
- Build your skills by riding on different terrains. Practice turns and keep practicing to improve your balance and coordination.
Choose the Right Bike and Safety Gear for Riding
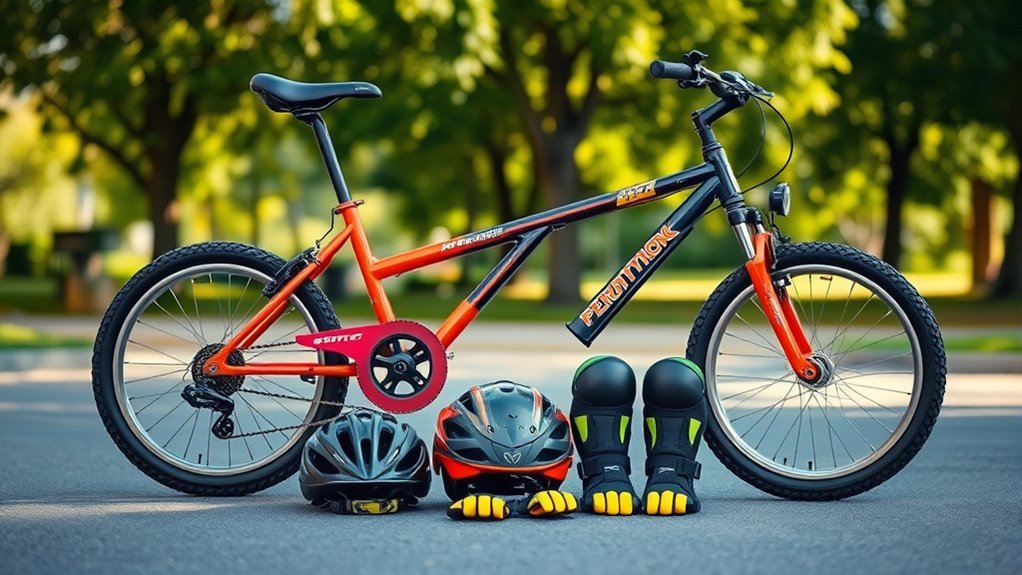
Before you start riding, choose a bike that fits you well—your feet should touch the ground when you’re seated. Avoid training wheels to help build your balance. When you choose the right bike, you set yourself up for a smoother learning experience.
Next, focus on safety gear. Always wear a properly fitting helmet with straps snug under your chin and about two fingers’ space above your eyebrows. This guarantees your head stays protected in case of a fall.
Don’t forget to check that the bike’s brakes work well to help you stop safely. Adding knee and elbow pads is a smart move, especially when you’re just starting out, to shield yourself from scrapes and bruises.
Adjust Your Bike Seat and Handlebars for Comfortable Fit
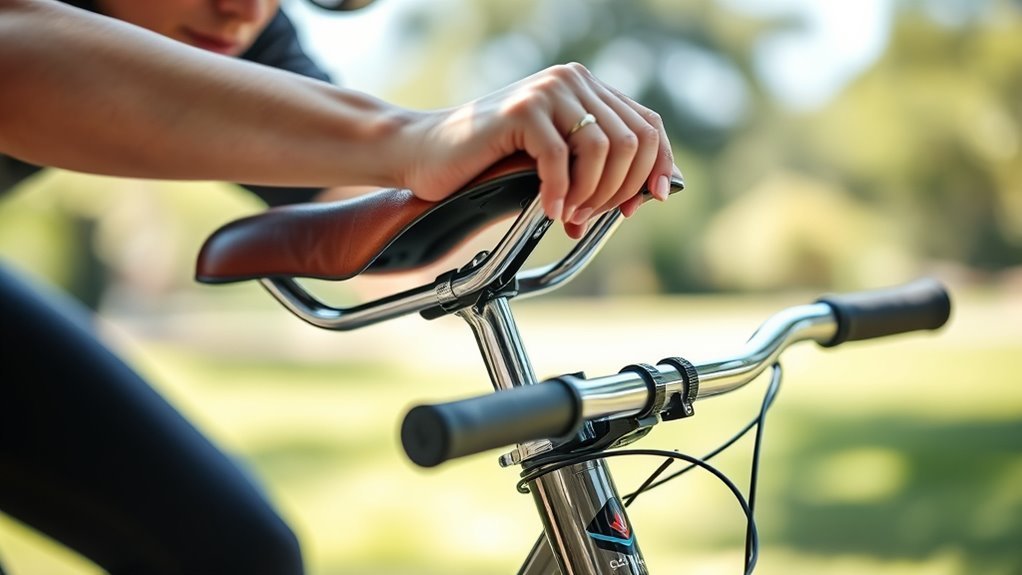
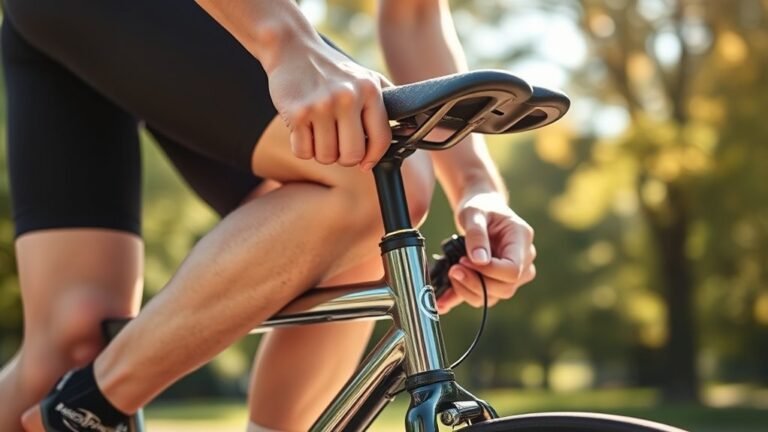
Although choosing the right bike and safety gear is essential, adjusting your bike seat and handlebars guarantees a comfortable and efficient ride. Start by setting the seat height so your feet touch the ground comfortably while seated, with a slight bend in your knees.
Adjust your bike seat and handlebars for a comfortable, stable ride with efficient pedaling and better control.
This position helps with stability and efficient pedaling, reducing fatigue during rides. Use the quick-release lever or adjustment screw to fine-tune the seat height before you start riding.
Next, focus on handlebar adjustment. Position your handlebars no higher than your diaphragm level to ensure easy steering and control.
Proper handlebar adjustment prevents strain on your arms and shoulders, making your ride more enjoyable. Remember to check and modify both the seat and handlebars regularly, especially as you grow or after a long ride.
Keeping these settings right maintains your comfort and safety every time you get on your bike.
Learn to Balance Without Pedals First
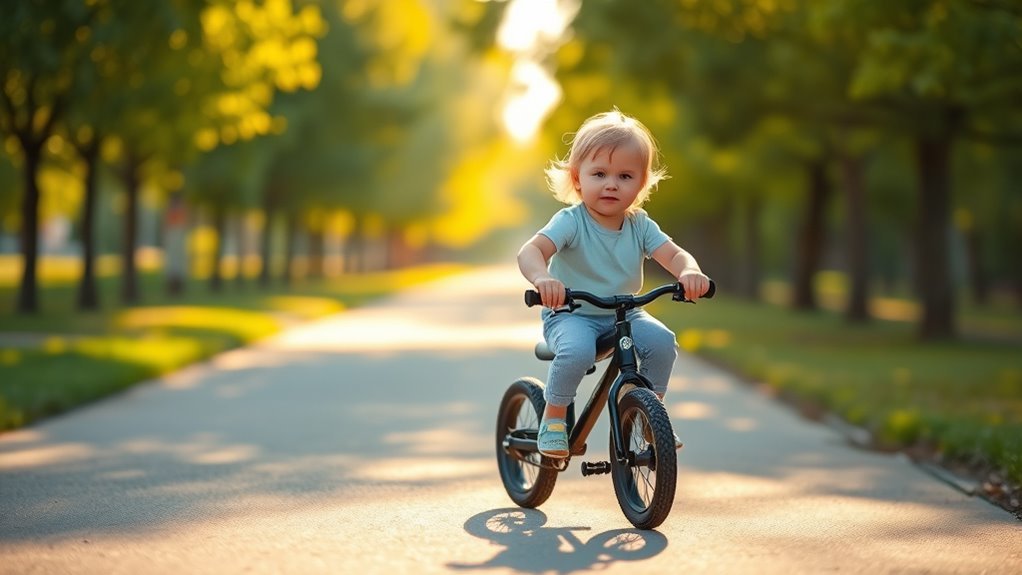
Before you start, make sure you wear a helmet and other safety gear to protect yourself. Adjust your seat height so your feet can comfortably touch the ground while sitting.
Then, practice rolling and balancing by pushing off with your feet and gliding gently. This will help you build your confidence little by little.
Helmet And Safety Gear
When you start learning to ride, wearing a snug-fitting helmet that sits just above your eyebrows and fastens securely under your chin is essential for safety. Along with a helmet, using safety gear like knee and elbow pads protects you from injuries during falls.
Make sure your helmet and pads fit comfortably to encourage consistent use. Wearing proper safety gear builds your confidence while you focus on balancing.
Remember, mastering balance without pedals first lays the foundation for safe riding.
| Gear | Purpose |
|---|---|
| Helmet | Protects your head |
| Knee Pads | Shields knees in a fall |
| Elbow Pads | Guards elbows from bruises |
Adjust Seat Height
Wearing the right safety gear sets you up for success, but adjusting your seat height properly helps you gain control and balance on your bike. Start by lowering the seat so your feet can touch the ground flatly—this gives you stability as you learn.
Then, make sure the seat height allows a slight bend in your knee when the pedal is at its lowest point; this helps with comfort once you start pedaling. For beginners, a lower seat height makes balancing easier without worrying about pedals.
Remember to check your seat height regularly—it’s key to maintaining balance and comfort as you improve. Here’s what to focus on:
- Feet flat on the ground for stability
- Slight knee bend for comfortable pedaling
- Lower seat height to build confidence and balance
Practice Rolling And Balancing
As you get comfortable sitting on your bike, start by walking it while holding the handlebars to feel its weight and balance. Next, practice gliding by pushing off with both feet on the ground, then lifting them up to balance as you coast.
Focus on maintaining a steady glide for at least 10 seconds to build confidence in balancing without pedaling. Shift your weight gently from side to side to improve your ability to stay upright during these glides.
Keep practicing rolling and balancing in short bursts, gradually increasing the distance and duration of your controlled glides. Once you feel confident, you’ll be ready to start pedaling smoothly with better control and stability.
Practice Starting and Stopping With Confidence on Your Bike
Building confidence in starting and stopping your bike comes from practicing smooth, controlled movements.
To practice starting, push off with one foot while holding the handlebars steady. Focus on maintaining a straight line.
When you practice stopping, apply gentle pressure on both brakes together. This helps you slow down gradually and come to a complete stop.
It’s especially useful for keeping your balance and control, even on slopes.
Here’s a simple routine to practice starting and stopping with confidence:
- From a complete stop, push off steadily with one foot and pedal forward while keeping control.
- Apply both brakes gently to come to a smooth, complete stop every time.
- Always stop fully before starting again or making any movements to stay balanced.
Master Steering and Turning for Better Control
How do you take control of your bike when steering turns? Start by practicing gentle, wide turns to build your steering confidence. Keep a firm but relaxed grip on the handlebars—this balance helps you maintain control and react quickly to changes.
As you turn, lean your body slightly into the curve; using your body weight this way stabilizes the bike and improves balance. Always look in the direction you want to go; your eyes naturally guide your handlebars and make turning more accurate.
To sharpen your skills, set up a cone or obstacle course. Navigating through these challenges will improve your steering precision and overall bike handling. Mastering these techniques gives you better control, making your rides safer and more enjoyable.
Improve Pedaling Skills and Build Confidence
Once you’ve got steering and turning down, it’s time to focus on pedaling smoothly to keep your ride steady. Building confidence in pedaling starts with practicing on flat, smooth surfaces where you can settle into a rhythm without worrying about bumps or slopes.
Master smooth pedaling on flat surfaces to build confidence and maintain steady control.
This helps you develop muscle memory and balance essential for controlled riding.
To improve your pedaling skills and build confidence, try these steps:
- Pedal with smooth, consistent strokes to create steady momentum and avoid wobbling.
- Coordinate your pedaling with steering to maintain control and adjust your direction effortlessly.
- Gradually increase your pedaling duration and speed as you feel more comfortable and your technique improves.
Use visual cues or a steady rhythm to help keep your pedal pace even. With regular practice, you’ll notice your confidence growing, making riding feel natural and enjoyable.
Master Braking and Emergency Stops for Safety
You’ll want to practice using both brakes gradually to stop smoothly without skidding. Shifting your weight back and combining front and rear brakes helps you maintain control, especially during emergency stops.
Always test your stopping distance in a safe spot so you know how much space you need at different speeds. It’s all about getting comfortable and confident with your bike’s braking.
Effective Brake Techniques
Although braking might seem straightforward, mastering effective brake techniques is essential for your safety and control on the bike. To brake properly, you need to use both brakes simultaneously, with the front brake providing most of the stopping power.
Smooth, controlled braking prevents skidding and keeps you balanced. So, it’s not just about stopping quickly—it’s about stopping safely.
Follow these steps to improve your braking control:
- Apply brake pressure gradually to avoid sudden stops that can cause falls. Take it easy at first to get a feel for how your bike responds.
- Practice modulating the brakes, increasing pressure as needed for a steady slowdown. This helps you stay balanced and in control.
- Regularly inspect brake pads and cables to guarantee consistent and reliable braking performance. Keeping your brakes in good shape means fewer surprises on the road.
Handling Emergency Stops
How do you stop suddenly without losing control or skidding? Mastering emergency stops means practicing gradual braking with both brakes to stop smoothly. The front brake offers most of the stopping power, but use it carefully—applying it too abruptly can cause you to fall.
To handle emergency stops safely, squeeze both brakes firmly while keeping control of your bike. Practice stopping from different speeds and terrains to build confidence for unexpected situations.
Always look ahead and plan your stopping distance so you’re ready to react quickly. By developing these skills, you’ll improve your ability to brake effectively and stop safely, ensuring you can handle emergencies with confidence and avoid accidents.
Ride Confidently on Flat, Open Spaces
When you start riding on flat, open spaces like parks or empty parking lots, you gain the confidence and control needed to improve your skills. These areas are perfect for learning to ride because they offer level terrain with no slopes or obstacles.
You can focus on balancing, steering, and mastering basic maneuvers safely. It’s a great way to get comfortable before moving on to more challenging environments.
Here’s how to make the most of these spaces:
- Choose wide, open spots where you can practice turning, stopping, and accelerating without worrying about traffic or hazards.
- Gradually increase your riding time to build consistency and comfort on the bike.
- Always wear protective gear and stay aware of your surroundings to reinforce safety.
With time, you’ll feel more confident and ready to take on new riding challenges!
Take on Small Hills and Different Terrains
As you gain confidence on flat ground, start tackling small hills and varied terrains to enhance your control and balance. Begin with small hills to practice controlling your speed and maintaining balance while going up and down.
Use lower gears on different terrains to pedal with ease and keep better control. When climbing, lean slightly forward to stay balanced and avoid slipping backward.
While descending, keep your weight centered and brake smoothly to control speed safely. Riding on gravel, dirt, and uneven pavement will improve your bike handling and adaptability.
| Terrain Type | Tip |
|---|---|
| Small Hills Uphill | Lean forward, use low gear |
| Small Hills Downhill | Keep weight centered, brake gently |
| Gravel | Lower gears, steady pedaling |
| Dirt | Watch for loose surfaces |
| Uneven Pavement | Stay relaxed, adjust speed |
Tackling small hills and different terrains builds your skill and confidence steadily. Keep at it, and you’ll notice the difference in no time!
Ride Regularly to Make Your Skills Permanent
Tackling hills and varied terrains sharpens your skills, but practicing regularly is what truly makes those abilities stick. To make your ride skills permanent, you need steady learning and repetition.
When you ride frequently, your muscle memory strengthens, and coordination improves naturally. Here are three ways to keep your practice consistent:
- Ride several times a week, turning it into a habit that reinforces your learning.
- Practice with friends or family to stay motivated and enjoy your rides.
- Replace short car trips with bike rides to increase your daily riding opportunities.
Consistent riding helps shift your skills from conscious effort to automatic behavior, making cycling more intuitive and enjoyable. Celebrate your progress to stay motivated and confident.
That way, you’ll be encouraged to keep riding regularly. The more you ride, the more permanent your cycling skills become.
Frequently Asked Questions
How to Ride a Bicycle Step by Step for Beginners?
You start by adjusting your seat for comfort, then practice balancing while walking the bike.
Once steady, pedal by pushing off one foot. Use brakes to stop, and keep practicing until you ride smoothly and confidently.
It might feel tricky at first, but don’t give up! With a bit of time, you’ll get the hang of it.
What Is the Trick to Riding a Bike?
The trick to riding a bike is balancing while pedaling, steering, and braking. You’ll gain confidence by gliding, pushing, and adjusting your bike.
Keep practicing, controlling speed, and you’ll soon ride smoothly and confidently. Just take it step by step, and before you know it, you’ll be cruising like a pro!
How Do I Teach Myself to Ride a Bicycle?
You start by practicing balance without pedals, pushing off with your feet to glide. Once steady, add pedals and practice pedaling.
Use videos for guidance and consistently practice in a safe area to build confidence.
It might feel tricky at first, but keep at it! You’ll get the hang of it before you know it.
What Is the Easiest Bike Trick to Learn?
Gliding on your bike is like floating on a gentle wave—it’s the easiest trick to learn. You’ll push off with one foot, balance smoothly, and soon gain confidence.
This builds a solid base for all your riding skills. Give it a try, and you’ll see how fun and simple it can be!
Conclusion
Now that you’ve got the basics down, riding a bike will feel like second nature. Remember, each pedal stroke is a step closer to freedom and fun.
Keep practicing on different terrains, and don’t be afraid to fall—you’ll bounce back stronger every time. With patience and confidence, you’ll soon glide effortlessly.
Turning every ride into a breeze is just a matter of time. So hop on, trust yourself, and let the road be your playground! Riding a bicycle is all about enjoying the journey, building balance, and embracing the joy of movement. Keep these tips in mind, and you’ll master how to ride a bicycle with ease and confidence in no time.