How to Clean a Bicycle in 10 Easy Steps
To clean your bike in 10 easy steps, start by gathering all your tools and prepping your workspace. Having everything ready makes the process smoother and quicker.
Begin by rinsing off loose dirt gently with low-pressure water to avoid damaging any parts.
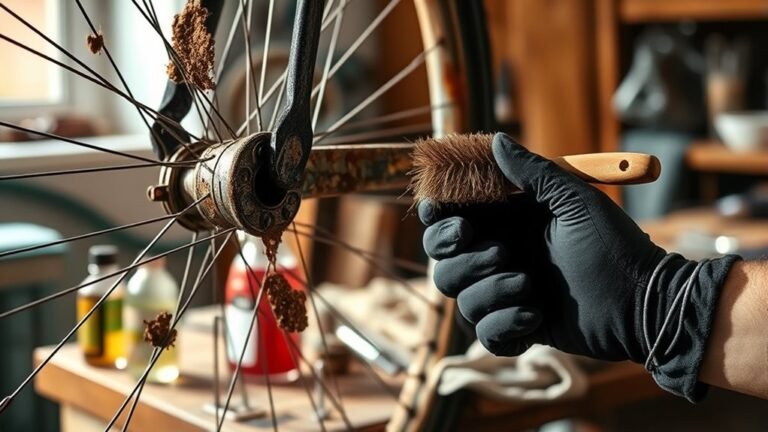
Next, spray degreaser on the drivetrain and scrub it thoroughly. Don’t rush this part because a clean drivetrain means better performance.
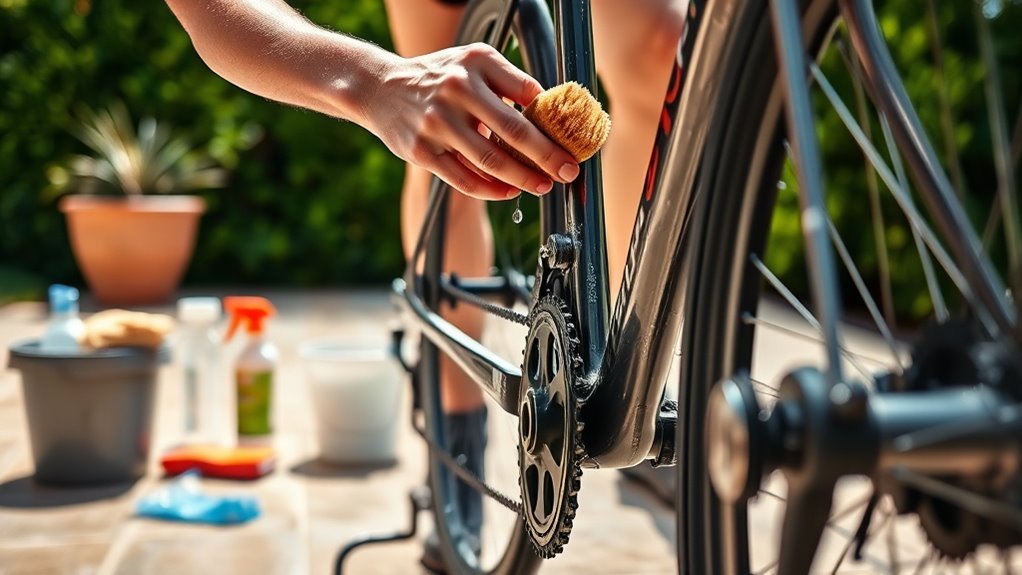
After that, clean the frame and wheels using soft brushes to avoid scratches.
Once everything is scrubbed, rinse your bike well to wash away any remaining dirt and cleaner.
Then, dry it completely to prevent rust from forming on metal parts.
Take a moment to inspect your bike for any wear or damage.
Clean the brake rotors and pads carefully to keep your brakes responsive.
Finally, apply chain wax and a protective wax coat to the frame.
Following these steps will help you enjoy a smooth ride and keep your bike in top shape for years to come.
Key Takeaways
– Rinse the bike gently from top to bottom using low-pressure water to loosen dirt without damaging components.
This helps get rid of the initial grime without causing any harm.
– Apply degreaser on the drivetrain, scrub thoroughly, then rinse off all residue completely.
Make sure you don’t leave any degreaser behind as it can affect performance.
– Clean the frame and wheels with soft brushes and microfiber cloths, focusing on hard-to-reach areas.
Those spots can be tricky, but a little extra attention goes a long way.
– Dry the bike thoroughly using microfiber cloths and air-dry in a well-ventilated space to prevent rust.
Proper drying is key to keeping your bike in good shape.
– Clean brake components carefully and lubricate the chain with wax for smooth performance and protection.
A well-lubricated chain makes your ride smoother and helps your bike last longer.
Gather the Right Tools and Prepare Your Workspace
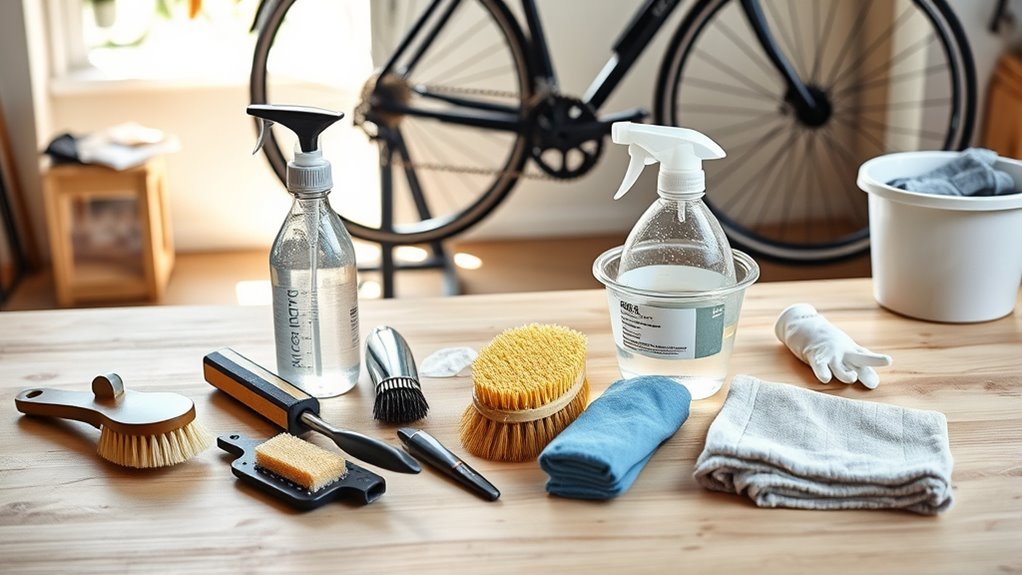
Before you plunge into cleaning your bicycle, make sure you gather the right tools and set up your workspace properly. Start by collecting essential cleaning tools like bike brushes, soft sponges, microfiber cloths, and a bucket filled with water. Having these tools ready guarantees your cleaning goes smoothly without interruptions.
Next, choose a well-ventilated workspace near a water source, such as a garden hose or a bucket, to make rinsing easier. Proper preparation also means wearing protective clothing like gloves and an apron to keep dirt and cleaning solutions off your skin and clothes. Don’t forget to have your degreaser, bike-specific cleaner, and lubricants within reach.
Finally, set up a stable work surface or a bike stand to hold your bicycle securely. This setup will give you better access to all parts of your bike, making the cleaning process more efficient and less frustrating. Good preparation makes all the difference.
Start With an Initial Rinse to Remove Loose Dirt
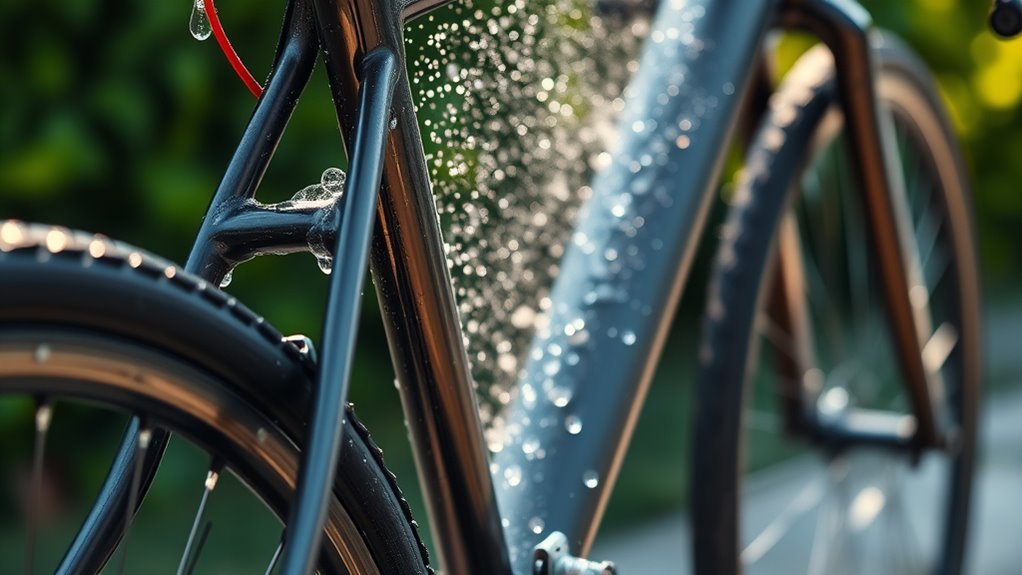
Start rinsing your bike with a gentle flow of water using a garden hose, bucket, or even a water bottle. Avoid high-pressure washers since they can damage sensitive parts like bearings.
Rinse from top to bottom to effectively wash away loose dirt and grime. This way, you’ll get the job done without causing any harm.
Choosing Rinse Methods
Although rinsing might seem straightforward, choosing the right method is essential to protect your bike while removing loose dirt. For the initial rinse, you can use a garden hose or a clean 10–20L bucket filled with water.
This step helps wash away grit and debris that could scratch your bike during cleaning. If you don’t have a hose handy, water bottles or even a shower can work as alternatives.
Always rinse from top to bottom to guarantee all loose dirt flows downward and off the bike. Using gentle water flow prevents damage while effectively prepping your bike for deeper cleaning.
Avoiding High-Pressure Damage
Why should you avoid high-pressure washers when cleaning your bike? High-pressure water can force dirt into bearings and hub seals. That kind of damage can be expensive to fix.
Instead, start with a gentle rinse using a garden hose or a bucket of water. This helps loosen loose dirt and grit without causing harm.
This initial rinse cleans without pushing contaminants into sensitive parts. It also helps prevent scratches when you scrub later. Always keep water pressure low to avoid damage.
Here’s a quick comparison to help you choose:
| Method | Water Pressure | Potential Damage |
|---|---|---|
| High-Pressure | High | Forces dirt into seals |
| Garden Hose | Low | Safe for components |
| Bucket Rinse | None | Gentle, effective |
Stick to low pressure to keep your bike clean and safe.
Degrease the Drivetrain Components
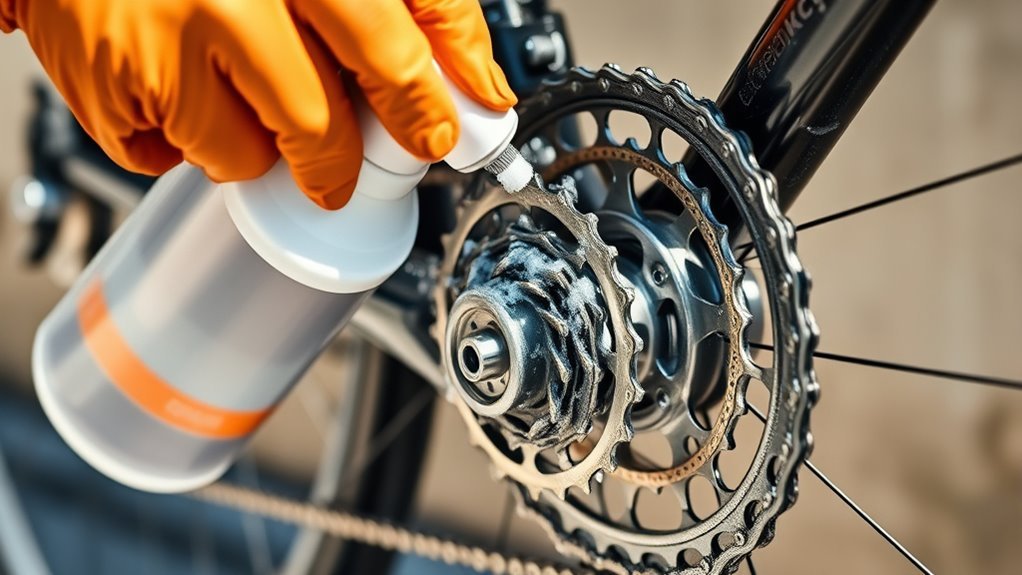
How do you tackle the grease and grime that build up on your bike’s drivetrain? Start by spraying a dedicated drivetrain degreaser directly onto the chain, cassette, derailleur, and crankset. This breaks down the stubborn grease and dirt, making cleaning easier.
Next, spin the cranks backward to coat every link, cog, and pulley evenly with the degreaser. Let it soak for 5–10 minutes to loosen buildup.
Then, grab a chain scrubber filled with degreaser or use brushes to scrub the drivetrain components thoroughly. This step ensures deep cleaning and removes grime lodged in tight spots.
Finally, rinse off all the degreaser completely with water to prevent residue, which could attract more dirt or cause wear.
Remember these key steps:
- Spray degreaser on all drivetrain parts
- Spin cranks backward to coat chain evenly
- Scrub chain and components with a chain scrubber or brushes
- Rinse thoroughly to remove all degreaser residue
Scrub the Frame and Other Components Gently
Start by using soft brushes or a microfiber cloth to clean the frame gently, working from the top down. Focus on flat surfaces first before tackling tight spots like joints and welds with smaller detail brushes.
This approach helps prevent scratches and guarantees you reach every nook without damaging your bike. Just take your time and be gentle—it really makes a difference!
Use Soft Brushes
When you clean your bike, using soft-bristled brushes helps protect delicate surfaces like carbon frames and matte finishes from scratches. Soft brushes are essential for gentle cleaning, making sure you don’t damage the paint or protective coatings.
For precision, use smaller brushes to reach tight spots around derailleurs or behind the bottom bracket. Avoid stiff or wire brushes, as they can easily gouge or scratch your bike.
Remember to:
- Choose soft brushes for all delicate surfaces
- Use smaller brushes for precise cleaning in tight areas
- Avoid brushes with stiff or wire bristles
- Regularly clean or replace brushes to keep them effective
This approach keeps your bike looking sharp without risking damage during cleaning. Easy, right? Just grab the right brushes and your bike will thank you!
Clean From Top
Where should you begin cleaning your bike? Always clean from top to bottom, starting with the handlebars and frame. This way, dirt won’t fall onto areas you’ve already cleaned.
Use a gentle brush or soft sponge to scrub the frame and components carefully, applying light pressure to avoid scratches. Focus first on flat surfaces like the top tube and down tube, then move to other parts such as seat stays.
After scrubbing, rinse the cleaned sections with water, working downward to prevent dirt from spreading. Finally, dry the frame thoroughly with a clean microfiber cloth to avoid water spots and rust.
Taking these steps guarantees your bike stays spotless without damage, making your cleaning efficient and effective. It really makes the whole process easier and keeps your bike looking great!
Target Tight Spots
After cleaning the main surfaces of your bike, it’s time to focus on tight spots that often trap dirt and grime. Use tapered detail brushes or small, soft-bristled brushes to reach tricky areas like behind the bottom bracket and under the saddle.
Gently scrub delicate parts to avoid damaging paint or components. And hey, remember to keep water away from sensitive areas such as brake calipers and gear shifters. Finally, pat dry with a microfiber cloth to prevent moisture buildup.
- Use tapered detail brushes to access tight spots
- Gently scrub chainstays, seat tubes, and cable housings
- Apply light soapy water to brushes for effective cleaning
- Dry tight spots thoroughly with a microfiber cloth
Thoroughly Clean the Wheels and Drivetrain Parts
Since the wheels and drivetrain endure the most dirt and grime, you’ll want to start by removing loose debris with a toothed gear brush or soft-bristled brush before applying any cleaning solutions. Focus on the drivetrain parts, especially the gears and cogs, to prevent buildup that can cause shifting problems and wear.
Begin by brushing away loose dirt from wheels and drivetrain to avoid wear and shifting issues.
Next, lean the wheel to avoid degreaser entering the bearings, then scrub the cogs and cassette thoroughly with a gear brush and an environmentally-friendly degreaser. Don’t forget to clean spokes, rim edges, and hubs with soapy water to remove remaining grime.
Make sure to scrape out dirt trapped between gears and cogs to maintain smooth performance. Finally, dry the wheels carefully with a clean towel or compressed air, paying close attention to brake rotors and hub areas to prevent rust.
This thorough cleaning will keep your bike’s wheels and drivetrain running efficiently and extend their lifespan. It’s worth the effort to keep everything working smoothly!
Rinse the Entire Bike to Remove Soap and Residue
Now it’s time to rinse your bike thoroughly with water to remove all soap and residue. Use a gentle, low-pressure stream to avoid damaging sensitive parts like bearings.
Start at the top and work your way down until the water runs clear. This way, you make sure every bit of soap is washed away. Easy, right?
Thorough Water Rinsing
Though it might be tempting to use a high-pressure hose, you should rinse your bike gently with a low-pressure stream to remove all soap and grime without forcing dirt into sensitive parts.
To thoroughly rinse and remove soap from the entire bike, focus on these key steps:
- Use water to rinse from the top down, letting gravity carry away loosened dirt.
- Cover every surface, including the frame, wheels, chain, and components.
- Don’t forget hidden areas like under the saddle, inside derailleur cages, and around bottom brackets.
- Make sure the entire bike is free of soap residue to prevent buildup and corrosion.
Taking your time here really pays off, so your bike stays clean and in great shape!
Avoid High-Pressure Damage
Rinsing your bike thoroughly with water removes soap and grime, but it’s important to use a gentle stream rather than a high-pressure spray.
Avoid using a high-pressure washer because it can force water into delicate parts like bearings, seals, and hubs. This water intrusion can cause damage and reduce your bike’s lifespan.
Instead, use a garden hose on low pressure to rinse thoroughly from top to bottom. This will carry away soap and dirt without pushing grime into sensitive areas.
Taking care to rinse gently helps keep internal components dry and lubricated. By steering clear of harsh water blasts, you protect your bike’s sealed components and ensure it stays in great condition for many rides to come.
Dry the Bike Completely to Prevent Rust and Damage
Because water can easily seep into bearings and other sensitive parts, you should dry your bike thoroughly right after washing it to prevent rust and damage. Start by grabbing a clean microfibre cloth or a dry rag to wipe down every part, focusing on hubs, bottom brackets, and chain links where moisture hides.
After wiping, place your bike in a warm, well-ventilated area to air-dry. This is much more effective for rust prevention than leaving it in a cold or damp spot. For tight spaces, consider using compressed air to blow out lingering water droplets.
Here’s how to dry your bike effectively:
- Use a microfibre cloth or dry rag for all surfaces
- Pay special attention to moisture-prone parts
- Air-dry in a warm, ventilated spot
- Use compressed air for crevices
Ensuring your bike is completely dry helps you avoid rust and keeps it in top condition. It’s a simple step, but it really makes a difference!
Inspect Your Bike for Damage and Wear
Once your bike is completely dry, take some time to inspect it carefully for any damage or wear. Start by checking the frame for cracks, dents, or paint chips—these could signal structural issues that might need professional attention.
Next, inspect the drivetrain components, including the chain, cassette, and derailleur, for signs of excessive wear or damage that could affect performance. Don’t forget to examine bolts, nuts, and screws; tighten any that feel loose to keep your bike secure during rides.
Also, closely inspect the brake pads for wear, making sure they aren’t too thin. Worn pads can really compromise your safety, so it’s important to catch that early.
Clean Bike Brake Rotors and Pads
Before you plunge into cleaning your bike’s brake rotors and pads, grab a microfiber cloth and some Cyclon Brake Cleaner to tackle dirt, oil, and brake dust that build up over time.
Start by spraying the cleaner onto the microfiber cloth, never directly on the brake rotors, to avoid overspray. Wipe each brake rotor thoroughly, removing all grime and brake dust without touching the surface with your fingers, as oils can reduce braking efficiency.
Follow these steps to ensure a safe cleaning process:
- Use a dedicated microfiber cloth for each rotor to prevent cross-contamination.
- Carefully wipe between the brake pads and rotors to clear any residue.
Make sure you repeat the cleaning process on both front and rear rotors. And don’t forget, avoid contaminating the brake pads during cleaning.
Apply Chain Wax and Protective Wax to Finish
When your chain is clean and dry, apply Squirt Chain Wax by placing one drop on each link to guarantee deep lubrication where it’s needed most. Focus on the inside of the chain links to ensure smooth operation and reduce wear.
Be careful not to over-apply, as excess wax can attract dirt and create a mess during your ride. After applying, let the wax sit for 2 to 3 hours so it can fully penetrate and bond within the chain links, providing lasting protection.
To finish, apply a light coat of protective wax, like Cyclon Polish Wax, on the frame and wheels. This adds shine, shields against dirt, and makes future cleaning easier.
Frequently Asked Questions
What Is the Best Way to Clean a Bicycle in Short Answer?
You should rinse your bike first, then apply bike-specific cleaner and scrub gently with soft brushes.
Rinse thoroughly, dry it well, and finally, lubricate the chain and moving parts to keep everything running smoothly.
Can I Use Dawn Dish Soap to Clean My Bicycle?
You shouldn’t use Dawn dish soap to clean your bicycle because it can strip wax, remove lubricants, and cause corrosion.
Instead, choose bike-specific cleaners that protect your paint and components while effectively cleaning your bike.
These are designed to be gentle yet effective, so your bike stays in great shape without any damage.
Trust me, it’s worth using the right products to keep your ride looking and performing its best!
How to Clean a Bike for Beginners?
You want to ride smoother, look sharper, feel proud.
So, rinse your bike first. Then, scrub gently with bike cleaner.
Next, degrease the chain. Rinse thoroughly after that.
Dry your bike well, and don’t forget to lubricate.
You’ll keep your bike happy and performing great.
What Is the Best Thing to Clean a Bike With?
You should use a dedicated, environmentally friendly bike cleaner or biodegradable soap designed for bicycles. These are gentle and safe for your bike’s finish.
Avoid harsh chemicals and regular dish soap. They might seem fine at first, but they can damage your bike’s paint and components over time. So, it’s better to stick with products made specifically for bikes.
Conclusion
Now that you’ve cleaned your bike step by step, it’s ready to shine like new and perform smoothly on every ride. Keeping your bike clean isn’t just about looks; it’s like giving your bike a fresh breath of life.
Regular bike cleaning helps your ride last longer and perform better. It’s a simple way to protect your investment and avoid costly repairs down the road.
Make this cleaning routine part of your bike care. You’ll enjoy every journey with confidence and ease, knowing your bike is in top shape.
Remember, a clean bike isn’t just pretty—it rides better, too. So keep up with regular maintenance and watch your bike stay smooth and reliable for many miles to come!