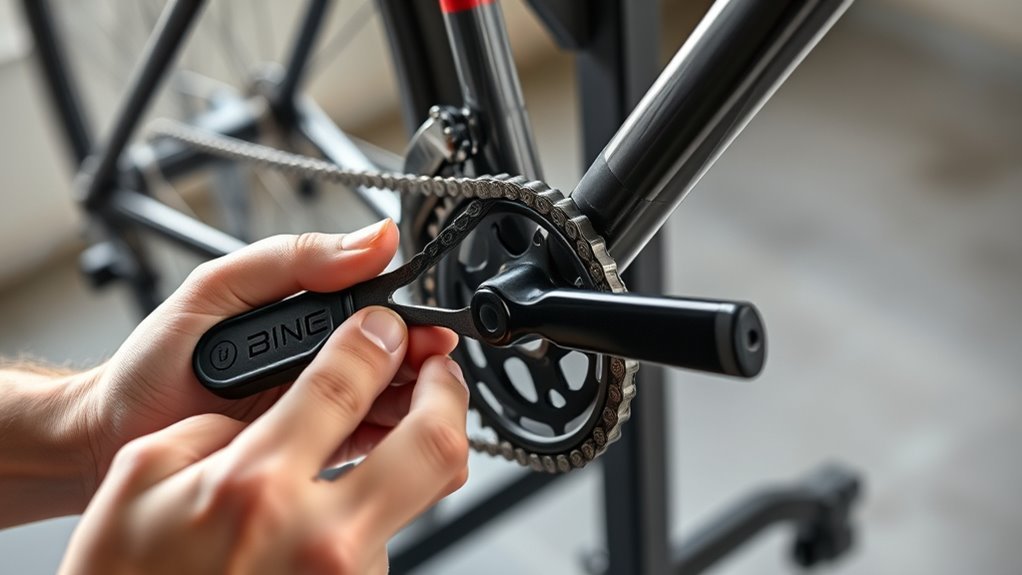
How to Remove a Bike Chain in 3 Easy Steps
First, identify your bike chain type by looking for a quick link or master link. These usually stand out by shape or color, making them easier to spot. Knowing your chain type is key to removing it safely without causing damage.
Next, disconnect the chain by pressing the quick link with your fingers or using master link pliers.
If your chain doesn’t have a quick or master link, grab a chain tool to carefully push out a pin. Take your time here to avoid bending or breaking anything.
Finally, gently remove the chain once it’s disconnected. Be careful not to force it, as this can cause damage.
After you’ve removed your bike chain, you’ll find tips to inspect, maintain, and extend your chain’s life, keeping your ride smooth and efficient.
Key Takeaways
- Locate the quick link or master link on the bike chain for easy disconnection. Use master link pliers or your fingers to release the quick link without tools.
- If there’s no quick link, grab a chain tool and carefully push out a pin. Make sure the chain has some slack before you pull it apart to avoid any damage.
- Handle the chain gently while removing it. After you’re done, take a moment to inspect the chain for any wear or damage.
Identify Your Bike Chain Type
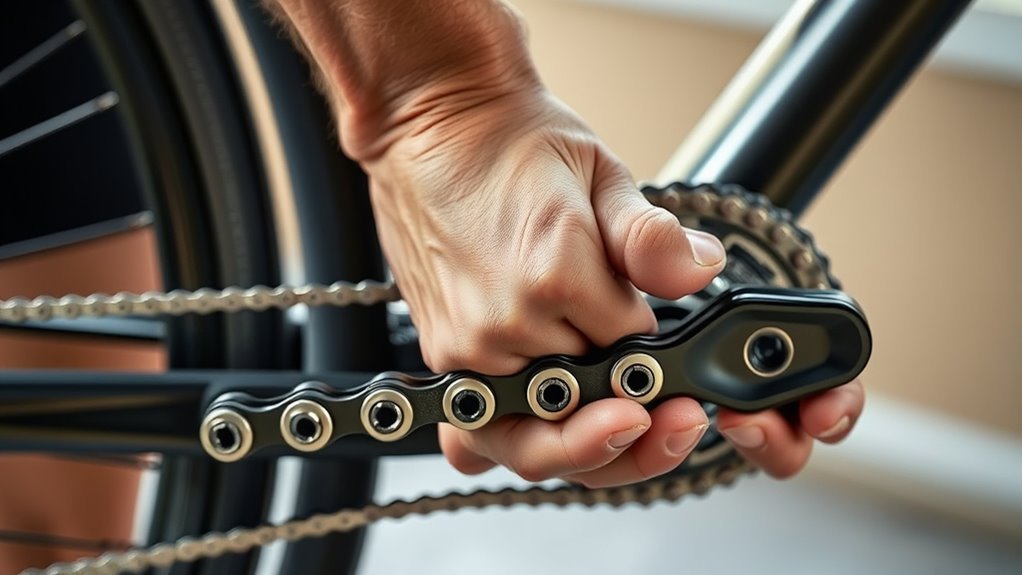
Before you remove your bike chain, you’ll want to identify its type to guarantee you use the right method. Start with a thorough chain inspection to check for a quick link or master link.
Identify your bike chain type first by inspecting for a quick link or master link before removal.
A quick link usually stands out with a different shape or color, while a master link might have an arrow or a special pin that separates without tools. Identifying chain type matters because single-speed and geared chains differ in construction and repair methods.
Count the chain links or measure a 12-inch section; a standard chain typically has 12 full links per foot. Pay attention to chain wear and uniformity in chain construction—regular links look consistent, whereas quick links or master links are designed for easy removal.
Knowing your chain type helps you decide if you need master link pliers or other tools later on. Taking these steps ensures smooth chain repair and prevents damage during removal.
Disconnect the Chain Using a Quick Link or Chain Tool
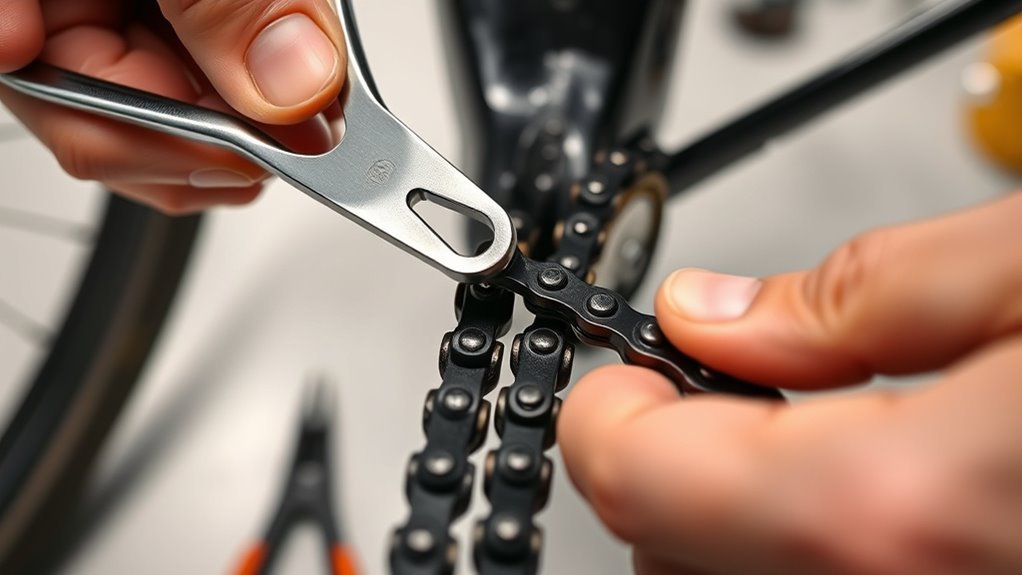
When you’re ready to disconnect your bike chain, start by locating the quick link or master link. This link usually looks different from the other links.
If your chain has a quick link designed for tool-free removal, use your fingers or master link pliers to squeeze and release it. Make sure the chain is slack before you pull it apart to avoid damage.
If the quick link is stubborn, gently use a chain tool or chain link pliers to grip and separate it. Once the chain is disconnected, take a moment to inspect the chain and master link for wear or damage.
Use a chain cleaner or wipe the chain with a rag to remove grime. This makes inspection easier and helps you spot any issues.
If the master link shows signs of fatigue, replace it before reassembling. Taking these steps ensures your chain gets removed safely and is ready for maintenance or replacement without causing unnecessary wear or injury.
Safely Remove Your Bike Chain
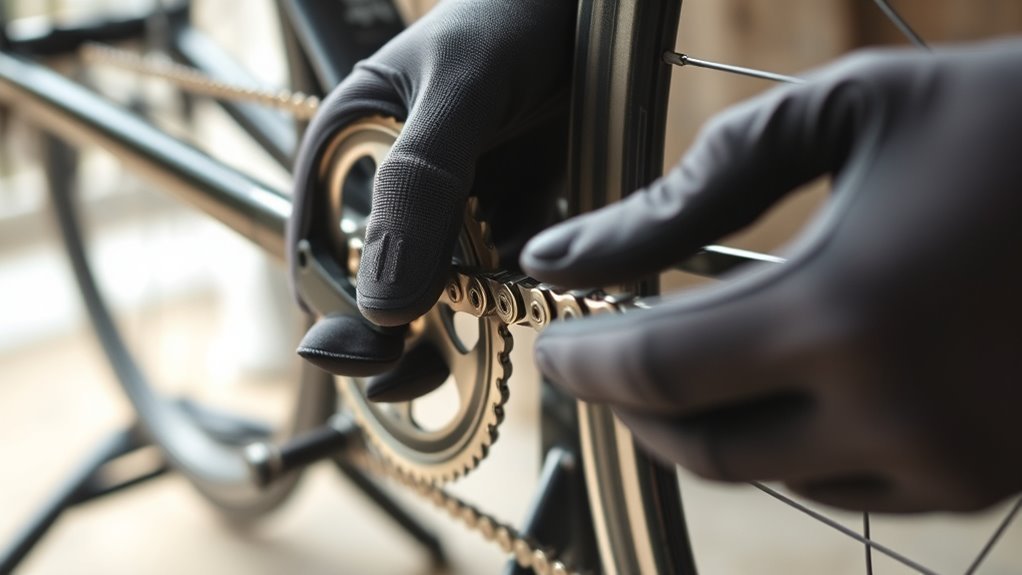
Although removing your bike chain might seem tricky, you can do it safely by using the right tools and techniques. First, identify if your bike chain has a quick link or a master link.
For a quick link, simply use master link pliers to squeeze and release the connector, making chain removal quick and tool-efficient. If your chain lacks a quick link, grab a chain tool to carefully push out the chain pin by turning the handle clockwise.
Be gentle to avoid damaging the chain or chain pin during removal. After disconnecting, inspect the chain for signs of chain wear or damage. This step is vital for proper bike maintenance, as worn chains can affect performance.
Finally, decide if your chain requires thorough chain cleaning or replacement. By following these steps, you guarantee safe and effective chain removal, extending your bike chain’s lifespan and maintaining smooth rides.
Frequently Asked Questions
How Can I Remove My Bike Chain Without a Tool?
You can remove your bike chain without tools by finding the master link and squeezing it with your fingers or pliers.
If there’s a split link, slide off the side plate carefully, making sure the chain is slack first.
Just take it slow and steady, and you’ll get the chain off in no time!
How to Get a Chain off a Kids Bike?
Don’t worry if you lack special tools—you can remove a kid’s bike chain by shifting to the smallest gear. Then, find the quick link, which is usually easy to spot.
Next, squeeze and pull it apart with your fingers or pliers. It’s easy and pretty much tool-free!
How to Take a Bike Chain off With Pliers?
You grip the master link with pliers, squeezing firmly to compress the side plates and release it. Once disconnected, carefully pull the chain apart.
If there’s no quick link, use pliers to gently remove the clips or side plates. Just take your time and be careful not to damage anything.
What Can I Use Instead of a Chain Tool?
Did you know 70% of cyclists don’t carry a chain tool?
You can use needle-nose pliers, a flathead screwdriver, or even a pin punch and hammer. But be careful—they risk damaging your chain if not done gently.
Conclusion
Now that you’ve removed your bike chain, you might realize it’s just like fixing a stubborn zipper—once you know the trick, it’s surprisingly simple. Coincidentally, both need the right tool and a bit of patience.
So, whether you’re gearing up for maintenance or just curious, you’ve got this! With these easy steps, you’ll be back on the road in no time, feeling like a pro who’s mastered yet another handy skill.
Removing a bike chain doesn’t have to be complicated. By following these simple steps, you can save time and avoid frustration. This skill is essential for anyone who wants to keep their bike in top shape or perform routine maintenance.
Remember, having the right tools and a little patience makes all the difference. Once you get the hang of removing a bike chain, you’ll find it easier to clean, repair, or replace it whenever needed. So go ahead, give it a try—you’re well on your way to becoming a bike maintenance expert!