How to Change a Bicycle Tire in 5 Easy Steps
To change a bicycle tire in five easy steps, start by removing the wheel. Shift gears, release the brakes, and then loosen the axle or quick-release to get the wheel off smoothly.
Next, fully deflate the tire and use tire levers to pry one bead off the rim. Pull out the old tube carefully.
Take a moment to inspect both the tire and tube for any damage or debris. This helps prevent future flats.
Now, insert a new tube inside the tire. Make sure the tire bead is seated evenly all around the rim before inflating it gradually.
Finally, reinstall the wheel securely on your bike. Check that the brakes are aligned properly and that the tire is seated correctly. With practice, you’ll master each step confidently!
Removing the Wheel
Before you remove the wheel, shift your bike to the smallest gear to make the process easier, especially for the rear wheel. Start by opening the quick-release lever or loosening the axle nuts with a wrench, depending on your wheel attachment type.
If your bike uses rim brakes, release or open the brake calipers to allow the wheel to pass through without obstruction. Carefully lift the wheel out of the dropouts, making sure to support it firmly so it doesn’t fall or get damaged.
Check that the wheel is fully free from the frame or fork before you proceed. At this stage, you haven’t deflated or removed the tire yet—just focus on safely removing the wheel itself.
Deflating and Removing the Tire
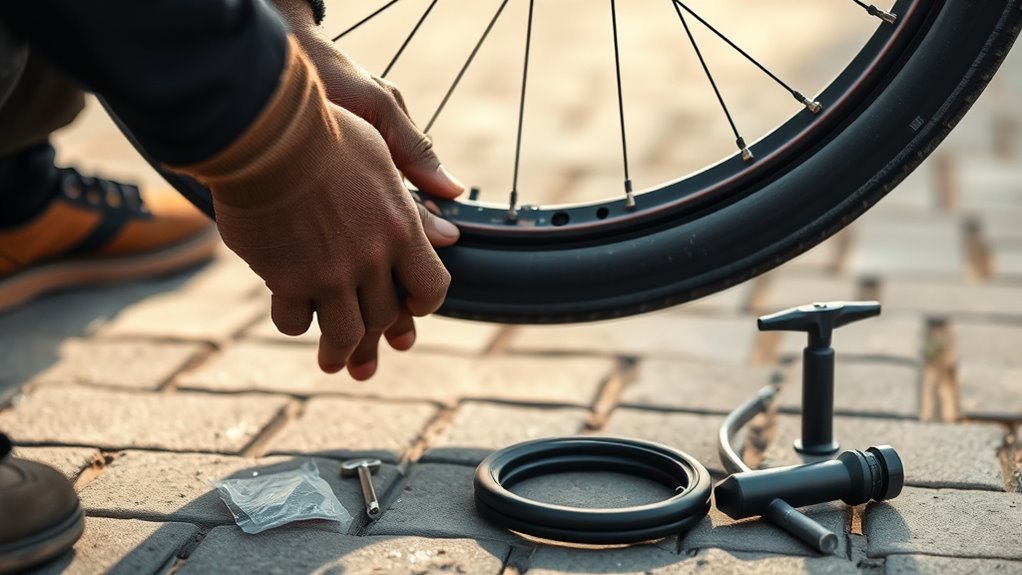
To start deflating the tire, press down on the valve stem to release all the air inside. Once it’s fully deflated, you can use tire levers to carefully unseat the bead of the tire from the rim.
Here’s how to proceed: Insert a tire lever under the tire’s bead and lift it over the rim edge. If needed, secure the lever to a spoke and use a second lever to work around the rim.
Gradually unseat the bead all the way around one side of the wheel. Then, starting at the valve stem, gently pull the inner tube out through the rim hole.
Inspecting the Tire and Tube
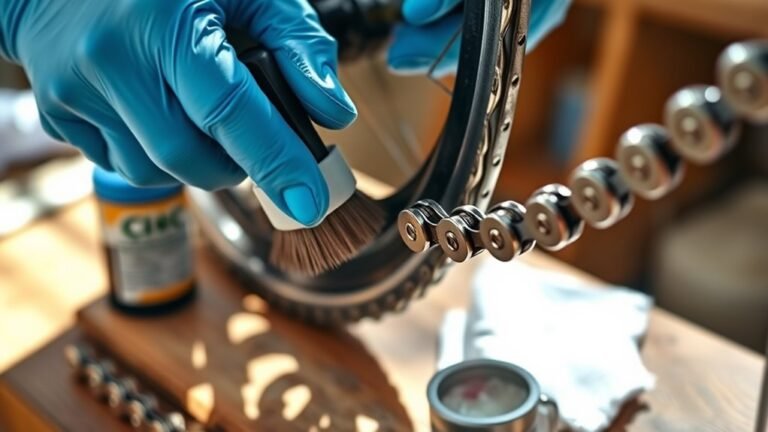
After removing the tube, take a close look at both the tire and tube for any sharp objects like glass or thorns that might have caused the puncture.
Start your tire inspection by thoroughly examining the inner surface for embedded debris or sharp objects. Don’t forget to check the tire tread for nails or thorns that could be flat causes.
Begin by inspecting the tire’s inner surface and tread for any sharp debris or puncture-causing objects.
Next, perform a damage inspection on the sidewall for cuts, holes, or cracks compromising the tire’s integrity. Inspect the rim strip for any tears or shifts that might expose the rim and cause further flats.
Finally, do a valve check to ensure it’s clean, properly threaded, and undamaged. Carefully perform object removal to prevent future punctures before moving on.
Installing the New Tube and Tire
Once you have a new tube ready, start by inserting the valve stem through the rim hole. Make sure it sits straight and secure.
Next, tuck the tube evenly inside the tire. Be careful to avoid pinching the tube between the tire and rim. Then, work around the rim to seat the tire bead properly.
Begin seating the tire bead at the valve, working your way around the rim by hand. Use tire levers carefully if needed to fully seat the second bead without pinching the tube.
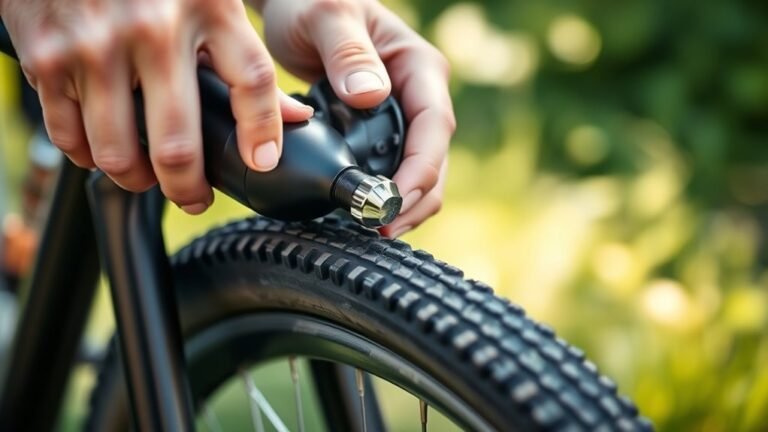
Check for bulges or gaps to make sure the tire is evenly seated. Inflate the tire gradually to the recommended pressure, and keep an eye on the bead to confirm it stays seated evenly inside the rim.
This way, you’ll install the new tube and tire securely and smoothly.
Reinstalling the Wheel and Final Checks
With the new tube and tire securely installed and inflated, you can now focus on reinstalling the wheel. First, align the wheel with the dropouts and install the wheel by inserting the axle or quick-release skewer securely. Make sure the wheel is centered in the fork or frame.
Tighten the quick-release lever or axle nuts firmly to keep the wheel stable. Next, spin the wheel to check that it rotates freely and doesn’t rub against the brake pads.
Reconnect or adjust the brake so the pads engage smoothly and align properly with the rim. Finally, check that the tire is fully seated on the rim and inflated to the recommended PSI.
Go ahead and perform a brief test ride to ensure the wheel is secure and the brakes function correctly before your final ride.
Conclusion
Changing a bicycle tire might seem like a bit of a hassle, but once you get the hang of it, it’s a simple way to keep your ride smooth and worry-free.
With just a few gentle nudges and some patient hands, you’re giving your bike a little spa day it deserves.
So, don’t shy away—embrace the process, and soon you’ll be back on the road, confident and ready for your next adventure.
Changing a bicycle tire is a handy skill every cyclist should know. It keeps your bike in top shape and prevents unexpected stops.
By learning how to change a tire step-by-step, you save time and avoid the frustration of being stuck with a flat.
With practice, changing a bicycle tire becomes second nature, making your rides smoother and more enjoyable.