Change Your Bike Inner Tube in 10 Simple Steps
To change your bike inner tube in 10 simple steps, first gather your tools and remove the wheel from your bike. Make sure you have everything ready before you start.
Fully deflate the damaged tube, then use tire levers to pry off the tire and pull out the old tube.
Next, partially inflate the new tube to give it shape. Align it carefully with the valve hole, and then seat the tire bead without pinching the tube.
This part takes a bit of patience, but you’ll get it down in no time.
Finally, inflate the tube to the recommended pressure and reinstall the wheel securely on your bike.
Keep going through each step, and soon you’ll be able to change your bike inner tube with confidence and ease. It’s easier than you think!
Key Takeaways
- Remove the wheel by loosening the quick-release or axle nuts and disengaging the brakes.
- Deflate the damaged inner tube completely and use tire levers to carefully remove the tire from the rim.
- Pull out the punctured inner tube and inspect the tire for debris or damage before inserting a new tube.
- Partially inflate the new tube, align the valve with the rim hole, and carefully reseat the tire bead over the rim.
- Inflate the tube gradually, ensure even seating of the tire, then reinstall and securely fasten the wheel to the bike.
Get Your Tools Ready for Inner Tube Replacement
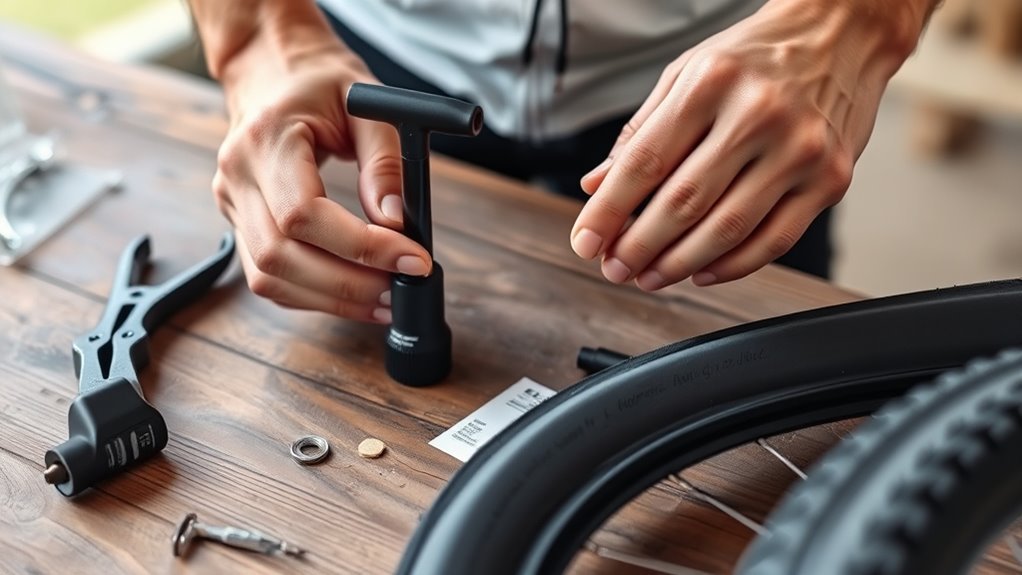
Before you begin changing your bike’s inner tube, make sure you’ve gathered all the necessary tools: tire levers, a pump or CO2 inflater, and a spare tube or patch kit. Check that your tools are clean and in good condition to avoid damaging your tire or the new tube.
It’s essential to confirm your pump or inflater matches your valve type—Presta or Schrader—so you don’t hit any snags when inflating. Organize everything in an accessible spot, like a saddle bag or a toolkit, so you can grab what you need quickly during the repair.
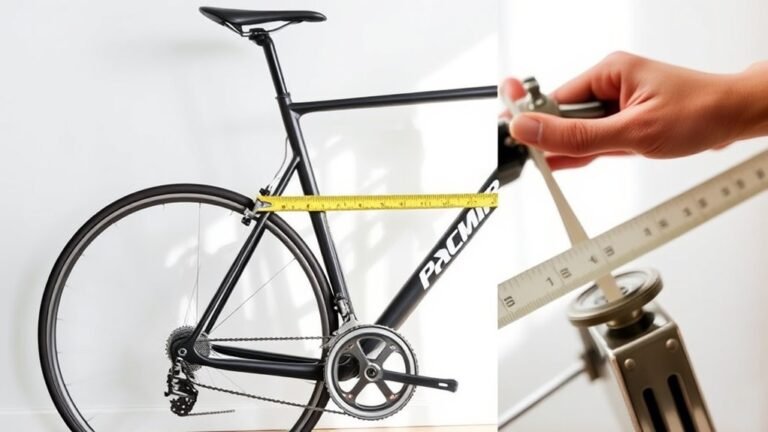
Also, double-check that the inner tube you have matches your bike’s rim size exactly. Using the right size ensures a proper fit and prevents future flats.
Remove the Wheel for Tube Replacement

Start by loosening the quick-release lever or axle nuts to free the wheel from the frame. Carefully detach the wheel, making sure not to damage the brake pads or derailleur.
Handle the wheel gently to keep everything in good shape for reassembly. It’s a simple step, but being careful now will save you hassle later.
Loosen Wheel Quick Release
When you flip open the quick release lever, you release the skewer that holds your wheel in place. If the wheel feels tight, turn the adjusting nut on the opposite side to loosen it.
For rear wheels, shift the derailleur to ease tension and simplify removal. Make sure the quick release lever is fully open before you gently pull the wheel away, ensuring the axle clears the dropouts.
| Step | Action |
|---|---|
| 1 | Flip open the quick release lever |
| 2 | Turn adjusting nut if needed |
| 3 | Shift derailleur (rear wheel) |
| 4 | Confirm lever is fully open |
| 5 | Gently pull wheel clear of frame |
Following these steps will get your wheel ready for tube replacement efficiently.
Detach Wheel From Frame
Although loosening the quick release is essential, you’ll need to shift your bike into the smallest gear and release the brakes to free the wheel completely.
If your bike uses rim brakes, open or release the brake calipers so the wheel can pass through without obstruction. For quick-release axles, open the lever and unscrew the nut on the opposite side if there is one, then lift the wheel clear from the fork or dropout.
If your wheel is bolt-on, grab a wrench to loosen and remove the nuts securing it to the frame or fork. As you lift the wheel out, be mindful of the brake cable and chain to avoid snagging.
With the wheel free, you’re ready to proceed with tube replacement.
Handle Wheel With Care
With the wheel fully detached from the frame, you’ll want to handle it carefully to avoid any damage. First, support the wheel firmly to prevent it from falling or getting scratched.
If the brake calipers or cables still interfere, release them gently to avoid bending or breaking any parts. Use the quick-release lever or proper tools to detach the wheel safely. But be careful—not to apply excessive force that could bend the rim or damage the spokes.
Once removed, place the wheel on a soft surface or hold it securely while you work on the inner tube. Managing the wheel with care ensures it stays in good condition. This makes the tube replacement process smoother and protects your bike’s performance in the long run.
Deflate the Inner Tube Completely
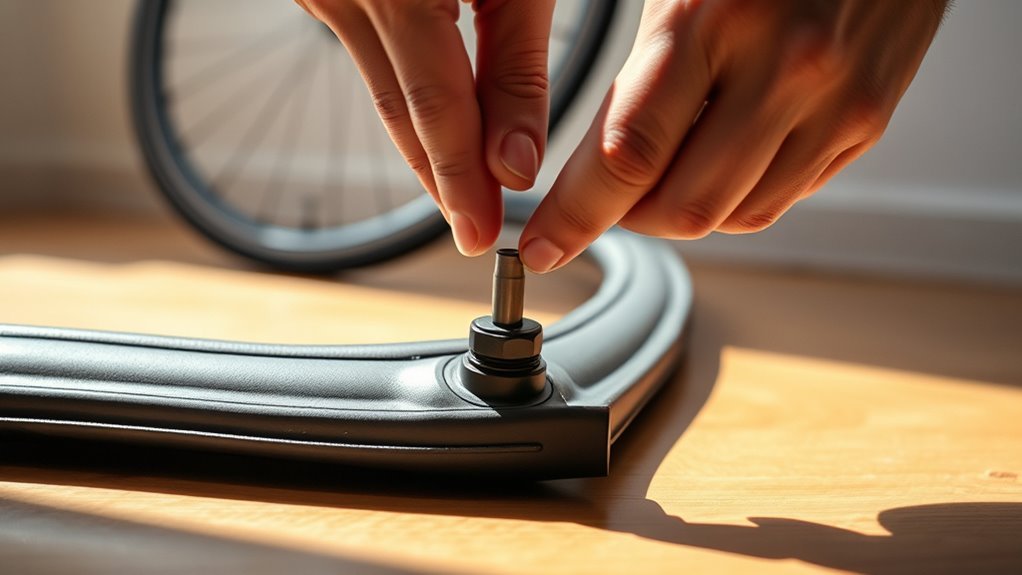
Start by removing any valve components like the locknut or valve cap to access the valve fully. Open the valve and press the stem to release all the air inside the tube.
Once deflated, loosen the tire beads to make it easier to remove the tube. It’s a simple step but really helps when you’re working with the tire.
Remove Valve Components
Before removing the inner tube, make sure you fully deflate it by pressing down on the valve to release any trapped air. For Presta valves, loosen the locknut and unscrew the valve core if needed to let all the air escape.
You can use the valve cap or a small tool to depress the valve and guarantee complete deflation. This step is vital because any remaining air can make removing the tube from the tire and rim more difficult.
Always double-check that the inner tube is completely deflated before you proceed. Removing the valve components carefully prevents damage and makes the next steps smoother, setting you up for an easier tube replacement or repair.
Release Remaining Air
Although you’ve already loosened the valve components, you’ll need to press down on the valve stem to release any remaining air completely.
If you’re working with a Presta valve, first loosen the locknut to allow air to escape freely, then depress the valve stem. For Schrader valves, press the center pin using a small tool or the pump’s end to let out residual air.
Fully deflating the tube prevents accidental punctures and makes removal much easier. Don’t rush this step—make sure all the air is out before moving on.
Taking the time to deflate completely will save you hassle and keep your tube safe as you continue with the process.
Loosen Tire Beads
Once you’ve fully deflated the inner tube, you can ease the tire beads away from the rim by pushing them toward the wheel’s center. This step reduces tension on the tire beads, making them easier to loosen.
Before you start, press the valve core to release any trapped air inside the tube. Work your way around the tire, gently pushing the beads toward the middle of the rim. This creates enough space to lift the beads over the rim edges without damaging the tire or rim.
Make sure to loosen the beads evenly around the entire circumference for smooth removal. Taking your time here prevents unnecessary strain and guarantees you can remove the inner tube safely and efficiently.
Pry off the Tire With Tire Levers
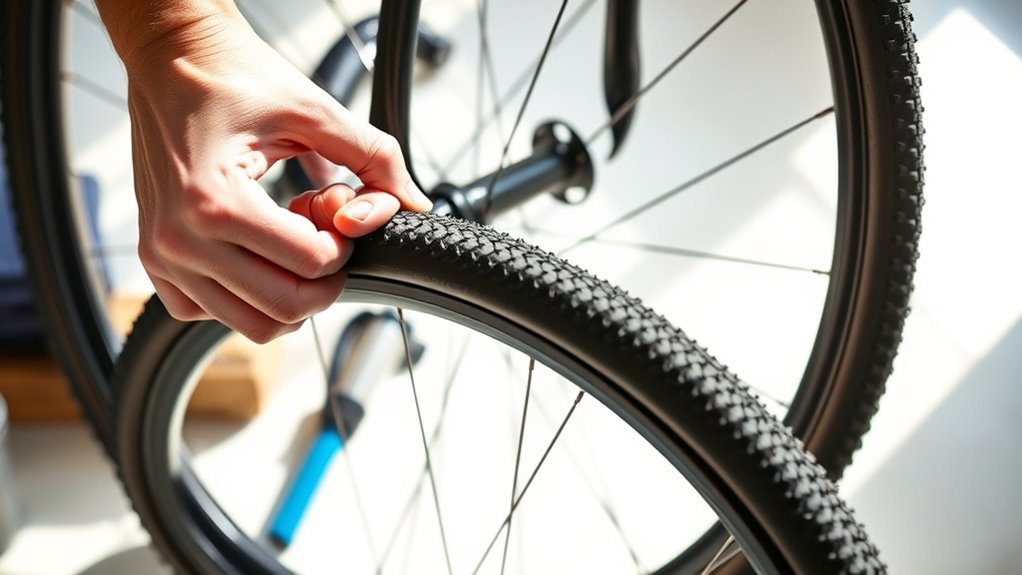
When you use tire levers, start opposite the valve stem to get the best leverage for prying the tire bead away from the rim. Insert the flat end of a tire lever between the tire bead and rim, then gently lever upward to lift the tire edge off.
If needed, use additional tire levers around the rim, working slowly to avoid pinching or damaging the inner tube. Don’t force the tire off too quickly; patience helps protect your tire, rim, and tube.
Once the tire is partially lifted, you can use your hands to carefully pry the rest of the bead over the rim edge.
Keep in mind:
- Using multiple levers can make the process easier.
- Always start opposite the valve stem for better leverage.
- Handle the tire and levers gently to prevent damage.
This careful approach ensures a smooth tire removal, setting you up perfectly for the next step.
Remove the Damaged Inner Tube
Before you remove the damaged inner tube, make sure to fully deflate it to avoid any sudden pops. Then, push the tire beads toward the rim’s center to loosen the tire edges.
Next, use tire levers to carefully lift the tire bead over the rim. Once that’s done, you can take out the tube.
Fully Deflate The Tube
Although it might seem simple, fully deflating the inner tube is essential before removal to avoid damage and ease the process. Start by pressing the valve stem to release all remaining air.
If you have a valve locknut or cap, unscrew and remove it to make deflation easier. For Presta valves, loosen the small locknut and depress the valve to guarantee no air remains.
Press down on the tire to push the inner tube into the center of the rim, which helps when pulling it out.
- Completely release air to prevent tube damage during removal
- Remove or loosen valve components for better airflow
- Push the tube toward the rim’s center for easier extraction
Taking these steps ensures a smooth, damage-free tube removal.
Loosen Tire Beads
Since you’ve fully deflated the inner tube, you can now loosen the tire beads to free the damaged tube. Begin opposite the valve, where it’s easier to work, and gently pry the tire bead away from the rim.
Focus on the side farthest from the valve to prevent damaging the valve stem. Work your way gradually around the rim, lifting the bead over the edge bit by bit.
This reduces tension and helps release the tire from the rim’s sidewall. Once the bead is loosened all around, carefully lift it over the rim edge.
With the tire bead freed, you’ll be able to remove the damaged inner tube smoothly and prepare for the next step in replacing it.
Use Tire Levers
When you’re ready to remove the damaged inner tube, grab your tire levers and slide the flat end between the tire and rim to gently pry the bead away from the rim’s edge. Insert the lever under the tire bead and lever it over the rim to lift the bead.
You may need to use multiple levers, working around the rim to fully free the tire. Just take your time and be careful not to pinch or damage the tube or tire during this process.
Once loosened, carefully pull the inner tube out for inspection or replacement.
- Use multiple tire levers if one isn’t enough to lift the bead smoothly.
- Work slowly to avoid damaging the tire or tube.
- Always insert the lever flat end under the bead for safe prying.
Check Tire and Rim for Damage and Debris
Before you replace your bike’s inner tube, take a close look at the tire and rim to spot any damage or debris that could cause another flat. Carefully inspect the tire for embedded debris like glass, thorns, or metal shards that might puncture the new tube.
Check the tire tread and sidewalls for cuts, cracks, or signs of wear that could weaken the tire’s integrity. You don’t want to miss anything that could cause trouble later.
Next, examine the rim strip to verify it’s properly positioned and free from holes or tears that could expose the tube to damage. Look over the rim itself for sharp edges or burrs that might puncture the tube during installation or while riding.
Finally, clean off any dirt, dust, or debris from the rim surface to make sure the tire seals properly. Taking these steps helps prevent repeated flats and guarantees a safer, smoother ride.
Partially Inflate the New Inner Tube to Shape
After making sure your tire and rim are free from damage and debris, the next step is to partially inflate your new inner tube. This helps the tube keep its shape, making it easier to handle and reducing the risk of twisting or pinching during installation.
Inflate it to roughly 30-50% of the recommended pressure—enough to give it some rigidity without overstretching. This partial inflation lets you check the tube’s shape and orientation, so you can spot any issues before fully inflating it later.
Keep these points in mind when partially inflating your tube:
- A slightly inflated tube holds its form, easing alignment and insertion.
- Partial inflation prevents the tube from bunching or folding inside the tire.
- Checking shape early ensures the tube is properly oriented before final inflation.
This step sets you up for a smoother, damage-free installation.
Insert and Align the New Inner Tube
Since you’ve partially inflated the new inner tube to give it shape, start by carefully aligning the valve stem with the rim’s valve hole. Make certain the valve stem is straight, not crooked, to avoid leaks or damage.
Insert the valve stem fully through the rim hole, then hold the tube gently in place. Next, work the tire bead over the rim edge, beginning opposite the valve to minimize the risk of pinching the tube.
This careful alignment helps guarantee the tube sits evenly inside the tire.
Here’s a quick guide to keep in mind:
| Step | Tip |
|---|---|
| Inflate tube partially | Gives the tube shape |
| Align valve stem | Ensure it’s straight |
| Insert valve stem | Fully through rim hole |
| Hold tube in place | Prevents tube pinching |
| Start bead opposite valve | Minimizes tube damage |
Following these steps will help you insert and align the tube correctly, setting you up for a smooth tire reseat.
Reseat the Tire Bead Without Pinching
While reseating the tire bead, gently work it into the rim starting opposite the valve to avoid pinching the inner tube. Use soapy water on the bead and rim edge to help the tire slide in more easily and create a tight seal.
Gradually move around the tire, pushing the bead into place without forcing it. Slightly inflate the tire to generate pressure that helps the bead seat evenly against the rim walls.
Carefully inspect the bead as you go, making sure there are no pinched sections. If you notice uneven seating, deflate the tire a bit, adjust the bead, and re-inflate gradually.
This step-by-step approach prevents damage to your inner tube and guarantees a secure fit.
- Start opposite the valve to reduce tube pinching risk
- Use soapy water for smoother bead placement
- Inflate slightly to help the bead seat evenly and detect issues early
Inflate the Tire to Recommended Pressure and Reinstall the Wheel
Gently inflating the tire helps confirm the bead is seated evenly and the tube isn’t pinched. Use a bicycle pump or CO2 inflator to gradually fill the tire to the recommended pressure, which you’ll find on the tire sidewall, usually in PSI or bar.
Slowly inflating ensures the tire bead seats properly and prevents tube pinching for a smooth ride.
Make sure the valve is properly seated and secure before you start pumping to avoid air leaks and keep pressure steady. As you inflate, watch the tire bead carefully, ensuring it stays evenly seated around the rim.
Look out for any bulges or irregularities that might signal a pinched tube or improper fit. Once fully inflated and the tire looks smooth and firm, you’re ready to reinstall the wheel.
Place it back into the bike frame, then tighten the axle or quick-release skewer securely. This step is vital for safe riding, preventing the wheel from coming loose while you’re out on the road or trail.
Frequently Asked Questions
How Easy Is It to Change a Bike Tube?
It’s pretty easy to change a bike tube once you know the steps. You’ll just remove the wheel, deflate the tube, pry off the tire, replace the tube, and inflate carefully.
You’ll get quicker with practice! It’s not as tricky as it seems at first. Just take your time and you’ll be a pro in no time.
How to Change a Bike Tire Step by Step?
Wondering how to change a bike tire step by step? First, remove the wheel from your bike.
Next, use tire levers to pry off the tire carefully. Once the tire is off, you can replace or fix the tube inside.
After that, reseat the tire back onto the rim. Inflate it fully to make sure everything sits right.
Finally, reinstall the wheel securely on your bike. And you’re good to go!
How Much Does a Bike Shop Charge to Change an Inner Tube?
A bike shop usually charges you between $10 and $20 to change an inner tube. Sometimes, it’s a flat fee around $15 to $25, including parts and labor.
Extra repairs might cost more. So, it’s a good idea to ask what’s included before they start working on your bike.
Is It Possible to Change a Bike Inner Tube Without Removing the Wheel?
You can’t easily change a bike inner tube without removing the wheel, yet sometimes you might try working around the valve if the flat’s close.
Usually, though, wheel removal makes the job much simpler and cleaner. It just gives you way better access and makes things less frustrating.
Conclusion
Now that you’ve mastered changing your bike’s inner tube, imagine the freedom of hitting the road without worrying about flats. Isn’t it great to know you can handle this repair yourself?
With just a few tools and these simple steps, you’ve saved time and money while keeping your ride smooth. Next time you get a flat, you’ll be ready—confident and in control.
Changing your bike inner tube is easier than you think. Being able to fix a flat tire quickly means less downtime and more fun riding. So, whether you’re commuting or exploring trails, you’re prepared to keep rolling without hassle.
Ready to roll? With these bike maintenance skills under your belt, you’ll enjoy smoother rides and fewer interruptions. Keep practicing, and flat tires won’t slow you down anymore!