How Do You Measure Bicycle Size in 10 Easy Steps?
To measure your bicycle size, start by standing against a wall with your shoes on. Then, place a book snugly between your legs at the crotch. Mark the wall at the top edge of the book and measure from the floor to the mark—that’s your inseam.
This inseam measurement is key to finding the right bike frame size. It helps guarantee proper standover clearance, so you feel comfortable and safe when mounting your bike.
Next, adjust your saddle height so your knee bends about 15-20° when pedaling.
Don’t forget to position the handlebars for maximum comfort. Testing your fit is important—it makes sure everything feels just right before you hit the road.
Keep going to get all the details for a perfect ride!
Key Takeaways
- Measure your inseam by standing against a wall, placing a book between your legs, and marking the height to the floor.
- Use inseam length to find the correct frame size via a bike-specific size chart and standover height guidelines.
- Ensure at least 1-2 inches of clearance between the top tube and crotch for road bikes, and 2-4 inches for mountain bikes.
- Adjust saddle height so your knee has a 15-20° bend when the pedal is at its lowest position for proper leg extension.
- Test ride the bike to confirm comfort, control, and fit, making adjustments to saddle and handlebars as needed for safety.
Why Inseam Measurement Matters for Bike Fit
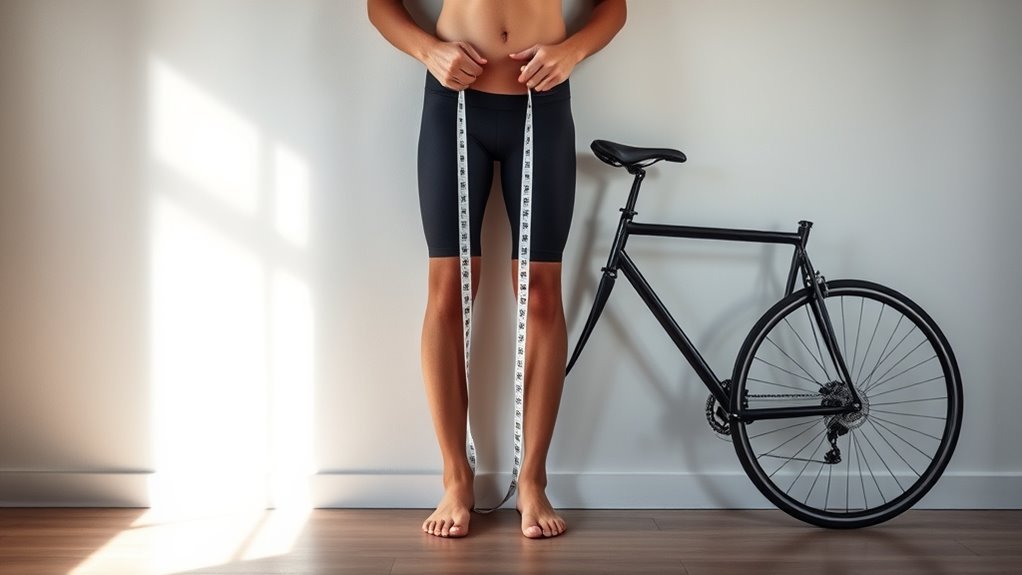
Because your inseam measurement directly reflects your leg length, it gives you a more accurate way to choose the right bike size than height alone. When you measure your inseam—from crotch to the bottom of your foot while standing against a wall—you get a precise figure that helps determine the proper size bike for you.
This measurement is essential for achieving a good bike fit, especially if you’re buying a bike online or selecting one for a child. Body proportions can vary widely, so inseam measurement really helps nail the right size.
Using your inseam measurement ensures you pick the correct wheel size and seat height, both critical for comfort and safety. Without this, you risk choosing a bike that’s too big or too small, which can hurt your confidence and control on the ride.
Simulate Saddle Height Using a Wall and Book
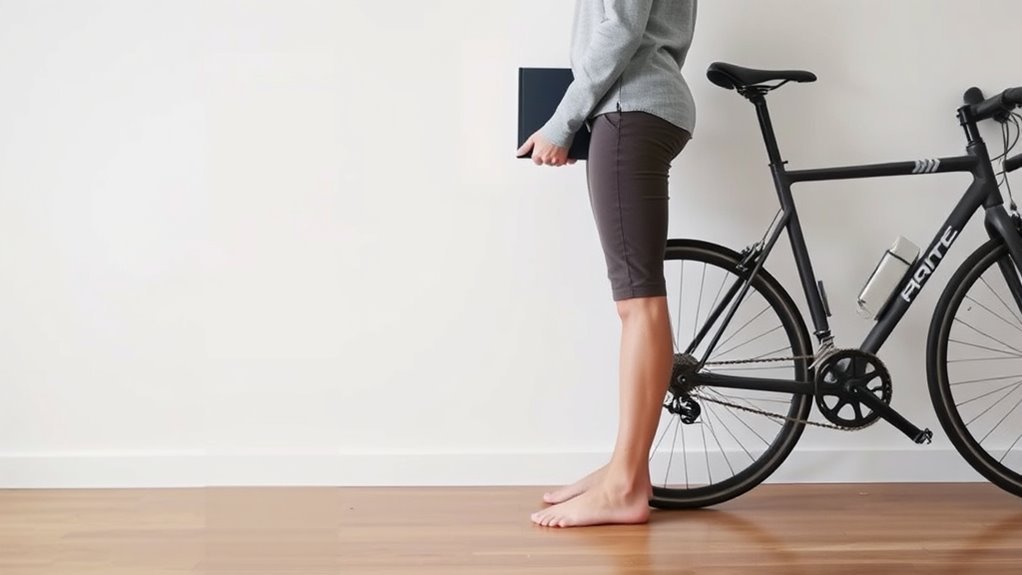
To simulate your saddle height, stand straight against a wall with your feet shoulder-width apart. Then, place a thick book between your legs, pressing it firmly against your crotch.
Next, mark the top edge of the book on the wall to represent your saddle height. After that, measure from the floor to the mark for an accurate bike fitting reference. Easy, right?
Wall Measurement Technique
When you stand flat-footed against a wall with your feet shoulder-width apart, you can easily simulate your bike’s saddle height using a hardcover book. Hold the book firmly between your legs, pressing it against your crotch to mimic the saddle position.
Adjust the book until it fits snugly, ensuring the best seat height matches where your bike’s saddle should be. Mark the wall at the book’s top edge, then measure from the floor to this mark.
This measurement helps you find the most suitable seat height needed for proper leg extension during cycling. Using this wall measurement technique simplifies bike fitting, making sure your bike size aligns with your body for comfort and efficiency.
It’s a quick, practical method to determine your ideal bike seat height. Give it a try next time you want to get the perfect fit!
Book Placement Tips
Although it might seem simple, placing the book correctly between your legs is essential to simulating your bike’s saddle height accurately. Stand against a wall wearing your usual biking shoes, then place a thick book vertically between your legs, pressing gently against your crotch.
Raise the book until its spine aligns with your hip, which represents the saddle height. Once positioned, make a clear marking on the wall at the top of the book’s spine. This marking is vital for consistent measurements.
Next, use a tape measure to find the distance from the floor to your marking. This distance gives you an accurate saddle height, helping you set your bike size properly.
Proper book placement ensures your measurements reflect your actual riding posture and comfort. So, taking the time to do this right really pays off!
Mark and Measure Your Inseam on the Wall
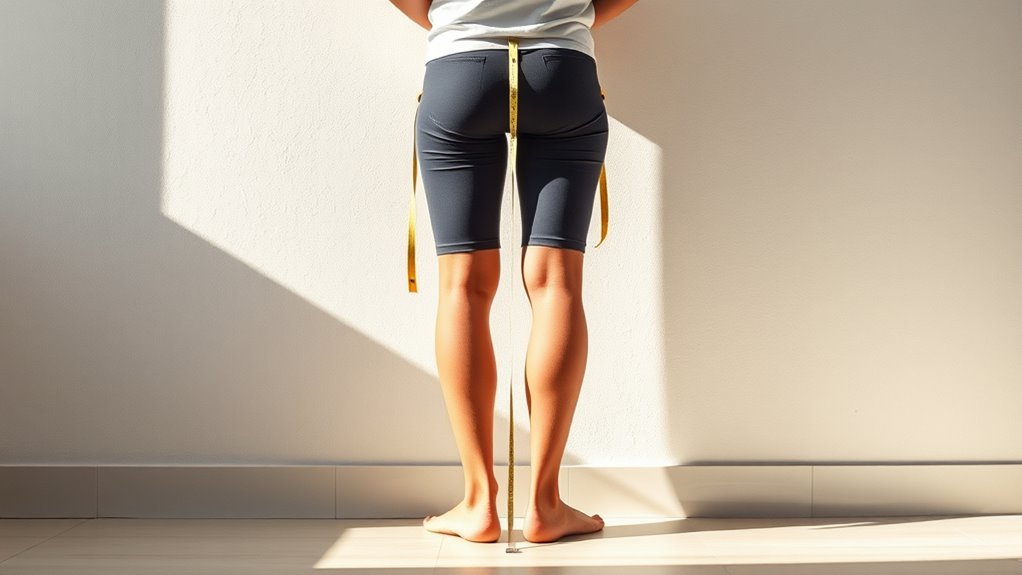
Have the child stand straight against the wall with their feet shoulder-width apart and shoes on. Place a hardback book between their legs, pressing it up snugly to simulate the bike saddle.
Then, mark the wall at the top edge of the book. After that, measure from the floor to that mark to get the inseam length. Easy, right?
Inseam Measurement Technique
To get an accurate inseam measurement, you’ll want your child to stand straight against a wall with their shoes on. Place a hardbound book between their legs, pressing it gently against their crotch.
Mark the wall at the top of the book’s spine. Then, use a tape measure to measure from the floor to the mark. This inseam length is essential for determining the right bike size for your child.
| Step | Action |
|---|---|
| 1 | Child stands against the wall |
| 2 | Place book between legs |
| 3 | Mark wall at book’s top |
| 4 | Measure floor to mark |
| 5 | Record inseam measurement |
Getting an accurate inseam measurement helps guarantee a comfortable bike size. And that means a better riding experience for your little one!
Preparing For Accurate Measurement
When you prepare to mark and measure your child’s inseam on the wall, make sure they stand straight with their shoes on to get an accurate reading. Place a hardcover book between their legs, pressing it firmly against the crotch to simulate a bike saddle.
Mark the wall at the top edge of the book’s spine—this mark represents the correct saddle height for your child. Next, use a tape measure to determine the distance from the floor to this mark.
This inseam measurement is critical for choosing the right bike size. Recording it precisely ensures you select a bike that fits comfortably and safely.
Taking these steps carefully guarantees an accurate inseam measurement, making the bike sizing process straightforward and reliable.
Find Your Frame Size From Inseam Measurement
Although it might seem simple, measuring your inseam accurately is key to finding the right bike frame size. Stand straight against a wall with your shoes on, and press a book snugly against your crotch.
Mark the top of the book on the wall, then measure from the floor to that mark to get your inseam measurement.
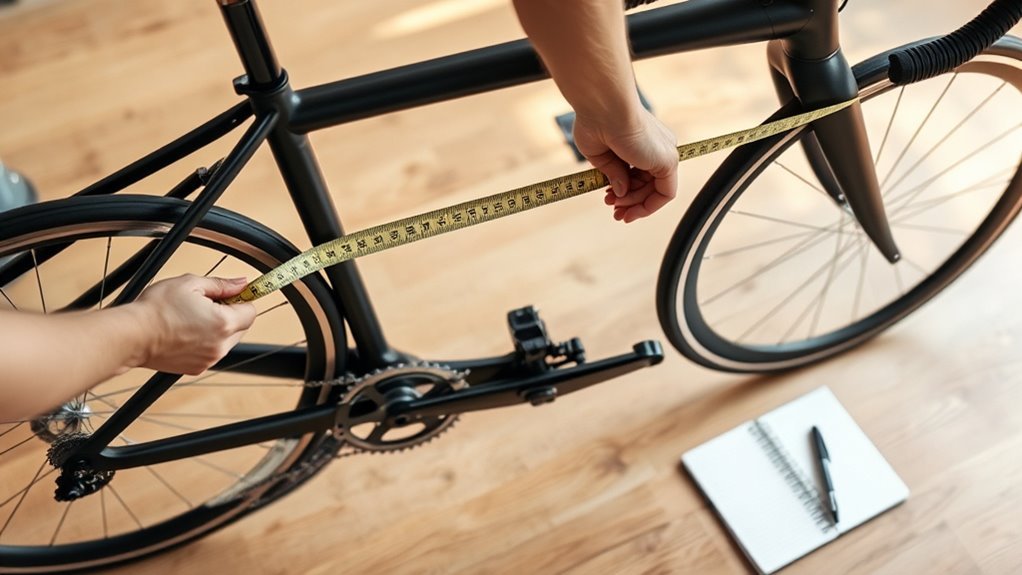
Next, use this inseam measurement to determine the correct frame size by consulting a bike size chart specific to the type of bike you want. Your inseam should align closely with the bike’s standover height.
But make sure there’s a 1-2 inch clearance to guarantee comfort and safety when you straddle the bike.
Always check manufacturer guidelines or size charts to verify your frame size choice. This simple step helps you avoid buying a bike that’s too small or too large, assuring a better fit and a more enjoyable ride.
Understand Adult vs. Kids Bike Sizing Differences
Since adult and kids’ bikes are sized differently, understanding these distinctions helps you pick the right fit. Kids bike size is mainly determined by wheel diameter, with common sizes like 12-inch, 16-inch, and 20-inch wheels matching specific height ranges.
This sizing method focuses on both height and inseam to guarantee safety and comfort for growing children. On the other hand, adult bike sizing relies primarily on frame measurements, emphasizing the rider’s reach and overall body proportions.
Adult bikes don’t use wheel diameter as a sizing guide but instead use precise frame measurements to fit different body types. Knowing this difference in bike sizes is essential when selecting a bike, especially as children grow and may shift from kids’ bikes to smaller adult bikes.
Adjust Sizing for Road, Mountain, and Hybrid Bikes
Moving from understanding basic bike sizing to fine-tuning your fit, you’ll need to adjust measurements depending on whether you ride a road, mountain, or hybrid bike. While bike size charts give you a solid starting point for frame sizes, you’ll want to adjust the seat height to match your riding style.
For road bikes, set the seat so your heel just touches the pedal at the bottom stroke with a fully extended leg. On mountain bikes, lower the seat slightly to boost control on rough trails. Hybrid bikes require a balance—adjust the seat higher for smoother road rides and lower for off-road comfort.
Regardless of type, aim for a 15-20° bend in your knee at the pedal’s lowest point to ensure proper leg extension. After sizing your frame and seat, don’t forget to fine-tune the saddle position and handlebar reach to maximize comfort and control on every ride.
Make Sure Your Bike Has Enough Standover Clearance
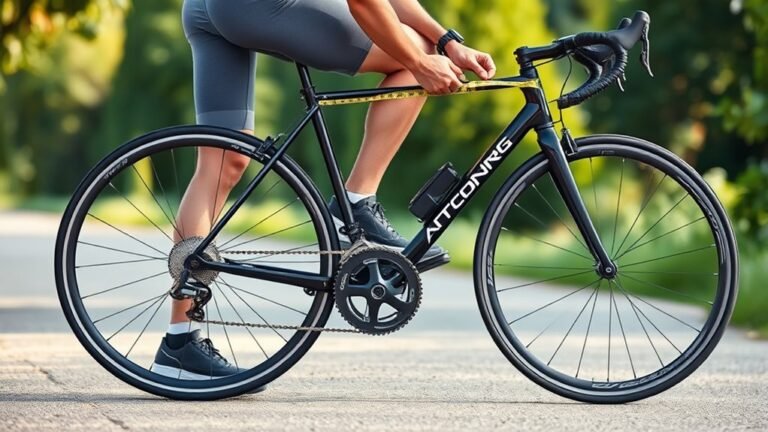
When you stand over your bike, you need enough clearance between your body and the top tube to stay safe and comfortable. This space, known as standover height, is vital for a proper bike fit and overall safety.
You should have at least 1 inch of proper clearance to avoid injury and guarantee you can quickly dismount if needed. Mountain bikes require even more, usually 2-4 inches, to handle rough terrain and movement.
To measure, stand over your bike with shoes on and check the distance from the top tube to your crotch. Remember, every time you adjust your saddle or handlebars, double-check your standover height to maintain safety.
Stand over your bike with shoes on and measure clearance from top tube to crotch for safety.
- Measure standover height with shoes on for accuracy
- Maintain at least 1 inch clearance for road/hybrid bikes
- Allow 2-4 inches clearance for mountain bikes
- Recheck clearance after any adjustments to bike fit
Guaranteeing proper clearance keeps your ride safe and comfortable.
Assess Leg Extension and Knee Bend While Pedaling
To guarantee a comfortable and efficient ride, you’ll want to assess your leg extension and knee bend while pedaling. Start by measuring your inseam accurately, as this determines the ideal saddle height.
When the pedal is at its lowest position, your knee should have a 15-20° bend. This ensures proper leg extension without overextending or feeling cramped. Adjust your saddle height so your leg is nearly straight but maintains that essential knee bend as you pedal.
Using a mirror or asking a trainer to observe your knee angle helps confirm you’re in the right position. It’s a good idea to check your knee bend regularly, especially after any adjustments, to keep things comfortable and efficient.
Proper alignment between your inseam, saddle height, knee bend, and pedal position optimizes power transfer and reduces the risk of injury. That way, every ride feels smoother and more enjoyable.
Adjust Seat and Handlebars for Comfort
Although you’ve set your saddle height for ideal leg extension, adjusting your seat and handlebars further enhances comfort and control. Proper seat height ensures a slight knee bend at the pedal’s lowest point, but fine-tuning the handlebar position can reduce neck and back strain.
This makes your ride more enjoyable.
Focus on these key adjustments for better comfort:
- Adjust the seat height so your knee maintains a 15-20° bend while pedaling.
- Set the handlebar height to support an upright posture, easing pressure on your neck and back.
- Position handlebars within easy reach—typically around your waist level or slightly higher based on your riding style.
- Use precise tools like a torque wrench for secure stem and seat post adjustments to maintain safety.
These comfort-focused adjustments help you control your bike effortlessly. Plus, they make cycling a more pleasant experience.
Test Ride to Confirm Your Bike Size and Fit
Since the right bike size can make all the difference, taking a test ride lets you feel how well the bike fits your body and riding style. A test ride helps you evaluate comfort, control, and confidence in the bike fit before you commit.
A test ride reveals how well a bike suits your body and riding style before you commit.
Make certain your legs have a slight bend, about 15-20°, at the knee when pedaling at the bottom of the stroke. This confirms the saddle height is the proper size for you.
During your test ride, check if the reach, saddle height, and handlebar position feel natural and comfortable. Ride on your usual terrain or simulate conditions to see how the bike responds to your riding style.
Also, verify mounting, dismounting, and maneuvering are easy, which helps reduce discomfort or injury risk. Taking the time for a thorough test ride guarantees you choose a bike with the proper size and comfort that fits you perfectly.
Frequently Asked Questions
Is My Bike 24 or 26 Inch?
You can tell if your bike is 24 or 26 inches by checking the tire sidewall for the size marking or measuring the wheel diameter across the center.
This helps confirm which size fits you best. Just take a quick look, and you’ll know for sure!
How Do I Tell the Size of My Bicycle?
Your bike’s size is like a key revealing comfort; measure the frame from the center of the crank to the top tube.
Compare this to your inseam length, ensuring a perfect fit for your ride’s rhythm and flow.
What Does 20 Inch Bike Mean?
A 20-inch bike means its wheels are 20 inches in diameter. You’ll find it fits kids roughly 6 to 8 years old, with an inseam around 18-22 inches.
It’s perfect for beginner riders who need stability and control. Makes learning to ride a lot easier and more fun!
What Does 17 Inch Bike Frame Mean?
Don’t worry if 17 inches sounds vague; it means the seat tube length from the bottom bracket’s center up to the seat’s top.
It generally fits riders around 5’7” to 5’10”, but personal fit matters most.
Everyone’s body is different, so what feels right for one person might not for another.
Trying out the bike or getting a professional fitting can really help you find your perfect size.
Conclusion
Now that you know how to measure your bike size, don’t worry if it feels a bit tricky at first—you’ll get the hang of it quickly! Taking the time to measure your inseam and adjust your seat and handlebars makes all the difference in comfort and performance.
Remember, a well-fitted bike isn’t just about numbers; it’s about how it feels when you ride. Getting your bike size right helps prevent discomfort and improves your overall cycling experience.
So, trust the process and enjoy every pedal stroke! Measuring your bike size properly ensures you’ll have a comfortable ride every time. With the right bike size, you can focus on the fun and freedom of cycling without distractions.