How to Remove Speed Limiter on Electric Bike in 5 Easy Steps
To remove your electric bike’s speed limiter, start by figuring out whether it’s controlled by software or hardware. You can do this by checking the controller or display settings, which often hold clues about speed restrictions. Knowing this will help you decide the best way to proceed.
Next, gather some basic tools like screwdrivers and a multimeter. Make sure to power down your bike completely and set up a safe workspace before you begin any adjustments. Safety first, right?
Once you’re ready, access the controller or display menu to see if you can adjust or disable the speed limits directly.
Sometimes, you might need to carefully modify the speed sensor wiring instead. Take your time with this step to avoid any damage.
Finally, after making changes, test your bike in a safe area. Don’t forget to wear protective gear while you’re at it. Want more detailed tips? Keep reading to get it done right!
Identify the Type of Speed Limiter on Your E-Bike
Before you try removing the speed limiter on your e-bike, you need to identify whether it’s software-based or hardware-based. Start by inspecting the controller and its firmware, as a software limiter often resides there.
Identify if your e-bike’s speed limiter is software or hardware-based by checking the controller and firmware first.
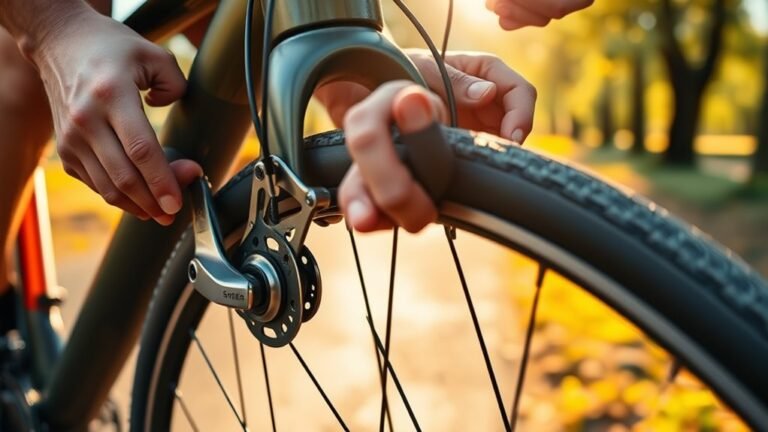
Check the digital display or app interface for adjustable speed settings. For hardware limiters, look for physical components like sensors, Hall sensors, or mechanical stops that restrict speed.
You might need to perform some disassembly to access these parts. Carefully examine the wiring and sensors connected to the controller.
Consult your e-bike’s user manual or manufacturer specifications to help with identification. Proper identification of the speed limiter type ensures you avoid damaging the controller or voiding warranties during removal.
This step is really important before you proceed with any modification attempts. It’s better to be safe than sorry!
Gather Necessary Tools and Prepare Your Workspace
Since working with your e-bike’s internal components requires precision, you’ll need to gather essential tools like screwdrivers, wire cutters, and a multimeter before you begin. Set up a clean, well-lit workspace free from static to protect delicate components during disassembly.
Always turn off the bike, unplug the battery, and wait a few minutes to discharge any residual power for safety. It’s super important to avoid any electrical mishaps.
Consult your bike’s manual or manufacturer guidelines to locate the controller and speed limiter parts accurately. This will make the process much smoother.
Equip yourself with proper safety gear, including gloves and eye protection, to avoid injuries while handling wires and components. Preparing this way ensures a smooth, safe process when modifying your e-bike’s speed limiter without causing damage or risking personal harm.
Access and Modify Controller or Display Settings
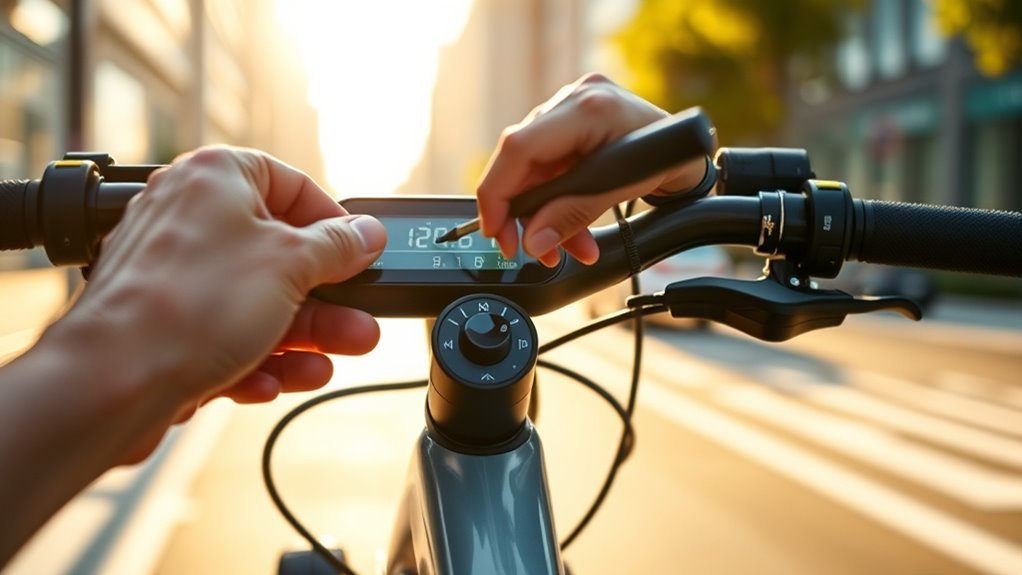
With your tools ready and workspace set, you can now focus on accessing your e-bike’s controller or display settings to adjust the speed limiter. First, turn off the bike and disconnect the battery.
Locate the control unit or screen panel, then enter the display menu by pressing specific buttons to access settings mode. Navigate to options like “speed limit” or “max speed” to perform speed limit adjustment using arrow keys or touchscreen.
For advanced modifications, connect to the app via Bluetooth connection or USB access on a computer. Once you modify speed restrictions, make sure to save settings.
Finally, restart the bike and take it for a test ride to confirm the speed limiter has been effectively removed or increased.
Perform Hardware Adjustments to the Speed Sensor or Wiring
Although adjusting settings via the controller or display can lift speed limits, performing hardware modifications to the speed sensor or its wiring offers a more direct approach to disabling the speed limiter on your e-bike.
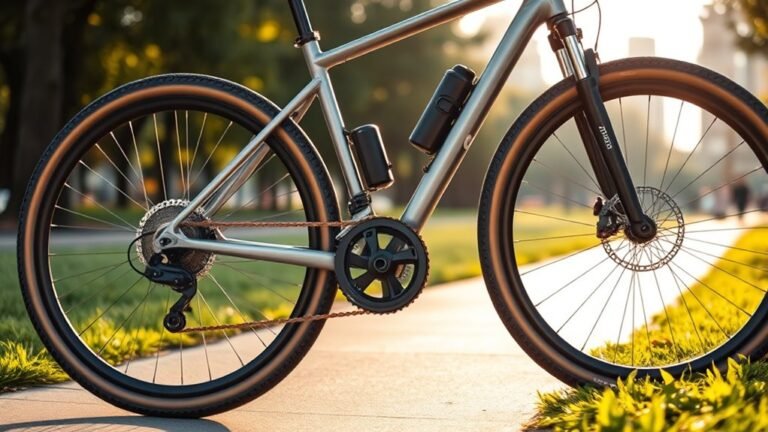
Start by locating the speed sensor and identifying the wires in its wiring harness, usually near the wheel hub or frame. Carefully disconnect the wiring harness to stop the speed signal input.
Depending on your model, you may need to bypass or cut specific wires, so make sure you accurately identify the wires to avoid any damage. After making hardware adjustments, reassemble the wiring with secure connections to prevent issues.
If any wiring damage occurs, perform proper wiring repair before proceeding. This hands-on method ensures effective speed limiter removal while prioritizing safety and reliability.
Test Your E-Bike Safely After Removing the Speed Limiter
Before you hit the road after removing the speed limiter, choose a safe, open area with little traffic to conduct your initial tests. Start by putting on your test safety gear—helmet, gloves, and pads—to protect yourself.
Begin at a low initial speed and use controlled testing with gradual acceleration to see how your e-bike responds. Closely monitor handling, braking performance, and any vibrations to identify safety concerns early.
Start slow, accelerate gradually, and watch how your e-bike handles to spot any safety issues early.
Perform stability checks at each speed increment to detect unstable behavior. If you notice any unsafe riding conditions or instability, revert to the original speed limiter immediately.
Prioritize safe riding throughout your tests to ensure your modifications won’t compromise control or your well-being on the road. It’s better to be cautious than to risk your safety!
Conclusion
By following these five simple steps, you’ll unlock your e-bike’s true potential—like Neo breaking free from the Matrix. Just remember, with great power comes great responsibility.
Removing the speed limiter can transform your ride, but always prioritize safety and local laws. Now, it’s your turn to take control, feel the thrill, and ride beyond limits.
Ready to rewrite your e-bike’s story? The road awaits your new chapter. Removing the speed limiter on your electric bike lets you experience faster speeds and greater freedom.
Just make sure you understand the risks and ride safely every time. With these tips, you can confidently boost your e-bike’s performance and enjoy a more exciting journey ahead!