How to Fix a Bike Chain in 5 Easy Steps
To fix your bike chain in five easy steps, first gather essential tools like a chain tool, gloves, and a rag. Having these ready will make the repair process smoother and quicker.
Next, inspect your chain carefully for any damage or signs of wear. Cleaning it thoroughly is also important to remove dirt and grime that can affect performance.
Then, remove any damaged links by breaking the chain at the right point. Don’t worry, it’s easier than it sounds once you have the proper tools.
After that, reconnect the chain properly using a master link or chain pin. Make sure everything aligns smoothly so your chain runs without issues.
Finally, test the chain’s tension and shift through gears to confirm smooth operation. Keep going to uncover tips for flawless repair and maintenance that will keep your bike running like new!
Gather Your Tools and Materials
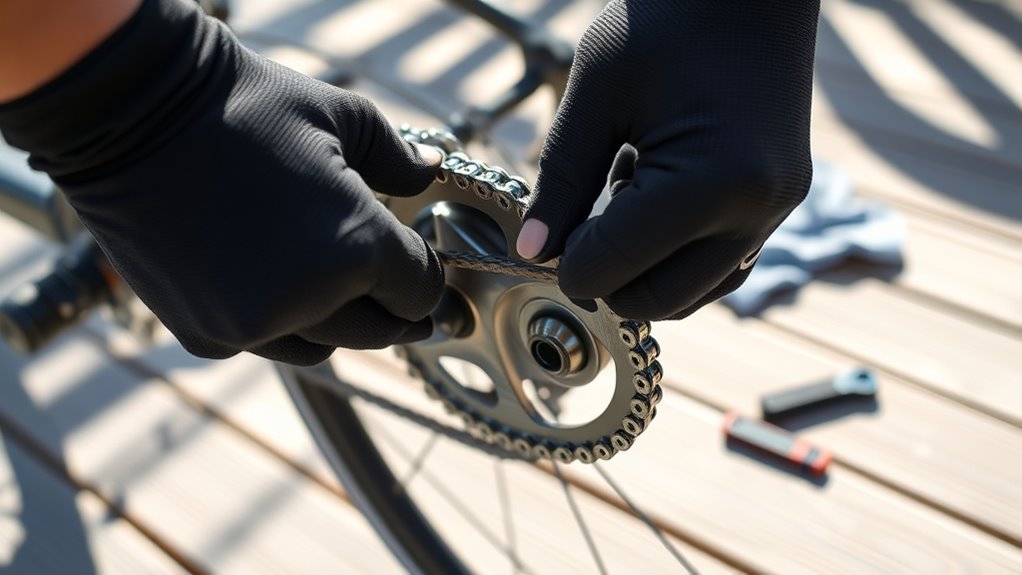
Before you begin fixing your bike chain, gather all the necessary tools and materials. Start by setting up a bike stand or find a stable surface to keep your bike steady.
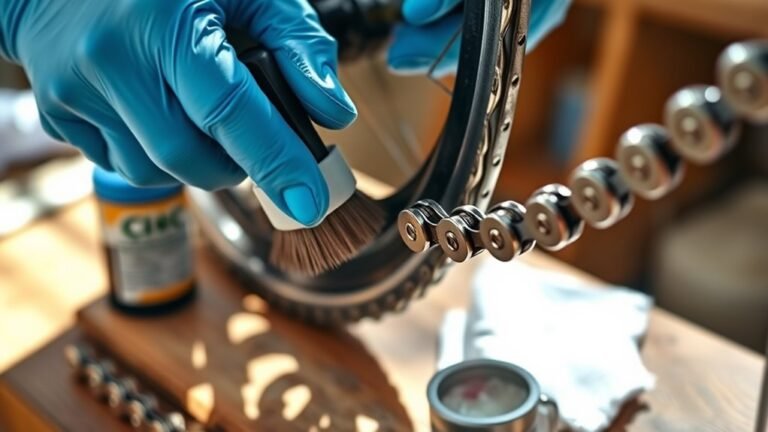
You’ll need a chain tool to remove or insert chain pins and gloves to protect your hands from sharp edges and metal shards. Have a rag handy to clean the chain and catch any debris.
Use a chain tool for pins, gloves for safety, and a rag to clean and catch debris.
If your chain uses a master link or quick links, master link pliers can make disassembly easier. Bring along spare links or quick links in case you need to replace damaged sections.
Finally, a chain wear tool or ruler helps you measure chain wear to decide if replacement is necessary. Having these ready guarantees a smooth and safe repair process.
Identify the Chain Problem
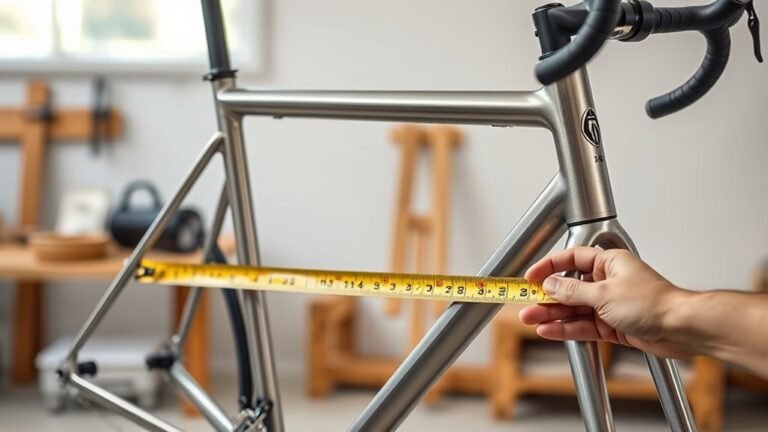
How can you tell what’s wrong with your bike chain? First, inspect the chain closely for damaged links, bent parts, or missing pins. Use a chain wear tool to measure chain elongation by checking 12 links; excessive elongation means the chain length has stretched beyond safe limits.
Next, lift the chain from the gears to detect any chain slack—too much slack can cause chain slip or derailment. Also, watch for signs of the chain slipping during pedaling, which signals a chain issue requiring attention.
Dirt and debris can cause the chain to get stuck, so clean it thoroughly before further checks. Performing a thorough chain check helps you pinpoint the exact problem and decide the best repair steps.
Remove the Damaged Chain Section
Once you’ve identified the damaged section, shift your bike to the smallest chainring and cog or remove the rear wheel to slacken the chain.
To ease chain removal, shift to the smallest chainring and cog or remove the rear wheel to slacken it.
For chain removal, first locate the master link if your bike chain has one. Use master link pliers or your fingers to disconnect it carefully.
If there’s no master link, align the chain tool with a pin on the damaged chain section and push it out to break the chain at that link. Support the chain to prevent it from snapping or losing small parts.
After removing the damaged links, measure the chain length against the old chain or a proper guide to guarantee you replace it accurately.
Now, your chain is ready for the next step to connect and reassemble.
Reconnect the Chain Links
Although reconnecting chain links might seem tricky, you can do it smoothly by using the right tools and making sure everything lines up correctly. First, make sure you route the chain correctly through the derailleur pulleys to avoid misalignment.
If your chain has a master link, use master link pliers to lock the halves together by pressing the tab until it clicks into place. For chains without a master link, use a chain tool to insert the chain pin halfway through the link, then snap off the excess to secure the connection.
Always check for proper alignment when you reconnect the chain links. Finally, verify smooth movement and proper tension so the chain runs efficiently without slipping or binding. Easy, right?
Test and Adjust the Chain
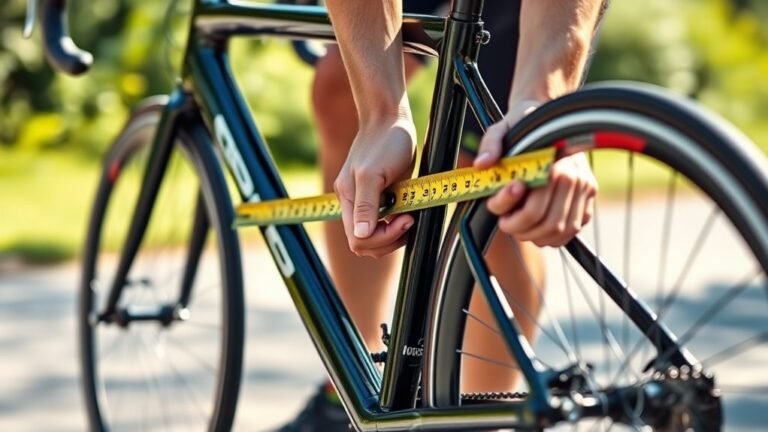
Before you hit the road, you need to test and adjust the chain to guarantee it runs smoothly. Start by checking the chain tension; lift the chain away from the sprocket—it should have about half an inch of chain slack.
Pedal slowly and observe the chain run, ensuring it moves smoothly without binding or excessive sag. Shift through all gears to confirm proper chain alignment and sprocket engagement.
If you notice chain skipping or trouble with gear shifting, make derailleur adjustments by tweaking the derailleur limit screws and tension. Also, pay attention to chain wear, as a worn chain can cause poor shifting.
Proper adjustment prevents issues and extends your bike’s life, so don’t skip this essential step before riding. It’s a quick check that makes a big difference!
Conclusion
Fixing your bike chain yourself not only saves time but can boost your confidence in bike maintenance. Did you know that nearly 60% of cyclists experience chain issues at least once a year?
By following these five easy steps, you’ll keep your ride smooth and avoid unexpected breakdowns. Plus, mastering this simple repair means more freedom to explore without worrying about getting stranded.
So grab your tools and get your chain back on track! Learning how to fix a bike chain is a handy skill for every cyclist. Not only does it help you stay safe, but it also keeps your bike running efficiently. With a little practice, you’ll be handling chain repairs like a pro in no time.