How to Tighten a Bike Chain in 3 Easy Steps
To tighten your bike chain in three easy steps, start by loosening the rear axle nuts or quick-release lever. This lets you move the wheel freely, which is key to adjusting the chain tension properly. Having the right chain tension means smoother rides and less wear on your bike parts.
Next, pull the rear wheel backward in the dropouts to remove slack. Aim for about 0.5 to 1 inch of chain tension while keeping the wheel aligned. It might take a little wiggle to get it just right, but don’t rush—proper alignment is important for safe riding.
Finally, securely retighten the axle nuts or skewer. Once that’s done, spin the pedals to make sure the chain moves smoothly without any skipping or sticking. Follow these basics, and you’ll be ready for smoother rides—though there’s always more to learn for perfect tuning.
Gather Necessary Tools and Prepare Your Bike
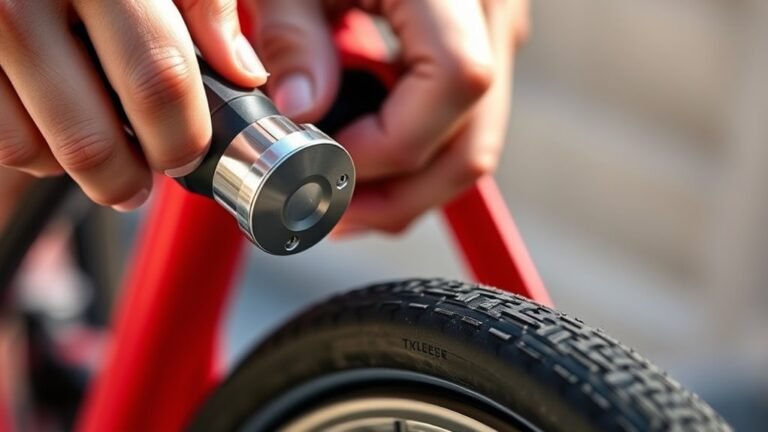
Before you start tightening your bike chain, make sure you have the right tools handy, such as a socket wrench or the tool needed to adjust your rear axle nuts or quick-release skewer. Good bike preparation begins with securing your bike on a stable bike stand or flipping it upside down to access the rear wheel easily.
Clear your workspace and ensure adequate lighting so you can accurately check chain tension. Have gloves ready to protect your hands from grease while handling the rear derailleur, quick link, and chain.
Keep a chain tool nearby in case the chain needs repair or adjustment. Organizing your tools and setting up a comfortable workspace will help you maneuver the bike efficiently and make precise adjustments to the chain and rear wheel.
Adjust Rear Wheel Position to Tighten the Chain
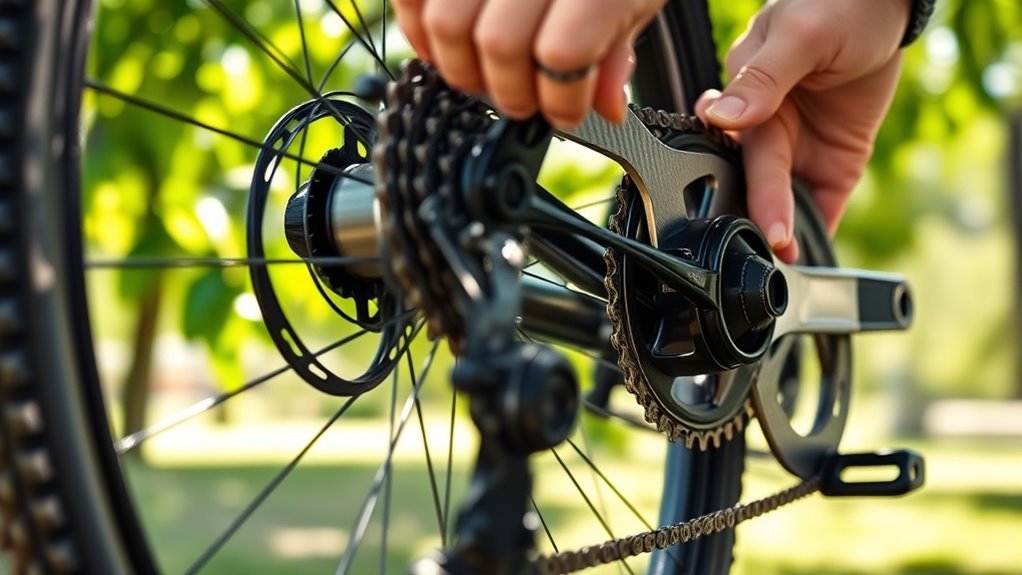
When you loosen the rear axle nuts or quick-release lever, you’ll be able to slide the rear wheel backward within the dropout slots to tighten the chain. Pull the rear wheel gently backward to reduce slack and achieve proper chain tension—aim for about 0.5 to 1 inch of slack.
Keep the wheel aligned straight in the dropouts to ensure smooth rotation and prevent wobbling.
| Step | Key Point |
|---|---|
| Loosen axle nuts | Allows rear wheel movement |
| Slide wheel back | Increases chain tension |
| Check alignment | Prevents side-to-side wobble |
Secure the Wheel and Perform Final Chain Tension Checks
Although you’ve adjusted the rear wheel to tighten the chain, you need to secure it firmly to maintain proper tension. Start by loosening the axle nuts or quick-release skewer to allow the rear wheel to slide within the dropouts.
Pull the wheel backward gently until you achieve about 0.5 to 1 inch of chain slack, ensuring proper chain tension. While holding the wheel in place, make sure the wheel alignment is straight, then tighten the axle nuts or quick-release skewer securely.
For the final check, spin the wheel and pedal to observe the chain run. Confirm there’s no slipping or excessive slack. This step ensures smooth operation and safe riding.
Properly securing the wheel keeps your chain tension consistent and your bike performing well.
Conclusion
Now that you’ve tightened your bike chain, you’re ready to ride smoothly and safely.
Remember, “a stitch in time saves nine”—regular maintenance prevents bigger problems down the road.
Keep an eye on your chain tension and adjust it whenever needed to enjoy a hassle-free biking experience.
With these simple steps, you’ve guaranteed your bike performs at its best.
So, get out there and enjoy the ride with confidence! Tightening your bike chain not only improves performance but also extends the life of your drivetrain.
Make it a habit to check your bike chain tension regularly for a smooth, safe cycling experience every time you hit the road or trail.