How to Raise Handlebars on a Bike in 7 Easy Steps
To raise your bike’s handlebars, first gather basic tools like an adjustable wrench and Allen key. These tools are essential for a smooth and safe adjustment process.
Loosen the stem bolts carefully, making sure not to strip threads.
Next, slide the stem up within the safe height limits and align it with the front wheel. This step is crucial for maintaining control and comfort while riding.
Tighten all bolts securely, then check and adjust cable length as needed to prevent binding.
Take a short test ride to ensure comfort and control. If everything feels right, you’re good to go! Keep going to uncover more tips for a seamless adjustment.
Key Takeaways
- Loosen the stem bolt using the correct Allen key. Make sure you don’t go past the minimum insertion line on the steering tube.
- Slide the handlebar stem upward to the height you want. Keep it lined up with the front wheel so your bike stays balanced.
- If needed, adjust or replace the cables. Check that they’re the right length and routed smoothly without any tension or kinks.
- Tighten all the bolts evenly. Follow the manufacturer’s torque specs to make sure the handlebar is secure.
- Take your bike for a test ride. See how it feels, check your control, and make sure the brakes and gears work smoothly before going on longer rides.
Get the Essential Tools to Raise Handlebars
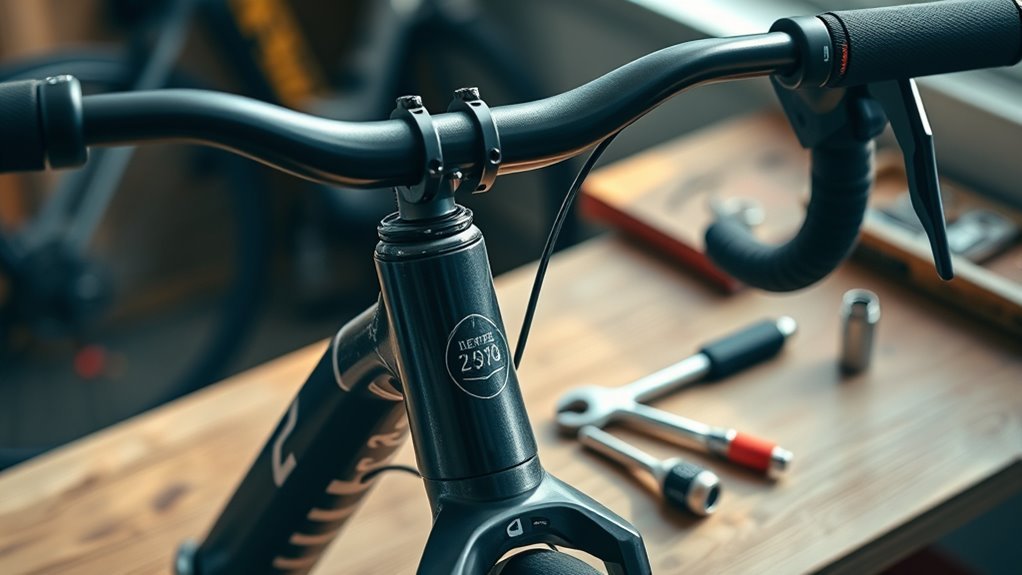
Before you start adjusting your bike’s handlebars, make sure you have the right tools on hand. You’ll need an adjustable wrench or a large wrench along with an Allen key to lift the handlebars properly.
While specialized bike wrenches exist, they aren’t necessary for this task, so sticking with basic tools works just fine. Be sure the adjustable wrench fits snugly on the bolts to avoid slipping or stripping them.
Selecting the correct sizes for both the wrench and Allen key helps you loosen and tighten components safely without causing damage. Having these tools ready simplifies the process, letting you focus on making secure adjustments.
Using the proper tools not only speeds up your work but also ensures your handlebar is tightened firmly, preventing any unwanted movement while riding. With these essentials, you’re set for an effective and safe handlebar raise.
Understand Your Options for Raising Handlebars
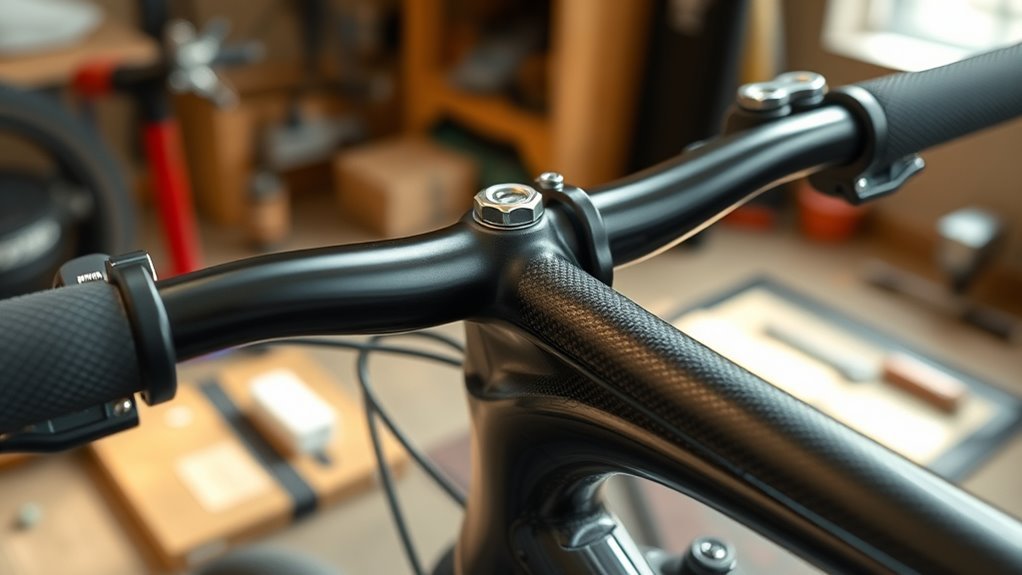
You’ve got a few options when it comes to raising your handlebars, starting with the type of stem your bike uses. Adjustable stems let you quickly change height without swapping parts.
But you’ll need to confirm compatibility with your bike’s headset and frame. Knowing these details helps you pick the best method to get the perfect handlebar position.
Types Of Handlebar Stems
When raising your bike’s handlebars, understanding the type of stem you have is essential for choosing the right adjustment method. There are two main stem types: quill and threadless.
Quill stems insert into the steering tube and can be raised or lowered within limits marked by the minimum insertion line. Threadless stems clamp onto the steerer tube and require changing spacers or swapping for a taller stem to adjust height.
Some stems come with adjustable angles or flip-up mechanisms, letting you quickly tweak handlebar height and angle without replacing parts. Knowing your stem type helps you pick a safe, effective way to raise your handlebars and improve your riding comfort.
Adjustable Stem Benefits
Although some handlebar adjustments require new parts or complex changes, an adjustable stem lets you quickly raise or lower your handlebars within a set range. This mechanism usually has markings to help you fine-tune the height, often allowing a 2 to 7-inch increase.
With an adjustable stem, you won’t need extra components to improve your riding comfort. Installation is simple: loosen the bolts, move the stem to your preferred height, then tighten it securely.
This makes the adjustable stem a cost-effective, versatile choice for riders wanting ergonomic improvements without hassle. By choosing an adjustable stem, you gain the flexibility to customize your bike’s setup easily, enhancing comfort during every ride.
Compatibility Considerations
Since handlebar adjustments depend heavily on your bike’s headset type, knowing whether you have a threadless or quill system is essential before making changes. Compatibility really determines your options here.
Threadless systems often need new or adjustable stems, while quill stems can be raised simply by adjusting their height within the frame. Just be mindful of the minimum insertion line on your stem to avoid any damage.
Also, raising handlebars might require longer cables, especially if your bike has internal cable routing. It’s a good idea to double-check cable length and frame limits before you start.
| Headset Type | Compatibility Notes |
|---|---|
| Threadless | Requires adjustable/replacement stem |
| Quill | Raise by adjusting stem insertion height |
| Both | Check cable length and frame limits |
Understanding these compatibility factors helps you safely and effectively raise your handlebars.
Loosen Stem Bolts and Nuts Safely
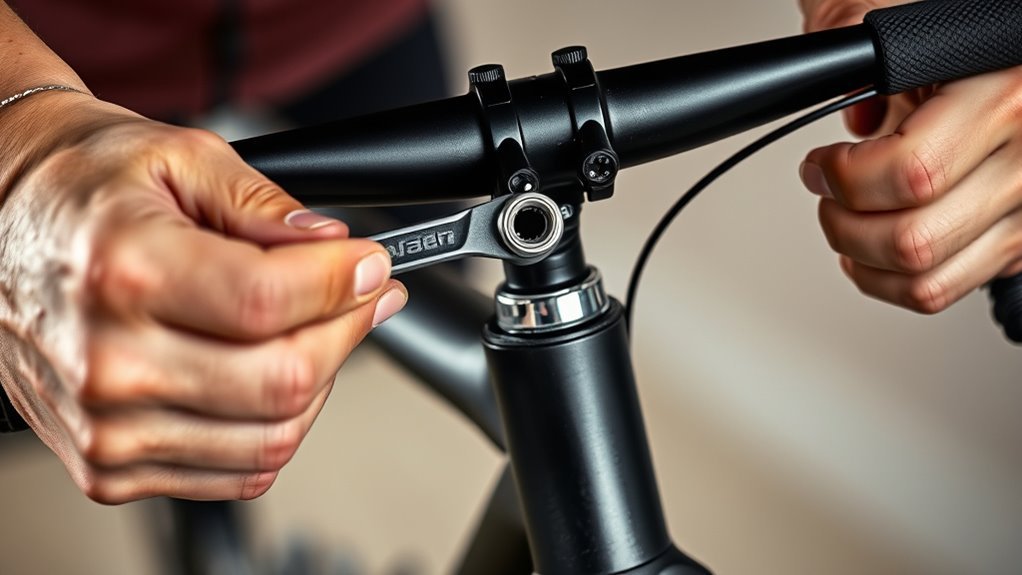
Start by choosing the right size Allen key or wrench to avoid damaging the bolts. Loosen the top stem nut first, followed by the second, so the stem moves freely without forcing it.
Be careful not to loosen them too much, or you could misalign important parts. Take it slow and steady to keep everything aligned properly.
Proper Tool Selection
How do you guarantee a smooth and safe handlebar adjustment? Start by choosing the proper tool: an Allen key sized 5mm or 6mm works best for loosening stem bolts without stripping them.
Before you begin, make sure your bike is stable and well-supported to avoid slipping or injury. Use the Allen key to loosen the top nut on the handlebar stem first, followed by the second nut.
Apply steady, even pressure when turning the bolts to protect the threads and components. Selecting the right Allen key ensures a secure grip and prevents damage, making the adjustment straightforward and safe.
Once you’ve finished raising the handlebars, remember to re-tighten all bolts evenly to the manufacturer’s torque specifications for maximum performance and safety.
Correct Bolt Loosening
Choosing the right Allen key is only the first step. Next, you’ll need to loosen the stem bolts and nuts carefully to avoid damage.
Follow these steps to loosen everything safely:
- Use the correct size Allen key or wrench to prevent stripping or damage.
- Start by loosening the top nut on the handlebar stem first, then the second nut. Avoid forcing or over-tightening.
- Turn the nuts counterclockwise with gentle, even pressure. This helps avoid sudden releases or thread damage.
- After loosening, inspect all bolts and nuts for wear or damage before adjusting the handlebar height.
Taking these precautions ensures you can loosen bolts without harm. It also makes it easier to raise your handlebars and tighten everything back securely afterward.
Nut Loosening Sequence
When should you loosen the nuts on your bike’s handlebar stem to avoid damage? Start by loosening the top nut first. This step relieves pressure and prevents harm to the components.
Next, follow the nut loosening sequence by carefully loosening the second nut to fully detach the stem from the headset assembly. Use the correct size wrench to avoid stripping or damaging the nuts.
After removing both nuts, loosen the stem bolts gradually and evenly to free the stem for height adjustment. Taking your time with the nut loosening sequence maintains proper alignment and protects your bike’s parts.
Raise the Handlebar Stem to Adjust Height
Before raising the handlebar stem, loosen the stem bolt using an Allen key so you can slide it upward within the marked height limits. Adjusting the stem height is vital for comfort and control, but you must stay within safe boundaries.
Follow these steps to raise the handlebar stem properly:
- Loosen the stem bolt with an Allen key just enough to move the stem without forcing it.
- Slide the stem upward carefully, keeping it below the maximum height limit marked by hash lines.
- Confirm the minimum insertion line on the stem remains covered by the headset top to avoid damage.
- Align the stem evenly with the front wheel to maintain proper balance and control.
Tighten Components and Double-Check Safety
After you’ve adjusted the handlebar stem to the right height, tighten all bolts gradually and evenly to secure the components without causing damage. If you have a torque wrench, use it to tighten components according to the manufacturer’s specifications—this guarantees safety and prevents overtightening.
Gradually and evenly tighten bolts after adjusting the handlebar stem, using a torque wrench for safety and precision.
Once tightened, double-check that the handlebar and stem don’t wobble or feel loose. Give the handlebars a firm shake and rotate them to confirm smooth movement without restriction.
Perform a visual inspection to verify that every bolt is snug and nothing appears out of place. Before you take your bike out for a ride, test the setup by gently steering and making sure cables are free of tension or binding.
This careful process to tighten components and double-check safety will help you ride confidently and avoid unexpected issues on the road.
Adjust Cable Length and Check Compatibility
How do you guarantee your bike’s controls stay reliable after raising the handlebars? Adjusting the cable length and checking compatibility is essential to maintaining smooth braking and shifting.
Follow these steps to ensure your bike performs perfectly:
- Measure your current cable length to see if you need longer cables for the new handlebar height.
- Use new, compatible cables or proper cable extenders specifically designed for bikes to avoid slack or tension problems.
- Carefully route the cables to prevent binding or kinking when you turn the handlebars or move the bike.
- After adjustment, thoroughly test brake and shift functions to confirm everything operates smoothly before you ride.
Take a Test Ride to Confirm Comfort
Once you’ve raised the handlebars, take a short test ride to see how the new position feels. During this test ride, focus on whether your back, neck, and shoulders feel relaxed and free from strain.
Your hands should comfortably reach the handlebars without overstretching or cramping. Pay close attention to how the brake and gear cables respond; they should operate smoothly without tension or interference at the new height.
This test ride helps you confirm that the adjustments have improved your riding posture, making it more comfortable and controlled. If you notice any discomfort or mechanical issues, you might need to fine-tune the handlebar height or cable length.
Taking this test ride ensures you gain confidence in your bike’s setup before hitting longer rides. Don’t rush—comfort and control are key to enjoying every ride, so use the test ride as your final check to guarantee a better biking experience.
Frequently Asked Questions
How to Lift Handlebars up on a Bike?
You loosen the stem bolts with an Allen key, then gently lift the handlebars to your desired height.
Make sure the stem’s minimum insertion line stays hidden and tighten the bolts securely before riding.
That way, you’ll keep everything safe and comfortable for your ride!
How to Raise the Handlebars on a Kids Bicycle?
You loosen the stem bolts, then carefully slide the handlebars up within the marked limits. Make sure the stem stays securely inserted.
Tighten the bolts evenly, align the bars with the front wheel, and test for safety. It’s a good idea to double-check everything before your kid rides off.
How to Increase Bar Height?
Want to reach for the stars? Just loosen your stem bolts, slide those handlebars up—careful not to expose the minimum insertion line—and tighten evenly.
Voilà, you’re suddenly taller without needing a ladder or magic boots! Easy, right?
How to Raise Bike Handlebars Without Stem?
You can raise your bike handlebars without a stem by installing taller headset spacers, using an adjustable riser, or swapping to a handlebar setup designed for height.
Just make sure the cables fit properly and stay safe while you’re at it.
It’s pretty straightforward once you get the hang of it, and it can really improve your riding comfort. Give it a try!
Conclusion
Raising your bike’s handlebars can markedly improve your comfort and reduce strain—did you know that 70% of casual cyclists report discomfort due to improper handlebar height?
By following these simple steps, you’ll customize your ride to fit you better and enjoy every pedal stroke. It’s all about making your bike work with you, not against you!
Remember to check all bolts and cable lengths carefully before you start. After making adjustments, take a test ride to confirm everything feels just right.
Adjusting handlebar height is a quick way to boost your cycling comfort and reduce fatigue. So, don’t hesitate to raise those handlebars and tailor your bike to your needs. Happy riding!