How to Take Off Bike Pedals in 7 Easy Steps
To take off your bike pedals in 7 easy steps, first gather a 15mm spanner or an 8mm Allen key.
Make sure to stabilize your bike by applying the rear brake or using a stand. This helps keep your bike steady while you work on the pedals.
Next, turn the right pedal counter-clockwise and the left pedal clockwise while holding the crank steady. It might feel a bit tough at first, but using both foot and hand pressure gives you the leverage you need.
Before removing the pedals, clean the threads to avoid dirt or grime causing damage.
When you reinstall them later, don’t forget to apply grease to the threads.
Following these simple steps will protect your bike and pedals.
Keep going to discover helpful tips for safe packing and maintenance too!
Key Takeaways
- Secure the bike using a stand or by applying the rear brake to keep it stable during pedal removal.
- Use a 15mm spanner or 8mm hex wrench, making sure your tools are clean and in good condition.
- Turn the right pedal counter-clockwise and the left pedal clockwise to loosen it. Just remember, the left pedal is reverse-threaded, so it’s a bit different.
- Hold the crank arm steady and apply steady, even pressure. This helps avoid damaging the threads or the crank arms.
- Make sure to clean the pedal threads before removal. Then, store the pedals safely to prevent damage and make future reinstallation easier.
Get the Right Tools Ready
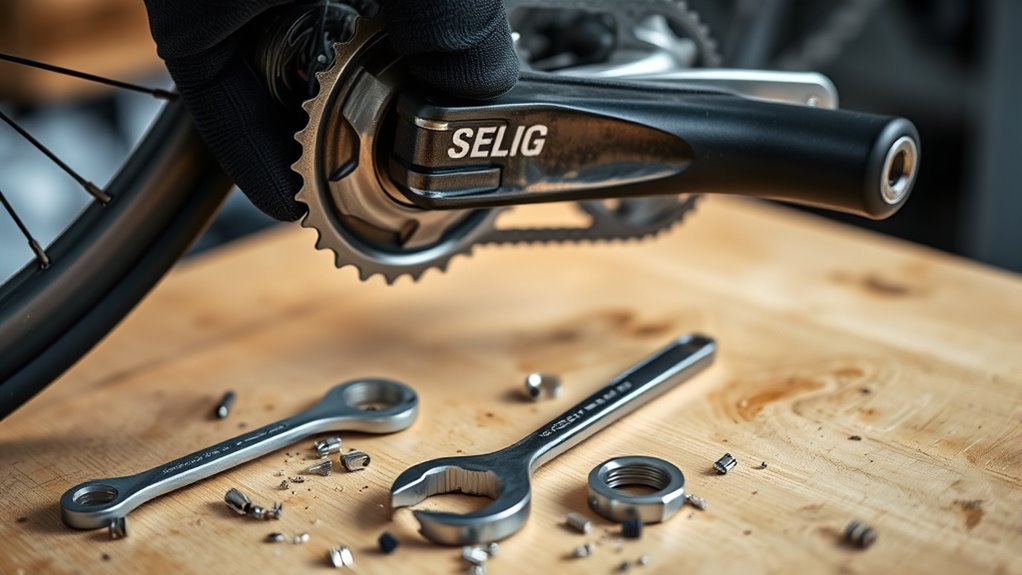
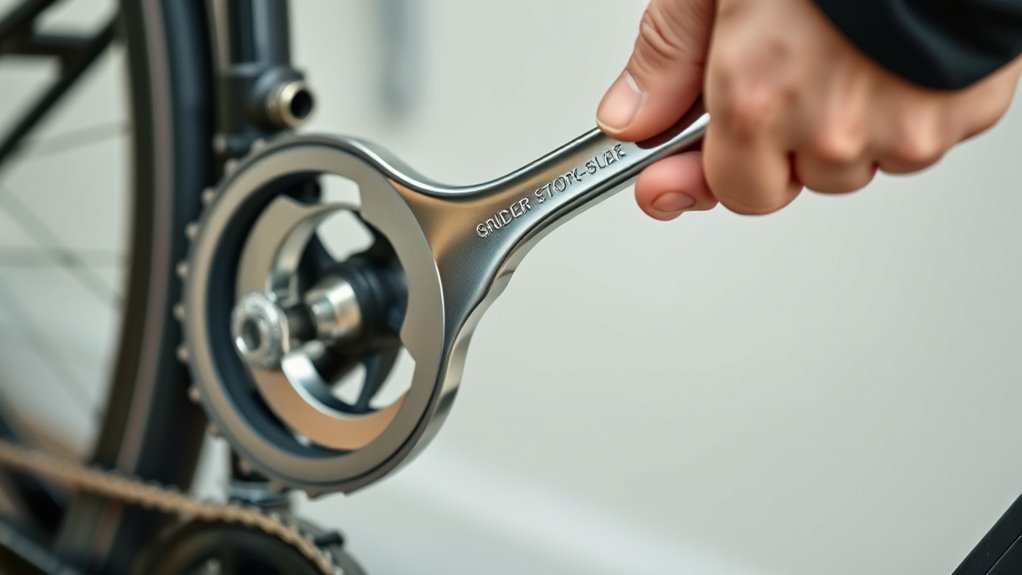
Before you start removing your bike pedals, make sure you have the right tools on hand. Most pedals require either a 15mm spanner or wrench, or an 8mm hex wrench (Allen key). Using the correct tool guarantees you won’t damage the pedal threads or crank arms when loosening or tightening.
To make the job easier, consider removing the end of your tool to improve leverage. This extra leverage helps you apply more force with less effort, especially if the pedals are stuck tight. Always use clean, well-maintained tools to avoid stripping threads, which can turn a simple task into a frustrating repair.
Having these tools ready before you begin prevents delays and keeps the process smooth. So, gather your 15mm wrench or 8mm hex wrench, check they’re in good condition, and prepare for a hassle-free pedal removal.
Stabilize Your Bike Before Removing Pedals
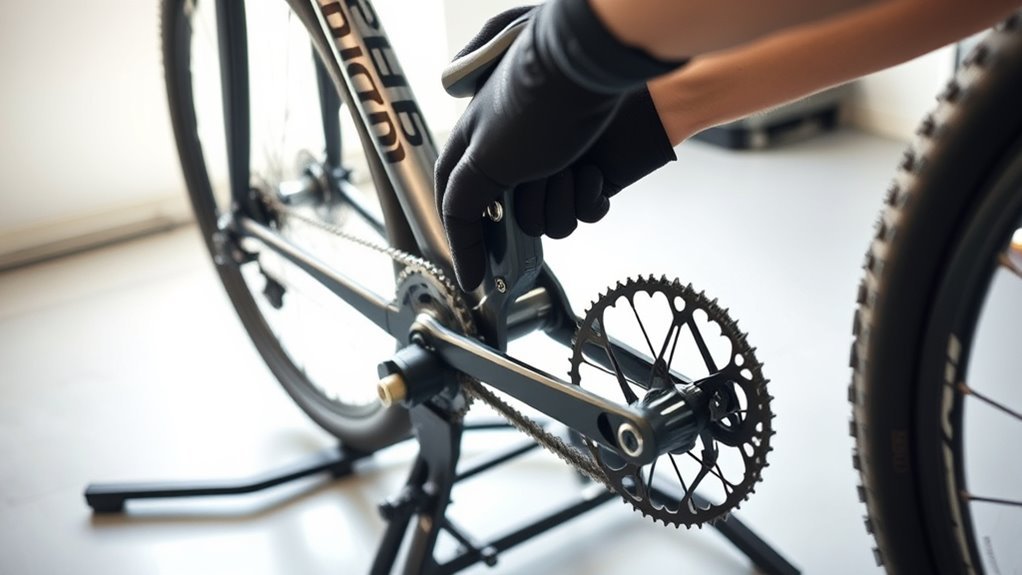
While loosening your bike pedals, you’ll want to keep the bike steady to prevent any unwanted movement. Start by applying the rear brake firmly to hold the wheel in place. This stops the chainring—especially the big ring—from spinning, making it easier and safer to work on your pedals.
If you have a bike stand, use it to stabilize the frame; if not, lean the bike securely against a wall or solid surface. A stable bike reduces strain on the crank arm and pedal threads, helping avoid damage during removal.
It also lowers the risk of injury by preventing sudden shifts as you turn the pedal wrench. Once your bike is locked down, you’re ready to tackle those pedals confidently.
Loosen Bike Pedals by Turning Counter-Clockwise
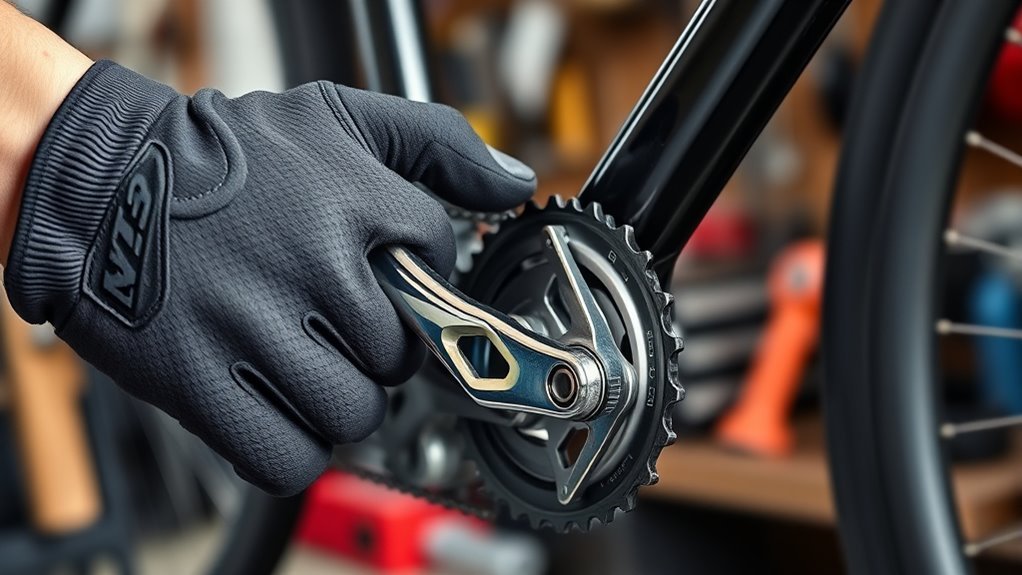
To loosen your bike pedals, you’ll turn them counter-clockwise since most pedals tighten clockwise. Make sure you use the right tool, like a 15mm spanner or an 8mm Allen key, for effective loosening.
Hold the crank arm steady with one hand while turning the pedal with steady, even pressure to avoid damage. This way, you’ll get it off without any hassle.
Direction For Loosening
Although the left pedal has a left-hand thread and the right pedal a standard right-hand thread, you’ll loosen both by turning them counter-clockwise. This direction removes the pedals from the crank arms safely and effectively.
To avoid damage or cross-threading, always confirm you’re turning the pedal the right way. Use a 15mm spanner or an 8mm hex wrench, applying steady pressure while turning counter-clockwise.
Doing this ensures the pedal will unscrew smoothly without straining the threads. Remember, the counter-clockwise motion is universal for loosening pedals on either side, despite their different threading.
Following this simple direction will make pedal removal straightforward, whether for maintenance or transport.
Pedal Thread Orientation
How do you know which way to turn your pedals when removing them? The right pedal, found on the drive side, loosens by turning counter-clockwise because it has a standard right-handed thread. This means you apply steady pressure turning the wrench counter-clockwise to remove it.
The left pedal, on the non-drive side, has a reverse or left-handed thread to prevent it from loosening during rides. So, to remove the left pedal, you actually turn it clockwise.
Knowing this thread orientation is crucial to avoid damaging both the pedal threads and crank arms. Always remember: right pedal loosens counter-clockwise, left pedal loosens clockwise. This simple guideline helps you remove pedals safely and efficiently every time.
Tools For Counterclockwise
Knowing which way to turn your pedals is just the start; having the right tools makes loosening them much easier. To loosen bike pedals by turning counterclockwise, you’ll typically need a 15mm spanner or an 8mm hex wrench (Allen key).
Using the proper tool guarantees a solid grip and prevents stripping the pedal threads. Applying firm, steady pressure while turning counterclockwise on the right pedal helps avoid damage.
Tools with longer handles add leverage, making tight pedals easier to loosen. It’s all about making the job smoother and protecting your bike parts.
| Tool Type | Size | Advantage |
|---|---|---|
| Spanner | 15mm | Strong grip, ideal for pedal flats |
| Hex Wrench | 8mm | Fits inside pedal axle |
| Long Handle | Varies | Provides extra leverage |
| Short Handle | Varies | Easier for tight spaces |
| Adjustable Wrench | Variable | Versatile but less secure grip |
Leverage Foot and Hand Pressure to Loosen Pedals
When you apply downward pressure with your foot on the pedal while pulling upward with your hand, you create the leverage needed to loosen stubborn bike pedals. This technique combines forces to generate enough torque to overcome resistance without damaging your bike.
Here’s how to do it right:
- Position your foot firmly on the pedal, pressing down to stabilize it.
- Grip the pedal spindle or crank arm with your hand and pull upward.
- Apply steady, controlled force with both foot and hand simultaneously.
- Continue this combined pressure while turning the pedal counterclockwise until it loosens.
Using your foot to counteract pedal movement reduces the force your hand must exert, making the process smoother and safer.
Counteracting pedal movement with your foot eases hand effort, ensuring a smoother, safer removal process.
This method minimizes the risk of stripping pedal threads or harming the crank arm. So, you can remove pedals efficiently without extra strain. Mastering this leverage technique is key to tackling even the most stubborn pedals with confidence.
Clean and Grease Pedal Threads Before Reinstalling
Before you reinstall your pedals, make sure to clean the threads thoroughly to remove any dirt or grit that could cause damage.
Then, apply a thin layer of bike-specific grease to protect the threads and make future removal easier.
Taking these steps helps prevent stripped threads and keeps your pedals spinning smoothly.
Cleaning Pedal Threads
Although it might seem like a small step, cleaning and greasing your pedal threads is essential for a smooth reinstallation. Skip this, and you risk cross-threading or seizing, making future maintenance a headache.
To clean your pedal threads effectively, follow these steps:
- Use a brush or rag to remove dirt, grease, and debris from the threads.
- Employ a thread-cleaning tool or small wire brush to clear out any grit lodged deep in the threads.
- Inspect the threads carefully for any damage or signs of cross-threading.
- Apply a small amount of bicycle-specific grease to the clean threads to protect and ease future removal.
Applying Grease Properly
Since pedal threads must be clean to function properly, you should always remove dirt and debris before applying grease. Use a brush or cloth to clean thoroughly, then apply a thin, even layer of high-quality bicycle-specific grease.
This guarantees smooth threading and prevents corrosion. Avoid over-greasing, as excess grease attracts dirt and grit, which can damage threads.
When reinstalling, thread pedals by hand first, then tighten with the correct tool to avoid cross-threading.
| Step | Tip |
|---|---|
| Clean Threads | Use a brush or cloth |
| Choose Grease | Bicycle-specific, high-quality |
| Apply Grease | Thin, even layer |
| Avoid Over-Greasing | Prevents dirt buildup |
| Reinstall Pedals | Hand-thread first, then tool |
Preventing Thread Damage
To prevent thread damage when reinstalling bike pedals, you’ll want to clean and grease the threads thoroughly. This simple step keeps your pedals secure and protects the threads from wear.
Here’s how to do it right:
- Clean the pedal threads with a rag or brush to remove dirt and grit.
- Apply a thin layer of bicycle grease evenly on the threads to prevent corrosion.
- Reinstall the pedals carefully, avoiding cross-threading by starting them by hand.
- Tighten the pedals snugly but don’t overdo it, as overtightening can damage the threads.
Regularly cleaning and greasing the threads extends their lifespan and makes future removal much easier. It’s a good habit to keep up for smooth pedal performance.
Reinstall Bike Pedals Carefully to Avoid Cross-Threading
When you’re ready to reinstall your bike pedals, start by thoroughly cleaning and inspecting the threads to guarantee they’re free of dirt and damage.
Next, apply a small amount of grease to the pedal threads to ensure smooth threading and reduce the chance of cross-threading.
Use the same wrench end you used for removal to maintain the correct angle and avoid misalignment. Turn the pedal clockwise, applying gentle and steady pressure without forcing it.
Tighten the pedal to about 25-30 Nm torque to secure it properly without risking thread damage.
| Step | Action | Tip |
|---|---|---|
| 1 | Clean and inspect threads | Guarantee no dirt or damage |
| 2 | Apply grease | Use a small amount for smoothness |
| 3 | Use correct wrench end | Same side as removal |
| 4 | Tighten pedal clockwise | Moderate torque, avoid forcing |
Pack Your Pedals Safely for Travel
Although removing your bike pedals might seem like an extra step, packing them safely makes travel much easier and keeps your gear clean. It’s definitely worth the little effort.
Follow these tips to guarantee your pedals stay protected and your belongings stay grease-free:
- Use a 15mm spanner or 8mm Allen key to carefully remove the pedals. This helps prevent damage and makes packing way easier.
- Store the pedals inside your bike shoes or a sealed plastic bag. This keeps them organized and avoids those annoying grease stains.
- Keep pedals separate from food or delicate items during travel. You don’t want any contamination or damage to your stuff.
- Before reinstalling, clean and grease the pedals. It protects the threads and makes future removal a breeze.
Frequently Asked Questions
What Is the Easiest Way to Remove Bike Pedals?
The easiest way to remove bike pedals is by using a 15mm spanner or 8mm hex wrench. First, make sure your bike is stabilized so it doesn’t move around.
Then, turn the pedal counter-clockwise. You can press down with your foot while pulling up with your hand to help loosen it. It’s pretty straightforward once you get the hang of it!
How to Remove a Bicycle Pedal Without a Tool?
Think of your pedal as a stubborn door; you’ll grip it tightly with cloth or pliers. Press down with your foot, and twist counter-clockwise.
You’re basically coaxing it open without tools. Just remember, patience and care release its stubborn hold.
Why Can’t I Remove My Bike Pedals?
You can’t remove your bike pedals because they’re often tightened opposite ways, might be rusted, or over-tightened. Using the wrong tool or not enough force also makes them stubborn.
Try applying more torque or proper tools. Sometimes, a little patience and the right technique can make all the difference. Don’t give up just yet!
Which Way Do I Turn to Remove Pedals?
You turn counter-clockwise to remove the right pedal, and you turn clockwise to remove the left pedal.
You turn one way to loosen the right, and you turn the opposite way to loosen the left.
It might sound a bit confusing at first, but once you get the hang of it, it’s pretty straightforward. Just remember, right pedal goes one way, left pedal the other!
Conclusion
Now that you’ve tackled your pedals like a pro, you’re ready to roll smoothly down any road. With the right tools in hand and a steady grip, removing pedals becomes a breeze—like opening a secret passage on your bike.
Remember, a little grease is like a whisper of care, keeping your ride happy and healthy. So pack up those pedals safely, and get ready to hit the trail with confidence and ease!
Taking off bike pedals doesn’t have to be a hassle. With these simple steps, you’ve mastered the art of pedal removal, making future maintenance easier and your bike running smoother. Keeping your pedals well-maintained ensures a safer, more enjoyable ride every time you hit the road or trail. So, grab your tools, apply some grease, and enjoy the freedom of a well-cared-for bike!