How to Replace a Bike Tire in 10 Easy Steps
To replace a bike tire in 10 easy steps, first gather your tools and remove the wheel by opening the quick-release or loosening nuts.
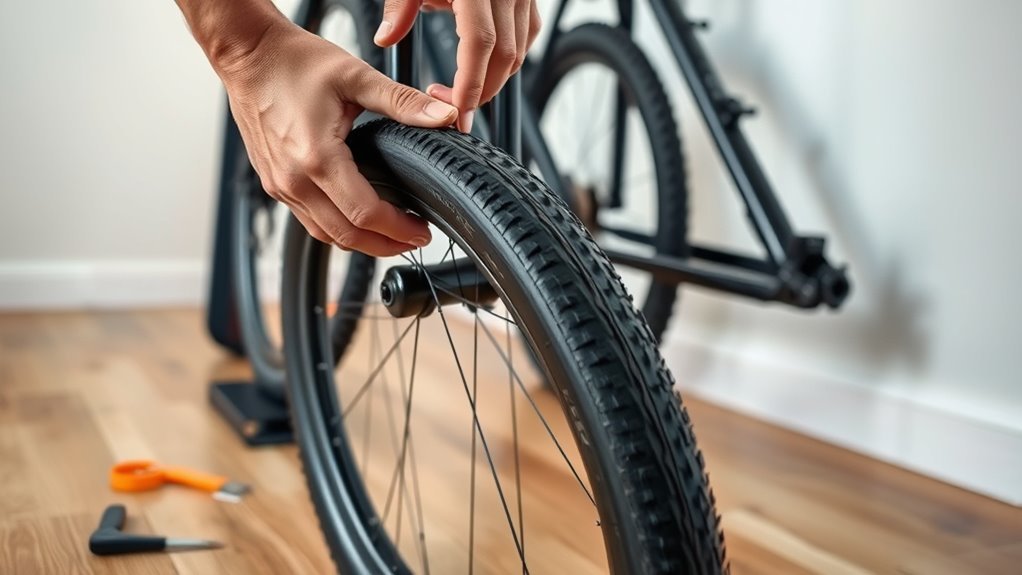
Fully deflate the tire and loosen the bead around the rim. Then, use tire levers to remove the tire and inner tube.
Take a moment to inspect for damage or debris before installing a new or repaired tube.
Make sure the tire bead seats evenly on the rim. Inflate the tire to the correct pressure and reinstall the wheel securely.
Follow these steps closely, and you’ll be ready for a smooth ride.
With a little practice, changing your bike tire becomes quick and hassle-free. Stay tuned for more detailed tips to make the process even easier!
Key Takeaways
- Gather essential tools like tire levers, a spare tube, a pump, and a wrench before starting the tire replacement.
- Remove the wheel by releasing the quick-release or loosening the nuts. You might need to detach the brakes if necessary.
- Deflate the tire fully. Then, use tire levers to carefully loosen and remove the tire and inner tube.
- Partially inflate the new tube, insert it into the tire, and make sure the tire bead is seated evenly on the rim.
- Inflate the tire to the recommended pressure. Reinstall the wheel securely, and don’t forget to check the brake function before you ride.
Gather Tools for Bike Tire Replacement

Before you begin replacing your bike tire, gather all the necessary tools to make the process smooth and efficient. Start with tire levers—they’re usually plastic to protect the rim while you pry the tire bead over the edge.
You’ll also need a spare inner tube in case the current one is damaged. Having a reliable pump or CO₂ inflator is essential to inflate the tire once the tube is installed.
Depending on your bike’s wheel type, prepare the right tool to remove the wheel later, such as a wrench or quick-release lever. It’s smart to keep a patch kit and valve core tool handy too, just in case you need minor repairs during the process.
Remove the Wheel From Your Bike
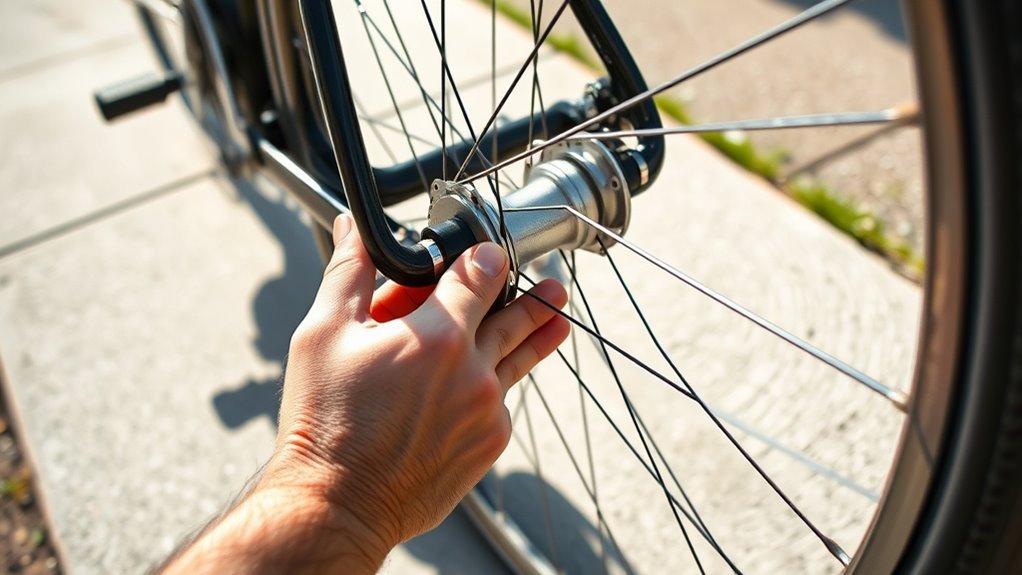
To remove your bike’s wheel, start by opening the quick-release lever or loosening the nuts with a wrench, depending on your axle type. Front wheels usually come off easily once you release the brake.
But the rear wheel? It’s a bit trickier. You’ll want to shift to the smallest gear and might need to disconnect the derailleur.
Make sure to support your bike securely as you handle these steps. You don’t want to risk any damage while working on it.
Wheel Removal Methods
Although removing the wheel might seem tricky at first, you’ll find it straightforward once you know the right steps. First, always deflate the tire completely to avoid rim damage.
For front wheels, release the quick-release lever or loosen the nuts. Rear wheels often require shifting gears and detaching brake cables or the derailleur to remove the wheel smoothly.
If your bike lacks a quick-release lever, use an adjustable wrench to loosen the nuts. Carefully lift the wheel away, making sure no spokes or brake parts get caught.
| Wheel Type | Removal Tip |
|---|---|
| Front Wheel | Release quick-release lever |
| Rear Wheel | Shift gears, detach brake cables |
| No Quick-Release | Use adjustable wrench |
Use tire levers to assist tire removal once the wheel is off. It makes things a lot easier!
Quick-Release Versus Nuts
When you need to remove your bike’s wheel, understanding whether it uses a quick-release skewer or nuts makes the process much smoother.
Quick-release systems feature a lever mechanism that lets you remove the wheel without tools by flipping the lever open and loosening the nut on the opposite side. This setup is common on modern bikes and speeds up wheel removal a lot.
On the other hand, wheels secured with nuts require an adjustable or socket wrench to loosen the nuts before you can take the wheel off.
After reinstalling a quick-release, always make sure the lever is fully closed and tight to keep the wheel secure. For nut-secured wheels, tighten the nuts firmly in a criss-cross pattern to evenly distribute pressure and keep your ride safe.
Handling Rear Wheel Challenges
Before removing the rear wheel, shift your bike into the smallest gear on the cassette. This eases tension on the chain, making the process smoother and preventing damage.
Next, open the quick-release lever or loosen the axle nuts with a wrench. Make sure your bike is stable and well supported.
If your brakes get in the way, detach the brake calipers or disconnect the cables. This is especially important with disc or rim brakes.
Carefully lift the rear wheel out of the dropouts, guiding the chain away from the cassette or freehub body. For thru-axles, unscrew and fully remove the axle before pulling the wheel out.
Using a tire lever, pry the bead away from the rim to remove the tire. Then, take out the tube so you can inflate it or replace it as needed.
Fully Deflate Tire and Loosen Bead
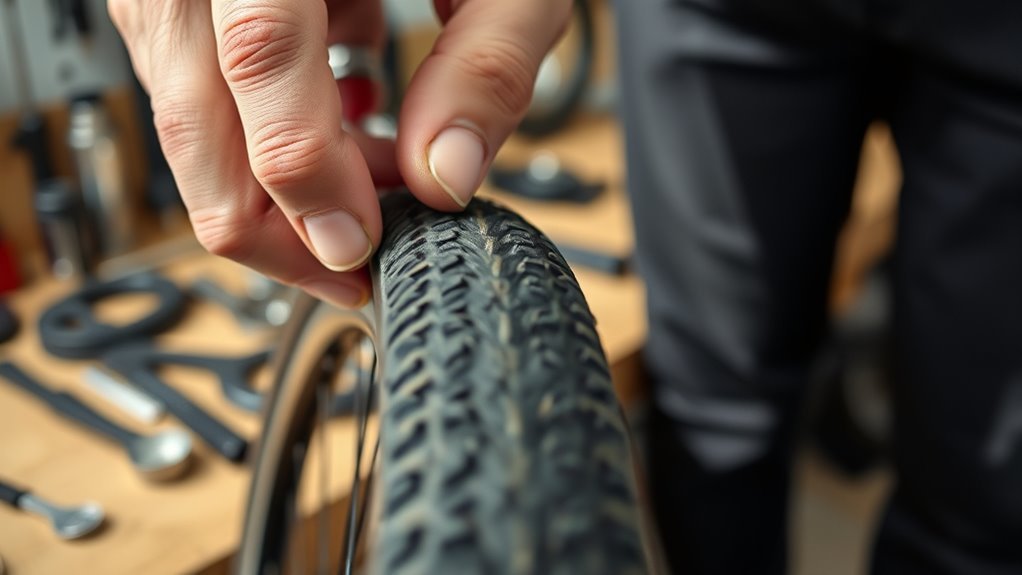
To begin, fully deflate the tire by pressing down on the valve pin to release all the air. Make sure the tire is completely flat before you start removing it. This step is crucial because a fully deflated tire makes loosening the bead from the rim much easier.
Next, use your fingers or tire levers to gently break the bead away from the rim on one side, starting opposite the valve stem. Carefully pry the bead over the rim edge, working your way around the tire to gradually loosen it. Avoid using sharp tools that could damage the tire or inner tube.
Make sure the bead is fully loosened on both sides of the rim. This will ensure the tire moves freely and sets you up for an easier tire removal process in the next step. Taking your time here prevents damage and simplifies the entire tire replacement job.
Remove the Tire Using Tire Levers
Now that your tire is fully deflated, grab your tire levers to start prying the bead over the rim. Begin opposite the valve stem and hook the lever onto a spoke to keep the tire lifted.
Use multiple levers if needed, but be careful not to pinch the inner tube or damage the tire sidewalls. This part can be a bit tricky, but take your time and you’ll get it!
Deflate Tire Completely
How do you get the tire off your bike rim without damaging it? The key is to deflate your tire completely before attempting removal.
Here’s how to do it right:
- Locate the valve on your tire and press down on the valve pin to release all the air. Make sure the tire is fully deflated; no air should remain inside.
- Once deflated, insert a tire lever under the edge of the tire bead opposite the valve. Use the lever to gently pry the tire bead over the rim without forcing or damaging it.
Deflating the tire fully makes removal way easier. Plus, it helps protect both the tire and rim from damage while you’re working on it.
Pry Bead Over Rim
Once you’ve fully deflated the tire, start prying the bead over the rim using plastic tire levers. Insert the first tire lever under the edge of the tire bead, opposite the valve stem.
Gently pry the bead over the rim edge by lifting and sliding the lever around the wheel. Use a second tire lever a few inches away to gradually loosen more of the bead.
Keep prying until the tire bead is free on one side. This will allow you to remove the inner tube easily.
| Step | Action Description |
|---|---|
| 1 | Insert tire lever under tire bead edge |
| 2 | Pry bead over rim edge gently |
| 3 | Use second lever to loosen more bead |
| 4 | Remove tire bead from rim edge |
Use Levers Safely
Although removing a tire might seem straightforward, using tire levers carefully is essential to avoid damaging your rim or inner tube.
Follow these steps to use levers safely:
- Use plastic tire levers to gently pry the tire bead over the rim, starting opposite the valve stem to protect it.
- Insert the lever fully under the tire bead, keeping it between the plastic tire and rim to avoid pinching the inner tube.
- Hook the first lever onto a spoke to hold the bead aside, then use a second lever to work your way around the rim.
- Slowly and steadily pry the bead over the rim edge, never forcing it or bending the rim.
Avoid metal tools that can puncture the tube or damage the rim when removing or installing tires.
It’s always better to be gentle and patient here, trust me!
Remove and Inspect the Inner Tube
Where do you start when removing a bike tire’s inner tube? First, completely deflate the inner tube by pressing down on the valve pin to release all air.
Next, use tire levers to carefully pry the tire bead over the rim, starting opposite the valve stem. This will free the tube from the tire without damaging it. Gently pull the valve stem through the rim hole, then remove the inner tube from inside the tire.
Once removed, inspect the inner tube for any punctures, tears, or holes. Inflate it slightly and listen closely for leaks or submerge it in water to spot bubbles.
Don’t forget to check both the tube and tire for embedded debris or sharp objects that may have caused the flat. Removing and inspecting the inner tube carefully ensures you can identify the issue before moving on to repair or replacement.
Diagnose and Fix the Flat Tire
Before you repair or replace the tube, carefully inspect the tire’s exterior and interior for embedded objects, cuts, or damage that could cause another flat.
Start by removing the inner tube from the tire. Then, follow these steps to diagnose and fix the flat tire:
- Inspect the inner tube for punctures, tears, or holes. Inflate it slightly and submerge it in water to spot escaping air bubbles.
- Identify the exact puncture location by watching for bubbles, ensuring you target the right spot for repair.
- Check the inside of the tire casing for sharp debris or damage that could cause a repeat puncture.
- Inspect the rim strip and spoke holes inside the wheel for any damage or protruding spokes that might harm the tube.
Once you’ve identified the puncture and any damaging factors, you’re ready to repair the tube or prepare for replacement. Easy, right? Just take it step by step!
Install the New or Repaired Inner Tube
Once you’ve prepared the new or repaired inner tube, partially inflate it to give the tube shape and reduce the risk of pinching during installation. Insert the valve stem carefully through the valve hole in the rim, making sure it’s straight and secure. This helps prevent damage and makes the rest of the process smoother.
Partially inflate the tube and carefully insert the valve stem to avoid damage and ease installation.
Next, gently tuck the inner tube into the tire cavity, starting at the valve and working your way around the rim. Try to avoid twisting or pinching the tube as you go.
Use your hands or a tire lever to work the tire bead back toward the rim, taking care not to pinch the inner tube. Keep the tube evenly seated inside the tire to ensure a smooth fit.
Once the inner tube is properly positioned, you’ll be ready to inflate it to the recommended pressure. This gets you set for the next step in securing the tire bead on the rim.
Seat the Tire Bead on the Rim
How do you guarantee the tire bead sits properly on the rim? Proper seating of the tire bead ensures a secure fit and smooth ride.
Here’s how to seat the bead onto the rim effectively:
- Start by placing one side of the tire bead onto the rim at the valve stem, then work outward along the rim with your hands.
- Use the palm of your hand to press the tire bead firmly onto the rim, making sure it seats evenly around the wheel.
- If the bead is tough to seat, apply a small amount of soapy water to the bead and rim edges as a lubricant to ease seating.
- Continuously inspect the tire edges for even seating and listen for a “pop” sound that signals the tire bead has fully seated onto the rim.
Following these steps will help you achieve proper tire bead seating, preventing issues during your ride.
Inflate the Tire to the Correct Pressure
Why is inflating your bike tire to the correct pressure so important? Proper tire pressure guarantees peak performance, safety, and comfort while riding.
To inflate the tire correctly, first check the sidewall for the recommended PSI, typically between 40-60 for road bikes. Using an air pump with a built-in pressure gauge or a separate pressure gauge, steadily add air to the tire.
Make sure to check frequently for an accurate reading and to avoid over-inflating, which can damage the tire or rim. Inflate gradually, watching that the tire bead seats evenly without bulges or pinched spots.
Maintaining the correct pressure not only prevents flats but also improves your bike’s handling and ride quality. Remember to regularly check and adjust your tire pressure before rides to keep things running smoothly and safely.
Reinstall the Wheel and Perform Final Checks
After inflating your tire to the recommended pressure, the next step is to carefully reinstall the wheel onto your bike. Proper alignment is essential to guarantee smooth riding and safety. Here’s how to do it:
First, reinstall the wheel by aligning it with the bike frame dropouts or axle slots, then insert it fully into position. Next, tighten the quick-release lever or axle nuts securely to make sure the wheel is firmly attached and centered.
Don’t forget to reconnect any brake cables or calipers you detached. Check their alignment and operation to make sure everything works smoothly.
Now, spin the wheel to ensure it rotates freely without rubbing against the brakes or frame. If it does rub, make any adjustments needed so it spins cleanly.
Finally, double-check that the tire is seated properly, all fasteners are tightened, and the wheel is secure before you ride. This final check will give you confidence that your bike is ready to roll safely.
Frequently Asked Questions
What Is the Easiest Way to Change a Bike Tire?
The easiest way to change a bike tire is to fully deflate the tube, use plastic tire levers to carefully pry the tire off the rim, remove the tube gently, then reinstall everything without pinching before inflating properly.
First, make sure the tube is completely flat. Then grab some plastic tire levers—they make the job way easier and help avoid damage.
Next, carefully pry the tire off the rim with the levers. Take your time here; rushing can cause problems.
Once the tire is off, gently pull out the tube. Check it for any sharp objects or damage before you put it back.
When reinstalling, be sure not to pinch the tube between the tire and rim. That’s a common mistake that leads to flats.
Finally, inflate the tube properly, and you’re good to go! It’s really not as hard as it sounds.
How to Change a Tire in Easy Steps?
Deflate the tire, pry the bead with levers, remove the tube, insert a new one, and seat the tire back.
You’ll change your tire easily by working carefully, staying patient, and checking alignment throughout.
Just take your time and follow each step, and you’ll have it done before you know it!
What Is the Easiest Way to Remove a Bike Tire?
The easiest way to remove a bike tire is by fully deflating it, then using plastic tire levers to pry the bead over the rim. Start opposite the valve and work around carefully to avoid damaging the tube.
It’s pretty straightforward once you get the hang of it. Just take your time and be gentle with the tire levers.
Are Bike Tires Easy to Change?
Changing bike tires is as doable as riding a bike itself. Once you’ve got the right tools, you’ll find it’s straightforward and quick.
Don’t worry—you’ll master it with a little practice and confidence. It’s easier than you might think! Just take your time, and soon it’ll feel like second nature.
Conclusion
Replacing a bike tire might seem intimidating, but with these simple steps, you’ll have your wheel spinning smoothly again in no time. Like a well-oiled machine, each part works together—tools, tire, tube, and your hands—to get you back on the road.
Remember, patience and practice turn challenges into second nature, so don’t rush. Soon enough, you’ll tackle tire troubles like a pro, ready for every ride ahead.
Learning how to replace a bike tire is a handy skill that saves time and money. With the right tools and a bit of know-how, fixing a flat becomes straightforward. So, take your time, follow these steps carefully, and soon you’ll be confidently changing bike tires whenever needed. This way, you’ll keep your bike in top shape and enjoy every ride without worry.