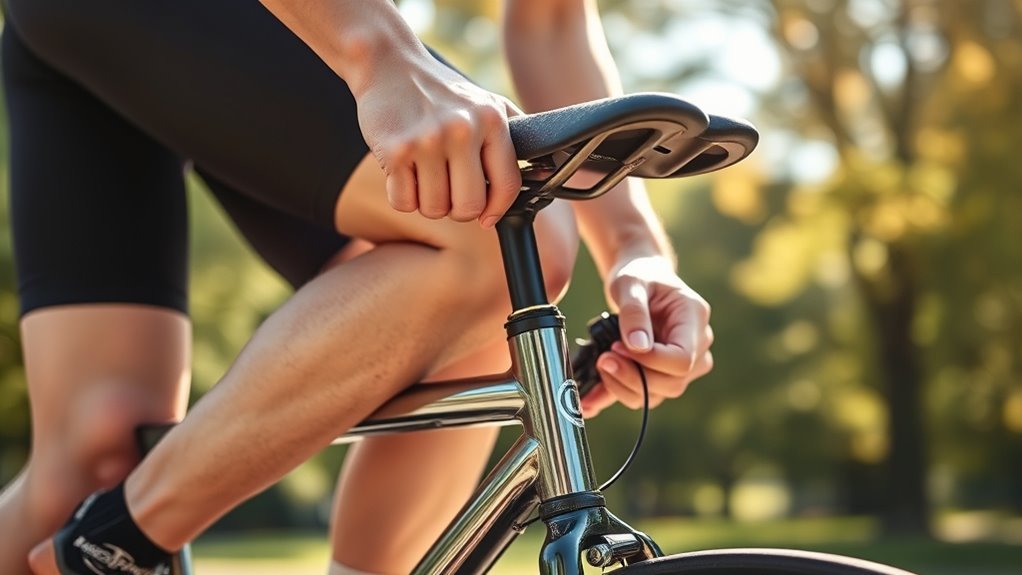
How High Should My Bike Seat Be in 7 Steps
Set your bike seat so your leg nearly fully extends with a slight 25–35 degree knee bend at the pedal’s lowest point. Start by placing your heel on the pedal to get the right position.
A good rule of thumb is to use your inseam measurement multiplied by 0.883 for a personalized saddle height. This helps you find a starting point that fits your body.
Next, fine-tune the height by checking your knee angle and comfort during rides.
Don’t forget to adjust the saddle position forward or backward to improve power and balance.
Also, try leveling the seat or tilting it slightly to find what feels best.
Keep tweaking the seat height and position until you get the perfect fit.
With these steps, you’ll optimize your ride and enjoy a more comfortable, efficient cycling experience. Just keep experimenting until it feels just right!
Key Takeaways
- Sit on the bike and place your heel on the pedal at its lowest point; your leg should be fully extended with a slight knee bend.
- Measure your inseam and multiply by 0.883 to find your ideal saddle height in centimeters for a personalized fit.
- Adjust saddle height to achieve a 25–35 degree knee bend at the pedal’s bottom using a goniometer or video analysis.
- Look for signs like knee pain, hip rocking, or heel lifting to identify if saddle height needs adjustment.
- Fine-tune saddle height in small increments (2-5 mm) after each ride for long-term comfort and efficiency.
Start With the Heel-on-Pedal Method
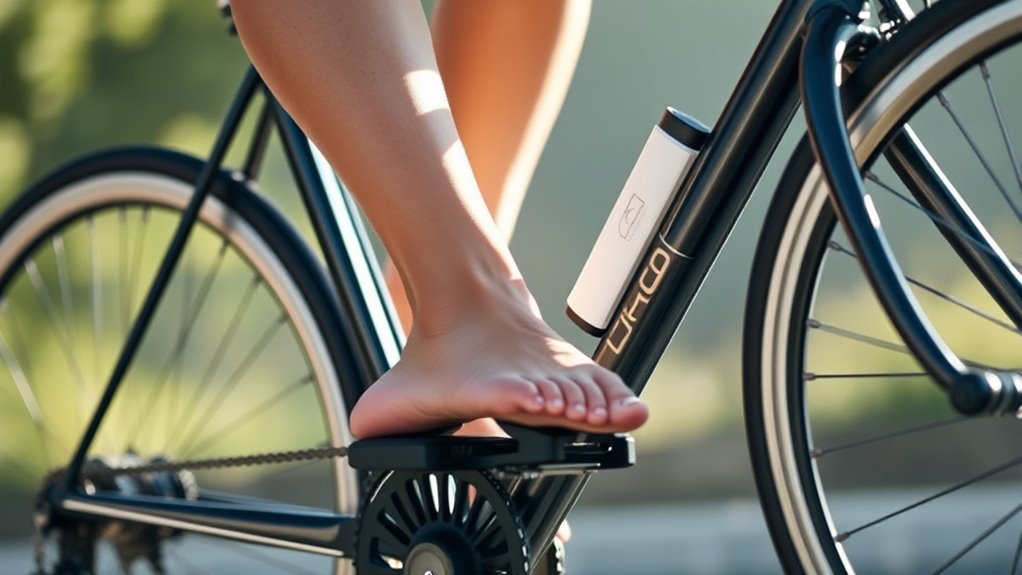
Before adjusting your bike seat height, try the heel-on-pedal method to find a good starting point. Sit on your bike and place your cycling shoe heel on the pedal at the lowest point of the pedal stroke.
In this position, your leg should be fully extended with just a slight knee bend at the top of the stroke. This helps you gauge if your saddle height is close to proper.
If your knee stays bent with your heel on the pedal, your saddle height is too low—raise it slightly. Conversely, if your hips sway or you struggle to keep your heel on the pedal, your saddle might be too high and should be lowered.
Using the heel-on-pedal method helps you achieve the proper saddle position, ensuring efficient leg extension and a smooth pedal stroke. This simple technique is an essential first step in bike fitting to optimize comfort and performance.
Use Inseam Formulas to Find Your Saddle Height

When you want a more precise saddle height, use inseam formulas that rely on your leg measurement. First, measure your inseam by standing barefoot against a wall with your feet shoulder-width apart.
For precise saddle height, measure your inseam standing barefoot with feet shoulder-width apart.
Place a book or ruler snugly between your legs at the crotch, then measure from the crotch to the floor. This inseam measurement is key for accuracy.
Next, multiply your inseam in centimeters by 0.883 to find the ideal saddle height. This number represents the distance from the center of the bottom bracket to the top of the saddle.
As a rider, you’ll make your saddle height adjustment based on this measurement. Simply adjust the saddle so that this distance matches the calculated value.
Using this formula ensures a personalized fit, helping you ride comfortably and efficiently. This method takes the guesswork out of finding the right saddle height and sets a solid foundation for further fine-tuning.
Check Your Knee Angle to Fine-Tune Height
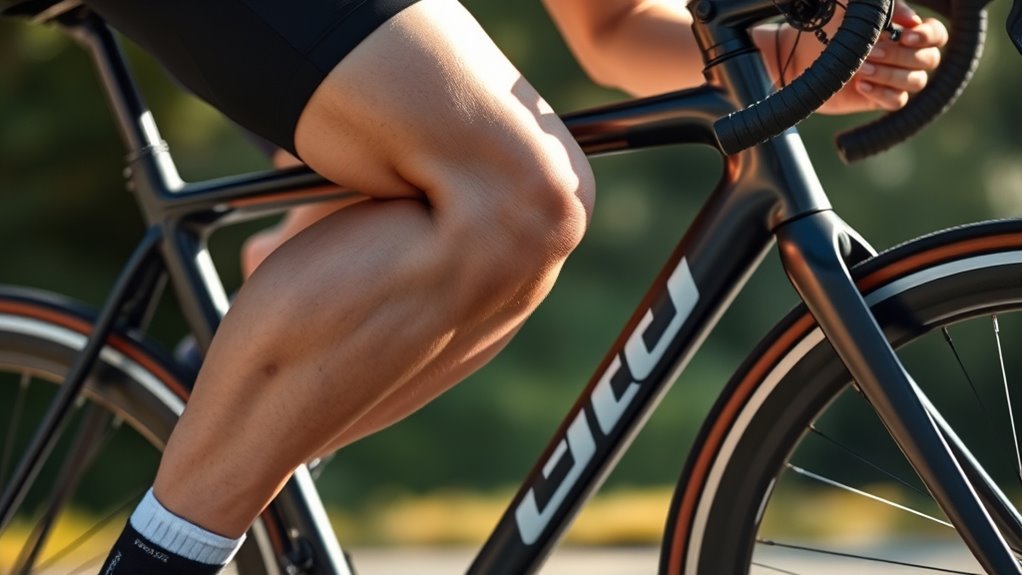
Although inseam measurements give you a solid starting point, you’ll need to check your knee angle to fine-tune your saddle height. The key knee angle at the bottom of the pedal stroke is about 25–35 degrees.
You can measure this angle using a goniometer or video analysis by assessing the joint formed between your thigh, shin, and pedal when your foot is at its lowest point. Adjust your saddle height until your knee shows a slight bend within this range, ensuring proper position.
Achieving the correct knee bend prevents overextension and reduces knee strain, boosting riding efficiency. This small adjustment plays a vital role in your overall bike fit, enhancing comfort and performance.
Spot Signs Your Saddle Height Isn’t Right
You’ll notice common discomfort like knee or lower back pain if your saddle height is off. Inefficient pedaling and odd body movements, like hip rocking or lifting your heels, also signal a problem.
Paying attention to these signs helps you adjust your seat for a smoother ride. It’s worth taking the time to get it right!
Common Discomfort Indicators
If your knees ache or your hips rock excessively while pedaling, your saddle height likely needs adjustment. Knee pain and discomfort often mean your saddle height is either too high or too low, affecting your riding position and causing joint pain.
You might also notice numbness or pressure in the perineal area. This usually signals that the saddle is improperly tilted or set too high.
Difficulty maintaining a smooth pedal stroke or your heel touching the ground during pedaling are clear signs your saddle adjustment isn’t right.
If you’re feeling persistent discomfort after rides, it’s definitely time to reevaluate your saddle height. Paying attention to these common discomfort indicators helps you fine-tune your bike’s setup for a more comfortable and efficient ride.
Pedaling Efficiency Problems
When your saddle height isn’t right, your pedaling efficiency takes a hit. You’ll notice your power and stamina drop, often linked to an incorrect saddle position.
Here are three key signs to watch for:
- Excessive knee bend at the bottom of the pedal stroke means your saddle height is too low, reducing pedaling efficiency.
- If your leg straightens fully and your hips rock side to side, or your heel lifts off the pedal, your saddle is set too high.
- Feeling riding discomfort or joint pain after rides signals that your saddle height needs adjustment.
Pay attention to heel on pedal placement during pedaling; improper saddle height causes inefficient movements and fatigue in your quadriceps and hamstrings.
Adjusting your saddle height ensures smoother, more efficient rides.
Body Position Issues
Although it might seem subtle, your body position can reveal a lot about whether your saddle height is off. If your knees stay excessively bent at the bottom of each pedal stroke, your saddle height is likely too low. This can limit your pedaling efficiency.
Conversely, if your hips rock side-to-side or sway while pedaling, it’s a sign that your position isn’t quite right. This could be caused by either too high or too low saddle height.
Also, if your heels can’t stay flat without overextending your leg, your saddle might be set too high. That can lead to discomfort or pain in your knees and hips.
Adjust Saddle Fore-Aft Position for Comfort
You’ll want to adjust your saddle fore-aft position to align your knee directly over the pedal axle for better comfort and efficiency. Proper knee alignment reduces strain and improves power transfer.
But hey, your riding style might call for slight tweaks forward or backward. Making small adjustments can help you find the spot that feels just right for your body and riding preferences.
Importance of Fore-Aft
Because adjusting your bike saddle’s fore-aft position directly impacts knee alignment, you can improve both comfort and efficiency by fine-tuning it carefully. Proper fore-aft positioning ensures your kneecap aligns over the pedal axle at the 3 o’clock position, promoting a smooth pedal stroke and reducing strain.
Here’s how to refine it:
- Position the crank horizontally and use a plumb line to check knee alignment with the pedal axle.
- Adjust the saddle setback in small increments. Move it forward to reduce reach but increase hand weight, or backward to shift weight toward the saddle for comfort.
- Balance your saddle height with fore-aft position to maintain ideal riding posture and pedal efficiency.
Fine-tuning these elements along with saddle height enhances power transfer and overall ride comfort. It’s all about finding that sweet spot that feels just right for you.
Proper Knee Alignment
Fine-tuning your saddle’s fore-aft position doesn’t just affect comfort—it directly influences proper knee alignment, which plays a key role in reducing strain and boosting pedaling efficiency. When your foot is at the 3 o’clock pedal position, adjust the saddle fore-aft so your kneecap aligns directly above the pedal axle.
Using a plumb line or vertical alignment tool can help position the saddle relative to your knee joint accurately. Moving the saddle forward shifts your knee joint over the pedal, easing strain and improving power transfer.
Conversely, moving it backward places your knee behind the pedal axle, increasing stress and reducing efficiency. Along with proper saddle height, this alignment guarantees a balanced pedal stroke and minimizes joint pain for a smoother ride.
Adjusting for Riding Style
When you adjust your saddle fore-aft position, you directly influence both comfort and riding efficiency by aligning your knee properly over the pedal. This saddle adjustment is key to achieving the ideal bike fit tailored to your riding style.
Here’s how to optimize it:
- Move the saddle forward to increase power transfer and place more weight on your hands. This is perfect for high-intensity riding.
- Shift the saddle backward to reduce hand pressure, enhancing comfort during relaxed, upright rides.
- Confirm your kneecap aligns over the pedal axle at the 3 o’clock position. Doing this helps prevent joint strain and improves comfort.
Level Your Saddle and Adjust Tilt for Comfort
Although it might seem minor, leveling your saddle plays an essential role in distributing pressure evenly across your sit bones and preventing discomfort during rides. Start by setting your saddle height correctly, then level the saddle so the nose is parallel to the ground.
This balanced saddle angle provides a neutral riding position that maximizes comfort. Once leveled, you can adjust tilt slightly—usually a downward angle of 1-3 degrees—to relieve pressure on sensitive areas, especially if you’re a long-distance rider.
Be careful not to tilt the saddle too much, as excessive tilt can make you slide forward or backward, disrupting your pedaling efficiency and balance. Use a spirit level or rely on visual cues to check your saddle tilt accurately.
Fine-tune the saddle angle based on your personal comfort and riding style, ensuring that every adjustment helps you maintain a smooth, pain-free ride.
Reassess Saddle Height After Test Rides and Changes
Since small differences in saddle height can considerably affect your comfort and pedaling efficiency, you should always reexamine it after each test ride. Pay attention to how your knees, hips, and back feel during cycling.
Small adjustments in saddle height greatly impact comfort and pedaling—always reassess after every test ride.
If you notice pain, fatigue, or instability, it’s a sign to reevaluate your saddle height and make adjustments. Even small changes of 2-5 mm can make a big difference.
Here’s how to approach reexamining your saddle height:
- After a test ride, check if your knee bend feels natural and your cycling position is comfortable.
- Make incremental adjustments based on feedback from your body, focusing on maintaining proper knee bend.
- Reassess saddle height anytime you change shoes, pedals, or saddle models to keep your position optimized.
Regularly rechecking and fine-tuning your saddle height ensures lasting comfort and prevents injury. It also makes your rides more enjoyable and efficient.
Frequently Asked Questions
How High Should a Bike Seat Height Be?
Your bike seat should be high enough to keep a slight 25-30° bend in your knee at the bottom of the pedal stroke.
Adjust it so you pedal comfortably without overextending or straining your joints.
It’s all about finding that sweet spot where you feel efficient and pain-free.
Don’t be afraid to make small tweaks until it feels just right!
What Is the 75% Rule in Cycling?
Did you know most cyclists find comfort using the 75% rule? It means you set your saddle height to 75% of your inseam length.
This helps you pedal efficiently and avoid strain during rides. Pretty handy, right?
What Are the Signs of an Incorrect Saddle Height?
You’ll notice excessive knee bend or hips rocking side to side when pedaling if your saddle height is off. Heel-down pedaling or joint pain also signals incorrect height, making your ride uncomfortable and inefficient.
It’s something you don’t want to ignore because it can really mess with your comfort and performance. So, if you catch any of these signs, it’s worth adjusting your saddle height.
Should My Bike Seat Be Higher Than My Handlebars?
Yes, your bike seat should usually be higher than your handlebars to help you pedal efficiently and maintain proper leg extension.
However, comfort and riding style might make you adjust the height for better control or posture.
It really depends on what feels best for you and the type of riding you do. Don’t be afraid to experiment a bit until you find the right fit!
Conclusion
Finding the perfect bike seat height isn’t just about numbers—it’s about how comfortable and confident you feel on every ride. By following these steps, you’re gently tuning your bike to fit your unique rhythm and style.
Don’t worry if it takes a little tweaking; sometimes, a subtle nudge makes all the difference. Keep adjusting and listening to your body, and soon, your saddle will feel like a natural extension of you.
Getting your bike seat height right is key to improving your riding experience. It helps prevent discomfort and potential injuries while boosting your pedaling efficiency. So, take your time with these steps, and soon you’ll enjoy every ride with a perfectly adjusted bike seat. Your ideal seat height awaits—just a few tweaks away from making every pedal stroke feel effortless and smooth.