7 Steps to Tighten Hydraulic Disc Brakes on Your Bike
To tighten your hydraulic disc brakes on your bike, start by checking the brake lever engagement. You want it to feel smooth and firm with minimal free play. This initial check ensures your brakes respond well when you need them most.
Next, make sure the wheel and rotor are properly seated and aligned. They shouldn’t be rubbing against the brake pads or caliper. It’s a simple step but crucial for preventing unwanted noise and wear.
Take a moment to inspect and tighten the hose connections securely to 8–10 Nm. Loose connections can lead to fluid leaks or reduced braking power, so don’t skip this.
Then, bleed the system to remove any air trapped inside. Air bubbles can make your brakes feel spongy and less effective.
After that, loosen the caliper bolts and squeeze the brake lever to align the caliper perfectly over the rotor. This helps the brakes grip evenly.
Finally, torque the caliper bolts to 6–8 Nm and test the brake performance. Make any needed adjustments so your stopping power feels consistent and reliable.
You’ll find more tips to perfect your setup here.
Key Takeaways
- Loosen caliper bolts to allow side-to-side movement before tightening. This gives you some wiggle room to adjust things properly.
- Squeeze the brake lever to center the caliper right over the rotor. It helps align everything perfectly before you lock it down.
- Tighten the caliper bolts evenly to 6–8 Nm using a calibrated torque wrench. Make sure you don’t overdo it, or things might get damaged.
- Securely tighten hose fittings to 8–10 Nm and check for leaks. You definitely don’t want any fluid escaping.
- Spin the wheel to confirm there’s no rubbing and verify proper rotor alignment. If it’s rubbing, you might need to tweak it a bit more.
Check the Hydraulic Brake Lever Engagement
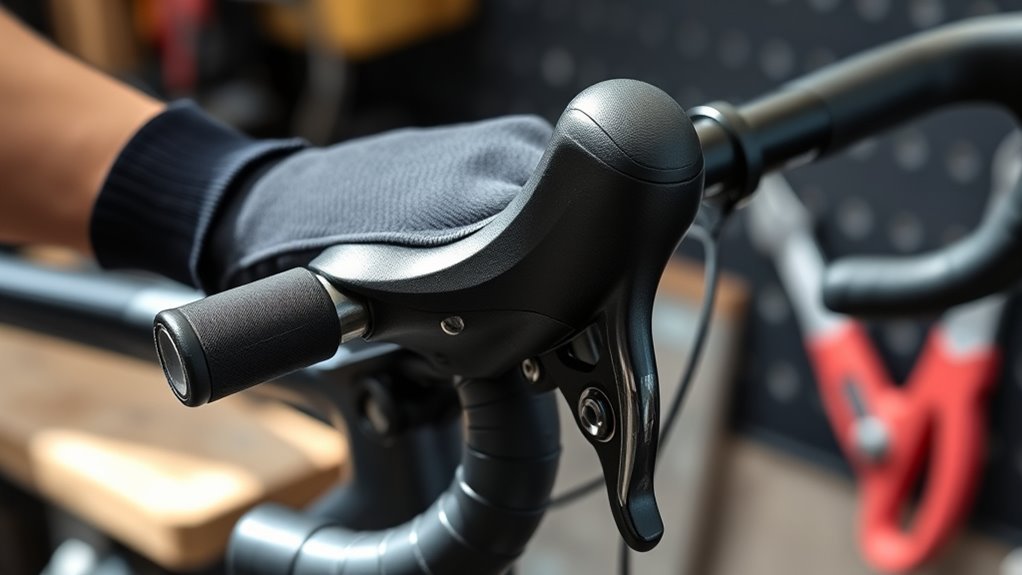
Before you adjust any other part of your hydraulic disc brakes, make sure the brake lever engages smoothly and has about an inch of free play before you feel resistance. This free play is essential to avoid premature wear or brake drag.
Hydraulic disc systems differ from mechanical disc brakes, so don’t assume they behave the same. Make sure your brake lever doesn’t feel spongy or soft; that often signals air trapped in the system or fluid issues.
Also, check that the lever returns to its resting position without sticking. Inspect the pivot and mounting points for dirt or damage. Keeping a clean brake lever area prevents side to side play that can affect performance.
If you’re wondering, “How often should I check this?” – the answer is every ride, especially if you ride mountain bikes on rough terrain. Regular checks ensure consistent, reliable braking and help you catch problems early before they worsen.
Make Sure the Wheel and Rotor Are Seated Correctly
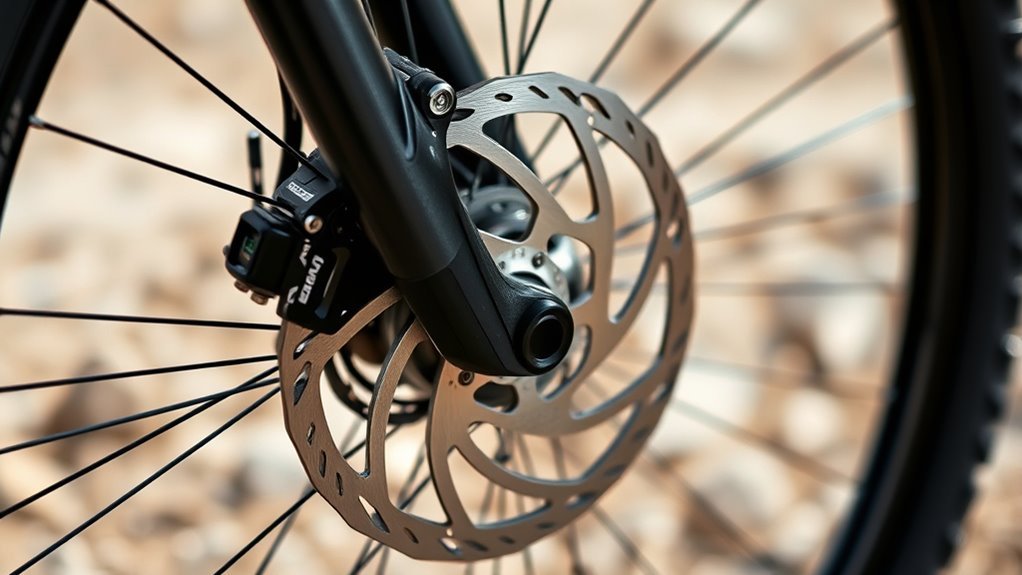
After confirming your brake lever feels firm and responsive, the next step is to make certain the wheel and rotor sit correctly in place. Proper seating ensures your disc brake system works smoothly and prevents rubbing or misalignment.
Start by securely tightening the quick-release or thru-axle to fully seat the wheel in the dropouts or axle mounts. Then, check the rotor’s position inside the caliper—it should have equal gaps on both sides before you tighten the caliper mounting bolts.
Begin by firmly securing the wheel, then ensure the rotor is perfectly centered within the caliper before tightening.
Spin the wheel to confirm the rotor doesn’t rub against the brake pads. Finally, verify that the hub bearings are adjusted properly so the wheel stays centered.
- Securely fasten the wheel to prevent movement
- Align the rotor evenly within the caliper
- Ensure the rotor spins freely without rubbing
- Use backlighting to spot any rotor wobble or uneven spacing
These steps guarantee your disc brake functions reliably and safely.
Inspect and Tighten Hydraulic Brake Hose Connections
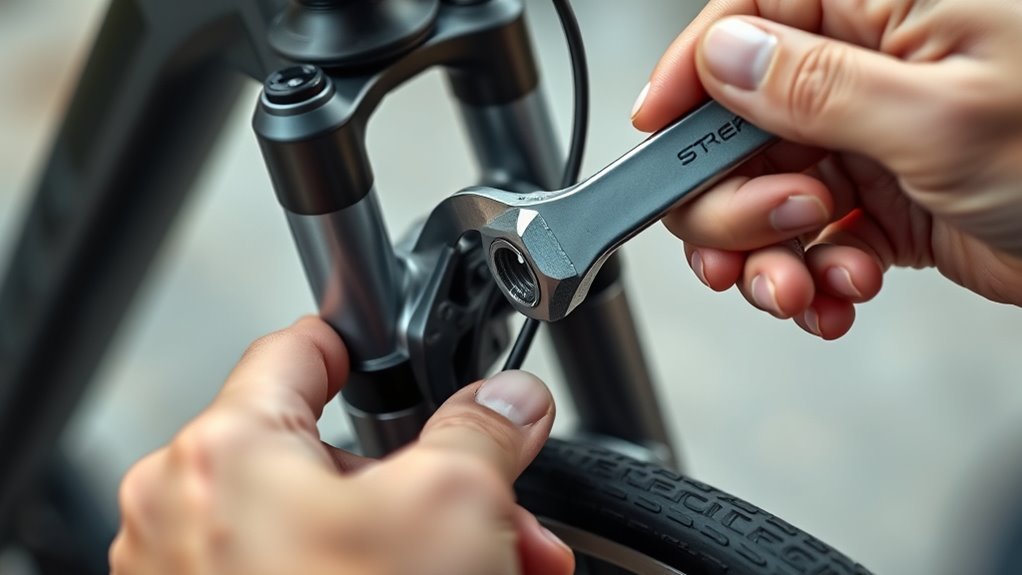
Two critical points to inspect when maintaining your hydraulic disc brakes are the hose connections at both the caliper and lever. Start by checking each connection for tightness, making sure they’re securely threaded and properly seated.
Before tightening, clean the hose fittings thoroughly to remove any dirt, debris, or corrosion that could prevent a proper seal. Use a torque wrench set to the manufacturer’s recommended specification—typically around 8 to 10 Nm—to avoid overtightening or damage.
Next, carefully inspect the fittings for any signs of leaks or fluid seepage, which can indicate a loose connection or damaged seal. After tightening, gently squeeze the brake lever to confirm firm engagement and guarantee there are no leaks or looseness.
This step assures your hydraulic system remains secure and responsive, keeping your brakes reliable and safe on every ride. It’s a simple routine that really makes a difference!
Bleed the Hydraulic Brake System to Remove Air
When air gets trapped in your hydraulic brake system, it compromises braking performance, so you’ll need to bleed the system to restore proper function. Bleeding removes these air bubbles, ensuring your brakes feel firm and responsive.
Here’s how to do it:
- Attach a bleed kit or syringe to both the caliper and master cylinder.
- Open the bleed port on the caliper or lever, then slowly pump fluid through to push air out.
Keep the brake fluid reservoir topped up with the correct fluid (usually mineral oil or DOT fluid) during the process. This helps prevent more air from getting in.
Once no more air bubbles appear, securely close the bleed port to prevent air from re-entering.
After bleeding, test your brake lever. It should feel firm with minimal travel. That means you’ve effectively removed the air and restored your braking power.
Align the Hydraulic Brake Caliper Over the Rotor
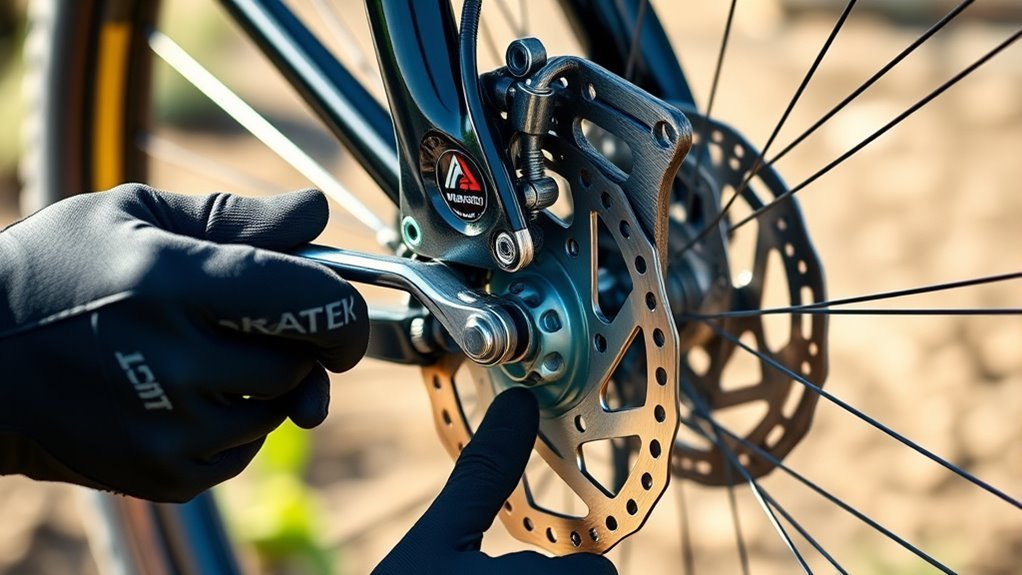
Start by loosening the caliper mounting bolts just enough so the caliper can move side to side. Squeeze the brake lever firmly to center the caliper over the rotor.
Then, hold it in place while you tighten the bolts to the recommended torque. This guarantees your caliper is properly aligned for smooth braking.
Loosen Caliper Mounting Bolts
Before you can align the hydraulic brake caliper over the rotor, loosen the caliper mounting bolts just enough to let the caliper move side to side.
This small adjustment allows the caliper to slide freely without binding, making it easier to position correctly. Just be careful not to fully remove the bolts—only loosen them enough for movement.
Keep these tips in mind:
- Use the correct Allen or Torx wrench to prevent stripping bolt heads.
- Verify the caliper can move smoothly side to side.
- Don’t loosen the bolts too much; avoid losing them or misaligning parts.
Once adjusted, make sure the caliper is centered before tightening to the recommended torque.
Following these steps helps you prepare for proper brake alignment.
Center Caliper With Lever
Although the caliper mounting bolts are loosened, you’ll need to firmly squeeze the brake lever to center the caliper over the rotor, holding consistent pressure while you adjust. This lets the caliper self-align, preventing rotor rubbing.
Keep the bolts slightly loose so the caliper can move side to side freely. Once centered, maintain pressure on the lever and prepare to secure the caliper in place.
After tightening, release the lever and spin the wheel to check for any misalignment or noise. Repeat if necessary to guarantee perfect alignment before finalizing.
| Step | Action | Tip |
|---|---|---|
| 1 | Loosen caliper bolts slightly | Don’t remove bolts completely |
| 2 | Squeeze brake lever firmly | Hold consistent pressure |
| 3 | Adjust caliper alignment | Caliper should move freely |
| 4 | Release lever, check wheel spin | Listen for rubbing sounds |
Tighten Bolts To Torque
Two bolts hold your hydraulic brake caliper securely over the rotor, and tightening them to the correct torque is essential for proper alignment. Use a torque wrench to tighten the bolts between 6 and 8 Nm, ensuring even pressure and avoiding damage.
Before fully tightening, make sure the caliper is centered over the rotor to prevent pad rub. Follow these steps:
- Gradually tighten each bolt in a crisscross pattern to secure the caliper evenly.
- Check that the caliper remains centered as you tighten.
- Use a torque wrench for precise tightening within the 6–8 Nm range.
- Spin the wheel afterward to detect any rubbing, and make small adjustments if needed.
This method keeps your brakes aligned and working smoothly. It’s a simple step that really makes a difference!
Tighten Caliper Mounting Bolts to 6–8 Nm Spec
Now it’s time to tighten the caliper mounting bolts to the recommended 6–8 Nm torque using a torque wrench. You’ll want to tighten them evenly in a cross pattern to guarantee proper clamping and avoid misalignment.
Always double-check your work to keep your brakes safe and performing at their best. Taking a little extra time here really pays off!
Torque Specification Importance
Why does tightening your hydraulic disc brake caliper mounting bolts to exactly 6–8 Nm matter? Getting the torque right guarantees your brakes stay secure and perform at their best.
If you don’t, the caliper might shift, causing uneven pad wear or rotor rub. Using a torque wrench set to 6–8 Nm guarantees you don’t overtighten or undertighten, protecting your bike’s components.
Here’s why sticking to the 6–8 Nm spec is essential:
- Prevents caliper movement for consistent braking
- Avoids uneven pad wear and rotor interference
- Protects threads and mounting surfaces from damage
- Promotes safety and prolongs brake lifespan
Following this torque range keeps your hydraulic disc brakes reliable and safe every ride. It’s a small step that makes a big difference!
Proper Bolt Tightening
Getting the torque right at 6–8 Nm is only part of the process; how you tighten the caliper mounting bolts matters just as much. Use a torque wrench with the correct bit socket to avoid stripping or over-tightening the bolts.
Always tighten the bolts in a cross pattern to distribute pressure evenly and prevent misalignment. Check your brake system’s manufacturer specifications, as torque values may vary slightly.
After tightening, double-check the caliper’s alignment and rotor clearance to ensure smooth, consistent braking performance. Taking these steps guarantees proper clamping force without damaging components, setting the stage for reliable and safe braking every time you ride.
Safety Precautions During Tightening
Although tightening the caliper mounting bolts to the recommended 6–8 Nm specification is essential, you should always use a torque wrench with the correct bit. This helps prevent over-tightening or under-tightening. It’s the best way to guarantee a secure attachment and keep your brake performance on point.
Before you start, make sure the caliper is properly aligned over the rotor. This helps avoid uneven pad wear and rubbing. Also, don’t forget to protect yourself by wearing gloves and eye protection since hydraulic fluid can be harmful if it leaks.
Keep these safety precautions in mind:
- Use a torque wrench calibrated for 6–8 Nm
- Confirm caliper alignment before tightening
- Wear gloves and eye protection
- Avoid applying excessive force to prevent damage
Following these steps keeps you safe and your brakes reliable.
Test Brake Performance and Make Final Adjustments
Once you’ve tightened your hydraulic disc brakes, you’ll want to test their performance to guarantee they engage smoothly and provide consistent stopping power. Start by squeezing the brake lever firmly, feeling for smooth engagement and consistent pressure.
Spin the wheel while applying the brake to check if the rotor stays still without rubbing or wobbling. Keep an eye on the caliper and rotor to spot any misalignment or pad contact; adjust if needed.
Repeat pulling the lever and spinning the wheel until the stopping power feels firm and reliable. Also, confirm the brake lever has a firm feel with minimal travel, indicating proper hydraulic pressure.
| What You Do | What You Feel/See |
|---|---|
| Squeeze lever firmly | Smooth engagement, steady pressure |
| Spin wheel with brake applied | Rotor stationary, no rub or wobble |
| Observe caliper & rotor | Proper alignment, no pad contact |
| Repeat test | Firm stopping power, minimal lever travel |
Frequently Asked Questions
How to Make Hydraulic Disc Brakes Tighter?
You tighten hydraulic disc brakes by adjusting the brake lever reach, aligning the caliper over the rotor, and securely tightening bolts.
If the lever feels soft, bleed the brakes to remove air and restore firmness and responsiveness. It really makes a noticeable difference!
What Is the 30/30/30 Rule for Brakes?
The 30/30/30 rule means you tighten your brake caliper bolts to 30 Nm, then turn them 30° twice more.
This guarantees even clamping, prevents misalignment, and keeps your hydraulic brakes working smoothly and safely.
How Do I Adjust My Bike’s Hydraulic Disc Brakes?
Like tuning a fine instrument, you’ll loosen caliper bolts, squeeze the brake lever to center the caliper, then tighten bolts.
If it feels spongy or rubs, bleed the system and clean the rotor and pads. That should get your brakes feeling sharp and responsive again.
How to Tighten Disc Brakes on a Bike?
Tighten your disc brake caliper bolts using a torque wrench to 6-8 Nm. Squeeze the brake lever to align the caliper properly, then secure the bolts.
Spin the wheel to check for rubbing or loose parts. If you hear any rubbing, you might need to adjust the caliper position a bit more. Just keep tweaking until it spins freely without noise.
Conclusion
By boldly balancing brake basics, you’ll boost bike braking brilliance and banish bothersome brake bounce. Carefully checking connections, confidently calibrating calipers, and consistently clearing air creates crisp, controlled stops.
Don’t delay—dedicate time to tightening, testing, and tuning your hydraulic disc brakes for dependable, dynamic riding. With steady steps and sharp skills, you’ll savor safer spins and smoother slopes, securing supreme stopping strength every single time you saddle up.
Taking the time to tighten your hydraulic disc brakes properly can make all the difference in your ride. Whether you’re cruising around town or tackling steep trails, well-maintained brakes ensure you have reliable stopping power when you need it most. So keep those connections tight, clear out any air, and calibrate your calipers regularly. That way, your bike will be ready to deliver smooth, controlled braking on every ride.