How to Use a Bike Pump in 3 Easy Steps
First, identify your valve type—Presta or Schrader—and remove the dust cap. Knowing your valve type is key because it determines how you’ll attach the pump and inflate your tire properly.
Next, attach your pump securely to the valve, making sure it’s locked in place.
Then, pump steadily until your tire reaches the proper pressure. You can usually find the recommended pressure on the sidewall of your tire.
Finally, disengage and remove the pump. If you have Presta valves, tighten any locknuts to keep air from escaping.
Don’t forget to replace the valve cap to keep out dirt and debris.
Follow these easy steps, and you’ll be ready to ride confidently. There’s always more you can learn to keep your bike in top shape!
Identify and Prepare Your Bike Valve
Before you begin inflating your bike tire, you need to identify your valve type—either Presta or Schrader—by comparing it to images or noting key differences. Schrader valves are wider with a central pin, while Presta valves are thinner and have a small knurled locknut.
Start by removing the plastic dust cap—unscrew it counterclockwise—and inspect for dirt or debris around the bike valve. For Presta vs Schrader, remember that Presta valves require you to unscrew the locknut before inflating your tires, while Schrader valves don’t.
Check your pump’s nozzle and prepare nozzles accordingly to match your valve type. Finally, test the valve by pressing gently to ensure it’s ready. This prep helps you avoid leaks and keeps inflation smooth.
Attach the Pump and Inflate the Tire
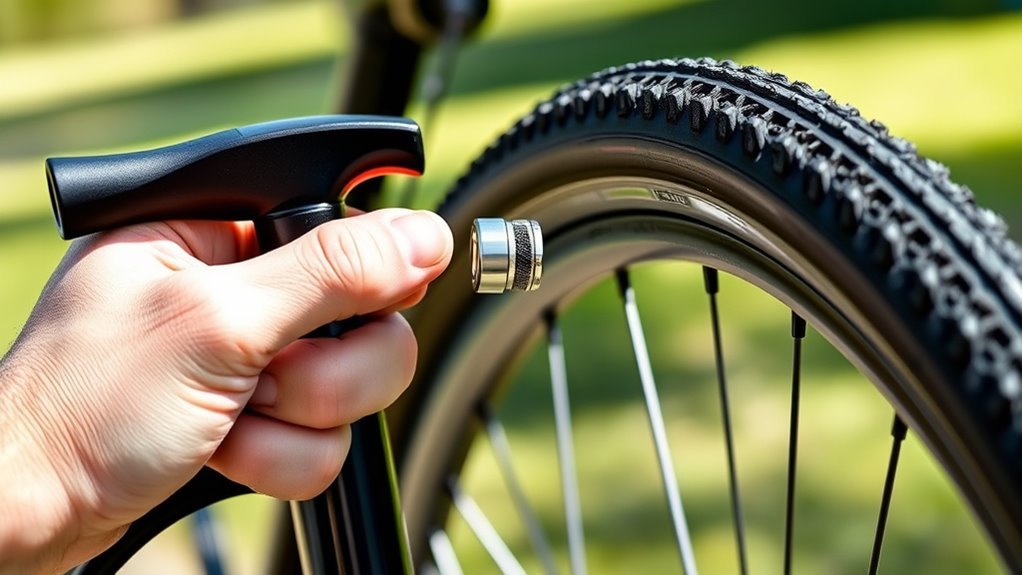
After preparing your valve by removing the dust cap and loosening the locknut if you have a Presta valve, you’re ready to attach the pump. Select the correct pump nozzle on your bike pump, then firmly connect it to the valve.
Make sure you achieve a secure fit to avoid any air leaks. Once attached, secure the pump lever into the 90-degree position or follow your pump’s locking mechanism.
Begin to inflate the tire by pumping steadily. Keep an eye on the pressure gauge and stop once you reach the desired PSI. Avoid overinflating to maintain tire safety.
When finished, release the pump lever and carefully disconnect the pump nozzle. Finally, screw the valve cap back on to keep the valve protected and sealed until your next ride.
Finish and Secure the Valve
Once you finish inflating, flip the pump’s lever back to the closed position to secure the connection to the valve and prevent air from escaping. Before removing the pump head, make sure the valve is fully closed to avoid any air leaks.
If you’re using Presta valves, gently tighten the locknut against the valve stem to reinforce the seal and prevent air from escaping. Next, screw the valve cap back on tightly to maintain proper tire pressure and protect the valve.
Don’t forget to replace the dust cap, which keeps dirt and debris away from the valve. Taking these steps ensures a secure connection and helps maintain your tire’s inflation for a smooth, safe ride every time.
Conclusion
Now that you know how to use a bike pump in just three simple steps, you can keep your tires perfectly inflated and ready to roll.
Contrary to the myth that you need superhuman strength to pump a tire, it’s really about technique and patience. So next time your tire’s low, don’t stress—just follow these steps.
You’ll be back on the road in no time, feeling confident and in control. Using a bike pump correctly ensures your tires stay at the right pressure, improving your ride’s performance and safety.
Remember, mastering the art of using a bike pump is easy when you break it down step-by-step. Keep your bike tires inflated and enjoy smoother, safer cycling adventures every time.