How to Remove a Bike Tire in 10 Easy Steps
To remove a bike tire in 10 easy steps, start by gathering essential tools like tire levers, a pump, and a patch kit.
Position your bike on a clean, stable surface to keep things steady while you work.
Next, release your brakes and shift to the smallest gears. This makes removing the wheel much easier, so take your time with it.
Once the wheel is off, fully deflate the tire by pressing the valve.
Then, use your tire levers to loosen the tire bead carefully. Gently pull out the inner tube, making sure not to damage it if you plan to reuse it.
Take a moment to inspect and clean the rim to prevent any damage or issues later on.
Follow these basics closely, and you’ll be ready for detailed tips and tricks to make the job even smoother and faster.
Removing a bike tire doesn’t have to be complicated once you get the hang of these key steps!
Key Takeaways
- Secure the bike and gather essential tools like tire levers, a pump, and a wrench for quick access during tire removal.
- Release the brakes and shift to the smallest gears to ease wheel removal without damaging the chain or brake system.
- Fully deflate the tire by pressing the valve to release all air before loosening the tire bead from the rim.
- Use tire levers to carefully pry one side of the tire bead off the rim. Work slowly to avoid rim or tire damage.
- Remove the inner tube by pulling out the valve stem. Then, inspect the tire and rim for damage or debris before reassembly.
Gather Essential Tools for Tire Removal
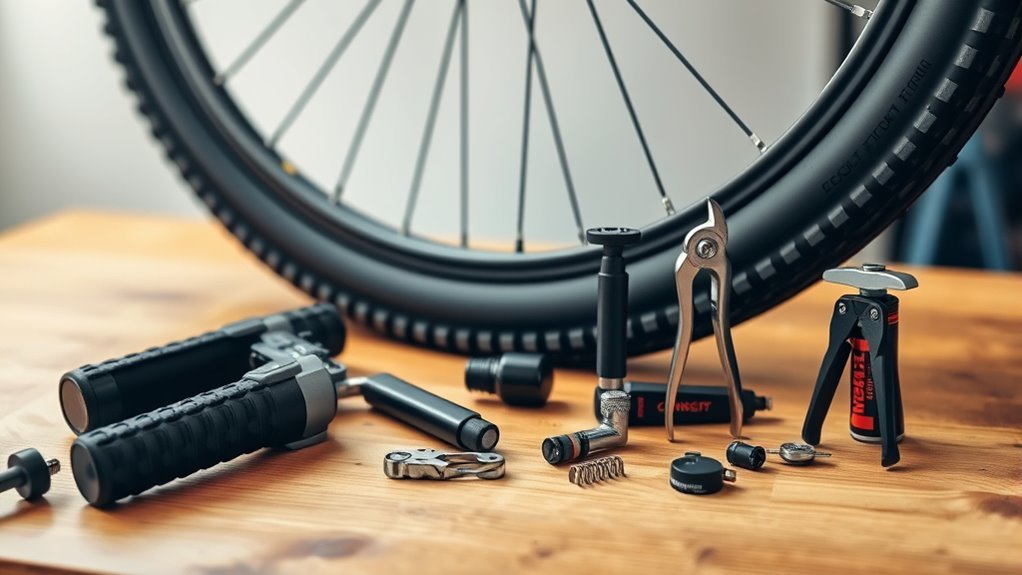
Before you begin removing your bike tire, gather all the essential tools to make the process smooth and efficient. Start with a set of tire levers—these help pry the tire bead off the rim without damaging the rubber or tube.
You’ll also need a wrench or a quick-release lever to detach the wheel, depending on your bike’s axle type. Don’t forget a bike pump or CO₂ inflator for reinflating the tire after repair or replacement.
Pay attention to the valve stem, as careful handling prevents damage when removing or reinserting the tube. Having these tools ready guarantees you won’t interrupt the process searching for something mid-task.
Organize everything on a clean, flat surface to keep small parts like nuts or valve cores from getting lost. By preparing these essentials upfront, you’ll save time and avoid frustration, making the tire removal process quick and hassle-free.
Get Your Bike and Workspace Ready
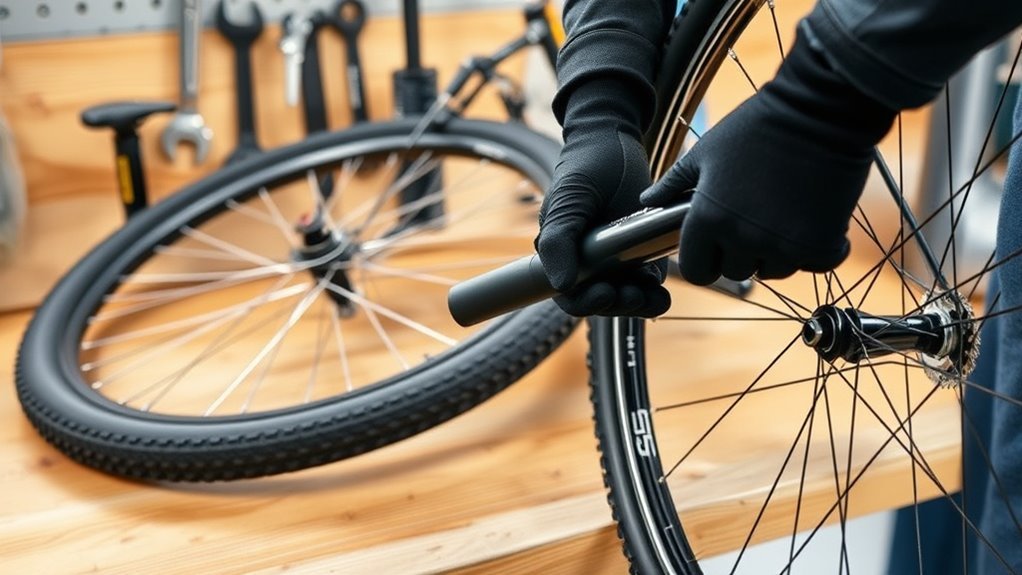
Set up your bike on a clean, flat surface where it won’t wobble. Use a stand or turn it upside down for stability.
Organize your tools within easy reach so you can work efficiently. Having everything ready will make removing the tire smoother and faster.
Workspace Preparation
When you want to remove a bike tire, start by choosing a clean, flat surface like a garage floor or driveway. This helps keep your bike stable and prevents it from tipping over.
Having a flat surface is key because it gives you the ideal workspace and keeps everything steady while you work. Next, position your bike securely—either use a bike stand or flip it upside down, resting it on the handlebars and saddle.
Make sure the area is free of debris or sharp objects that could damage your tire or inner tube. Before you begin, gather all the necessary tools, like tire levers, a pump, and a wrench.
Keep them within easy reach so you don’t have to stop and look for them later. Preparing your workspace carefully really sets the stage for a smooth, safe tire removal process.
Tool Organization
With your bike secured and your workspace clear, focus on gathering and arranging the tools you’ll need. Good tool organization saves time and frustration.
Collect tire levers, a wrench, a bike pump, and a new tube before you start. Whether you’re using a bike stand or have flipped the bike upside down, keep all tools within reach.
This setup guarantees you won’t interrupt your workflow looking for items.
| Tool | Purpose | Location |
|---|---|---|
| Tire Levers | Remove tire from rim | Right side tray |
| Wrench | Loosen nuts/bolts | Left side tray |
| Bike Pump | Inflate new or repaired tube | Front of stand |
| New Tube | Replacement for flats | Tool bag |
| Rag | Clean rim and hands | Workbench corner |
Release Brakes and Shift Gears
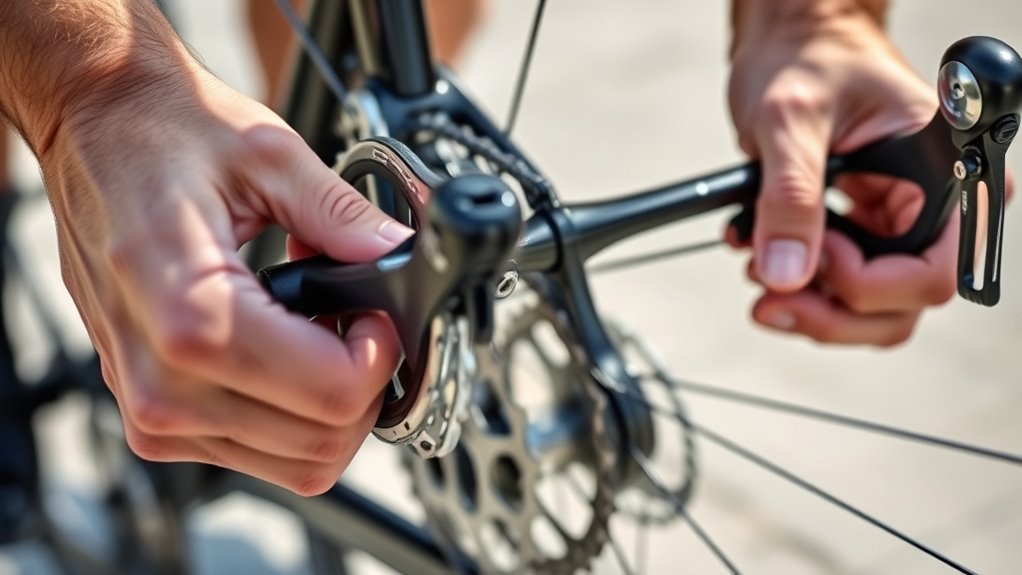
Before you remove your bike tire, release the brakes and shift the gears to make the process smoother. This step prevents tension and makes wheel removal easier.
Start by locating the brake calipers and releasing the brake cable or quick-release mechanism. For rim brakes, unclip the brake pads from the rim by opening the brake arms. If you have disc brakes, use a wrench to loosen the caliper bolts and carefully detach the brake rotor if needed.
Begin by releasing brake cables or quick-release, then unclip rim brake pads or loosen disc brake calipers.
Next, shift gears to reduce chain tension. Shift to the smallest chainring in front and the smallest sprocket in the rear. This puts the derailleur in the highest gear setting, preventing resistance during wheel removal.
To recap:
- Release brakes by detaching cables or quick releases
- Open rim brake arms or loosen disc brake calipers
- Shift to the smallest chainring and rear sprocket
- Ensure derailleur is in highest gear setting
Following these steps helps you release brakes and shift gears efficiently before wheel removal. It’s a simple trick that makes the whole process much easier.
Remove the Wheel From the Bike
Start by shifting to the smallest gear and making sure the brakes are released to prepare the bike.
Next, loosen the wheel attachment using the quick-release lever or a wrench.
Finally, carefully lift the wheel out without catching the chain or brakes, and set it down safely.
Preparing The Bike
Although removing the wheel might seem tricky at first, shifting your bike to the smallest rear gear will make the process much easier. This adjustment aligns the chain and reduces tension, helping you remove the bike wheel without hassle.
Before you remove the tire, prepare your bike properly by following these steps:
- Shift the bike to the smallest rear gear to ease wheel removal.
- Release or open brake calipers if they block the wheel.
- Use the quick-release lever or wrench to loosen the axle or nuts.
- Carefully lift the wheel out of the dropouts, watching the chain and brake parts.
Once the wheel is free, place it on a clean surface to keep track of any spacers or hardware before removing the tire. Easy, right? Just take it step by step, and you’ll have it done in no time.
Loosening Wheel Attachment
With the bike prepped and the wheel ready to come off, focus on loosening the wheel attachment next. First, shift to the smallest gear on the rear wheel to slacken the chain. This makes removal smoother.
If your brakes interfere, open the brake calipers or release the brake cables to clear the way. Locate the quick-release lever or axle nuts securing the wheel.
Use the quick-release to open it, or a wrench to loosen the axle nuts carefully. Once loosened, gently lift the wheel out of the dropouts. Just be careful not to let the brake pads scratch or damage the rim.
Keep the bike supported securely—either on a stand or upside down. This will help prevent any accidental falls during this process.
Removing Wheel Safely
How exactly do you remove the wheel without causing damage? First, shift to the smallest gear on the rear to ease tension on the chain.
Next, open the brake release if the brakes clamp the rim. This lets you remove the wheel smoothly without any hassle.
Then, use the quick-release lever or a wrench to loosen the axle or nuts securing the wheel. Finally, carefully lift the wheel out of the dropouts, making sure not to catch the derailleur or brake components.
To remove the wheel safely:
- Shift to the smallest rear gear
- Open brake release to free the rim
- Loosen quick-release or axle nuts
- Lift wheel gently from dropouts
Place the wheel on a clean surface to avoid damage or warping. It’s a simple step but really helps keep everything in good shape.
Fully Deflate the Tire by Pressing the Valve
Before you can remove the tire, you need to fully deflate it by pressing the valve to release all the air inside. Deflating the tire reduces pressure in the inner tube, allowing the bead to loosen from the rim without resistance.
Fully deflate the tire by pressing the valve to loosen the bead and ease tire removal.
To deflate, press down on the valve stem carefully. If your bike has a Schrader valve, simply press the small pin inside the valve to quickly release all air.
For Presta valves, first unscrew the small locknut at the top, then press the valve to let the air escape. Make sure you deflate the tire completely—any remaining pressure can cause the bead to stick or even lead to an accidental blowout during removal.
Fully releasing the air simplifies the next steps and protects both you and your bike. Taking the time to deflate properly ensures a smoother, safer tire removal process.
Break the Tire Bead From the Rim by Hand
Once you’ve fully deflated the tire, you can start breaking the tire bead from the rim by hand. This step is essential to remove the tire without damaging the rim or tire.
Begin by pushing the tire bead away from the rim at a point opposite the valve to get initial leverage. Then, work your fingers around the rim to gradually lift and loosen the bead from the edge.
Keep these tips in mind as you break the bead:
- Focus on one side of the tire bead before trying the other side.
- Use gentle pressure to avoid damaging the rim or tire.
- Move slowly and patiently around the rim for even loosening.
- Make sure the tire is completely deflated to reduce resistance.
Use Tire Levers to Pry the Tire Bead Off
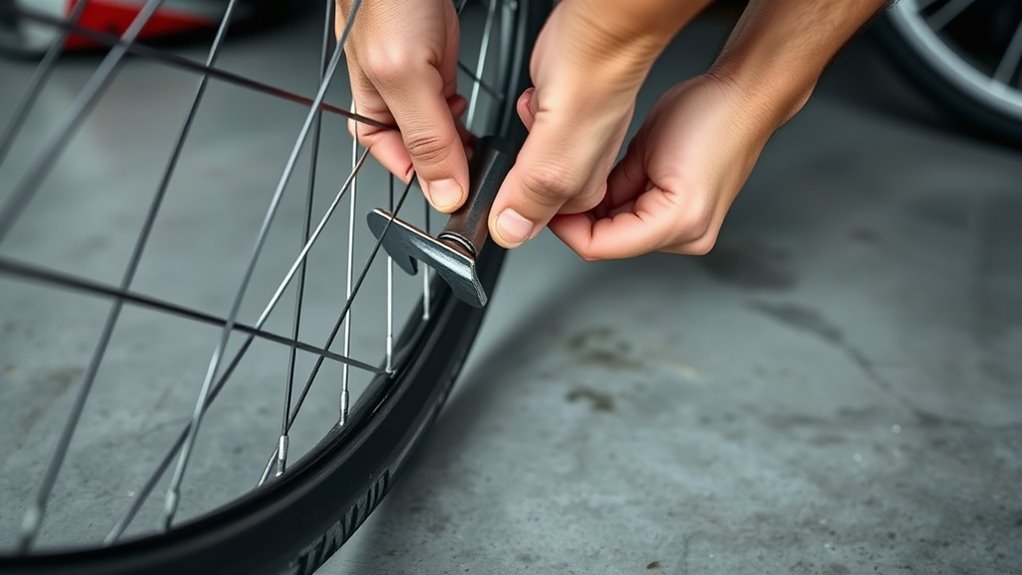
After loosening the tire bead by hand, you’ll need tire levers to fully pry it off the rim. Start by inserting a tire lever under the bead of the tire, opposite the valve stem.
Use the lever to lift the bead away from the rim, carefully prying it over the rim edge. Work your way around the tire’s circumference gradually, applying steady leverage.
If one tire lever isn’t enough, use a second or third to keep the bead lifted as you move along. Avoid sharp tools that could damage the rim or tire.
Take your time and be gentle to prevent pinching or harming the inner tube or tire. Continue prying until you’ve removed the bead completely from the rim on one side.
Once the bead is free, the tire becomes much easier to remove, setting you up for the next step in removing the inner tube or replacing the tire.
Carefully Remove the Inner Tube
Before you start pulling out the inner tube, make sure to fully deflate it by pressing down on the valve to release all the air.
Next, gently lift the tire bead and carefully extract the valve stem from the rim hole. This careful approach prevents damage and makes removing the tube much easier.
Deflate Tube Completely
How do you guarantee all the air escapes from your bike tire before removing the inner tube? To deflate the tube fully, start by opening or unscrewing the valve stem to let the air out.
Next, press down on the valve to release all the air inside. You want to make sure no air remains trapped, so gently press around the tire to push out any leftover air.
Once fully deflated, you’re ready to remove the tube without risking sudden bursts.
Remember to:
- Open or unscrew the valve stem first
- Press down on the valve to deflate fully
- Gently squeeze the tire to expel trapped air
- Handle the tube carefully to avoid damage
This ensures a smooth, safe tube removal every time.
Gently Extract Valve Stem
Once you’ve fully deflated the inner tube, gently grasp the valve stem and carefully pull it straight out from the rim hole to avoid damaging the tube or valve. If your valve has a nut, like a Presta valve, first unthread or loosen it to allow smooth removal.
As you remove the valve stem, keep the tube aligned and avoid twisting or bending the valve excessively to prevent tears. After extracting the valve stem, take a moment to inspect it for any damage, debris, or wear.
This guarantees the valve is in good condition before you reinstall or replace the tube. Properly deflating and gently removing the valve stem helps protect your inner tube and makes tire maintenance easier and safer.
Inspect the Tire, Tube, and Rim for Damage
Although removing the tire is an important step, you’ll want to carefully inspect the tire, tube, and rim for any damage that could cause future problems. Start by examining the tire tread and sidewalls for cuts, embedded debris, or wear that might lead to flats.
Removing the tire is key, but thorough inspection of tire, tube, and rim prevents future troubles.
Don’t forget to check the inside of the tire for objects like glass or thorns that could puncture the tube. Next, inspect the rim strip to verify it covers the spoke holes properly and isn’t torn or damaged.
Finally, look inside the rim cavity for sharp edges or protruding spokes that could harm the tube. Here’s what to focus on when you inspect:
- Tire tread and sidewalls for cuts or embedded debris
- Inside of the tire for hidden sharp objects
- Rim strip for tears or misalignment
- Rim cavity for sharp edges or spoke ends
Thoroughly checking these areas helps prevent future damage and keeps your ride smooth. It’s a simple step that can save you from headaches down the road!
Clean the Rim and Prepare for Next Steps
Before installing a new tire, you’ll want to thoroughly clean the rim to remove dirt, old sealant, and debris. Use a clean, dry rag or brush to wipe away any residue left from the removal process. This step guarantees a smooth surface, which is essential for proper tire bead seating.
Next, inspect the rim carefully for any sharp edges, dents, or damage that might compromise the tire’s fit or cause future flats. Don’t forget to check the rim strip as well—make sure it’s centered and free from tears or protrusions that could puncture the tube.
After cleaning, wipe the rim with a damp cloth to remove any remaining dust or debris, including tiny shards of glass embedded in the rim bed. Taking these steps to clean and inspect the rim prepares you to install your new tire safely and securely. It really helps prevent issues down the road.
Frequently Asked Questions
What Is the Easiest Way to Remove a Bike Tire?
The easiest way to remove a bike tire is to fully deflate it, then use plastic tire levers starting opposite the valve stem. Work slowly and carefully to avoid damaging the tube or tire while lifting the bead off.
It might take a bit of patience, but taking your time really helps. Just keep prying gently until the tire loosens up and comes off.
What Is the Easiest Way to Get a Tire off the Rim?
Like peeling a stubborn sticker, the easiest way to get a tire off the rim is to deflate it fully. Then, gently pry the bead over the rim edge using two tire levers.
Start opposite the valve stem. This makes the process smoother and helps avoid damaging the tire or rim.
How to Remove a Bike Wheel Without Quick Release?
To remove a bike wheel without quick release, you’ll need a wrench to loosen the axle nuts. First, shift to the smallest gear to make things easier.
Next, lift the frame gently and slide the axle out carefully. Just make sure your brakes are disengaged before you start.
It’s pretty straightforward once you get the hang of it! If the wheel feels stuck, double-check the nuts aren’t too tight.
How to Change a Bike Tire Step by Step?
Imagine you’re stranded with a flat on a trail. First, deflate the tire fully. Use levers to loosen it.
Next, pull out the tube carefully. Check for any damage.
Then, replace the tube and reseat the tire securely. Easy, right?
Conclusion
Removing a bike tire might seem tricky at first, but by following these simple steps, you’ll find it’s quite manageable. Even if you’re worried about damaging the tube or rim, taking your time and using the right tools makes all the difference.
Once you’ve done it a couple of times, it becomes second nature. So, don’t hesitate—getting comfortable with tire removal empowers you to handle repairs confidently and keep riding smoothly.
Learning how to remove a bike tire safely is an essential skill for any cyclist. With practice, you’ll not only save time but also avoid costly trips to the bike shop. Plus, knowing these steps helps you stay prepared for unexpected flats or maintenance.
By mastering bike tire removal, you gain more independence and confidence in your cycling adventures. So grab your tire levers, follow the steps, and enjoy the freedom that comes with knowing how to take off and fix your bike tire like a pro!