How to Remove Bike Pedals in 7 Easy Steps
To remove bike pedals, first gather a pedal wrench or Allen keys and check for “R” or “L” markings to identify the correct side.
Position your bike for easy access, securing the crank arm to prevent spinning.
Loosen the right pedal by turning it counterclockwise and the left pedal clockwise, using steady pressure and penetrating oil if needed.
Fully unscrew each pedal, then inspect and clean the threads before reinstalling.
Keep going to guarantee you avoid common mistakes and damage.
This simple process helps you maintain your bike smoothly and safely.
Gather the Necessary Tools
Before you start removing your bike pedals, make sure you have the right tools on hand. Typically, you’ll need either a pedal wrench or a 15mm open-ended wrench for most pedals.
Ensure you have the correct pedal wrench or 15mm open-ended wrench before removing your bike pedals.
However, some pedals feature hex socket spindles, which means Allen keys—usually 6mm or 8mm—are essential. If your pedals don’t have flat faces, Allen keys are the only option.
It’s smart to have a set of Allen keys with multiple sizes or a multitool to cover different pedal types. Using the proper tools not only makes the removal process smoother but also keeps your pedals and crank arms safe from damage.
Gathering the right tools upfront saves you time and frustration. So, get everything ready before you dive in!
Identify the Correct Pedal Side
How can you tell which pedal goes on which side of your bike? To identify the correct pedal side, look for “R” or “L” markings. The right pedal uses a standard direction: it tightens clockwise.
The left pedal has reverse threading and tightens counterclockwise. This prevents cross-threading during removal or installation.
Here’s a quick guide to identify each pedal side:
| Pedal Side | Thread Direction |
|---|---|
| Right (Drive) | Tightens clockwise |
| Left (Non-Drive) | Tightens counterclockwise |
| Marking | “R” on right, “L” on left |
| Position | Right pedal near chain |
Always confirm by checking markings or pedal position relative to the crankset before working on your pedals. It’s a simple step that can save you some hassle!
Position the Bike for Easy Access
Start by placing your bike on a stable work surface to keep it secure while you work. Using a bike stand is ideal, but you can also flip the bike upside down, resting it on the handlebars and saddle for easy pedal access.
Make sure the bike is balanced and protected to avoid any damage or tipping during the process. This way, you can work comfortably and safely without worrying about your bike falling over.
Stable Work Surface
When you position your bike upside down on a flat, stable surface, you make accessing the pedals much easier. Rest the bike on its handlebars and seat, but protect them with a towel or blanket to avoid scratches.
Ensuring a stable work surface is vital to prevent the bike from tipping over while you work. To keep your bike secure and steady, place it against a wall for extra support or use a bike stand if you have one available.
Also, adjust the bike’s position so pedals are fully accessible and unobstructed. Confirming stability before applying force will help you remove pedals safely and efficiently.
That way, your task goes smoother and you reduce the risk of accidents.
Use Bike Stand
Using a bike stand can make pedal removal much easier by holding your bike securely at a comfortable height. The bike stand stabilizes your bike, giving you clear access to both crank arms and pedals.
This setup helps you avoid awkward positions and reduces the risk of your bike tipping over while you remove pedals. When you position the bike in the stand, make sure it’s balanced and secure to maintain control throughout the process.
A bike stand also protects your handlebars and saddle from damage, unlike placing the bike directly on the ground. By using a bike stand, you’ll work more efficiently and safely, making pedal removal straightforward and less frustrating.
Upside Down Position
Although a bike stand offers great stability, flipping your bike upside down on a flat surface can give you easy access to the pedals without extra equipment.
Position the bike upside down, resting on the handlebars and saddle. Use a towel or blanket to protect these parts from scratches.
Make sure the bike is stable and won’t tip over by leaning it against a wall or support. Remember, pedals have different threads: the right pedal loosens counterclockwise, while the left pedal loosens clockwise due to reverse threading.
- Place a soft cloth under handlebars and saddle to avoid damage
- Keep the bike steady to prevent falls
- Follow correct thread direction to avoid stripping pedals
This method saves time and works well if you don’t have a bike stand.
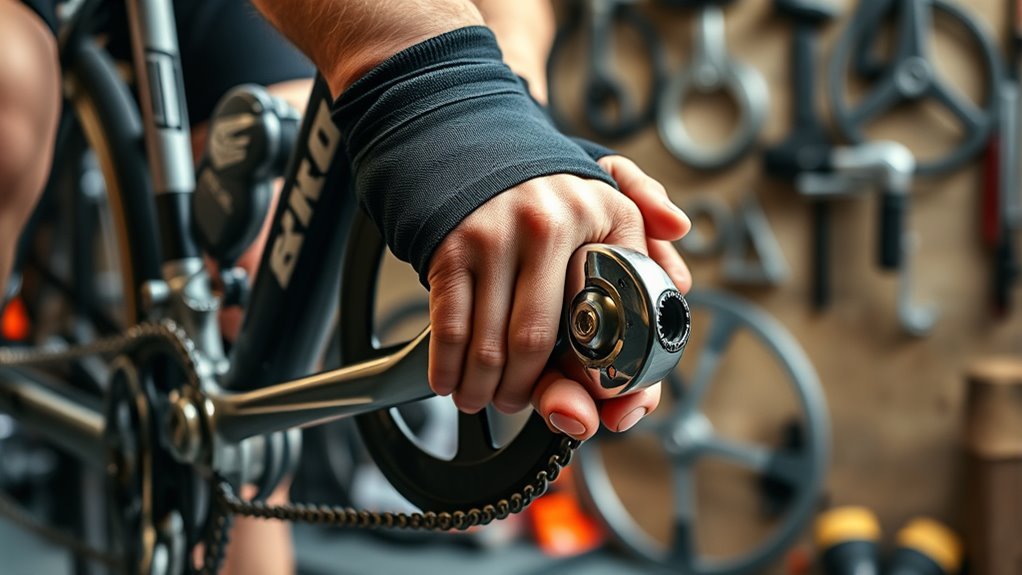
Secure the Crank Arm for Leverage
Before you start loosening the pedals, make sure the crank arm is firmly secured to prevent it from spinning. You can clamp it in a bench vise with padding or hold it steady with a wrench for better leverage.
This stability helps you apply the right amount of torque without slipping or damaging the bike. It makes the job way easier and safer, trust me!
Stabilize Crank Arm
To remove bike pedals effectively, you’ll need to stabilize the crank arm firmly to prevent any unwanted movement. This step is vital when you apply leverage to loosen the pedals without damaging the crank or twisting it awkwardly.
You can stabilize the crank arm by holding it securely with a wrench or your hand. Another trick is to brace it against a stable surface or place a block to increase support.
Also, wrapping a rag around the crank arm can help protect the surface from slipping tools. It’s a simple step but makes a big difference in keeping things steady.
Enhance Torque Application
When you secure the crank arm with a wrench or a sturdy piece of wood, you create a solid anchor that lets you apply greater torque to loosen the pedals without causing damage. This stability prevents the crank from spinning when you turn the pedal, allowing you to focus force precisely.
Using a longer-handled wrench on grippy aluminum crank arms improves leverage, making pedal removal easier. It’s all about getting that extra bit of twist without straining yourself.
| Tip | Benefit |
|---|---|
| Secure crank with wrench | Stable anchor for torque |
| Use long-handled wrench | Increased leverage |
| Place rag between wrench/crank | Prevents slipping |
| Apply penetrating oil | Eases pedal thread resistance |
Loosen the Right Pedal by Turning Counterclockwise
Although the right pedal tightens clockwise, you’ll loosen it by turning counterclockwise when viewed from above. To remove the right pedal effectively, position your bike securely—either on a stand or by holding the crank for extra leverage.
Use a properly sized pedal wrench or Allen key to grip the spindle firmly and avoid slipping. If the pedal feels stuck, applying penetrating oil can ease the process by loosening any corrosion or debris.
Keep these tips in mind to loosen the right pedal smoothly:
- Turn the pedal spindle counterclockwise while facing the crank arm
- Ensure your tool fits snugly for maximum torque transfer
- Apply penetrating oil beforehand if the pedal resists movement
Following these steps helps you loosen the right pedal without damaging your bike components. Just take your time and you’ll have it off in no time!
Loosen the Left Pedal by Turning Clockwise
Just as you loosened the right pedal by turning it counterclockwise, the left pedal requires the opposite approach due to its reverse threading.
To loosen the left pedal, grip the spindle firmly with a wrench or Allen key. This pedal loosens when turned clockwise, so apply force in that direction while keeping the crank arm steady.
Loosen the left pedal by turning it clockwise with a wrench, keeping the crank arm steady for safety.
Turning clockwise is essential; going the wrong way risks damaging the threads. If the left pedal feels stuck, apply penetrating oil and let it sit for a few minutes before trying again.
With steady pressure and the correct clockwise turn, the left pedal will start to loosen, allowing you to continue the removal process safely and efficiently.
Remove Pedals Completely and Inspect Threads
Once you’ve loosened the pedals, use a pedal wrench or the appropriate Allen key to unscrew them completely from the crank arms. Turn counterclockwise for the right pedal and clockwise for the left.
Make sure to support the crank arm with your free hand or a tool so it doesn’t spin while you remove the pedal. Carefully unscrew each pedal until it comes off, and pay attention if you feel any resistance—that might mean the threads are damaged.
After you’ve removed the pedals, take a close look at the threads on both the pedal spindle and crank arm. Check for any wear, dirt, or damage that could cause problems when you put them back on.
To keep things running smoothly and avoid the pedals seizing up, clean the threads thoroughly. Then, apply a light coat of grease or anti-seize before reinstalling.
- Support the crank arm to avoid spinning
- Check for thread damage or dirt
- Grease threads before reinstalling pedals
Conclusion
By now, you’ve gathered your tools and tackled both pedals—righty loosening counterclockwise, lefty clockwise—just like the pros do. Funny how a simple twist here and a firm grip there turns a stubborn pedal into a free wheel.
As you pull off that last pedal and inspect the threads, you might realize you’ve just unsealed a small mechanic’s secret. Who knew removing bike pedals could feel this satisfying and straightforward?
Keep pedaling! With these easy steps, removing bike pedals doesn’t have to be a hassle. Whether you’re doing routine maintenance or upgrading your ride, mastering this task makes bike care simpler and more enjoyable. So grab your wrench, follow these tips, and enjoy the smooth ride ahead!