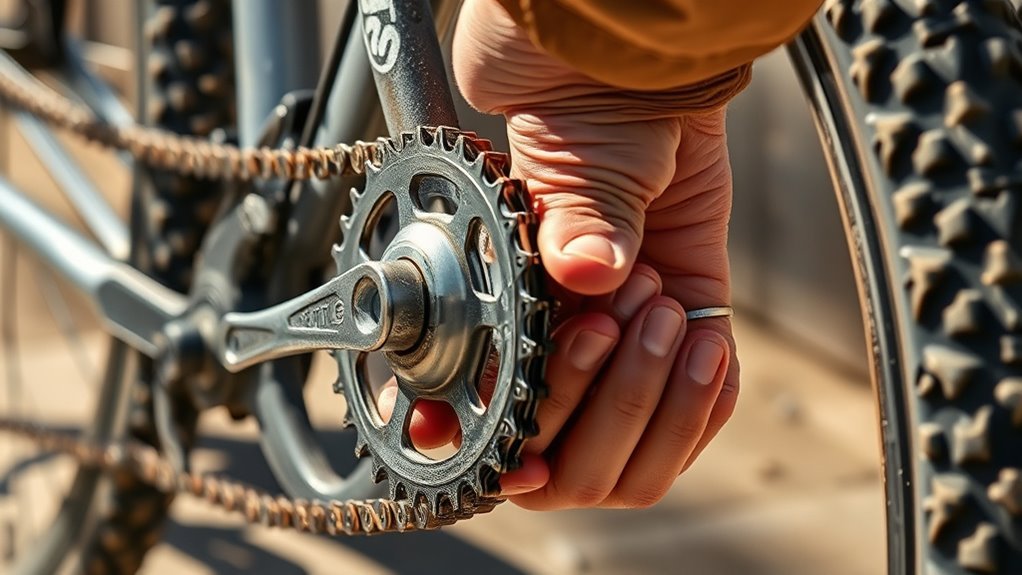
How to Remove Bike Pedal Crank in 7 Easy Steps
First, shift your bike to a middle or small chainring. This makes the process smoother and safer. Then, gather your tools like a crank puller and a socket wrench to get started.
Next, loosen the crank arm bolt by turning it counterclockwise. If the bolt feels stuck, don’t worry—apply a bit of oil to help it loosen up. Always clean and inspect the threads for any damage before moving on.
Now, securely thread the crank puller into place. Turn it carefully to press off the crank arm. For really stubborn cranks, using heat or oil can make removal easier.
If you need to, remove the opposite arm as well. Once everything is off, be sure to safely store all the parts. Keep going, and you’ll find tips for handling tricky crank systems and staying safe throughout the process.
Key Takeaways
- Shift to a smaller chainring and remove the crank arm bolt using a 9/16 inch or 15mm socket wrench.
- Clean and inspect crank threads for damage or corrosion before using a crank puller.
- Thread the crank puller by hand into the crank arm and tighten securely with a 7/8 inch wrench.
- Turn the crank puller handle clockwise to press the crank arm off the spindle steadily.
- If the crank is stubborn, apply some penetrating oil or heat. You might also want to remove the opposite crank arm for better access.
Shift Gears and Gather Crank Removal Tools
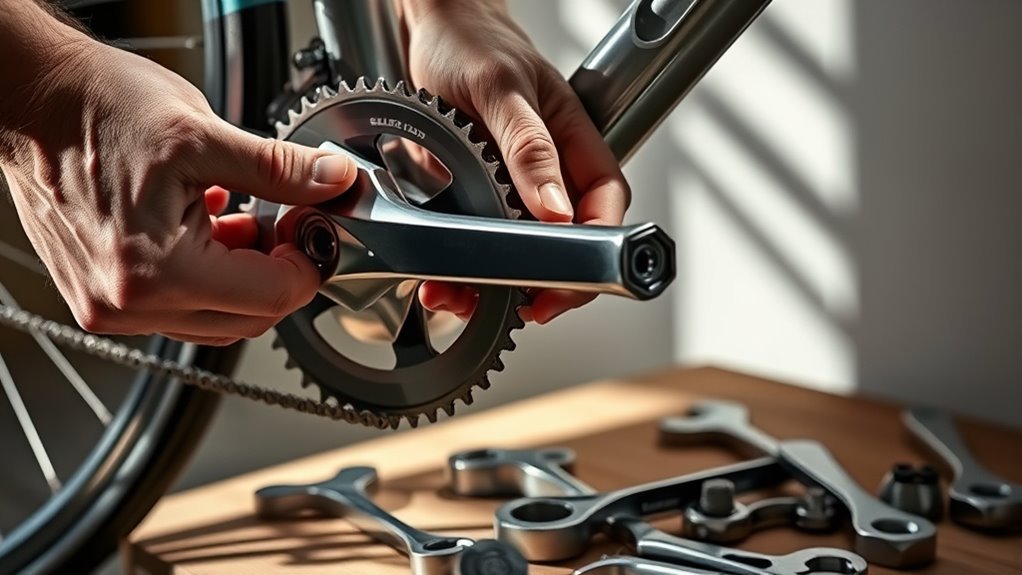
Before you begin removing the bike pedal crank, shift the gears to a middle or small chainring to reduce chain tension and make the process smoother. This simple adjustment eases pressure on the crank arm, helping prevent damage during removal.
Next, gather the essential tools you’ll need: a crank puller, a 7/8 inch wrench, and a socket, typically 9/16 inch or 15mm, to handle the crank bolt properly. Having these tools ready ensures a quick, safe process.
The crank puller is specifically designed to remove the crank arm without causing harm, but it only works effectively once the crank bolt is loosened and removed. Make sure your bike is stable and your tools are aligned to avoid slipping.
Loosen and Remove the Crank Arm Bolt
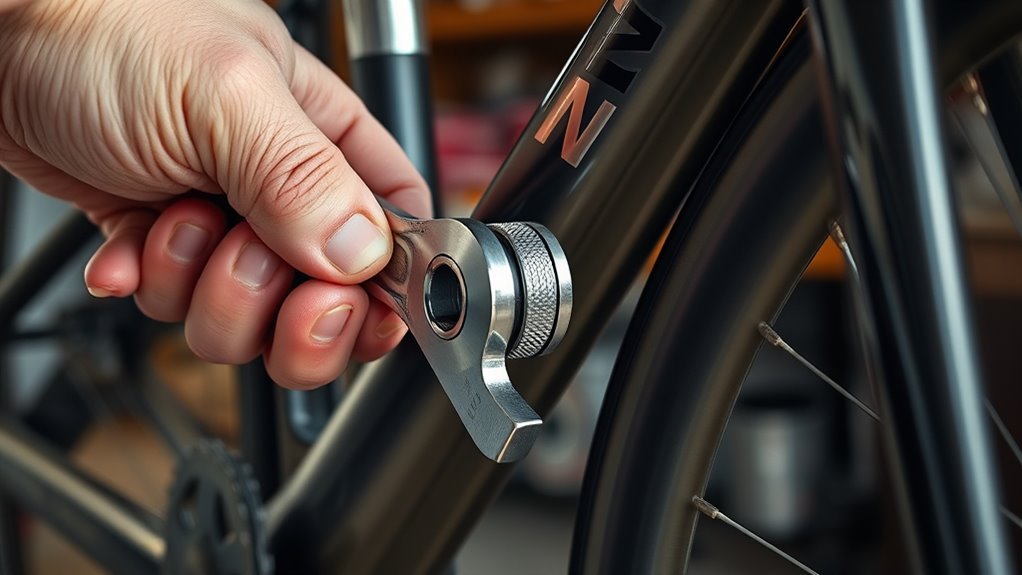
Once you’ve gathered your tools and shifted the gears, start by loosening the crank arm bolt using a 9/16 inch or 15mm socket wrench. This bolt secures the crank to the bottom bracket spindle, so it’s essential to remove it before using a crank puller.
Begin by loosening the crank arm bolt with a 9/16 inch or 15mm socket wrench.
Turn the bolt counterclockwise to unscrew it, keeping the crank stable to avoid slipping or damage. If the bolt feels stuck, apply some penetrating oil and wait a few minutes to loosen rust or debris.
Once loosened, fully unscrew and remove the bolt to free the crank arm. Removing this bolt first helps protect your bottom bracket and makes the crank removal much easier.
Avoid forcing it, as damage here can affect your bike’s performance. With the crank arm bolt out, you’re ready for the next step in safely removing the crank and accessing the bottom bracket for maintenance or replacement.
Clean Threads and Inspect for Damage
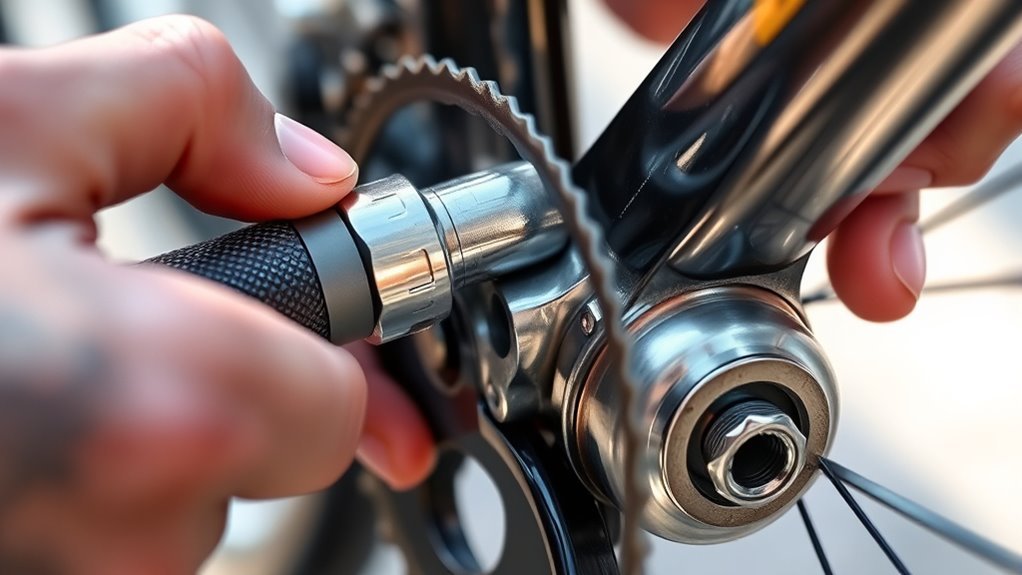
Although you’ve removed the crank arm bolt, you’ll want to clean the threads thoroughly with a stiff wire brush to remove any dirt, grease, or debris that could interfere with reassembly. Take your time to scrub every groove carefully, guaranteeing the threads are free from buildup.
Once clean, inspect them closely for damage like cross-threading, stripped areas, or corrosion. These issues can cause problems when you reinstall the crank arm or even damage the bottom bracket.
If the threads seem clogged or painted over, using a thread tap sized 22mm x 1.0 or 25mm x 1.0 will help restore them. This step ensures smooth engagement and prevents binding during reassembly.
Don’t overlook signs of corrosion or excessive wear, as they may require professional repair or replacement. Properly cleaned and inspected threads make the removal and reinstallation process much easier and help maintain your bike’s longevity.
Use a Crank Puller to Remove the Crank Arm
To remove the crank arm, start by selecting the right crank puller for your bike’s crank type. You’ll thread the puller into the crank arm by hand, then use a wrench to tighten it securely without over-tightening.
Next, turn the handle clockwise while holding the crank steady. This will press the arm off the spindle smoothly. Just take your time and keep things steady.
Selecting The Right Tool
When removing your bike’s crank arm, choosing the right tool is essential for a smooth and damage-free process. A crank puller is the specialized tool designed specifically for this task, ensuring safe and efficient removal.
Before you start, make sure the crank puller matches your crank system type—whether it’s self-extracting or a three-piece system—to guarantee compatibility. Always remove the crank arm bolt first and clean the crank threads thoroughly to prevent damage.
When using the puller, thread it into the crank arm by hand as far as possible to avoid cross-threading, then tighten it with a wrench. Finally, turn the puller’s handle clockwise, applying steady pressure to press the crank arm off the spindle smoothly and safely.
Step-By-Step Removal
Before you start threading the crank puller into the crank arm, make sure you’ve removed the crank arm bolt and cleaned the threads thoroughly.
Thread the crank puller into the crank arm by hand as far as possible to guarantee proper engagement.
Next, use a 7/8 inch wrench to tighten the outer piece of the puller onto the crank arm, applying steady pressure.
Hold the crank arm securely to prevent it from spinning, then turn the handle clockwise slowly and evenly.
This will press the arm off the spindle without damaging the threads.
Once the crank arm begins to loosen, carefully pull it away from the spindle, keeping a firm grip.
This step-by-step method removes the crank arm safely and efficiently.
How to Identify Your Crank System Type
Although crank systems vary widely, you can identify yours by closely examining the crank arms and bottom bracket for key features like pin holes, threaded rings, or external bearing cups. Knowing your crank type helps you remove it properly without damage.
Identify your crank type by inspecting arms and bottom bracket features to ensure proper, damage-free removal.
First, look for threaded rings resembling dust caps on self-extracting crank systems. These are removal points that screw off to release the crank arm.
Next, check the left crank arm for a compression slot secured by pinch bolts. This feature is common on two-piece systems like Shimano Hollowtech II®. Loosening these bolts lets you remove the crank easily.
You might also spot integrated or half-spindle designs with external bearings. These are typical of Campagnolo Power-Torque™ and Ultra Torque™ systems and usually need specific tools for extraction.
Older or BMX bikes might use three-piece or one-piece cranks. These can be identified by splined spindles or integrated bottom bracket units.
Deal With Stubborn or Tight Cranks Safely
If your crank feels stuck, try applying some penetrating oil and let it sit for a few minutes. This helps break down any rust and grime that might be holding it tight.
Once the oil has done its job, grab a crank puller tool. Make sure it’s properly threaded and seated before you start. Then, turn the crank arm counterclockwise with steady, even force to loosen it.
Avoid using too much force or hammering directly on the crank. That can damage the crank arm or spindle, and you definitely don’t want to risk injury.
If the crank still won’t budge, you can carefully heat the crank arm with a hairdryer or heat gun. The heat helps expand the metal slightly, making removal easier.
Just remember to work patiently and methodically. Taking your time protects your bike’s components and keeps you safe.
Remove the Opposite Crank Arm and Store Components
To prevent damage and make your work easier, remove the crank arm opposite the one you’re focusing on first. This step gives you better access and helps avoid unnecessary strain on the components.
Start by removing the opposite crank arm to improve access and reduce strain on components.
Here’s how to do it efficiently:
- Use a crank puller tool to carefully detach the crank arm from the bottom bracket spindle, following the proper procedure to avoid damaging threads or bearings.
- Once removed, clean the crank arm and any associated parts to remove dirt and debris. This helps ensure they stay in good condition for reassembly.
- Store all components in a labeled container and place it in a safe, dry spot. This way, you prevent corrosion or loss before you reinstall them.
Frequently Asked Questions
How to Get Bike Pedal Crank Off?
You’ll first loosen the crank arm bolt with a wrench. Then, thread a crank puller tool into the crank arm and tighten it to press the crank off the spindle.
Make sure to hold it steady to avoid slipping. It helps to keep everything aligned as you work.
Can You Remove a Crank Without a Crank Puller?
You can remove a crank without a crank puller, but you’ll risk damaging your bike if you’re not careful.
Instead, grab the right tool to save time and avoid costly repairs—you’ll thank yourself later.
How Do I Remove a Crankset From My Bike?
You remove your crankset by first loosening and removing the crank arm bolts. Then, use the correct crank puller or tool, thread it into the crank arm, and turn it to press the crank off the spindle carefully.
It’s pretty straightforward once you have the right tool. Just take your time, and make sure everything is aligned properly so you don’t damage any parts.
How to Remove Bike Crank Without Puller Shimano?
You loosen the crank arm bolt with an 8mm Allen wrench, then loosen the preload cap or pinch bolts.
After that, gently slide the Shimano crank off the spindle without needing a puller.
It’s pretty straightforward once the bolts are loose. Just take your time and wiggle it a bit if it feels stuck.
Conclusion
Now that you’ve loosened the crank arm bolt and skillfully used the crank puller, imagine the satisfying click as the pedal crank slides free from the bike. With each step, you’ve peeled away layers of grime and resistance, revealing smooth, clean threads beneath.
Picture yourself holding that crank arm, ready for repair or replacement. You’ve mastered a key bike maintenance skill, and that’s something to feel great about.
Keep this confidence rolling—removing the bike pedal crank is a simple process once you know the steps. Your bike’s next ride will thank you for the care you’ve taken. Remember, regular maintenance like this keeps your bike running smoothly and extends its life. So, enjoy the ride knowing you’ve got the skills to handle your bike’s pedal crank removal whenever needed!