How to Draw a Bike Easy in 7 Simple Steps
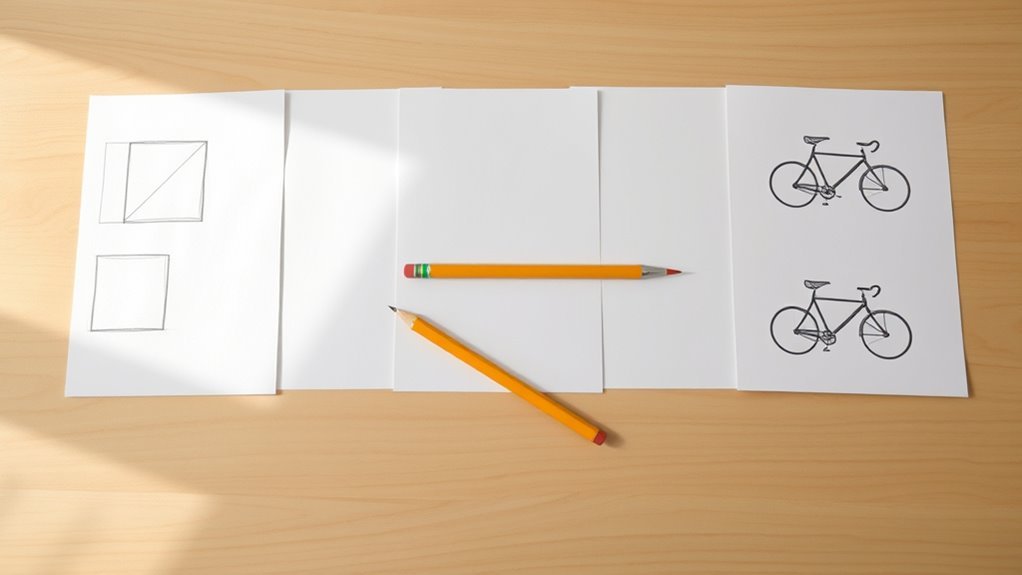
To draw a bike easily, start by sketching two large circles for the wheels and add small circles at their centers for hubs. These circles form the foundation of your bike drawing. Connect the wheels with a diagonal frame to give the bike its basic structure.
Next, add handlebars and a seat on top to bring your bike to life. Then, draw pedals and the chain between the wheels to add more detail and realism.
Don’t forget to include fenders around the tires for an extra touch of style.
Once your sketch looks good, trace your pencil lines with a marker and erase any extra lines.
Finally, color the bike with your favorite shades and personalize it to make it truly yours. Keep going to explore more tips for a polished look!
Draw the Wheels
Start by drawing two large, evenly spaced circles to form the front and rear wheels of the bike. These circles represent the wheels’ outer edges and set the foundation for your bike drawing.
Make sure the front wheel aligns horizontally with the rear wheel, keeping the spacing consistent to maintain balance. Inside each large circle, add smaller concentric circles to depict the hubs or axles.
Ensure the front and rear wheels align horizontally with consistent spacing, adding smaller circles for hubs or axles.
These details give the wheels a realistic look and help anchor the bike’s structure later. Use light guidelines to position everything accurately, so you can adjust if needed.
Once the wheels are correctly placed, erase any unnecessary construction lines to keep your drawing clean. This method will help you confidently draw a bike with well-proportioned wheels every time.
Connect the Wheels With the Frame
Although the wheels form the foundation, you’ll need to connect their centers with a diagonal line to create the bike’s main frame. Start by drawing a straight diagonal line between the front and rear wheels’ centers.
Then, add two parallel lines along this diagonal to shape the bike’s frame, making sure the top and bottom lines match the wheels proportionally. Keep the connection smooth to show the bike’s structure accurately.
Near the rear end, sketch an oval shape to represent the chain holder. And don’t forget to add spokes from the wheel hubs to the frame—this really adds some realism and detail.
These steps will give your bike a solid, recognizable frame that links the wheels seamlessly. It’s all about those little touches that bring your drawing to life!
Add the Handlebars and Seat
Where do the handlebars and seat fit on your bike drawing? Start by drawing a small rectangle at the top of the frame to represent the handlebars. Connect this to the front wheel with curved lines for the handles, and link the handlebars to the front fork using curved or straight lines that are proportionate and aligned with the wheel.
Next, add a slightly larger rectangle or oval behind the handlebars to form the seat. Position it above the rear wheel for balance and attach it to the top tube of the frame with two short vertical lines.
To finish, add details like grips on the handlebars and padding on the seat. These touches make your bike look realistic and complete without overcomplicating your drawing. Easy, right?
Sketch the Pedals and Chain
With the handlebars and seat in place, you can now focus on bringing movement to your bike by sketching the pedals and chain. Start by drawing small circles connected by short lines to represent the pedals, keeping them proportionate to the bike frame.
Between the pedals, sketch an oval or rectangular shape to depict the chainring or sprocket. Next, draw a series of small, evenly spaced links to form the chain, connecting the chainring to the rear wheel.
Make sure to position the pedals and chain according to the bike’s perspective and direction of movement. For added realism, include details like pedal reflectors or markings on the chainring. This step will give your bike a dynamic, functional look.
Include the Wheel Centers and Fenders
A small circle at the center of each wheel will represent the wheel hubs, giving your bike a realistic focal point. Make sure these circles are proportionate and perfectly aligned with the wheels to maintain accuracy.
Next, add curved lines around the wheels to sketch the fenders, following the tire’s shape closely. The fenders should be slightly wider than the tires to clearly define their presence and provide proper coverage.
To enhance your drawing’s depth and detail, use shading or bold outlines on both the wheel centers and fenders. Keep these tips in mind:
- Position wheel centers precisely for realistic symmetry
- Mold fenders to mirror the tire’s curve naturally
- Use shading techniques to add texture and dimension
This step will bring your bike drawing to life with fine, authentic details.
Trace Your Drawing With a Marker
How exactly do you bring your bike drawing into sharp focus? Trace your sketch with a black Sharpie marker to define the final outlines and boost clarity. Use smooth, steady strokes along the pencil lines, ensuring clean, consistent borders.
Concentrate on major components—the wheels, frame, handlebars, and pedals—to give your bike a precise and polished look. After tracing, gently erase the underlying pencil marks, leaving a crisp, professional outline.
This step adds strong contrast, making your drawing stand out and ready for any further steps. Tracing with a marker not only sharpens your artwork but also prepares it perfectly for coloring or display, highlighting the careful details you’ve worked hard to achieve.
Color and Customize Your Bike
Now that your bike’s outlines are crisp and clear, you can bring it to life with color and personal touches. Choose bright colors like red, blue, or yellow to make your bike pop and add energy.
Carefully color the frame, wheels, and accessories to highlight each part and create a realistic feel. Don’t hesitate to add racing stripes, patterns, or decals to show off your unique style.
Try experimenting with shading and gradients to give your bike depth and dimension.
Want to make it even more personal? Try adding these custom details: reflectors, water bottles, or baskets for realism.
You could also play with bold color contrasts between different bike parts or add creative patterns and decals that match your vibe.
This step really makes your drawing yours and visually striking. Have fun with it!
Conclusion
Now that you’ve followed these simple steps, you’ve got yourself a bike drawing that’s cooler than a jukebox in the ’50s! Don’t worry if it’s not perfect—practice makes progress.
Keep adding your own flair and colors to make it truly yours. Remember, every artist started somewhere, so grab your marker, hop on your creative ride, and pedal forward.
Soon, drawing bikes will feel as easy as riding one down the block! With these easy bike drawing steps, you’ll build confidence and improve your skills quickly. Keep practicing, and soon you’ll create bike drawings that are both fun and impressive.