Are Bike Pedals Reverse Threaded and How Do You Install or Remove Them?
Yes, bike pedals have reverse threading on the left side to prevent them from loosening while you ride. This means the left pedal tightens counter-clockwise and loosens clockwise, which is the opposite of the right pedal.
Knowing this is key to installing or removing pedals correctly without causing damage.
To install or remove them safely, turn the left pedal clockwise to loosen and counter-clockwise to tighten—opposite to the right pedal.
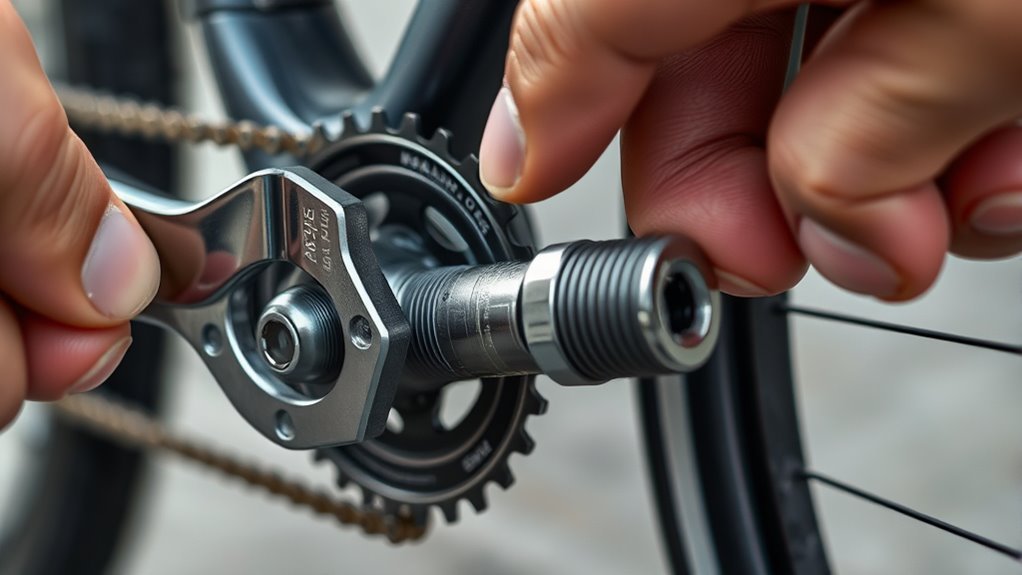
Always use a pedal wrench or hex key, apply grease to the threads, and hold the crank steady to avoid damage.
If you want to use your tools confidently and keep your bike in top shape, you’ll find helpful tips ahead.
It’s easier than you think once you get the hang of the threading directions!
Key Takeaways
- Left bike pedals have reverse (left-hand) threading to prevent loosening during riding. This means they turn the opposite way compared to the right pedals.
- Right pedals tighten clockwise, while left pedals tighten counter-clockwise for proper installation. It might seem a bit tricky at first, but once you get the hang of it, it’s straightforward.
- To remove pedals, turn the right one counter-clockwise and the left one clockwise. Remember, it’s the opposite directions for each side.
- Use a pedal wrench or hex key and hold the crank steady to avoid damage. Keeping everything stable makes the process much easier and protects your bike.
- Don’t forget to apply grease to the threads before installing pedals. Using the proper torque—about 360 in-lb—ensures they’re secure but still easy to remove later on.
Why Are Bike Pedals Reverse Threaded on the Left Side?
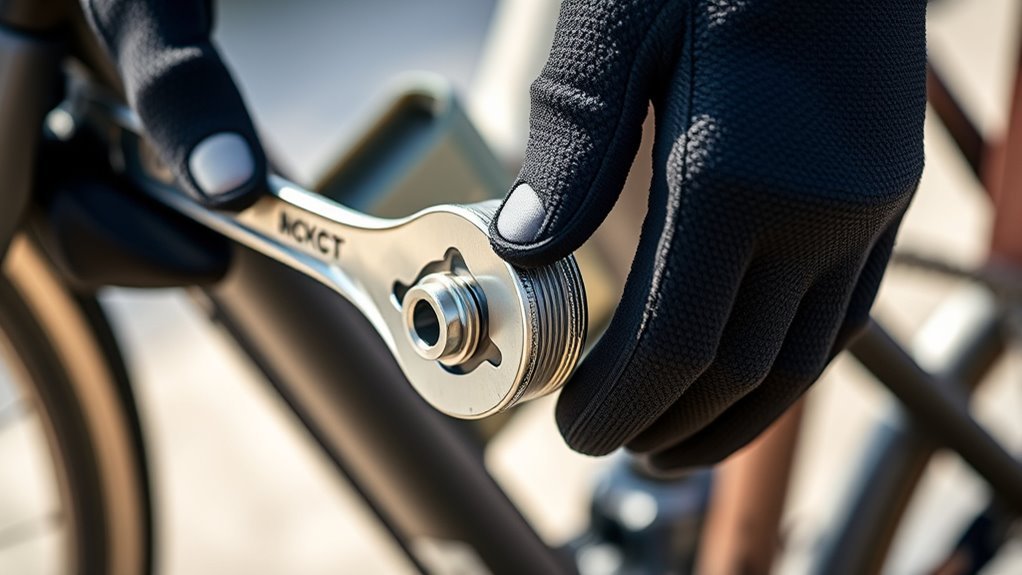
Although it might seem counterintuitive, the left bike pedal is reverse threaded to prevent it from loosening while you ride. The left pedal uses left-hand (reverse) threading, meaning it tightens when you turn it clockwise, which is the opposite of standard threading.
This clever design counters the rotational forces during pedaling that would otherwise cause the pedal to unscrew on the non-drive side. Understanding this reverse threading is essential for proper installation.
When you install the left pedal, you turn it clockwise to tighten, guided by the slope of the pedal’s threads. If you don’t keep this in mind, you might accidentally loosen it or damage the threads.
How to Remove and Install Bike Pedals Safely
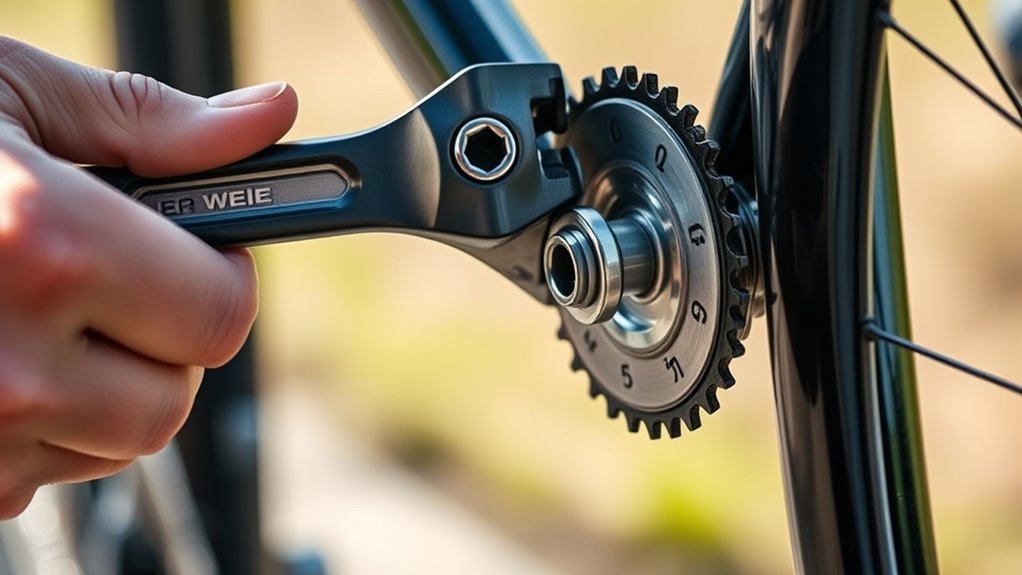
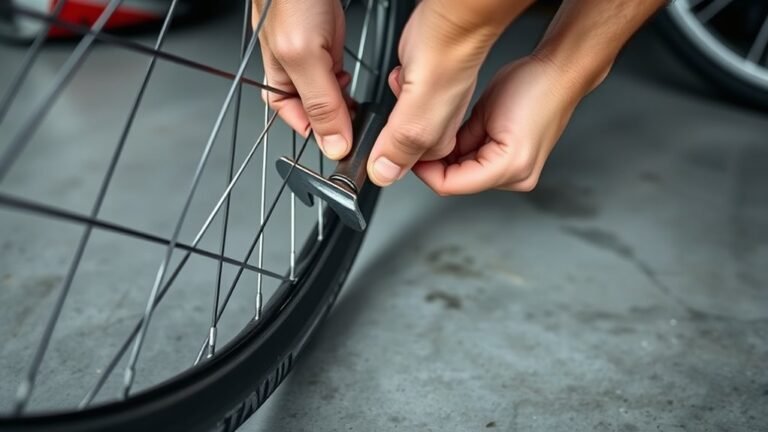
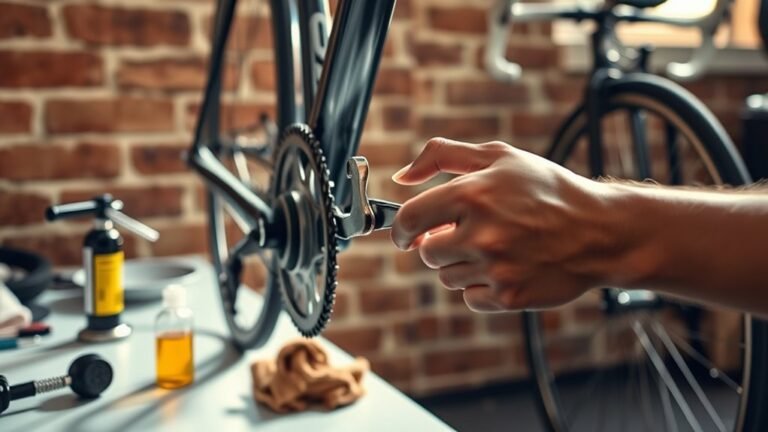
Knowing that the left pedal uses reverse threading helps you avoid mistakes when removing or installing pedals. To remove pedals safely, use a pedal wrench and turn the right-hand pedal counter-clockwise, while turning the left pedal clockwise.
Make certain you hold the crank steady with one hand to prevent damage.
For installation, apply grease to the threads to ease future removal and prevent seizing. Then, tighten the right-hand pedal by turning it clockwise and the left pedal by turning it counter-clockwise.
Again, hold the crank firmly. Using proper torque—around 360 inch-pounds—is important to avoid cross-threading or damage.
A pedal wrench is usually your best tool for this, though some pedals require a hex key. By following these steps carefully, you’ll ensure pedals are securely installed or removed without damaging your bike.
Frequently Asked Questions
Are Bicycle Pedals Reverse Threaded?
Yes, the left bicycle pedal is reverse threaded, so it tightens counter-clockwise and loosens clockwise. The right pedal uses normal threading.
Remember this to avoid stripping threads when installing or removing pedals. It can be a bit confusing at first, but once you get the hang of it, it’s pretty straightforward.
Which Way Do I Unscrew My Bike Pedals?
Think of your pedals like clock hands dancing—turn the right pedal wrench counter-clockwise and the left pedal wrench clockwise.
Always turn towards the bike’s rear to loosen them smoothly, avoiding any stubborn resistance or damage.
It might sound a bit tricky, but once you get the hang of it, it’s pretty straightforward. Just take your time and you’ll have those pedals off in no time!
What Does Ghost Pedaling Mean?
Ghost pedaling means your bike seems to pedal itself without you turning the pedals. It’s usually caused by sensor errors or drivetrain issues, especially on e-bikes.
Cleaning or recalibrating sensors often fixes it. So, if your bike feels like it’s moving on its own, that’s probably what’s going on.
Which Bicycle Crank Arm Is Reverse Threaded?
Ever wondered why your left pedal feels different? The left bicycle crank arm is reverse threaded, so you’ll turn it clockwise to loosen and counter-clockwise to tighten, unlike the standard right side threading.
It might seem a bit confusing at first, but this design actually helps prevent the pedal from loosening while you ride. Pretty clever, right?
Conclusion
Now that you know the left pedal is reverse threaded to prevent loosening while riding, you can confidently install or remove pedals without damage. Imagine you’re fixing a friend’s bike before a weekend ride—you’ll avoid stripping threads or struggling with stubborn pedals.
Just remember: left pedal turns clockwise to loosen, right pedal counterclockwise. With this simple tip, you’ll keep your bike in top shape and save time on maintenance.
Knowing that bike pedals are reverse threaded on the left side is key to proper installation and removal. This design helps prevent pedals from coming loose during your ride. So next time you’re working on your bike pedals, use this trick to avoid damaging threads or fighting with stuck pedals. Proper pedal maintenance means smoother rides and less hassle, keeping your bike running safely and efficiently every time you hit the road.