How to Tighten a Bike Chain in 3 Easy Steps
To tighten your bike chain in three easy steps, start by loosening the rear wheel nuts or quick-release lever. This step is crucial because it allows you to adjust the wheel position without resistance.
Next, pull the wheel backward to increase the chain tension, aiming for about half an inch of slack. This ensures your chain is tight enough to prevent slipping but not so tight that it strains the drivetrain.
Finally, make sure the wheel is aligned properly and securely fasten the nuts or skewer. Give your wheel a spin to confirm the chain moves smoothly without any tight spots or skipping.
If you want to guarantee your bike stays in top shape, there are a few more helpful details to check. Regular maintenance keeps your ride smooth and safe!
Gather Tools and Prepare Your Bike
Before tightening your bike chain, gather the necessary tools like a socket wrench or the right tool for your bike’s rear wheel nuts or quick-release skewer. Place your bike on a stable bike stand or flip it upside down to access the rear wheel easily.
Wearing gloves helps protect your hands from grease, dirt, and sharp chain links while you work. Have a clean rag and chain lubricant ready to clean and maintain the chain after adjustment.
Knowing whether your bike is single speed, fixed gear, or multi-gear is important, as chain tension requirements vary. With these tools and preparations in place, you’ll be set to adjust your chain tension effectively and keep your bike running smoothly.
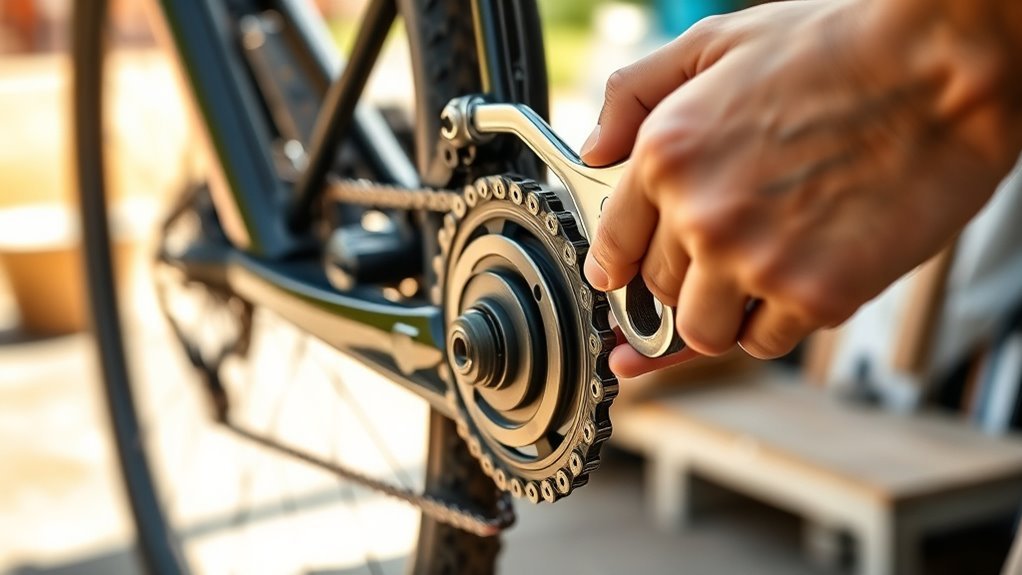
Loosen the Rear Wheel and Adjust Chain Tension
Once you loosen the rear wheel nuts or quick-release skewer with a wrench or lever, you can modify the wheel to change the chain tension. Hold your bike steady and carefully pull the rear wheel backward in the dropouts to tighten a loose chain or push it forward to increase slack.
Aim for about 0.5 inches of chain slack to ensure smooth operation. While adjusting, keep an eye on wheel alignment so the rear wheel stays straight within the frame. This slack adjustment helps prevent the chain from slipping or binding.
After positioning the wheel, make sure to tighten the axle nuts or quick-release skewer securely to lock the wheel without shifting alignment. Proper chain tension and wheel alignment go hand in hand for a smooth ride.
Secure the Wheel and Perform Final Checks
After adjusting the rear wheel to achieve the right chain tension, make sure the wheel is properly aligned and securely tightened. Check the wheel alignment carefully to prevent any rubbing against the frame.
Use the quick-release skewer or axle nuts to secure the wheel firmly, ensuring there’s no wheel wobble. Next, spin the wheel slowly to observe the chain’s movement.
The chain should run smoothly without slipping or excessive chain slack—aim for about 0.5 inch of slack to avoid tension that’s too tight or too loose. As part of your final checks, confirm the axle nuts or skewer are fully tightened.
Finally, take a brief test ride to ensure the chain tension holds steady and the bike pedals quietly. This step guarantees your bike’s ready for a safe ride.
Conclusion
Tightening your bike chain might seem tricky at first, but with just a few simple steps, it’s easier than you think. While a loose chain can make your ride frustrating and slow, a properly tightened one transforms every pedal stroke into smooth, efficient power.
First, gather your tools to make sure you’re ready. Then, adjust the tension carefully, and finally, secure the wheel in place. These small actions will make a big difference.
By tightening your bike chain, you’re not just fixing a mechanical issue—you’re improving your cycling experience. A well-maintained chain ensures smoother rides, better control, and less chance of unexpected breaks. So, take a few minutes to learn how to tighten a bike chain, and you’ll enjoy every ride more, whether you’re commuting or hitting the trails. It’s a simple step toward a better, more reliable bike.