10 Easy Steps to Adjust Your Bike Brakes
To adjust your bike brakes, start by checking your brake pads for wear and proper alignment. Next, inspect the cables and housing for any signs of damage. This ensures your brakes will perform safely and reliably every time you ride.
Make sure your wheels are fully seated and centered in the frame. Then, loosen the lock nuts and clamp the brake calipers so the pads contact the rim or rotor evenly. This step is crucial for balanced braking power.
Adjust the brake housing length using the knob, center the pads carefully, and tighten the lock nuts securely. After that, test the lever feel and wheel response to see how the brakes perform.
Finally, take a short ride to confirm everything feels right and your bike stops smoothly. Keep exploring for detailed tips that will help you perfect your brakes and enjoy a safer, smoother ride every time.
Check Brake Pads for Wear and Alignment
Start by inspecting your brake pads carefully for any uneven wear, cracks, or grooves. If the brake pads have worn past the manufacturer’s wear line, it’s time to replace them.
Next, check the alignment of the brake pads; they should be parallel to the rim or disc and make contact only with the braking surface. Make sure the brake pads’ position is centered relative to the wheel rim or rotor to avoid rubbing or uneven braking.
Ensure brake pads align perfectly parallel to the rim or disc, contacting only the braking surface for smooth stops.
Also, confirm that the pads don’t touch the tire or other parts when the wheel spins freely. If needed, adjust the pad position using the mounting bolts or screws so the pads sit flush against the braking surface without any excessive gap.
Proper alignment guarantees safe and effective braking every time. So, take your time with this step—it really makes a difference!
Inspect Brake Cables and Housing Condition
Take a close look at your brake cables and housing for any signs of wear like fraying, rust, or cracks. If you spot damage, it’s important to replace those parts to keep your brakes working smoothly.
Don’t forget to check that cables move freely without binding and that the housing fits snugly in place. Keeping an eye on these details helps ensure your brakes stay reliable and safe.
Cable and Housing Wear
Two critical areas to check when adjusting your bike brakes are the cables and their housing. Start by inspecting for cable wear such as fraying, rust, or corrosion. These issues can reduce brake response and compromise safety.
Next, examine the housing closely for cracks, kinks, or splits. These problems may cause uneven cable tension or sluggish brake action. Make sure the cable moves smoothly inside the housing without binding or excess resistance.
Applying a light bike-specific lubricant inside the housing helps reduce friction and prevents sticking. This improves brake adjustment accuracy. If you notice any damage or stiffness, don’t hesitate to perform a cable replacement.
Keeping these components in good condition ensures your brakes respond reliably every time you need them. It’s a simple step that makes a big difference in your riding safety.
Signs of Damage
After checking for cable and housing wear, focus on spotting clear signs of damage that could affect your brakes’ performance. Examine the brake cables closely for fraying, rust, or corrosion, which weaken brake tension and compromise safety.
Inspect the cable housing for cracks, tears, or kinks that cause uneven or sluggish brake response. Dirt and grime inside the housing can also hinder smooth cable movement, so give it a thorough look.
Don’t forget to check the cable end; if it’s worn or not properly seated, it won’t transfer brake tension effectively. Remember, worn cables or cable housing damage can reduce the effectiveness of your brake pads.
Confirm Wheels Are Properly Seated
Before adjusting your brakes, make sure the wheel is properly seated in the dropouts and centered between the frame stays.
Tighten the quick-release skewer securely to keep the wheel from shifting during use. This guarantees your brakes work effectively and your ride stays safe.
Wheel Dropout Alignment
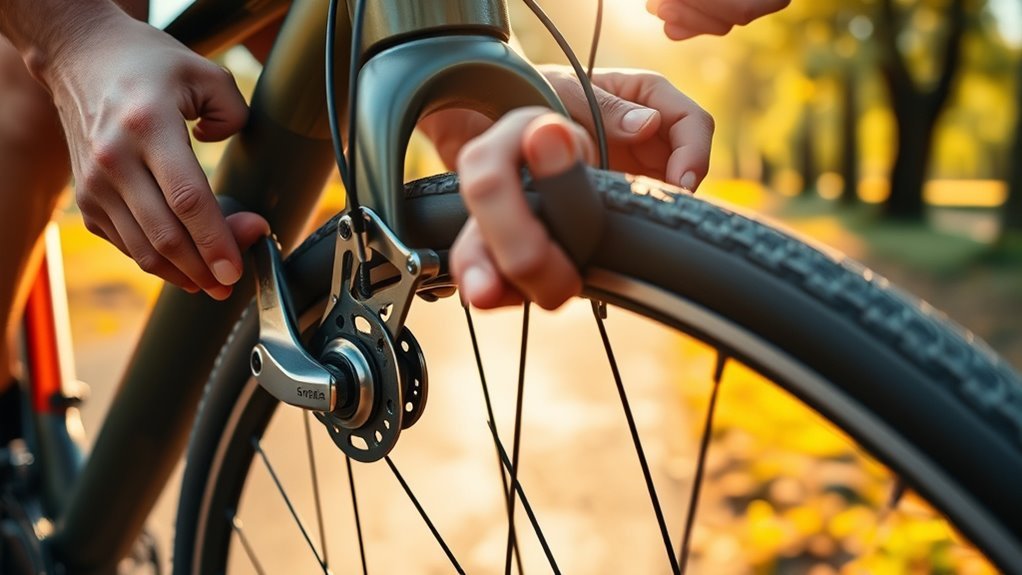
When you seat your wheel in the dropouts, make sure the quick-release lever is fully closed and tightened to keep it secure. Next, wiggle the wheel side to side to confirm it’s evenly seated within the dropouts.
Proper alignment is key—you want the wheel centered in the frame or fork without any wobble. Visually check that the wheel runs straight, indicating it’s properly aligned.
Spin the wheel to ensure it rotates freely and doesn’t rub against the brake pads or frame. If you notice any misalignment or rubbing, reseat the wheel until it’s perfectly centered.
Taking these steps ensures your wheel stays secure and your brakes perform ideally, avoiding uneven wear or unsafe riding conditions. Proper dropout alignment is essential before moving on to brake adjustments.
Secure Wheel Locking
Although it might seem straightforward, securely locking your wheel in place is essential to safe riding and brake performance. First, make sure the wheel is fully inserted into the dropouts and seated properly before tightening the quick-release or axle nuts.
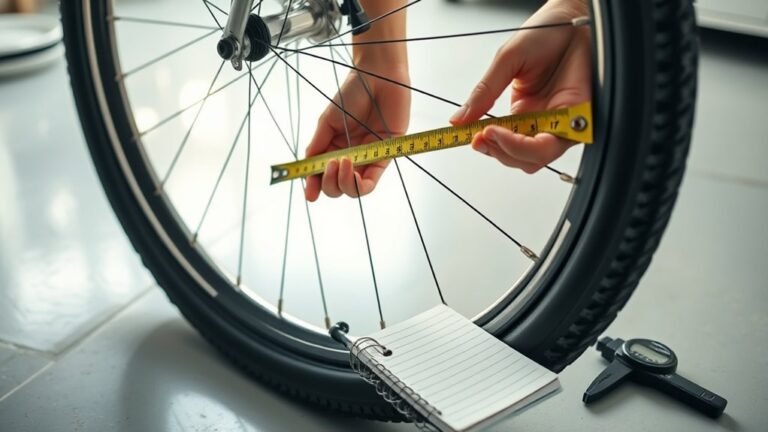
Tighten the quick-release lever firmly against the dropout to prevent any movement while riding. Check that the wheel is centered between the fork or frame by measuring equal distances from the rim to each side.
After installation, spin the wheel to spot any wobbling or rubbing, which indicates it’s not seated correctly. If you notice any issues, adjust the wheel and re-tighten the quick-release or axle nuts to maintain stability.
Properly securing your wheel ensures smooth braking and a safer ride. So, take a moment to double-check everything before you hit the road!
Loosen Lock Nuts and Clamp Brake Calipers
To start adjusting your bike brakes, you’ll need to loosen the lock nuts on the brake calipers using the right wrench or Allen key. This lets you reposition the caliper for proper alignment.
Here’s how you do it:
- Unscrew the lock nut on the caliper’s mounting bolt carefully.
- Clamp the brake calipers so the brake pads press firmly against the rim or rotor.
Next, align the brake caliper evenly with the wheel to avoid rubbing.
Then, tighten the lock nut to the manufacturer’s specified torque, usually 6-8 Nm.
Once tightened, spin the wheel to make sure the brake pads don’t rub and stay evenly spaced.
Properly clamping and tightening the brake calipers helps ensure smooth braking and safer rides. Easy, right?
Adjust Brake Housing Length Using the Adjustment Knob
Since proper brake response depends on precise cable tension, you’ll want to adjust the brake housing length using the adjustment knob on your brake caliper or lever.
Start by locating the adjustment knob on either the brake caliper or brake lever assembly.
Turn the adjustment knob clockwise to shorten the brake housing. This moves the brake pads closer to the rim or rotor. If the brake pads sit too far from the braking surface, turn the knob counter-clockwise to lengthen the brake housing.
Make small half-turn adjustments and squeeze the brake lever each time to test brake cable tension and brake pad engagement.
Once you achieve the desired brake feel, don’t forget to tighten any lock nuts. This will secure the brake housing adjustment and prevent it from slipping during rides.
Fine-Tune Cable Tension With Barrel Adjusters
You can easily fine-tune your brake cable tension using the barrel adjuster without loosening any cables. Turn it clockwise to tighten the cable for quicker brake response or counter-clockwise to loosen it if the lever feels too loose.
Make small adjustments while testing the brake feel to get the tension just right. It’s pretty simple once you get the hang of it!
Barrel Adjuster Usage
When you need precise control over your brake cable tension, barrel adjusters come in handy. These small cylinders, found on the brake lever or caliper brakes, let you make fine-tuning adjustments without loosening bolts.
Here’s how to use the barrel adjuster effectively:
- Locate the barrel adjuster near the brake lever or caliper brakes.
- Turn it clockwise to tighten the brake cable, bringing the brake pads closer to the rim.
- Turn it counter-clockwise to loosen the brake cable, increasing brake lever travel.
- Make small, incremental turns for smooth tension adjustments and *ideal* brake feel.
Using the barrel adjuster keeps your brakes responsive and maintains *perfect* brake pad positioning over time with minimal effort. It’s a simple trick that really makes a difference!
Cable Tension Adjustment
Mastering barrel adjuster use sets the stage for fine-tuning your brake cable tension. To adjust the brakes effectively, turn the barrel adjuster clockwise to tighten cable tension and improve brake response.
If the brakes feel too tight or grabby, loosen it counter-clockwise. Aim for a lever pull of about 1.5 inches for ideal feel.
Cable stretch over time often requires these small adjustments to maintain brake system performance. After tweaking, always test by squeezing the lever and spinning the wheel to ensure proper engagement without rubbing.
| Condition | Adjustment Direction |
|---|---|
| Brake lever too loose | Turn barrel adjuster clockwise |
| Brake lever too tight | Turn barrel adjuster counter-clockwise |
| Excessive lever travel | Increase cable tension (clockwise) |
| Brakes rubbing wheel | Reduce cable tension (counter-clockwise) |
Center Brake Pads on Rim or Rotor
Two key adjustments guarantee your brake pads are perfectly centered on the rim or rotor: loosening the pad bolts and fine-tuning their position with an Allen wrench.
To ensure proper brake pad alignment, follow these steps:
- Loosen the brake pad bolts slightly to allow movement.
- Adjust the brake pads so they center evenly on the rim or rotor, avoiding contact with the tire or rim edges.
- Use an Allen wrench to move the pads inward or outward, achieving precise positioning for smooth braking.
- Spin the wheel to confirm pads sit evenly on the rotor without rubbing or resistance.
Properly centering your brake pads improves braking efficiency and prevents premature wear. It makes your rides safer and smoother too.
Tighten Lock Nuts to Secure Adjustments
After adjusting your brake lever position, you’ll want to tighten the lock nut firmly against the adjustment knob to keep everything securely in place. Use a wrench or spanner to tighten the lock nut snugly—avoid over-tightening to prevent stripping the threads.
This step is vital to lock the brake cable housing and maintain consistent brake tension. Securing the lock nut ensures your brake system stays reliable and prevents accidental loosening during rides.
Make sure the lock nut fully engages with the adjustment knob for proper brake adjustment. It’s a good idea to regularly check the lock nut’s tightness, especially after riding on rough terrain or making further adjustments.
Doing this helps keep your brake system functioning safely and effectively. Tightening the lock nut correctly guarantees a secure brake setup every time.
Test Brake Lever Feel and Wheel Response
How does your brake lever feel when you squeeze it? Testing the brake lever and wheel response assures your brake adjustment is spot on.
Follow these steps:
- Pull the brake lever gradually—feel for firm, responsive lever travel. A soft or bottoming lever means slack cable tension.
- Squeeze the brake lever firmly and watch the wheel respond smoothly without sponginess or excessive lever travel.
- Release the brake lever; the wheel should spin freely, confirming proper pad clearance and cable tension.
- Confirm the brake pads fully engage the rim or rotor before the lever hits the handlebar, avoiding rubbing or incomplete engagement.
This quick test guarantees your brake pads and cable tension work together, providing safe, reliable stopping power every ride.
Perform a Riding Test to Confirm Brake Performance
Before hitting the road, you’ll want to perform a riding test to confirm your brakes work effectively under real conditions. Start by spinning the wheel and gently squeezing the brake lever to check that the brake pads engage smoothly without rubbing.
Next, take a short ride and apply the brakes individually—front and rear—at different speeds to assess brake response and stopping distance. Make sure the brake lever feels firm, with minimal travel, and doesn’t hit the handlebar before the wheel stops.
If you notice any delay or uneven stopping, perform further brake adjustment. This riding test guarantees your brake performance is reliable and safe, giving you confidence that your bike will stop promptly and securely whenever you need it.
Conclusion
By following these simple steps, you’ll have your bike brakes working like a charm in no time. Remember, a little fine-tuning goes a long way when it comes to your safety and ride quality.
Don’t rush the process—take it step by step, and soon you’ll be stopping on a dime. With patience and care, your brakes will give you the confidence to hit the road worry-free every time.
Adjusting your bike brakes properly is key to a smooth, safe ride. Whether you’re a seasoned cyclist or just starting out, these easy steps make brake maintenance straightforward. Paying attention to your brakes not only improves performance but also ensures your safety on every ride. So, take your time, follow these steps carefully, and enjoy the peace of mind that comes with reliable, well-adjusted bike brakes.