How to Inflate a Bike Tire in 5 Easy Steps
First, identify your valve type—Presta or Schrader—to avoid damage. Knowing which valve your bike tire has is key to inflating it properly without causing any issues. Unscrew the Presta lock nut or remove the Schrader cap, then attach and secure the pump head.
Pump steadily, checking the tire sidewall and gauge for the right pressure. It’s important to keep an eye on the pressure so you don’t overinflate or underinflate the tire.
Once firm, carefully remove the pump and close the valve by tightening the lock nut or replacing the cap.
Finally, verify the pressure and release any excess air if needed. This step ensures your tire is perfectly inflated for a smooth, safe ride. Keep going to uncover more helpful tips!
Key Takeaways
- Identify the valve type as Presta or Schrader to use the correct pump head and avoid damage.
- Open the valve by unscrewing the lock nut (Presta) or removing the cap (Schrader). Then, attach and secure the pump.
- Pump air steadily while watching the pressure gauge. Keep going until you reach the recommended PSI on the tire sidewall.
- Remove the pump carefully. After that, tighten the Presta lock nut or screw on the Schrader cap to close the valve securely.
- Finally, check the tire pressure with a gauge. If it’s too high, release some air to make sure it’s safe for riding.
Determine Your Bike’s Valve Type
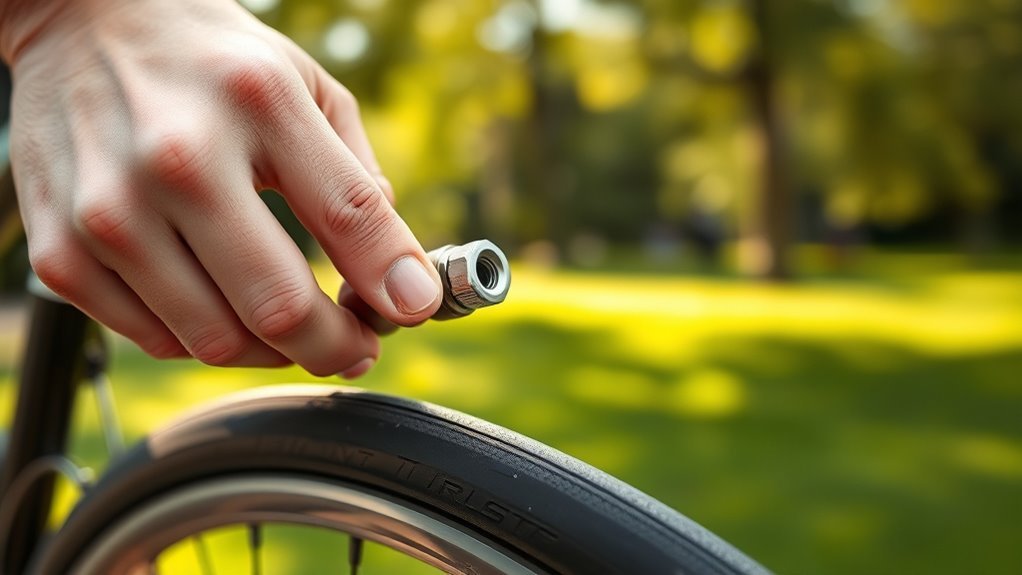
Before you start inflating your bike tire, you need to determine whether it has a Presta or Schrader valve. Identifying your valve type is essential because it dictates which pump head or adapter you’ll need for proper inflation.
Presta valves are slim and often feature a small lock nut near the top. They usually come with a small, removable cap and require you to unscrew the lock nut before inflating.
Presta valves are slim with a small lock nut that must be unscrewed before inflation.
Schrader valves, on the other hand, are wider and resemble the valves on car tires. They typically have a plastic cap and don’t need any unscrewing before inflation.
To distinguish between the two, check the valve stem for size or any markings. Knowing whether your tire has Presta or Schrader valves saves you from using the wrong equipment and prevents damage to the valve or tire.
This step guarantees a smooth and safe inflation process every time. So, take a moment to identify your valve type before you pump up your tires.
Open the Valve and Secure the Pump Head
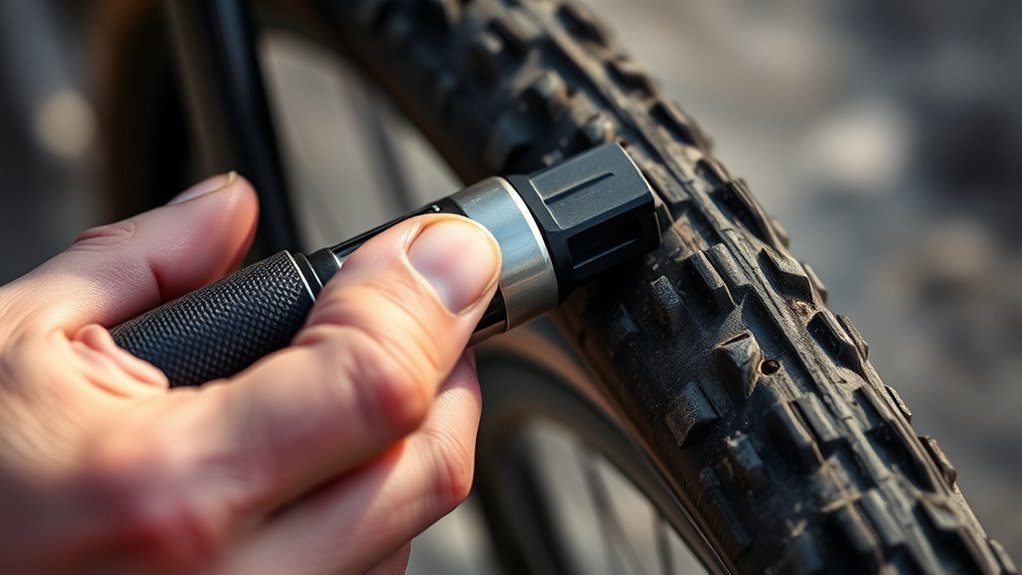
How do you prepare your bike’s valve for inflation? First, you need to open the valve properly and then secure the pump head to ensure efficient air flow. Here’s how to do it:
- If you have a Presta valve, unscrew the small lock nut at the top. For a Schrader valve, simply remove the valve cap to expose the opening.
- Press the valve gently to confirm it’s fully open and air can flow freely.
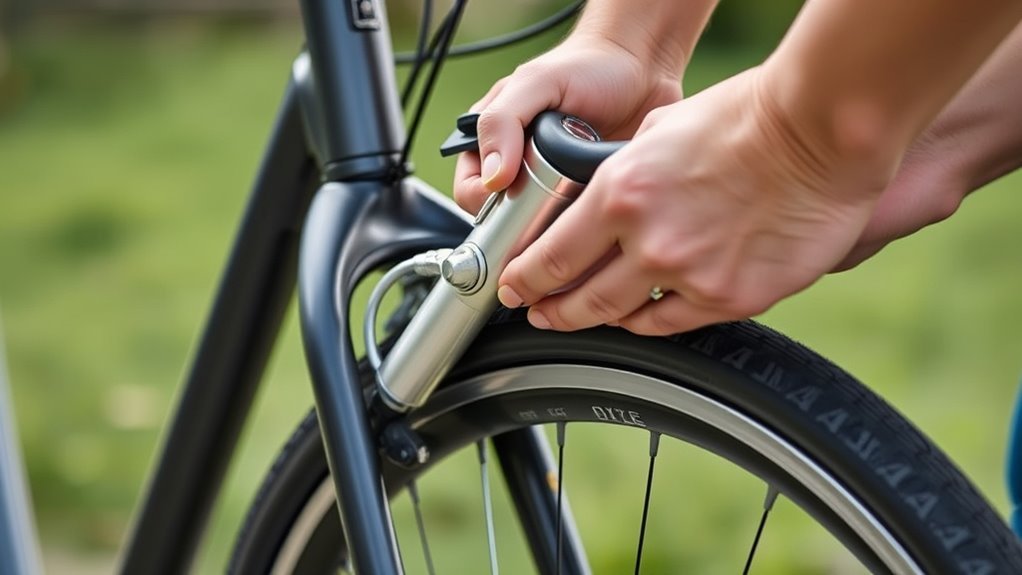
- Attach the pump head securely onto the valve. Make sure it fits tightly to prevent any air leaks.
- Lock the pump head in place by engaging its lever or securing mechanism. Double-check the connection is stable and airtight before you start pumping.
Following these steps ensures your valve and pump head are set up correctly, making the inflation process smooth and effective.
Pump the Tire to the Right Pressure
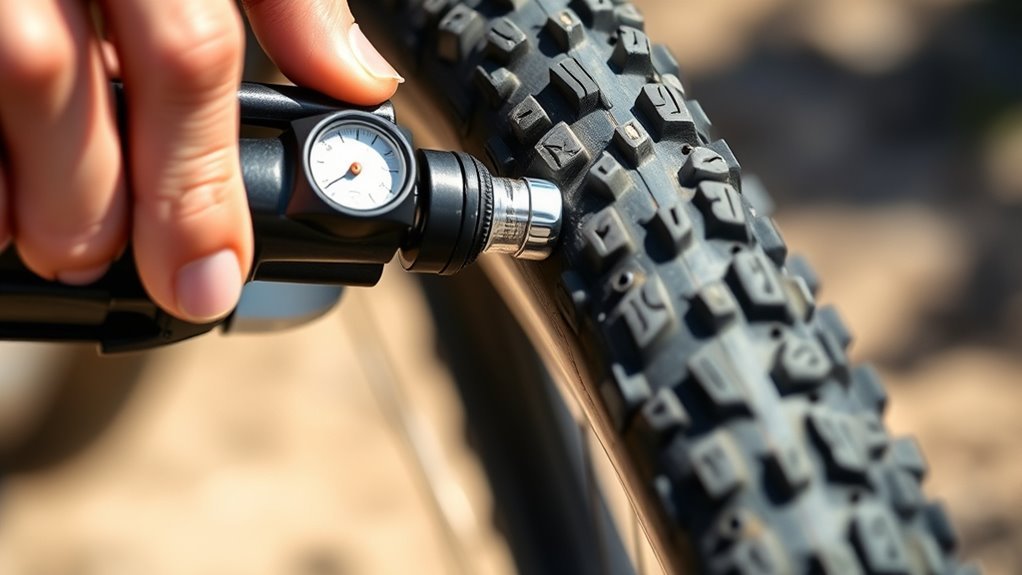
Once you’ve secured the pump head, you’ll want to inflate the tire to the right pressure by checking the tire’s sidewall for the recommended PSI range. This information is vital to avoid under- or over-inflation. Use the pressure gauge on your pump to monitor the tire as you pump steadily.
Keep an eye on the gauge frequently to make sure you don’t exceed the recommended PSI. Adjust the pressure based on your riding style and terrain—higher pressure suits road bikes for speed, while lower pressure works better for mountain bikes to absorb shocks.
Pump the tire until it’s firm but not rock hard, hitting the recommended PSI for maximum performance and comfort. Overinflating can lead to blowouts or damage, so stopping at the right pressure is essential. By carefully watching the pressure gauge while pumping, you’ll maintain a smooth and safe ride every time.
Remove the Pump and Close the Valve
After reaching the right pressure, gently lift the pump nozzle off the valve to keep air from escaping.
Next, you’ll want to carefully remove the pump and properly close the valve to maintain tire pressure and protect your bike.
Follow these steps:
- Remove the pump nozzle slowly to avoid sudden air loss.
- If you have a Presta valve, tighten the small lock nut at the valve’s top to close it securely.
- For Schrader valves, screw the dust cap back on to keep dirt and debris out.
- Double-check the valve is firmly closed and sealed to prevent leaks.
Verify Pressure and Release Excess Air
Wondering if your bike tire has the right pressure? First, check the tire’s sidewall for the recommended PSI range. Use a pressure gauge to measure the tire pressure accurately during and after inflation.
If the pressure is too high, you’ll need to release excess air to avoid over-inflation. That can lead to poor handling or tire damage, which nobody wants.
To release excess air, press the valve core if you have a Schrader valve. Or, if it’s a Presta valve, unscrew the lock nut and gently depress the valve. Do this slowly and carefully.
After releasing some air, recheck the pressure with your gauge. Keep repeating this until the tire reaches the recommended PSI.
Finally, feel the tire’s firmness to make sure it matches the suggested pressure. By verifying pressure and adjusting as needed, you’ll have a safer, smoother ride without risking under- or over-inflation.
Frequently Asked Questions
How to Inflate Bike Tires for Beginners?
You start by identifying your valve type, then attach the pump securely. Inflate slowly while checking pressure.
When you’re done, remove the pump carefully and close the valve tightly. Always double-check the pressure for a safe ride.
How Can I Inflate My Bike Tires Without a Pump?
You can inflate your bike tires without a pump by using a car or gas station air compressor, a CO2 inflator cartridge, or mouth inflation for low-pressure tires.
Some bike shops or gyms may also offer air pumps you can use. It’s pretty handy if you’re in a pinch and don’t have your own pump with you!
How to Manually Inflate a Bike Tire?
Feel the flow, hear the hiss—manually inflate your bike tire by securely attaching a pump. Pump steadily until the tire feels firm.
Then, carefully detach the pump without losing any air. Don’t forget to replace the valve cap to keep dirt away.
How Do I Pump Air Into My Bicycle Tire?
You pump air into your bike tire by securely attaching the pump nozzle to the valve. Then, engage the lever and start pumping steadily while watching the pressure gauge.
Once your tire is inflated, just release and remove the nozzle. Don’t forget to close the valve after that. Easy, right?
Conclusion
Inflating your bike tire is like giving life to a dormant balloon, each pump a breath of energy. As you close the valve, you seal in readiness, like securing a promise of smooth rides ahead.
Checking the pressure is your final handshake with the road, ensuring balance and control. With every step, you revive your bike’s spirit, ready to roll freely—embracing the journey, one pumped tire at a time.
When you inflate your bike tire properly, you’re not just adding air—you’re preparing for a safer, smoother ride. The right tire pressure helps avoid flats and improves your bike’s performance. So next time you grab your pump, remember these simple steps keep your bike ready for any adventure. Inflating your bike tire is a quick, easy task that makes a big difference every time you hit the road or trail.