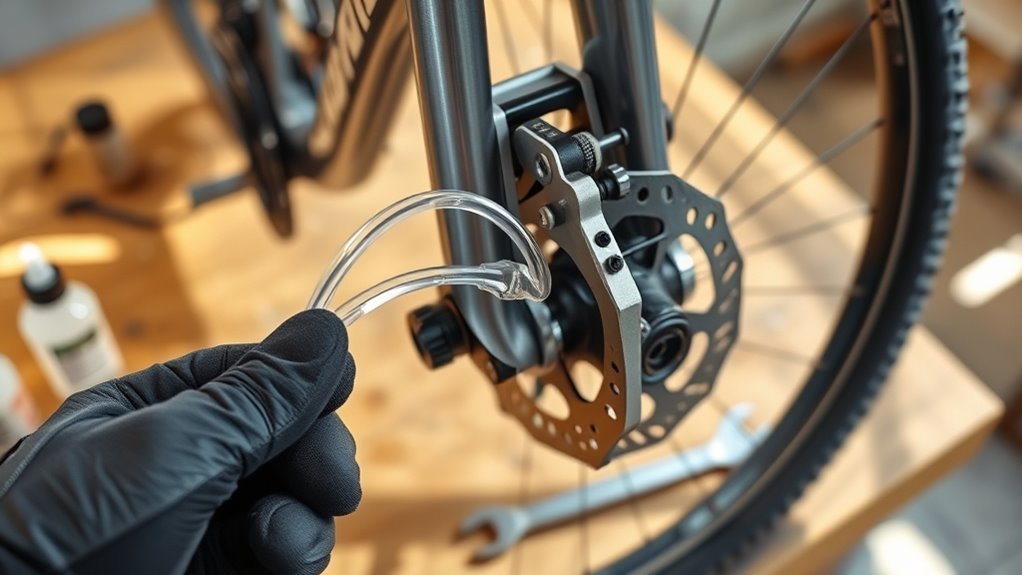
How to Bleed Bike Brakes in 7 Easy Steps
To bleed your bike brakes in 7 easy steps, start by gathering the right tools and preparing your bike, including removing the wheel and brake pads. This setup is crucial to ensure a smooth and efficient brake bleeding process.
Knowing how to properly bleed bike brakes can make a big difference in your bike’s performance and safety.
Next, identify your brake lever style to choose the proper adapters. Then, set up your bleed kit and position the lever at a 45° angle. This helps the brake fluid flow correctly and prevents air from getting trapped.
Inject brake fluid through the caliper, gently expelling trapped air by tapping and squeezing the lever. This step is key to restoring your brakes’ responsiveness.
Finally, reassemble and adjust your brake pads. Test for firmness, clean everything up, and if you want to master the process, there’s more to uncover.
Key Takeaways
- Gather your tools, remove the wheel, and install the bleed blocks. Then, fit the correct bleed kit adapter to the brake lever’s bleed port.
- Attach a syringe filled with brake fluid to the caliper bleed nipple. Next, remove the bleed screw from the lever reservoir and connect an empty syringe.
- Position the brake lever at a 45° angle facing downhill and secure it in place. Keep the fluid flowing steadily while gently tapping the hoses to dislodge any air bubbles.
- Squeeze the brake lever repeatedly and rotate it at different angles. This helps push out any trapped air until you no longer see bubbles in the system.
- Finally, reinstall the brake pads and wheel. Test the brake response for firmness, adjust the pad position if needed, and clean all the components thoroughly.
Gather Tools and Prepare Your Bike
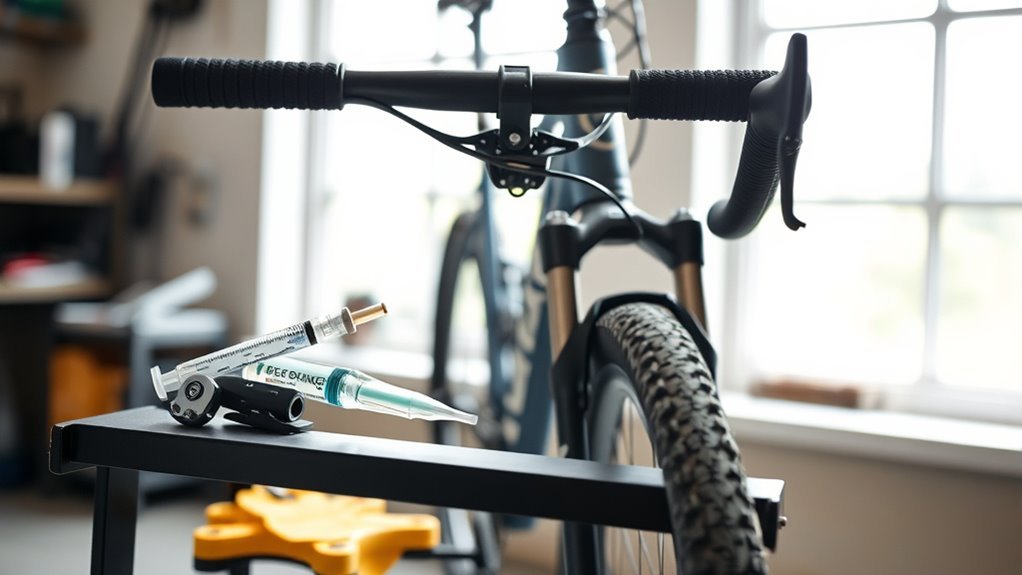
Before you begin bleeding your bike brakes, gather all the essential tools like a hydraulic brake bleed kit, hex wrenches, a tire lever, cone wrench, safety glasses, gloves, and clean rags. Having the right tools ready will make the process smoother and safer.
Start by collecting essential tools like a bleed kit, wrenches, safety gear, and clean rags for a smooth brake bleed.
Next, prepare the correct brake fluid for your system—check if you need mineral oil or DOT 4/5.1 fluid. Using the wrong type can damage your brakes, so double-check before you start.
To prepare your bike, remove the wheel and position it on an upward slope. This helps brake fluid flow during bleeding and makes the process easier.
After taking out the brake pads, install bleed blocks between the pistons to keep them from moving. Reset the pistons carefully to avoid damage.
Finally, fit the bleed kit components to your brake lever, choosing the right adapters based on the port thread size (M5 or M7). Proper preparation and tools ensure an efficient brake bleeding session.
Find Your Brake Lever Style
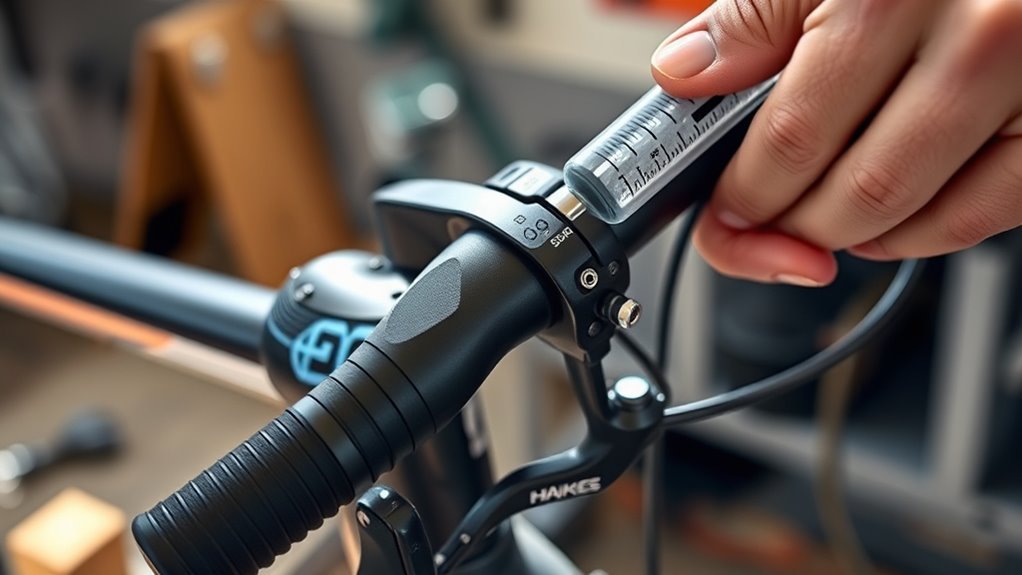
To bleed your bike brakes properly, you first need to identify your brake lever style by locating the bleed port screw. It could be under the rubber hood, at the top, front, or middle of the lever body.
Each spot might have different thread sizes like M5 or M7. Knowing these details helps you pick the right tools and follow the correct procedure.
It’s a small step but makes a big difference in getting the job done right. So, take a moment to check your lever carefully before you start.
Lever Style Identification
Although brake lever designs vary, you can quickly identify your lever style by locating the bleed port screw. The bleed port might be under the rubber hood, near the handlebar, or hidden beneath a plastic cover.
For back port levers, look near the handlebars for an M5 threaded bleed screw. Middle port levers feature an M7 threaded bleed port centrally located on the lever body.
Front port styles hide the bleed screw under a plastic cover and use M5 threads. Top port levers come in two generations: Gen 1 has the bleed port screw at the top peak, while Gen 2 places it on the lever body without external tubing.
Knowing your lever style helps you find the correct bleed port and bleed screw for easy maintenance. It makes the whole process smoother and less confusing.
Bleed Port Locations
Where exactly is your brake lever’s bleed port located? It depends on your lever style. Identifying this helps you find the bleed screw quickly for an easier brake bleed.
Here’s a quick guide to common bleed port locations based on lever style:
| Lever Style | Bleed Port Location & Bleed Screw Details |
|---|---|
| Back Port | Near handlebars, bleed screw typically M5 threads |
| Middle Port | Centered, parallel to handlebar, usually M7 threads |
| Front Port | Under plastic cover at front, M5 threads |
Top port styles vary: Gen 1 has a top peak bleed screw (M5), while Gen 2 has the bleed port on the lever body without external tubing.
Knowing your bleed port location streamlines the bleeding process and prevents damage. It really makes the whole job smoother and quicker!
Thread Size Differences
How do you know which bleed adapter fits your brake lever? The key lies in identifying the thread size and port style on your brake lever. Most levers use either an M5 or M7 thread size for their bleed ports.
Back Port styles typically have an M5 threaded screw near the handlebars, making access pretty straightforward. Middle Port styles feature an M7 threaded screw located centrally on the lever body. So, you’ll need a different bleed adapter for those.
Top Port styles can vary a bit. Generation 1 uses an M5 port under the lever’s peak, while Generation 2 has an internal port within the lever body. Knowing your brake lever’s thread size and port style really helps you pick the right bleed adapters, ensuring a secure fit and smooth bleeding process.
Set Up Your Brake Bleed Kit and Position the Lever
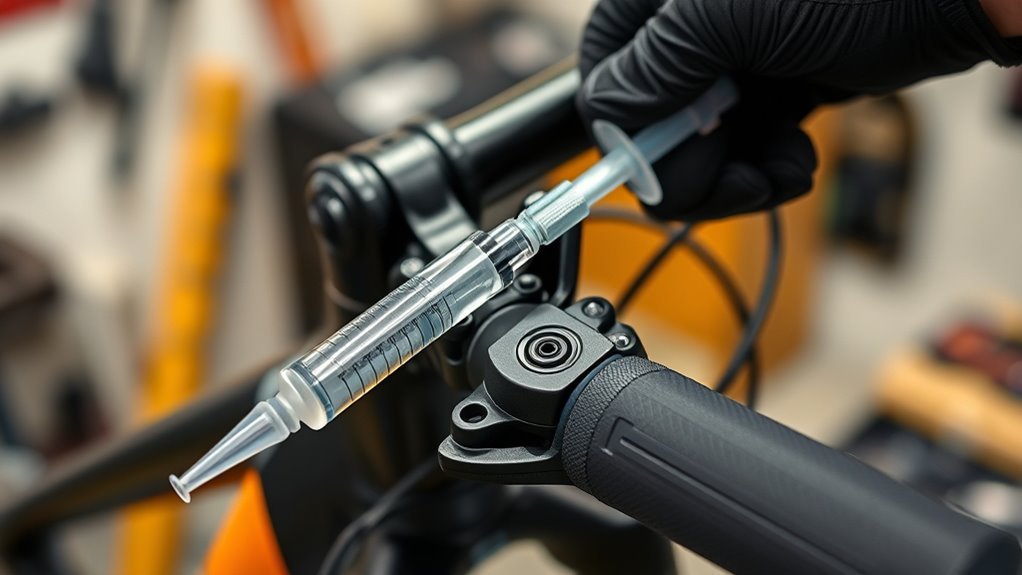
Before you begin bleeding your bike brakes, make sure to securely attach the syringe filled with brake fluid to the caliper’s bleed nipple using a 7mm wrench. This helps prevent any leaks during the process.
Next, remove the bleed screw from the lever reservoir and connect an empty syringe to it. To keep consistent pressure during bleeding, secure the brake lever firmly to the handlebar using a strap or rubber band.
Proper lever position is crucial for effective bleeding. Set the brake lever at a 45° angle facing downhill. You can use an angle finder or just a visual reference to match the recommended angle for your specific brake system.
Remember to insert bleed blocks or pad spacers between the brake pistons. This keeps them from moving and helps preserve proper pad clearance.
Here’s a quick setup checklist:
- Attach syringe with brake fluid to caliper bleed nipple
- Remove bleed screw and connect empty syringe to lever reservoir
- Secure lever to handlebar with a strap
- Position lever at a 45° angle facing downhill
Inject and Drain Brake Fluid During Brake Bleed
Why start injecting brake fluid carefully? Because maintaining steady pressure guarantees air bubbles don’t get trapped in your system, which can compromise brake performance.
First, connect your syringe filled with brake fluid to the caliper bleed nipple using a 7mm wrench. Open the bleed nipple just a quarter to half a turn to let fluid and air drain out smoothly.
Gently push brake fluid into the caliper, keeping pressure consistent to move air bubbles toward the hose and out of the system. Keep the bleed funnel angled at about 45° to promote smooth flow and prevent new air from entering.
As you inject the fluid, tap along the hose and around the caliper to dislodge stubborn air bubbles. Once you see no more bubbles escaping, securely close the bleed nipple.
Finally, carefully remove the syringe to avoid letting air back into your brake system. This method keeps your brakes responsive and safe.
Burp the Lever to Expel Trapped Air
To burp the lever and remove trapped air, position it at the correct angle based on your brake’s port style. Squeeze the lever repeatedly while watching the bleed funnel for bubbles to guarantee air escapes.
Keep the funnel stable and inspect carefully before moving on to the next step. This way, you’ll make sure no air is left inside.
Lever Angle Positions
When you burp your bike brakes, rotating the lever to specific angles—like 30° upward or downward—helps push trapped air out more effectively. Adjusting the lever angle during bleeding lets air bubbles move toward the bleed port, making it easier to expel them.
Keep the bleed funnel vertical or slightly tilted to guide trapped air out efficiently. For back port style levers, positioning the lever at a 45° upward angle also aids air removal.
- Rotate the lever 30° upward or downward to shift trapped air
- Keep the bleed funnel vertical or tilted precisely during lever squeezing
- Position back port levers at a 45° upward angle to dislodge air pockets
- Tilt the lever forward or backward to optimize bubble movement toward the bleed port
These lever angle adjustments ensure a firm, responsive brake lever feel. It’s a simple trick that makes a big difference!
Bubble Inspection Techniques
Although it might seem tedious, burping the brake lever by rotating it to the right angles and squeezing repeatedly is vital to expel any trapped air bubbles. Start by positioning the bleed funnel vertically or tilted as specified for your lever style.
Then, squeeze the lever multiple times while performing a thorough bubble inspection inside the funnel. Watch carefully for any visible bubbles; these indicate air still trapped in the system.
Tilt or level the lever and funnel at designated angles to help dislodge stubborn bubbles and encourage them to rise to the surface. Keep doing this until no bubbles appear.
Once complete, remove the bleed funnel and clean the lever to verify smooth operation. This step is essential to maintain brake performance and remove the bleed properly.
Repetitive Squeezing Method
Since trapped air can seriously mess with your brake’s performance, you’ll want to keep squeezing the brake lever over and over to push those bubbles out of the system. It takes a bit of patience, but this method really helps get air out from inside the lever body and piston chamber.
If you’re using DOT fluid, be sure to watch the fluid level in the funnel so air doesn’t sneak back in.
Here’s what you should do:
- Squeeze the brake lever multiple times and keep an eye out for bubbles in the funnel.
- Rotate and position the lever at different angles to help air escape.
- Make sure the fluid level in the funnel stays topped up to avoid adding new air.
- Keep going until no more bubbles show up when you squeeze repeatedly.
This repetitive squeezing method basically burps the lever, making sure your brakes stay smooth and reliable.
Reassemble Components and Adjust Brake Pads
After bleeding your bike brakes, you’ll want to reinstall the brake pads and caliper onto the rotor. Make sure everything lines up perfectly and stays securely in place.
Carefully reattach the wheel, ensuring it’s seated correctly within the dropouts or axle mounts. This helps avoid any misalignment that could mess with your brakes.
Once everything’s assembled, pull the brake lever several times to check for consistent pad contact. Confirm the brake responds properly each time.
If the pads don’t engage the rotor evenly or the clearance feels off, don’t worry. You can adjust the pad position using the barrel adjuster or by loosening and repositioning the caliper mounting bolts.
Make small tweaks until you get that ideal rotor clearance without any rubbing. Finally, apply firm pressure to the brake lever to verify a solid, responsive feel.
Getting your brake pads and caliper correctly aligned and secure will give you confidence in your braking performance and safety before you hit the road or trail.
Test Brake Feel and Clean Up
When you pull the brake lever multiple times, you’ll feel if it’s firm and responsive, signaling a successful bleed. If you notice any sponginess or inconsistent braking, air bubbles might still be trapped, so you’ll want to bleed the brakes again.
Once you’re happy with the feel, clean the brake lever and caliper area thoroughly with isopropyl alcohol or water. This helps remove any brake fluid residue that could damage components or reduce performance.
Finally, check that the brake pads align properly, contacting only the rotor for smooth, effective stopping power.
Before hitting the trail, test the brakes on a safe, controlled surface to make sure everything works correctly and safely. Here’s what to focus on:
- Confirm brake lever feels firm without sponginess
- Inspect for clean brake fluid-free surfaces
- Verify brake pads contact rotor evenly
- Test braking response in a controlled environment
Following these steps makes sure your bike brakes are reliable and ready for the ride.
Frequently Asked Questions
How Easy Is It to Bleed Bike Brakes?
Bleeding bike brakes is easier than you might think. With the right tools and proper positioning, you’ll quickly remove air bubbles by squeezing the lever a few times.
Just stay patient, and you’ll master it without much hassle. It really doesn’t take long once you get the hang of it!
What’s the Easiest Way to Bleed Brakes?
The easiest way to bleed your brakes is by using a syringe and bleed funnel. Keep the lever at a 45° angle. Gently pull the syringe to remove air.
Make sure to close the bleed nipple only when the fluid runs clear. It’s a simple process once you get the hang of it!
Can I Just Gravity Bleed My Brakes?
You can gravity bleed your brakes, and it’s quick with minimal tools—but don’t expect it to clear all air bubbles.
For the best results, combine it with manual bleeding to guarantee smooth, reliable braking.
Should I Bleed My Brakes With the Reservoir Cap on or Off?
You should usually bleed your brakes with the reservoir cap off to prevent pressure buildup and allow air to escape. However, check your brake’s instructions—some systems need the cap on but loosened for proper fluid flow.
It’s kind of a good idea to double-check because different brake setups might handle things a bit differently. So, when in doubt, follow what the manual says!
Conclusion
Now that you’ve mastered bleeding your bike brakes in just seven easy steps, you’re riding like a pro tuning a finely crafted instrument. Just as a maestro guarantees every note is perfect, you’ve expelled every bubble and tightened every bolt.
Your brakes will respond with the precision and reliability of a champion’s bike. So, gear up, hit the trail, and feel the confidence that comes from knowing your ride is in peak condition.
Bleeding bike brakes might seem tricky at first, but with these simple steps, you’ve ensured smooth, safe stopping power every time you ride. Keep this guide handy for regular maintenance, and your bike brakes will always perform like new.