How to Change a Bike Tube in 10 Easy Steps
To change a bike tube in 10 easy steps, start by loosening the chain and removing the wheel. This is the first important step to get your bike ready for the tube replacement.
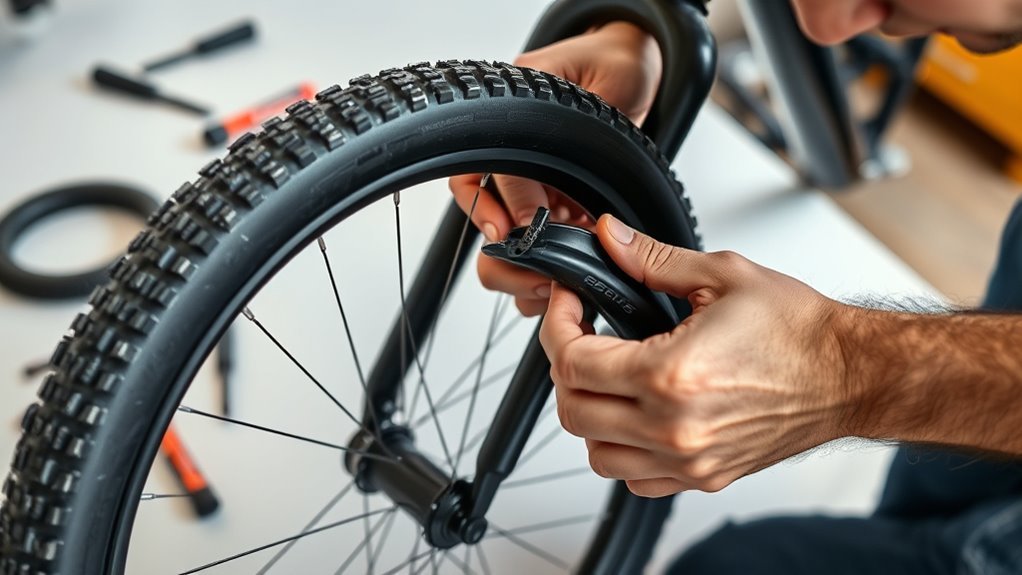
Next, use tire levers to pry the tire bead away from the rim. Then carefully pull out the old tube.
It’s important to check the tube, tire, and rim for any damage before moving on.
Once you’re sure everything looks good, insert a slightly inflated new tube into the tire. Take your time to carefully mount the tire bead back onto the rim without pinching the tube.
After that, reinstall the wheel and secure the axle properly.
Finally, inflate the tire to the right pressure and give the wheel a spin to make sure it’s running smoothly.
Keep following these steps, and you’ll soon master every detail of bike tube changing like a pro!
Key Takeaways
- Fully deflate the tire and remove the wheel by loosening axle nuts or quick-release levers.
- Remove the tire bead from the rim and carefully pull out the old inner tube.
- Inspect the tire and rim for sharp objects or damage before installing the new tube.
- Slightly inflate the new tube, insert it evenly into the tire, and seat the tire bead onto the rim.
- Reinstall the wheel, secure the axle, inflate the tire to recommended pressure, and check alignment.
Take Off the Wheel to Access Tire
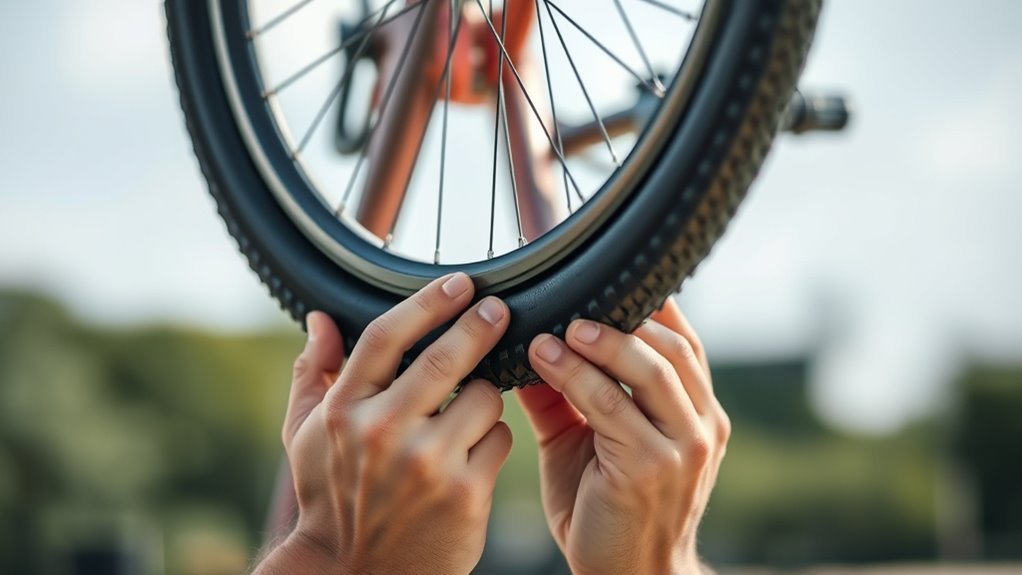
How do you begin removing a bike wheel to access the tire? First, shift your bike into the smallest chainring and sprocket; this makes handling the wheel easier. Then, depending on your bike, use either quick-release levers or a wrench to loosen the axle nuts.
Make sure your bike is stable and supported to avoid any falls or damage. For rear wheels, you’ll want to shift the derailleur to release tension on the chain before proceeding. Next, disengage the brake calipers if necessary to clear the wheel.
Keep your bike stable, shift the derailleur to release chain tension, and disengage brakes to clear the wheel.
Carefully lift your bike and pull the wheel straight out of the dropouts. This step requires some attention to avoid bending the tire or damaging the frame. Once the wheel is off, you have direct access to the tire, allowing you to inspect, remove, or replace the inner tube as needed.
Removing the wheel properly ensures a smoother tube replacement process. It’s really worth taking your time here to make sure everything goes smoothly.
Loosen the Chain (If Needed) and Remove the Wheel
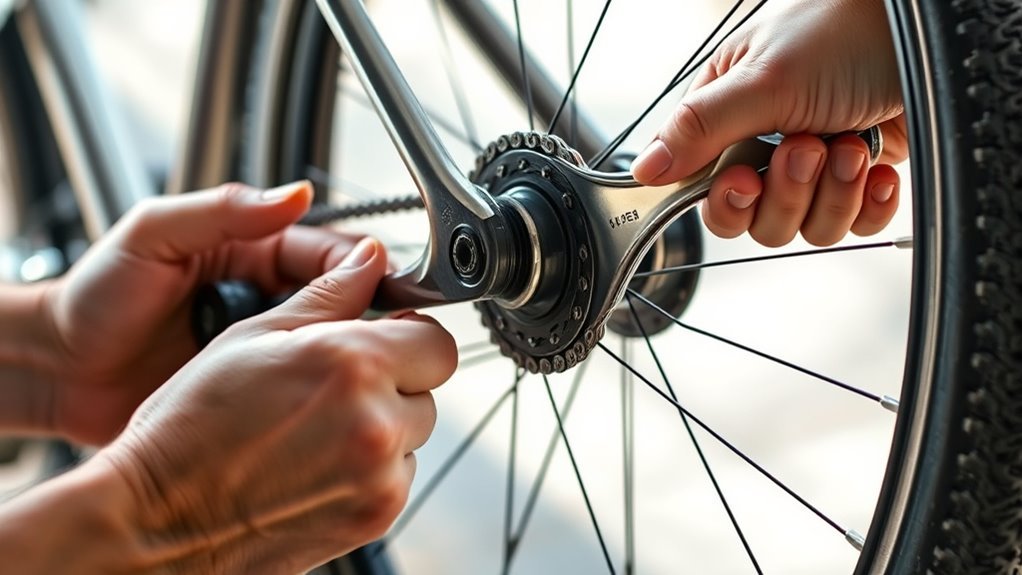
Once you’ve loosened the axle bolts with a wrench, push the wheel forward in the dropouts to create enough clearance for the chain to slip off the sprockets. If the chain remains attached, gently nudge it inward while rotating the cranks to disengage it.
Make sure the chain rests on the inside of the sprockets to avoid damage or slipping. Then, carefully remove the wheel from the frame, keeping the chain clear of the frame.
Follow these steps to loosen the chain and remove the wheel:
- Push the wheel forward in the dropouts to free the chain.
- Rotate the cranks while gently pushing the chain inward to disengage it.
- Lift the wheel out of the dropouts without letting the chain catch on the frame.
With the wheel free and the chain loosened, you’re ready to continue fixing your bike tube.
Use Tire Levers to Pry the Tire Bead From the Rim
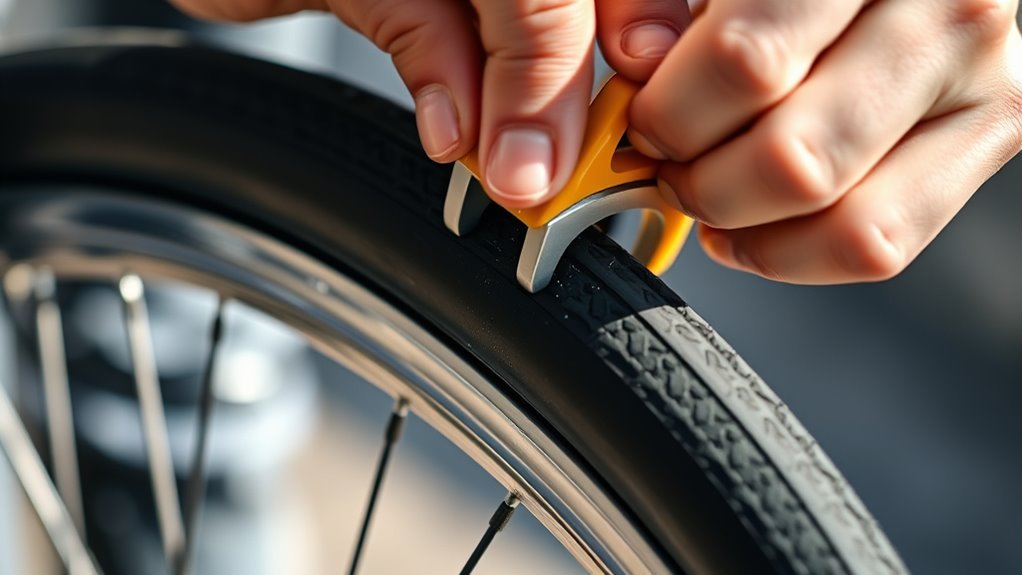
Start by slipping a tire lever under the tire bead at the rim’s edge. Make sure to place it carefully to avoid pinching the tube.
Use a second lever nearby and gently work both around the rim. Apply steady pressure to lift the bead without damaging your tire or rim.
Keep the levers close to the edge. And don’t force them—that could puncture the tube as you pry the tire free.
Proper Tire Lever Placement
Before you begin prying the tire bead from the rim, insert a tire lever under the bead at the 12 o’clock position to get a solid grip. Proper placement is key to avoiding damage and making the process smoother.
Follow these steps:
- Insert the first tire lever firmly at 12 o’clock, making sure it’s between the bead and rim without pinching the tube.
- Place a second tire lever about 1-2 inches away from the first one to keep lifting the bead steadily around the rim.
- Apply gentle, steady pressure with both tire levers, working in a circular motion to gradually free the tire bead.
This method helps prevent pinching the tube and keeps your tire and rim safe while you work. It’s all about being careful and steady!
Lever Technique Tips
Although prying the tire bead from the rim can seem tricky, using tire levers correctly makes the process much easier and safer. Start by inserting tire levers under the bead at the 12 and 1 o’clock positions.
Apply gentle, steady pressure to lift the bead over the rim edge, moving around the wheel’s circumference. Make sure the tire lever’s hook or notch stays securely under the bead to avoid slipping and damaging the tire or tube.
If needed, alternate between tire levers, maintaining even pressure to protect the bead from tearing. Gradually work the bead off the rim, removing the tire completely and freeing the tube without harm.
Mastering these tire lever techniques helps you change your bike tube efficiently every time. It’s really all about being patient and careful throughout the process.
Avoiding Tube Pinch
When you use tire levers to pry the tire bead from the rim, you need to be careful to prevent pinching the tube. A tube pinched between the rim and tire can cause punctures or tears, ruining your repair.
So, follow these tips to avoid it:
- Start at the valve, gently inserting the tire lever between the tire and rim. Pry the bead away in small sections to reduce risk.
- Use plastic tire levers, never metal tools. This helps avoid damaging the tube or rim.
- If you use multiple levers, space them evenly around the rim. That way, you won’t put too much pressure on one spot.
Remove the Old Inner Tube
Now that you’ve pried the tire bead off the rim, make sure the tire is fully deflated. Carefully remove the valve retaining nut, then gently pull the old inner tube out, starting at the valve.
Take a moment to check the tube for any punctures or debris before disposing of it properly. It’s always good to be thorough!
Deflate The Tire
Before you can remove the old inner tube, you’ll need to fully deflate the tire by pressing down on the valve to release all the air. This step is essential to make the removal process smooth and prevent damage.
Here’s how to deflate the tire and remove the inner tube properly:
- Press the valve core firmly to let all the air escape from the inner tube. Squeeze the tire gently to make sure no air remains.
- Use your fingers or a tire lever to carefully break the tire bead away from the rim on one side.
- Gently pull the valve stem outward and remove the inner tube from inside the tire. Be careful not to harm the tire bead or rim while doing this.
Deflating the tire fully makes handling the inner tube easier and safer. It’s a simple step, but super important!
Pry Off Tire
How do you start prying the tire off the rim without causing damage? First, insert tire levers under the tire bead at the 12 o’clock and 1 o’clock positions. Gently lift the bead over the rim edge, working in a circular motion around the wheel.
Make sure you don’t force it, as this might damage the tire or rim. Once one side of the tire is free, use your fingers to grip the tire bead and carefully work it over the rim edge.
Make sure you avoid pinching or tearing the tube during this process. Keep checking that the tire is fully loosened from the rim before moving on.
Taking these steps guarantees a smooth, damage-free tire removal. Just take your time and be gentle!
Remove Old Tube
Start by using a tire lever to pry one side of the tire away from the rim, beginning at the valve. Once you’ve loosened the tire, it’s time to remove the old tube carefully.
Follow these steps:
- Remove the valve nut or lockring if your wheel has one, then gently pull the valve stem out of the rim.
- Lift the old tube out of the tire, starting from the valve and working your way around the rim to avoid damage.
- Inspect the tire’s interior for any debris or sharp objects that might have caused the flat.
After removing the old tube, dispose of it properly or store it if you plan to patch it later. This way, your new tube will go in smoothly without any issues.
Inspect the Tube, Tire, and Rim for Damage
Three key areas demand your attention when inspecting for damage: the inner tube, tire, and rim. Start by slightly inflating the inner tube and listen closely for escaping air. This helps you spot punctures, tears, or bulges early on.
Next, take a good look inside the tire. Check for any embedded objects like nails or glass shards that might cause flats later. It’s better to catch these before they become a problem.
Finally, inspect the rim carefully. Make sure the rim strip is seated properly and that no spoke holes are exposed. This is important because exposed holes can damage the tube.
Also, look out for sharp edges or protruding spokes on the rim. These can easily puncture the tube if left unchecked. And don’t forget to confirm there’s no debris or damage around the rim’s bead seat. If the bead seat isn’t clean and smooth, the tire might not seal properly, which can lead to air leaks.
| Component | What to Check | Why It Matters |
|---|---|---|
| Inner Tube | Punctures, tears, bulges | Prevents air leaks and damage |
| Tire | Embedded objects inside | Avoids future flats |
| Rim Strip | Proper seating, no exposed holes | Protects tube from spoke damage |
| Rim Edges | Sharp edges or protruding spokes | Prevents tube punctures |
| Bead Seat | Clean and undamaged | Ensures tire seals properly |
Prepare the New Bike Tube: Inflate Slightly and Align Valve
Before installing the new tube, inflate it just enough to give it shape and prevent twisting inside the tire. This small inflation helps the tube hold its form, making it easier to position correctly.
Next, you’ll want to align the valve stem with the rim’s valve hole to ensure a smooth fit.
Follow these steps to prepare your new tube effectively:
- Inflate the tube slightly so it holds a gentle curve and won’t bunch up when placed inside the tire.
- Align the valve stem straight through the rim’s valve hole, making sure it’s centered.
- Check that the valve is securely seated against the rim to avoid leaks or damage during full inflation.
Insert the New Tube Into the Tire and Rim
Start by inserting the valve stem straight into the rim hole to keep it aligned. Then, carefully tuck the tube inside the tire, making sure it sits without twists or pinches.
Finally, use your hands to seat the tire bead evenly onto the rim for a secure fit. It’s important to go slowly here so everything lines up just right.
Align Valve Stem
How do you guarantee the new tube fits perfectly inside the tire and rim? Start by carefully aligning the valve stem with the hole in the rim. This step is crucial to avoid bending or damaging the valve stem.
Follow these steps to align the valve stem properly:
- Insert the valve stem straight through the rim hole, ensuring it’s fully seated and protrudes evenly.
- Hold the valve stem steady while gently pushing the tube into the tire cavity, distributing it evenly around the rim.
- Double-check that the tube isn’t twisted or folded, especially around the valve stem. You want to prevent pinching when you seat the tire.
Position Tube Carefully
Once the valve stem is aligned and inserted through the rim hole, gently tuck the new tube inside the tire, working your way around the rim to avoid pinching. You need to know that slightly inflating the tube helps it hold shape, making it easier to position evenly inside the rim.
As you place the tube around the rim, make sure it lies flat without twists or folds. The tube should rest smoothly on the side of the tire, fully inside the rim, with no bunching.
Take care that the tire bead doesn’t trap or pinch the tube as you work. Keeping the tube properly positioned before you seat the tire bead ensures a smooth, hassle-free tire installation and prevents flats caused by pinched tubes.
Seat Tire Bead
Where should you begin when seating the tire bead? Start by carefully inserting the valve stem of the new tube through the rim’s valve hole. Make sure it’s straight and centered.
Then, gently work the tire bead over the rim edge. Move around in a circular motion opposite the valve.
Follow these steps:
- Use your hands or tire levers to press the tire bead fully inside the rim. Be careful to avoid pinching the tube.
- Confirm the tube sits evenly inside the tire. Check that no sections are caught or sticking out.
- Inflate the tube gradually to the recommended PSI. Keep an eye on the tire bead to make sure it stays properly seated during inflation.
Mount the Tire Bead Back Onto the Rim Without Pinching the Tube
Why is it important to avoid pinching the tube when mounting the tire bead back onto the rim? Pinching the tube can cause punctures or slow leaks, which can totally ruin your repair effort.
Avoid pinching the tube during tire mounting to prevent punctures and leaks that can ruin your repair.
To prevent this, start by seating one side of the tire bead onto the rim carefully. Make sure the tube is fully inside before you move on.
Inflate the tube slightly to give it shape. This makes it easier to work with and helps avoid pinching.
Then, gently work the second bead onto the rim using your hands or tire levers. Keep checking that the tube isn’t caught between the bead and rim as you go.
Inflate the tire gradually, inspecting the bead’s seating to ensure it’s even and free from pinching. Taking it slow here really pays off.
Reinstall the Wheel and Secure Axle Bolts
Before securing the axle bolts, you need to align the wheel properly in the dropouts. Make sure the axle sits fully seated and centered within the frame. This step is super important because it keeps your wheel stable and spinning smoothly.
Once everything’s aligned, you’re ready to secure the wheel. Here’s how to do it:
- Tighten the axle bolts evenly. You can use a torque wrench or just steady hand pressure. Doing this prevents the wheel from wobbling and keeps the tension balanced on both sides.
- Next, check that the wheel is straight and lines up with the brake pads. Don’t fully tighten the bolts just yet. If it’s misaligned, you might get brake rubbing or poor handling.
- Give the cranks a spin to make sure the wheel turns freely. It shouldn’t touch the brake pads or any frame parts. Once you’re happy with that, double-check that all axle nuts or quick-release skewers are firmly tightened.
Inflate the Tire to Recommended Pressure and Perform Final Safety Checks
Once you’ve reinstalled the wheel and secured the axle bolts, it’s important to inflate the tire gradually to the recommended pressure listed on the sidewall. This helps guarantee proper seating and safety. Use a pressure gauge to check the PSI as you pump, making sure you don’t over- or under-inflate the tire.
Over- or under-inflation could lead to damage or flats, so keep an eye on it. As the tire fills, visually inspect for even bead seating. Look for any bulges or dips that might indicate a problem.
Also, confirm that the valve stem is straight and fully seated to prevent leaks. After inflating, give the tire a quick spin and press test to feel for any irregularities or air loss.
Finally, take a short test ride to make sure the tire holds pressure and feels stable. These steps help ensure your repaired tire is safe and ready for the road.
Frequently Asked Questions
How Easy Is It to Change a Bike Tube?
Changing a bike tube is pretty easy once you get the hang of it. You’ll just use basic tools, follow simple steps, and avoid pinching the tube.
With a little practice, you’ll do it quickly and confidently. It’s not as tricky as it seems at first!
How to Change a Bike Tire Step by Step?
You’ll pry the tire bead gently, like peeling a stubborn sticker. Then, slide the new tube in without twisting.
After that, you’ll reseat the tire bead and pump it up. Keep an eye on it to make sure it settles snugly on the rim.
Can You Change a Bike Tube Without Removing the Wheel?
You can sometimes change a bike tube without removing the wheel, especially on quick-release or removable rear wheels.
But if your bike has thru-axles or tight frame clearance, you’ll likely need to remove the wheel first.
How to Replace a Bike Tube Without Tools?
You can cleverly change your tube without tools by completely deflating it. Then, carefully coax the tire bead off with your hands.
Next, gently guide out the old tube and slip in the new one. Finally, reseat the tire by hand.
It’s easier than it sounds once you get the hang of it! Just take your time and be gentle with the tire.
Conclusion
Changing a bike tube might sound like rocket science, but you’ve just mastered a vital life skill! No longer will a flat tire ruin your day or turn you into a stranded pedestrian.
With these 10 easy steps, you’re basically a bike mechanic superhero—ready to save the day and keep rolling smoothly. So next time you hear that dreaded hiss, you’ll be the one laughing, tube in hand, victory guaranteed!
Knowing how to change a bike tube is a game-changer for any cyclist. It saves time, money, and the frustration of waiting for help. Once you get the hang of it, fixing a flat tire becomes quick and simple. So keep this skill in your cycling toolkit, and you’ll always be prepared to tackle a flat and get back on the road in no time!