How to Wheelie a Bike in 10 Easy Steps
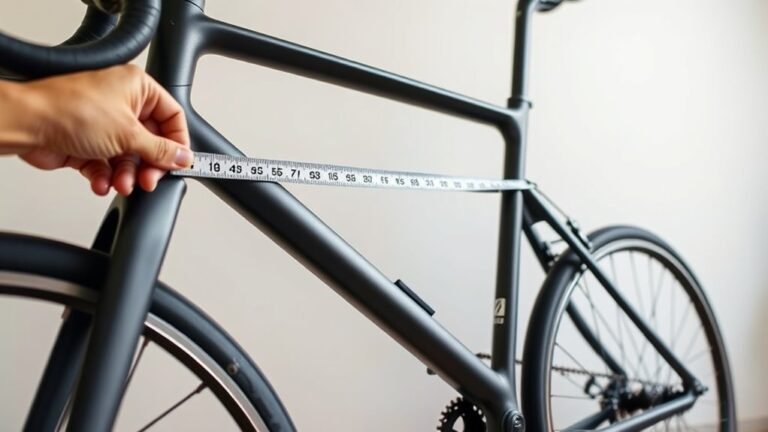
Choose a bike with stiff tires and minimal suspension for better control when learning how to wheelie a bike. Adjust your saddle height and position to make sure you’re comfortable before you start. Also, pick a smooth, traffic-free spot to practice safely.
Keep your arms straight and your body upright as you get ready. Pedal hard at the top of the stroke while shifting your weight back to lift the front wheel.
Use one finger on the rear brake to control the wheel’s height and prevent flips.
Balance side-to-side by bending your knees and staying relaxed. Master these basics, and you’ll quickly gain confidence to control smooth, stable wheelies.
With a little practice, you’ll be pulling off wheelies like a pro in no time!
Key Takeaways
- Position your saddle for comfort and balance, making sure it’s at the right height. A secure, level seat helps you stay in control during the wheelie.
- Keep your arms straight but relaxed. Then, lean back just a bit and push hard on your dominant pedal when it’s at the top of its rotation.
- Use your knees and small body movements to keep your balance from side to side. This helps you stay upright while you’re lifting the front wheel.
- Gently feather the rear brake to control the bike’s pitch. This way, you can avoid flipping forward or backward as you lift.
- Always practice in a safe, open, and flat area. Pick smooth terrain with few obstacles so you can build confidence and control little by little.
Choose the Right Bike and Set Up Your Wheelie Gear
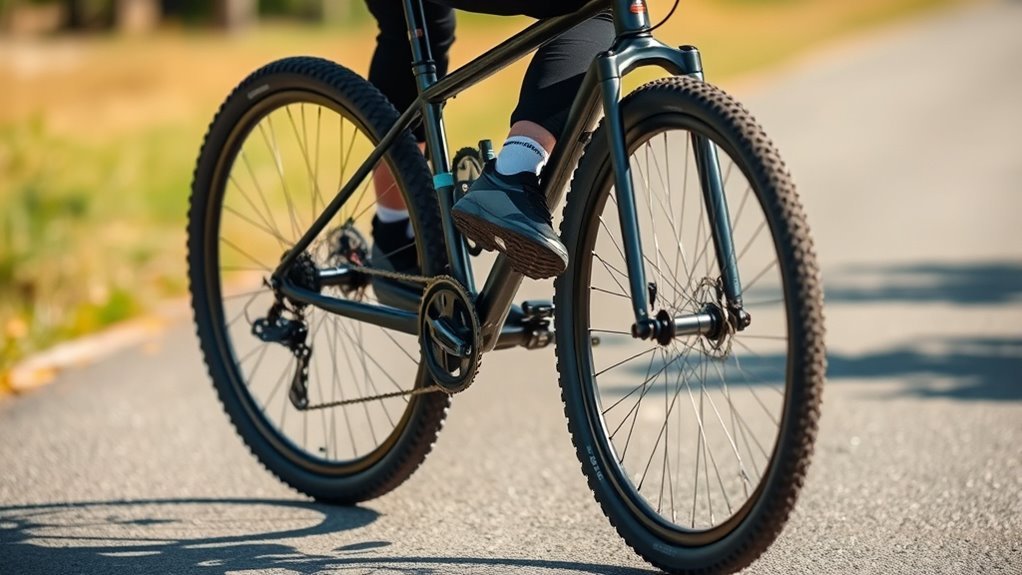
Where should you begin when learning to wheelie? Start by choosing the right bike and setting up your wheelie gear for essential bike control.
Pick a bike with minimal suspension and stiff tires to guarantee direct power transfer. This makes it easier to lift and balance the rear wheel.
Adjust your saddle height so that when you’re seated, your leg is slightly bent at the bottom of the pedal stroke. This gives you the best leverage for smooth pedaling.
Use flat, non-clipping pedals—they allow quick foot placement and help you make balance adjustments faster.
Set your bike’s gear around the fourth or fifth sprocket from the top to make lifting the front wheel less strenuous.
These adjustments improve your control over the pedal stroke and rear wheel, which are vital for a clean, controlled wheelie. Getting this setup right sets you up for success before you even start practicing.
Find a Safe, Smooth Spot to Practice

Before you start practicing your wheelie, find a safe, smooth spot that offers plenty of open space and a flat surface. Choosing a location with a smooth surface helps you maintain better control and balance, reducing the risk of falling due to bumps or uneven ground.
Avoid grassy areas or rough terrain that can cause instability or unpredictable bike movements. Pick a safe area away from traffic, pedestrians, and obstacles so you can focus on your technique without distractions or danger.
Having enough open space also allows you to accelerate smoothly and recover safely if you lose balance. If possible, find a slight incline or uphill section; it makes lifting the front wheel easier and improves your control during the wheelie.
Prioritizing these factors guarantees a safer, more effective practice session. This way, you can build confidence and skill without unnecessary risks.
Adjust Seat and Pedals for Comfort
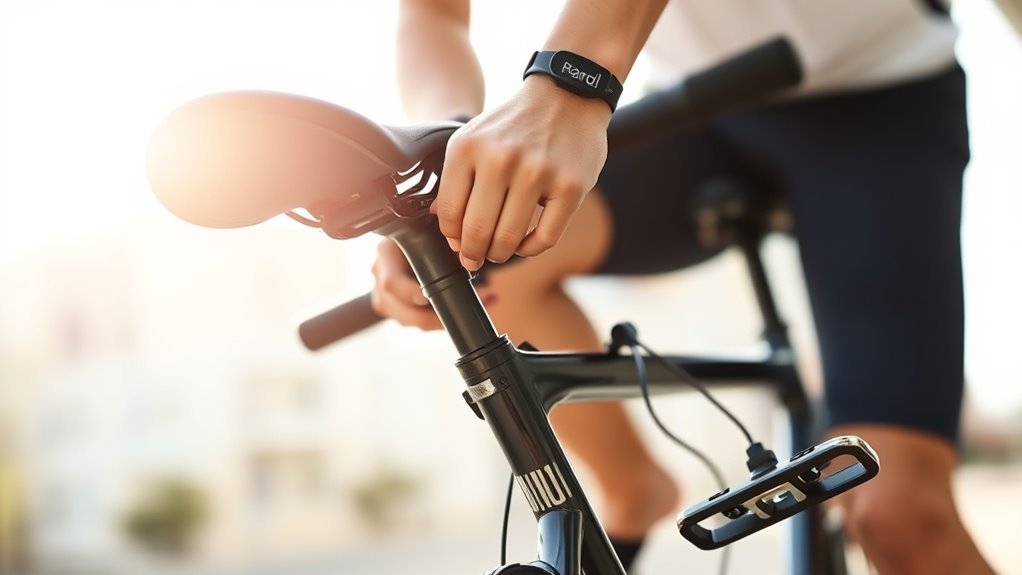
Since comfort and control are essential for mastering a wheelie, you’ll want to adjust your seat and pedals to fit your body perfectly. Start by setting the seat height so your heel just touches the pedal at its lowest point, guaranteeing full leg extension while pedaling. This helps maintain smooth pedal strokes and effective power transfer when lifting the front wheel.
Next, position the seat level or slightly tilted forward to boost comfort and control. Don’t forget to securely tighten the seat to prevent any unwanted movement during your wheelie attempts. You might also try moving the saddle slightly forward or backward to find the best balance and body posture.
Finally, check your pedal position to make sure it complements your seat adjustments, giving you the most comfortable and efficient setup. Taking the time to dial in your seat height and pedal position will make your wheelie practice more comfortable and enhance your control considerably.
Master Rear Brake Control for Wheelies
Keep one finger ready on the rear brake to adjust your speed smoothly while wheelieing. Feathering the brake lets you control the bike’s balance without stopping abruptly.
Mastering brake pressure is essential to prevent flipping forward and stay steady. It’s all about finding that perfect touch to keep yourself in control.
Rear Brake Feathering
When you feather the rear brake, you gently modulate pressure to control your bike’s pitch and stop it from flipping over during a wheelie. Rear brake feathering is essential for balance control, letting you fine-tune the front wheel’s height without harsh braking.
Keep one finger on the rear brake at all times, ready to make quick, subtle adjustments. Lightly applying the rear brake drops the front wheel slightly, helping you find and hold the perfect wheelie balance point smoothly.
This wheelie technique improves your feel for the bike’s response, making it easier to initiate and sustain wheelies. By mastering rear brake feathering, you prevent over-rotation or looping backward, keeping your wheelies controlled and safe from unexpected flips.
Brake Pressure Control
Mastering rear brake feathering sets the foundation for effective brake pressure control during wheelies. Always keep one finger on the rear brake to modulate brake pressure precisely.
Gently feathering the rear brake helps you maintain balance control, preventing over-rotation or looping backward. Too much brake pressure stops the bike abruptly, while too little causes instability.
Use light, consistent rear brake input to hold the wheelie at the desired height and improve control. Practice adjusting brake pressure gradually to develop a feel for your bike’s response and achieve smoother wheelies.
| Brake Pressure Level | Effect on Wheelie | Rider Action |
|---|---|---|
| None | Bike loops backward | Increase rear brake gently |
| Light | Stable, controlled height | Maintain steady pressure |
| Moderate | Corrects over-rotation | Feather rear brake |
| Heavy | Abrupt stop | Release brake slightly |
| Variable | Smooth balance control | Adjust brake pressure |
Master Body Position and Arm Placement
Although lifting the front wheel is thrilling, controlling it depends on how you position your body and arms. Mastering your body position and arm placement is key to maintaining balance during a wheelie.
Keep your arms straight yet relaxed to absorb shocks and guarantee smooth control. Don’t let your elbows hug your body—keep them out to create a stable posture and better leverage.
Keep your arms straight and relaxed, elbows out for stability and smooth control during a wheelie.
Maintain an upright body position with your chest open and head up to improve visibility and stability. Shift your weight slightly backward by leaning your upper body, which helps counterbalance the lifted front wheel.
Use your knees to make subtle side-to-side adjustments, aiding lateral balance throughout the wheelie. By focusing on your body position and arm placement, you’ll gain the control needed to hold your wheelie longer and ride more confidently.
Lift the Front Wheel With Weight Shift and Pedal Power
To lift the front wheel, start by shifting your weight backward and pushing into the seat with your hips. Time your pedal stroke so you push hard at the top with your dominant foot, creating upward force.
Keep your head up, elbows out, and maintain steady pedal pressure. This helps you coordinate your body position and power smoothly.
Weight Transfer Technique
When you start rolling at a slow, steady pace with your body upright and elbows out, you set the foundation for lifting the front wheel. The key to the weight transfer technique lies in shifting your body weight backward while applying pedal power.
As you push down hard on the pedal at the top of the pedal stroke, simultaneously move your hips and legs back against the saddle. This coordinated action generates the upward momentum needed to lift the front wheel.
Keep your arms straight and maintain a slight backward lean to help with balance throughout the maneuver. Focus on these essentials:
- Shift weight backward by pushing with hips and legs
- Push down firmly on the dominant foot’s pedal
- Keep arms straight and body balanced during lift
Pedal Stroke Timing
As you shift your weight backward, push down hard on the dominant pedal at the top of its stroke to launch the front wheel upward. The key to a smooth wheelie lies in the precise timing of your pedal stroke combined with your weight shift.
Coordinate pressing the pedal just as your body moves slightly backward to transfer power efficiently and lift the front wheel without losing momentum. Keep your pedals level or slightly nose-down during this lift to maintain balance and control.
Practice pushing consistently on the same pedal at the top of each stroke, developing a rhythmic, controlled motion. Mastering this pedal stroke timing alongside your weight shift will make lifting the front wheel easier and keep your wheelie stable.
Body Positioning Basics
Mastering the timing of your pedal stroke sets the stage for effective body positioning during a wheelie. Your body posture plays a crucial role in lifting the front wheel smoothly while maintaining balance.
Shift your weight backward by leaning your torso slightly and pressing into the seat. This weight distribution helps initiate the lift combined with a powerful pedal stroke from your dominant foot at the top of the pedal cycle.
Keep your arms straight and eyes forward to stay balanced.
Focus on these key points for solid body positioning basics:
- Maintain an upright body posture with straight arms for stability
- Shift weight backward, pressing into the seat to lift the front wheel
- Use a strong, well-timed pedal stroke to power the lift
This coordination of body posture, weight distribution, and pedal stroke makes wheelies easier and safer.
Time Your Pedal Stroke to Lift the Wheel
To lift the front wheel effectively, you’ll need to push down hard on the pedal right at the top of its stroke with your dominant foot. The timing here is essential—applying force just as your body starts shifting weight backward amplifies the lift.
Focus on the top of the pedal’s rotation, since this position gives you maximum leverage to raise the front wheel smoothly. Avoid jerky or uneven pedal pressure; instead, keep your push controlled and steady to maintain balance.
Watch the front wheel as it begins to rise—this visual cue helps you fine-tune your pedal stroke timing for consistent wheelie starts. With practice, you’ll develop a natural feel for when to apply force during each pedal rotation.
It’ll make lifting the front wheel easier every time you try. Mastering this timing sets the foundation for maintaining your wheelie confidently.
Use the Rear Brake to Maintain Wheelie Balance
Once you’ve timed your pedal stroke to lift the front wheel, you’ll find that controlling your balance becomes the next key challenge. The rear brake is your best tool for maintaining control during a wheelie.
Keep one finger over the rear brake at all times so you can react quickly. Applying gentle pressure on the rear brake helps you adjust the front wheel’s height and keeps your wheelie steady.
Here’s how to use the rear brake to maintain balance and control:
- Feather the rear brake lightly to prevent the bike from tipping too far backward or forward.
- Use small brake taps to lower the front wheel slightly if you feel yourself losing control.
- Practice consistently to improve your brake sensitivity and keep your wheelie smooth.
Mastering rear brake control ensures you stay balanced and in command throughout your wheelie. Just keep at it, and you’ll notice the difference!
Stabilize Side-to-Side Balance Using Knees and Body
Although keeping your front wheel lifted is essential, controlling side-to-side balance is just as important for a smooth wheelie. To achieve this stability, focus on your knee adjustments and body position.
Extend your knees opposite to the bike’s tilt; this counterbalances lateral movement and keeps you steady. Use small, quick knee adjustments to make precise corrections without overcompensating.
Keep your arms straight and your body upright—this reduces unnecessary sway and helps maintain a centered body position. Relax your knees so you can respond fluidly to any side-to-side shifts.
As you increase speed, you’ll notice improved side-to-side stability, since faster momentum naturally reduces wobble and makes your body’s corrections more effective.
Combine Skills to Ride Confident Wheelies
Now that you’ve got balance down, it’s time to coordinate your body movements with brake and pedal control. Mastering how to feather the rear brake while applying pedal pressure keeps your wheelie steady and smooth.
Focus on syncing these actions to boost your confidence. This way, you’ll be able to ride longer wheelies with ease.
Coordinating Body Movements
To master confident wheelies, you’ll need to coordinate your body movements carefully, combining balance, posture, and pedal control. Your body positioning plays a vital role in maintaining balance while lifting the front wheel.
Keep your arms straight and head up to stay in control. Use subtle shifts, like leaning back slightly and extending your knees opposite to the bike’s tilt, to prevent side-to-side tipping.
Combining pedal pressure with proper posture helps you smoothly lift and sustain the wheel without relying on brute strength.
Focus on these key points:
- Maintain a steady, upright posture to evenly distribute weight over the rear wheel
- Sync your pedal pressure with body shifts for a natural rhythm
- Use body positioning to counteract side-to-side movement and keep balance
Mastering Brake And Pedal
When you combine gentle rear brake control with smooth pedal pushes, you gain precise command over your wheelie’s height and balance. Start by feathering the rear brake lightly with one finger to prevent looping and control your speed.
At the same time, apply smooth, controlled pedal pressure at the top of each stroke to lift the front wheel without jerking. Coordinating brake feathering and pedal pressure lets you fine-tune the wheelie’s angle, keeping it steady and under your control.
Practice consistent brake input to modulate height without abrupt stops or losing balance. Developing a feel for how brake feathering and pedal pressure work together gives you confidence to initiate and sustain wheelies effortlessly.
Mastering these skills is key to riding confident, smooth wheelies. Keep at it, and soon it’ll feel second nature!
Frequently Asked Questions
How to Do a Wheelie on a Bike Beginner?
Start riding slowly on flat ground, keep your arms straight, and shift your weight back while pedaling hard.
Use the rear brake lightly to control height, and practice balancing by adjusting your body until you hold the wheel up steadily.
It might take a few tries, but just keep at it—you’ll get the hang of it!
How to Do a Wheelie in Your Bike?
You push, pull, and balance—lifting your front wheel by pressing the pedal hard while leaning back. Keep your arms straight, use the rear brake gently, and stay steady to master the perfect wheelie on your bike.
It might seem tricky at first, but with a little practice, you’ll get the hang of it. Just remember to stay relaxed and keep your eyes ahead. Give it a go, and have fun!
How to Do a Wheelie in 1 Minute?
Start rolling slowly with your dominant foot forward. Push hard on the pedals while shifting your weight back.
Feather the rear brake to balance. Keep your body upright, and use small adjustments to hold and lower the front wheel smoothly.
It might take a few tries, but stay relaxed and keep practicing. You’ll get the hang of it in no time!
What Is the Easiest Bike to Learn How to Wheelie On?
The easiest bike to learn wheelies on is a lightweight hardtail mountain or BMX bike, like a trusty steed with minimal suspension and stiff tires.
This setup lets you effortlessly lift and balance the front wheel with nimble control. It’s all about having a bike that feels responsive and easy to handle.
With less weight and simple mechanics, you get the confidence to practice and improve quickly. Plus, those stiff tires give you just the right grip to keep things steady.
Conclusion
Now that you’ve got the basics down, you’re ready to channel your inner Evel Knievel and conquer the wheelie like a pro. Remember, just like any great stunt, it takes practice, patience, and balance.
Keep your eyes on the road ahead and trust your instincts. Soon, you’ll be riding with confidence, turning heads with every effortless lift.
Get out there and make your bike your trusty steed on this thrilling adventure! Mastering a wheelie is all about persistence and control. With these 10 easy steps, you’ll build the skills needed to perform safe and impressive wheelies. So keep practicing, stay balanced, and enjoy the excitement of riding your bike like a true pro!