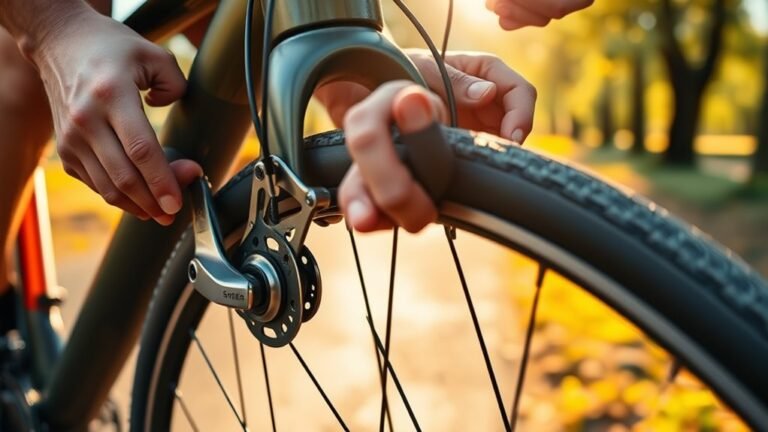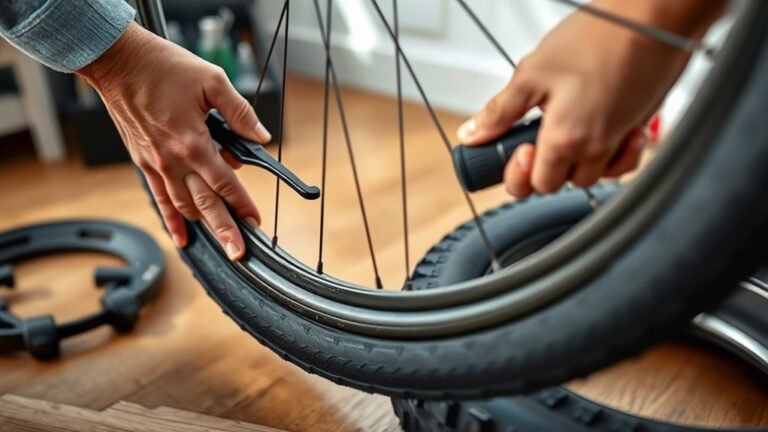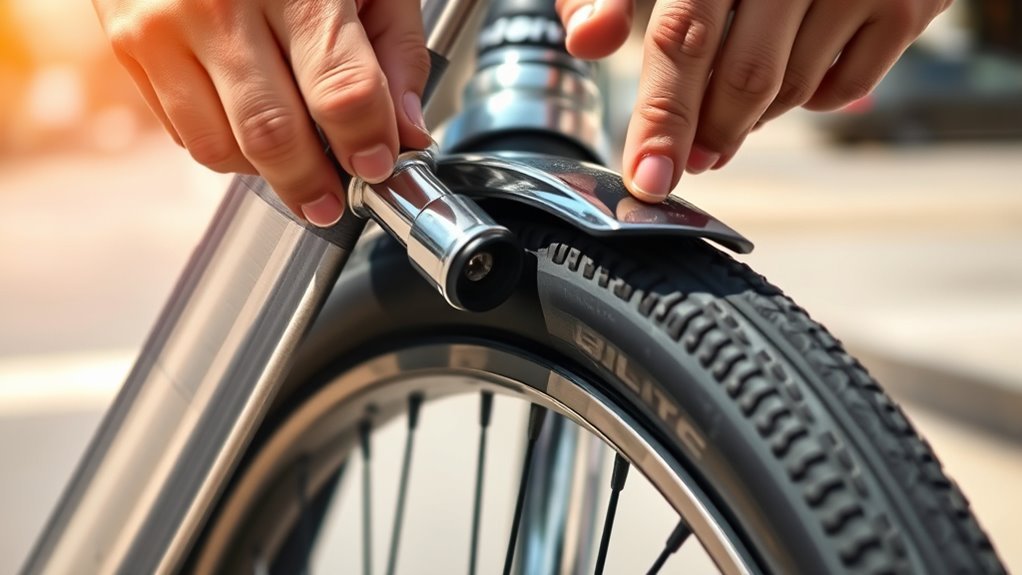
How to Put Air in a Bike Tire in 3 Easy Steps
First, identify your bike’s valve type—Presta or Schrader. Presta has a thin, threaded stem, while Schrader looks like a car tire valve. Knowing this helps you choose the right pump and get the job done easily.
Next, remove the valve cap and attach the correct pump securely. Make sure to lock it in place to avoid any air leaks while pumping.
Finally, pump air gradually until the tire reaches the recommended pressure.
Once done, replace the valve cap to keep dirt and moisture out. Follow these simple steps, and you’ll be ready to ride smoothly in no time.
For more details, you can explore tips on valve care and pressure monitoring.
Key Takeaways
- Remove the valve cap and identify if the valve is Presta or Schrader.
- For Presta, unscrew the small lock nut before attaching the pump.
- Firmly attach the pump head to the valve and secure the lock mechanism.
- Inflate the tire while monitoring the pressure gauge until the recommended PSI is reached.
- Screw the lock nut back (Presta), replace the valve cap, and remove the pump carefully.
Identify Your Bike’s Valve Type for Pumping

Before you start pumping air into your bike tire, you need to identify the valve type. Your bike will have either a Presta or Schrader valve, and knowing this is essential for using a compatible pump.
Presta valves are thinner with a removable top nut and a slender, threaded stem. They’re common on road bikes. Schrader valves are wider, resembling car tire valves, and usually found on mountain or hybrid bikes.
Presta valves are slim and threaded, common on road bikes; Schrader valves are wider, like car tires, found on mountain bikes.
Look closely for a small cap on the valve. If it’s removable and the stem is narrow, it’s likely a Presta. If it looks like a car tire valve with a rubber seal, it’s a Schrader.
Identifying your valve type helps you guarantee the pump’s head fits correctly. It also allows you to set the right tire pressure within the recommended pressure range.
Don’t forget to remove the valve cap before pumping air into your tire. Doing this maintains a proper seal and ensures effective inflation.
Attach the Right Pump and Secure It to the Valve

Once you know your valve type, choose a pump head that matches and push it firmly onto the valve to create a tight seal. For Presta valves, first unscrew the small lock nut, then attach the pump head to verify proper pump compatibility.
Schrader valves don’t require this step, so you can attach the pump head directly. Make sure the pump head fits snugly onto the valve to prevent air leaks during inflation.
Next, engage the pump lever or lock mechanism to secure attachment, locking the pump securely in place. Give the connection a gentle tug to confirm it’s stable and won’t wobble or slip off.
A secure attachment assures a proper valve seal, so you can pump air efficiently without interruptions. Taking these steps guarantees your pump head matches your valve type and stays firmly connected, making the inflation process smooth and effective.
Inflate to the Recommended Pressure and Secure the Valve
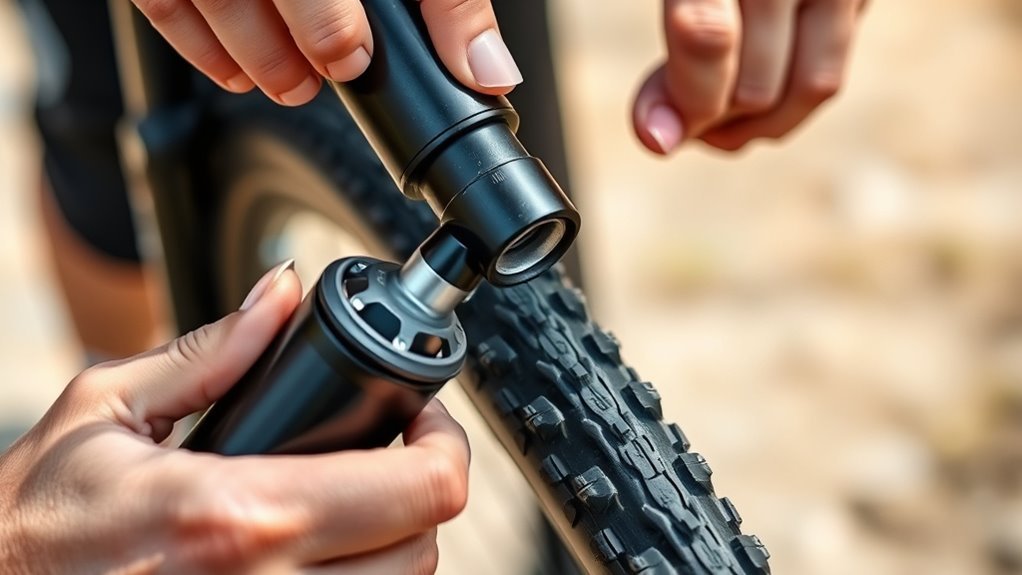
With the pump securely attached to the valve, you can start inflating the tire. First, check the tire sidewall for the recommended PSI to avoid over or under inflating.
Gradually pump air, keeping an eye on the pressure gauge to reach the recommended PSI accurately. Make sure the pump is tightly sealed on the valve throughout inflation to prevent any air leaks.
Once you hit the correct pressure, secure the valve to maintain air tightness.
For Presta valves, screw the lock nut down after inflating to secure the valve. Don’t forget to replace the valve cap to protect the valve from dirt and dust.
Here’s a quick guide:
| Valve Type | Inflate Method | Final Steps |
|---|---|---|
| Schrader | Pump until recommended PSI | Remove pump, replace cap |
| Presta | Pump, monitor pressure gauge | Screw lock nut, replace cap |
| Both | Check tire sidewall PSI | Avoid air leaks |
Following these steps ensures your tire stays properly inflated and ready to ride.
Frequently Asked Questions
How Do I Put Air in a Bike Tire?
You’ll first find your tire’s valve and attach the right pump securely. Then, pump steadily while checking the pressure gauge until you hit the recommended PSI.
Once you’ve got the right pressure, go ahead and detach the pump. Don’t forget to close the valve and replace the cap to keep everything sealed tight.
How Do I Put Air in My Bike Tire Without a Pump?
Don’t let your tire whisper its emptiness—grab a soda bottle, cut it, and use the air trapped inside to inflate.
It’s a clever hack when you’re stranded without a pump, keeping you rolling forward.
Where to Pump Air Into Bike Tires?
You pump air into the valve on your bike tire’s inner rim, usually near the wheel’s center.
First, remove the valve cap and then attach your pump securely. Make sure you’re using the correct valve type for a proper seal.
This helps keep the air from leaking out while you’re pumping. Easy, right?
How to Pump a Bicycle Tire With a Hand Pump?
Want your ride smooth and safe? Attach the pump nozzle tightly and lock the lever. Then, pump steadily until the tire feels firm.
Once that’s done, release the lever and detach the pump carefully. Don’t forget to replace the valve cap. Ready to roll!
Conclusion
Now that you know how to put air in your bike tire, you’ll feel as confident as a pro mechanic tightening bolts. Just identify your valve type, attach the right pump securely, and inflate to the recommended pressure.
Remember, keeping your tires properly inflated not only improves your ride but also extends your tire’s life. It helps you avoid flats and ensures a smoother, faster cycling experience.
With these simple steps, your bike will be ready to roll smoothly and safely every time you hit the road. So, keep your bike tires in top shape by regularly checking and pumping air, and enjoy every ride with confidence and ease.