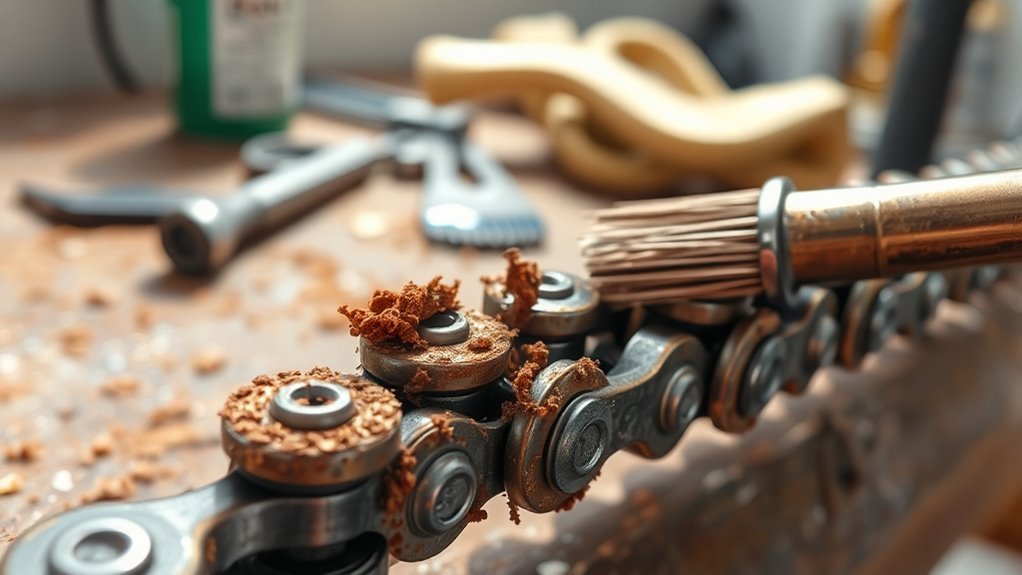
10 Easy Steps to Get Rust Off Your Bike Chain
First, gather your tools like WD-40, gloves, and a wire brush, then set up your bike on a stable surface. Getting rust off your bike chain doesn’t have to be a hassle, and with the right tools, you’re halfway there.
Detach the chain for easier cleaning, degrease it well, and spray rust remover evenly. This step helps break down the grime and rust so you can scrub it away effectively.
Let it sit, scrub off rust gently, and rinse thoroughly. Take your time here to avoid damaging the chain.
Dry it completely before lubricating to protect against future rust. Lubrication is key to keeping your chain running smoothly and rust-free.
Reinstall your chain, check its smooth movement, and keep up regular maintenance to prolong its life.
Stick with these easy steps, and your bike chain will stay in great shape for many rides to come.
Keep going to uncover more details on each step.
Key Takeaways
- Detach the bike chain using a chain tool or master link pliers for thorough cleaning and rust removal. This makes sure you can reach every nook and cranny.
- Spray WD-40 or rust remover on rusty areas and let it sit for 10-30 minutes before scrubbing. Giving it some time helps loosen the rust up.
- Gently scrub the chain with a wire brush or toothbrush to remove loosened rust without damaging the metal. Take your time here to avoid any scratches.
- Rinse the chain with water, then dry it thoroughly using a cloth and compressed air. You want to make sure no moisture is left behind.
- Once it’s dry, apply bike-specific lubricant evenly. This will protect your chain from future rust and keep it running smoothly.
Gather Tools and Safety Gear for Rust Removal
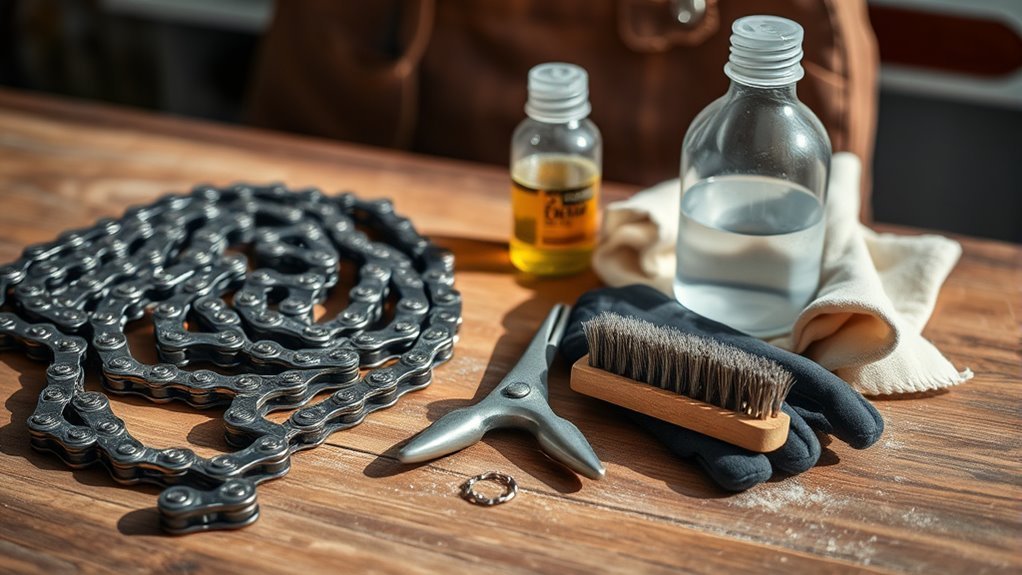
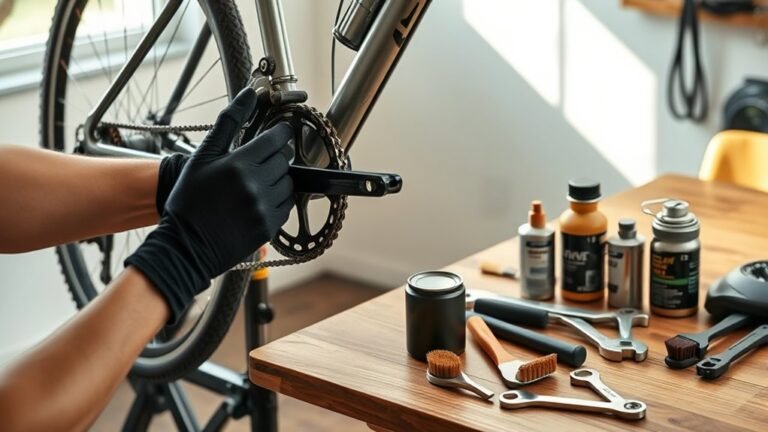
Before you start removing rust from your bike chain, gather all the necessary tools and safety gear to work efficiently and safely. You’ll need key tools like WD-40, a wire brush, microfiber cloths, and bike-specific lubricants ready. Having these tools on hand makes the rust removal process smoother and faster.
Gather your WD-40, wire brush, microfiber cloths, and lubricants before removing rust for a smoother, faster process.
Don’t skip safety gear—wear gloves and eyewear to protect yourself from rust particles and chemical splashes that can irritate your skin and eyes. Preparing your tools and safety gear ahead *guarantees* you won’t have to stop midway, which could interrupt your flow and reduce the effectiveness of your rust removal.
Detach the chain if possible to give yourself better access for thorough cleaning. Organizing everything before you begin helps you tackle rust without distractions and keeps the process safe and efficient.
Taking these steps sets a solid foundation for successful rust removal on your bike chain. It’s all about being prepared so you can get the job done right without any hassle.
Set Up a Clean, Safe Workspace and Stabilize Your Bike
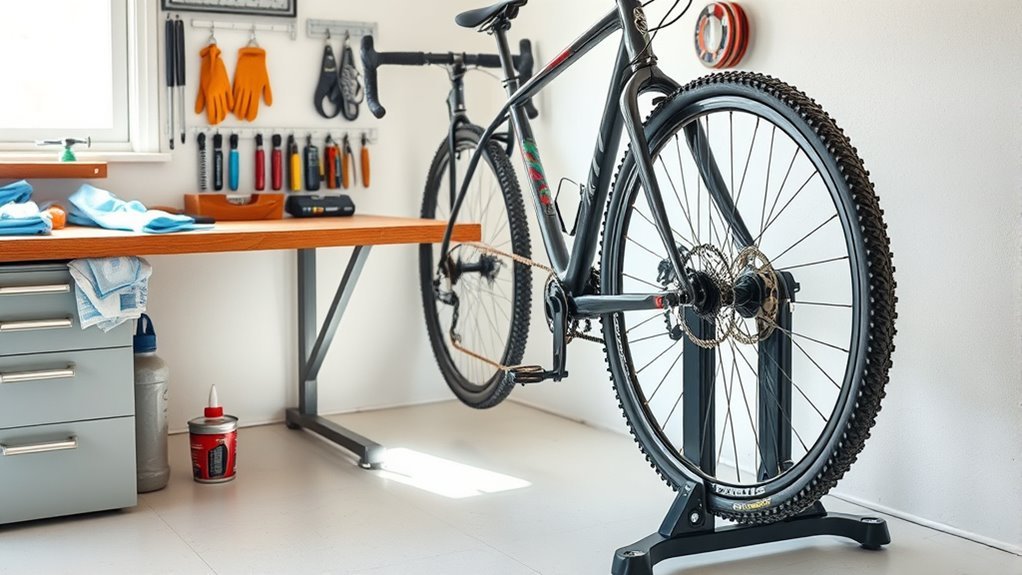
Once you’ve gathered your tools and safety gear, find a flat, uncluttered area with plenty of light to work in. This workspace should be clear of textiles, tools, or anything that could get contaminated by rust or cleaning products.
Good lighting helps you spot rust and clean thoroughly, while a well-ventilated area ensures you won’t inhale fumes from chemicals like WD-40.
Next, stabilize your bike to prevent any movement during the rust removal process. Use a bike stand if you have one, or lean your bike securely against a stable surface.
This keeps the bike steady, making your work safer and more efficient. Having a stable bike also allows you to apply cleaning agents and scrub the chain without worrying about it shifting or falling.
Before you begin, double-check that all your tools and supplies are within reach in your workspace to avoid unnecessary interruptions.
Detach the Bike Chain for Easier Cleaning
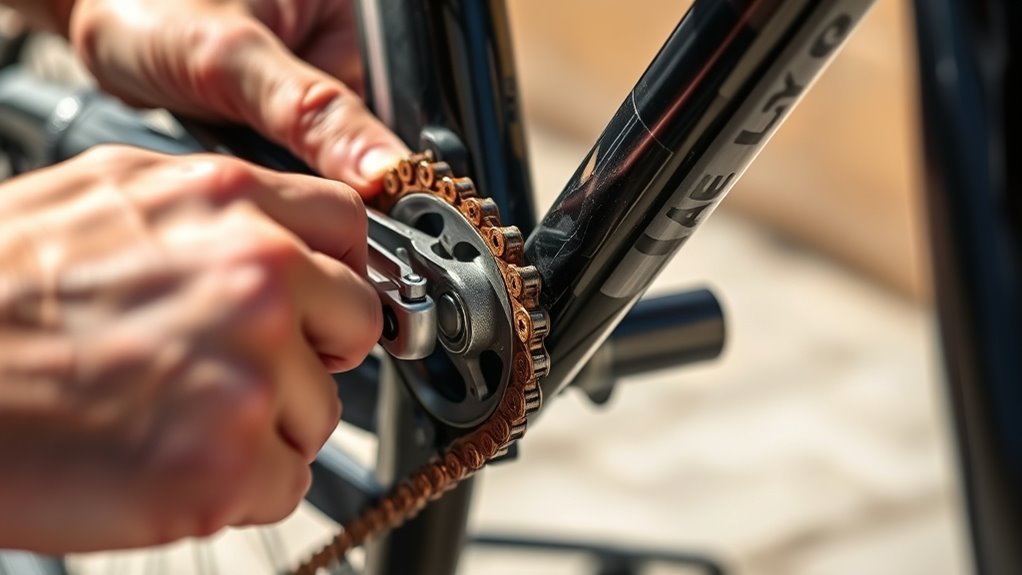
Detaching your bike chain lets you clean every link thoroughly and remove rust more effectively. Use a chain tool or master link pliers to disconnect it safely, and remember to note its orientation for easy reassembly.
Always wear gloves and goggles to protect yourself from dirt and rust particles during the process. It might seem like a hassle, but trust me, it makes a big difference in the end!
Benefits of Chain Removal
Removing your bike chain gives you full access to all sides of the links, making it much easier to clean and remove rust thoroughly. When you remove your chain, you can target bike chain rust more effectively and avoid damaging other bike parts during cleaning.
Plus, chain removal lets you use specialized rust removers by soaking the chain, which isn’t practical when it’s still mounted.
Here’s why chain removal benefits you:
- Access every link side for deep rust removal.
- Clean and degrease hard-to-reach spots thoroughly.
- Protect other bike components from harsh chemicals.
- Apply rust removal solutions and scrub manually with ease.
Detaching the chain is the key step for a cleaner, rust-free bike chain. It really makes the whole process simpler and more effective.
Safe Chain Detachment
Getting your chain off the bike frame gives you full access to clean every link thoroughly, but you’ll want to do it carefully to avoid damage.
For safe chain removal, start by positioning your bike upside down or on a stable stand to reach the chain easily. Wear gloves to protect your hands from grease and rust particles.
Use a chain tool or master link remover to detach the bike chain gently, making sure not to force any links. Keep track of the chain’s orientation and note how the links connect, so you can reassemble it correctly later.
Once detached, rinse and dry the chain completely before tackling rust removal and lubrication. This careful approach guarantees your chain stays in good shape throughout the cleaning process.
Clean and Degrease Your Bike Chain Thoroughly
Before tackling the rust, you’ll want to clean and degrease your bike chain thoroughly. Proper degreasing prepares the chain for effective rust removal by breaking down all grease, dirt, and grime that can hinder the process.
Thoroughly cleaning and degreasing your bike chain is essential before removing rust for the best results.
Here’s how to get your chain perfectly clean:
- Remove the chain from your bike to access every link for a thorough clean.
- Apply a degreaser generously, ensuring it covers the entire chain. For severe buildup, soak the chain in the degreasing solution for at least 24 hours; shorter soaks work for lighter dirt.
- Use a soft brush or rag to scrub the chain, loosening and removing all dirt and grease.
- Rinse the chain well with water and dry it completely to avoid trapping moisture, which can cause more rust.
Following these steps will give you a clean, degreased chain ready for the next stage of rust removal. Easy, right? Just take your time and you’ll be all set!
Apply WD-40 or Rust Remover to Break Down Rust
You’ll want to pick a product like WD-40 or a dedicated rust remover that’s designed to break down rust effectively. Spray it evenly on the rusty parts of your chain and let it sit for about 10 minutes to work its magic.
If the rust is stubborn, don’t hesitate to apply more and give it extra time before scrubbing. It really helps to be patient with this step!
Choosing The Right Product
How do you decide which product will best tackle the rust on your bike chain? It depends on your goal—removing rust quickly or ensuring long-term protection.
Here’s how to choose:
- Use WD-40 to loosen and dissolve rust particles for immediate cleaning. It works fast and gets the job done right away.
- Opt for a rust remover like Evapo-Rust® if you want a gentle, metal-safe treatment. It’s great if you’re worried about damaging your bike.
- Remember, WD-40 isn’t a long-term bike chain lubricant, so don’t rely on it for ongoing protection. You’ll need something more specialized for that.
- After rust removal, always apply a dedicated bike chain lubricant to keep your chain running smoothly and prevent future rust. This step is key to keeping your bike in top shape.
Application Techniques
Where should you start when applying WD-40 or rust remover to your bike chain? Begin by using precise application techniques—spray WD-40 or rust remover directly onto the rusty spots, making sure to cover every link thoroughly.
Using a straw nozzle helps you reach tight areas and intricate parts easily. Once applied, let the product sit for about 10 minutes so it can penetrate and break down the rust.
If you notice rust remains, don’t hesitate to reapply rust remover and wait another 10 minutes. After this, gently scrub the treated areas with a wire brush or toothbrush to loosen and remove rust particles effectively.
Following these steps guarantees the rust is thoroughly broken down, setting you up for a cleaner, smoother chain.
Rust Removal Timing
After applying WD-40 or rust remover to your bike chain, the next step is to let it sit for the right amount of time to break down the rust effectively. Proper rust removal timing guarantees you tackle surface rust without damaging your chain.
Here’s what to keep in mind:
- Let WD-40 or rust remover sit for about 10 minutes to dissolve surface rust.
- For stubborn rust, reapply and wait an additional 10 minutes before scrubbing.
- Avoid leaving the solution too long to prevent corrosion or damage.
- For severe rust, soak the chain in rust remover for up to 30 minutes, following product instructions.
Gently Scrub the Chain to Remove Rust Particles
Although removing rust might seem challenging, gently scrubbing your bike chain with a soft-bristled toothbrush or sponge can effectively clear away rust particles without damaging the links. Before you start scrubbing away, apply a small amount of rust remover or lubricant to loosen stubborn rust.
Always scrub in the direction of the chain links to avoid dislodging pins or rollers. For tough rust spots, use steel wool or a brass brush carefully to avoid scratching the protective coating.
After scrubbing, wipe away loosened rust debris with a microfiber cloth to prevent further corrosion.
| Step | Tip |
|---|---|
| Tool choice | Soft toothbrush or sponge |
| Pre-scrub treatment | Apply rust remover or lubricant |
| Scrubbing direction | Follow chain links |
| Stubborn rust | Use steel wool or brass brush gently |
| Post-scrub cleaning | Wipe with microfiber cloth |
This approach helps you remove rust effectively while preserving your bike chain’s integrity.
Rinse and Dry the Chain Completely
A thorough rinse with clean water will wash away any leftover rust remover and loosened particles from your bike chain. After scrubbing, you want to rinse the chain completely to avoid leaving any residue that could cause corrosion later.
Next, drying the chain properly is essential to prevent new rust from forming.
Follow these steps to rinse and dry your chain effectively:
- Rinse the chain thoroughly with clean water to remove all cleaning solutions and rust debris.
- Use a clean, dry cloth to wipe the chain immediately, paying close attention to the links and joints.
- If possible, use compressed air to blow out water from hard-to-reach areas.
- Let the chain air dry fully in a well-ventilated space before moving on.
Lubricate the Chain to Prevent Rust and Wear
Once your bike chain is completely dry, the next step is to lubricate it properly. Lubricating your bike chain creates a protective barrier that repels water and moisture, which is vital for rust prevention.
Apply bike-specific chain lubricant while slowly turning the pedals to guarantee even coverage across all links. This not only protects against rust but also reduces metal-to-metal friction, minimizing wear and extending the chain’s lifespan.
Using a dry lubricant after cleaning is ideal since it prevents dirt and debris from sticking, which can accelerate rust formation. Regular lubrication after every cleaning keeps your bike chain running smoothly and guards against future rust buildup.
| Step | Reason for Importance |
|---|---|
| Use bike-specific lube | Prime rust prevention |
| Apply while pedaling | Even distribution |
| Lubricate regularly | Prevents wear and tear |
| Use dry lube after clean | Keeps dirt from sticking |
| Protects chain links | Extends chain lifespan |
Reinstall the Chain and Test for Smooth Operation
Now that your chain is clean and lubricated, go ahead and reinstall it onto the sprockets. Make sure it’s properly aligned so everything fits just right.
Spin the pedals and shift through the gears to check for smooth movement and any resistance. If you notice skipping or tight spots, don’t worry—just adjust the chain tension until it runs smoothly.
Chain Reattachment Process
Two key steps will guarantee your bike chain is properly reattached and functions smoothly after you remove the rust from your rusty bike. The chain reattachment process is vital to ensure safe and efficient riding.
First, carefully place the cleaned and lubricated chain onto the sprockets. Make sure each link aligns perfectly.
Next, use a chain tool to reconnect any detached links, securing the pin firmly.
Then, slowly rotate the pedals backward to check for smooth engagement and movement.
Finally, shift through all gears to confirm the chain runs seamlessly without skipping or catching. It’s a simple process, but doing it right makes all the difference!
Checking Chain Movement
After reinstalling the cleaned and lubricated chain onto your bike, you’ll want to spin the pedals backward to check for smooth movement. Watch closely to guarantee the chain movement is consistent and free from skipping or resistance.
Pay attention to any tight spots or irregular motion along the chain links, as these can disrupt smooth operation. Listen carefully for unusual noises like grinding or squeaking, which might indicate the chain isn’t properly seated or lubricated.
Once you confirm the chain moves seamlessly by hand, take your bike for a brief test ride. This helps verify that the lubricated chain shifts gears smoothly and maintains consistent motion.
Making sure smooth operation at this stage is vital before moving on to any further adjustments. So, take your time and double-check everything feels right.
Adjusting Chain Tension
Once you’ve reinstalled the chain, make certain it’s properly aligned with the gears and sprockets before you begin checking its tension. Proper chain tension is vital after rust removal to ensure smooth bike adjustment and prevent slipping or damage.
Follow these steps to adjust chain tension:
- Turn the pedals manually to observe if the chain moves smoothly without skipping or binding.
- Adjust the rear derailleur or tensioner to tighten or loosen the chain as needed.
- Use a chain tension gauge or measure slack to meet the manufacturer’s specifications.
- Take a test ride to confirm the chain runs smoothly through all gears without noise or slipping.
Follow Routine Maintenance to Keep Your Chain Rust-Free
Although rust can quickly damage your bike chain, you can prevent it by following a simple routine maintenance schedule. Start by flipping your bike upside down to easily access the chain.
Use a cloth to wipe away dirt and old lubricant after every ride. Using WD-40 or a similar degreaser, clean the chain thoroughly to remove grime that attracts moisture.
Wipe dirt and old lubricant after each ride, then clean the chain with WD-40 to prevent moisture buildup.
After cleaning, apply a fresh layer of lubricant to create a protective barrier against rust and corrosion. Inspect your chain weekly for any signs of rust or wear, addressing problems immediately.
Be sure to perform this maintenance every 100-200 miles to keep your chain in top condition. Finally, store your bike in a dry, sheltered place to reduce exposure to humidity and water, which accelerate rust formation.
Frequently Asked Questions
What Dissolves Rust Quickly?
You’ll find that WD-40, vinegar, lemon juice, or Coca-Cola dissolve rust quickly by breaking it down chemically.
Combine these with baking soda paste or a wire brush to boost rust removal and get your metal shining again.
It’s pretty simple once you know the trick! Just a little effort and the right stuff can make a big difference.
Does WD-40 Remove Bike Chain Rust?
Yes, WD-40 removes surface rust from your bike chain by loosening and lifting rust particles.
Just remember, you’ll need to lubricate the chain afterward to prevent new rust and keep it running smoothly.
What Is a Good Rust Remover for Bike Chains?
You’ll find EVAPO-RUST® works great for bike chains since it removes rust without harming metal. WD-40 helps loosen rust but needs follow-up lubrication.
For a budget option, try baking soda paste with a toothbrush. It’s simple and pretty effective if you don’t want to spend much.
What Is the Most Effective Rust Remover for Bike Chains?
The most effective rust remover for your bike chain is Evapo-Rust®. It safely removes rust without damaging metal, works quickly, and is non-toxic.
You’ll get great results while protecting your chain and the environment. It’s really a win-win!
Conclusion
By bravely battling bike chain blemishes with these easy steps, you’ll bring back brilliance and boost your bike’s best performance. Remember, regular rust removal routines really reinforce reliability and riding readiness.
With simple safety, smart solutions, and steady maintenance, you’ll swiftly stop stubborn stains and secure smooth, seamless spins. So, stay sharp, stay safe, and savor the satisfying sound of a spotless, smoothly spinning chain every single ride!
Keeping your bike chain free from rust not only improves performance but also extends the life of your bike. Regular cleaning and rust removal are key to maintaining a smooth, quiet ride. Follow these easy steps, and you’ll enjoy a reliable, rust-free bike chain that’s ready for every adventure.