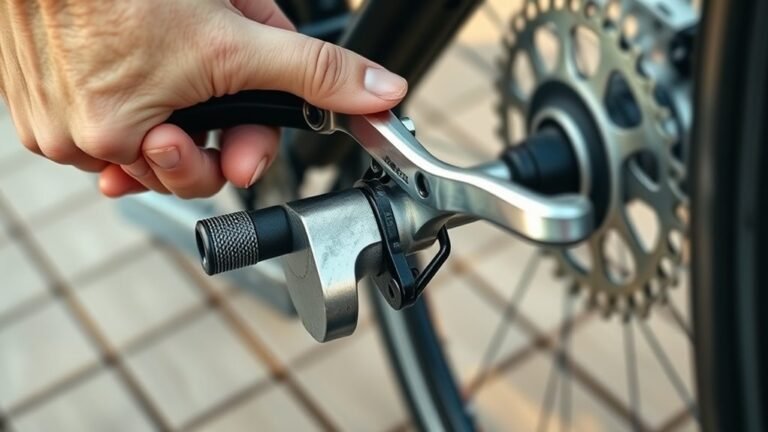
How to Remove Pedals From a Bike in 5 Easy Steps
To remove bike pedals, first identify the left (“L”) and right (“R”) pedals—remember, the right pedal tightens clockwise, while the left pedal tightens counterclockwise. This is super important because each pedal unscrews in the opposite direction.
Gather the right tools, like a 6mm Allen wrench or a 15mm pedal wrench, to make the job easier. Having the correct tools handy will save you time and frustration.
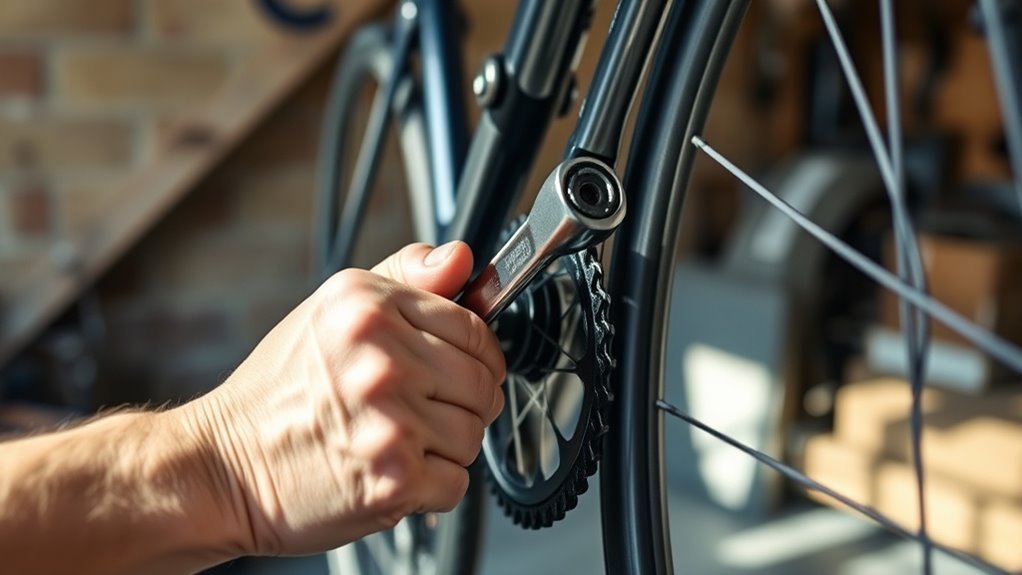
Next, insert the wrench into the pedal and turn it to loosen. For the right pedal, turn counterclockwise, and for the left pedal, turn clockwise. While you do this, pull the pedal back to help it come off smoothly.
If the pedals are really stuck, don’t worry! Just apply some penetrating oil and use extra leverage for those tough ones.
Once the pedals are off, it’s a good idea to clean and grease the threads. This makes reinstalling them a breeze and prevents future sticking.
Keep following these steps, and you’ll master pedal removal in no time!
Key Takeaways
- Identify left and right pedals by the “L” and “R” markings. Also, keep in mind that they have opposite threading directions.
- Use a 6mm or 8mm Allen wrench, or a 15mm pedal wrench. These tools fit the pedal’s hex or flat spots.
- Turn the right pedal counterclockwise to loosen it. For the left pedal, turn it clockwise while pulling the pedals rearward.
- If the pedals are stubborn, apply some penetrating oil. You might also need longer handles or adjustable wrenches for extra leverage.
- Once removed, clean the threads and apply grease before reinstalling. Tighten the pedals securely to avoid damage and make sure they spin smoothly.
How to Tell Your Left From Right Bike Pedals
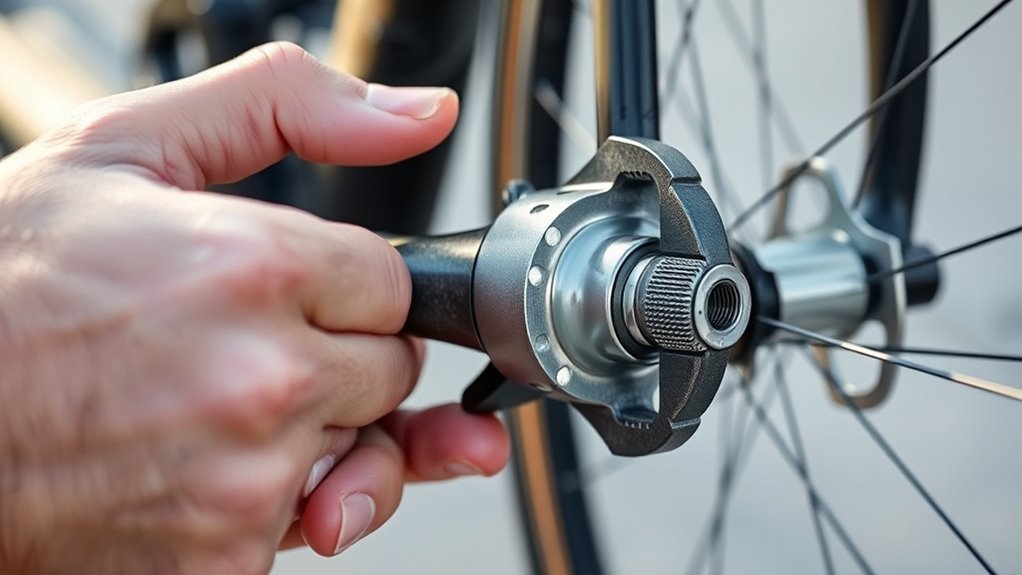
Although bike pedals might look similar at first glance, you can easily tell your left from right pedals by checking for the “L” and “R” markings most manufacturers include. These letters are usually stamped or printed on the pedal body, making identification straightforward.
The right pedal tightens clockwise and loosens counterclockwise, while the left pedal has reverse threading, so it tightens counterclockwise and loosens clockwise. This difference in threading prevents pedals from loosening while you ride.
Besides markings and threading, you can also look at the pedal’s shape; the angle of the leading edge often hints at which side it belongs to. If you’re ever unsure, check the crank arm orientation and match the pedal’s threading direction accordingly.
Paying attention to these details guarantees you install and remove pedals correctly, avoiding damage to your bike’s crank arms. It’s a simple step that makes a big difference!
What Tools You’ll Need to Remove Bike Pedals
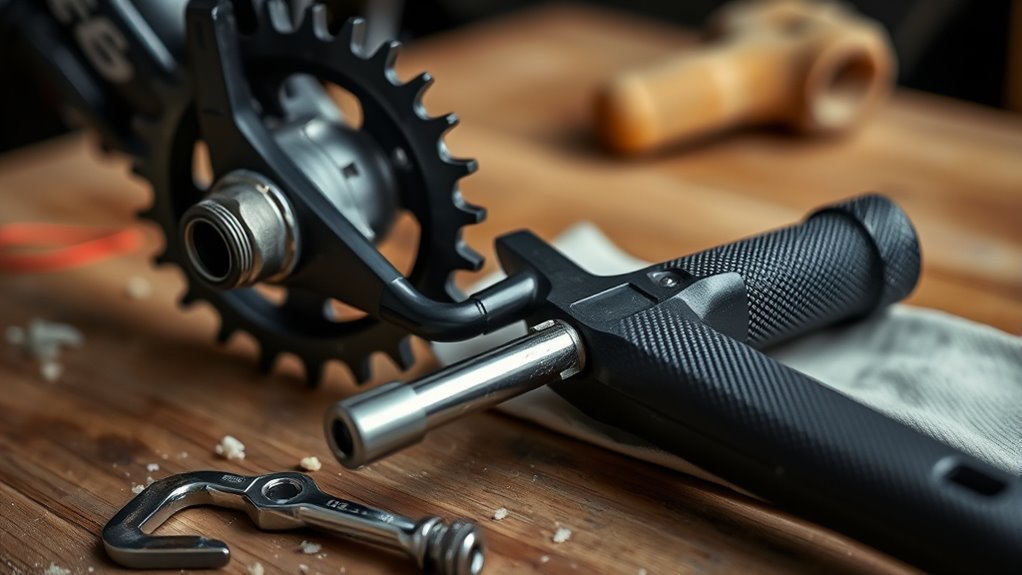
When you’re ready to remove your bike pedals, having the right tools makes the job easier and prevents damage. Using the proper wrench every time guarantees you won’t strip the pedal or crank arm.
The right tools make pedal removal easier and protect your bike from damage every time.
Typically, pedals require either a six or eight-millimeter Allen wrench or a 15mm pedal wrench, depending on their design. There’s a good reason to keep these handy before starting: it saves frustration and protects your bike.
Here are the essential tools you’ll need:
- Allen wrenches (6mm or 8mm): Fit into the pedal’s hex fitting for most modern pedals.
- 15mm pedal wrench: Ideal for pedals with flat spots on the axle, providing better leverage.
- Adjustable wrench: A versatile alternative if you don’t have a pedal wrench.
Having these tools ready means you can confidently tackle pedal removal without risking damage or wasted effort.
How to Loosen and Remove Bike Pedals Correctly
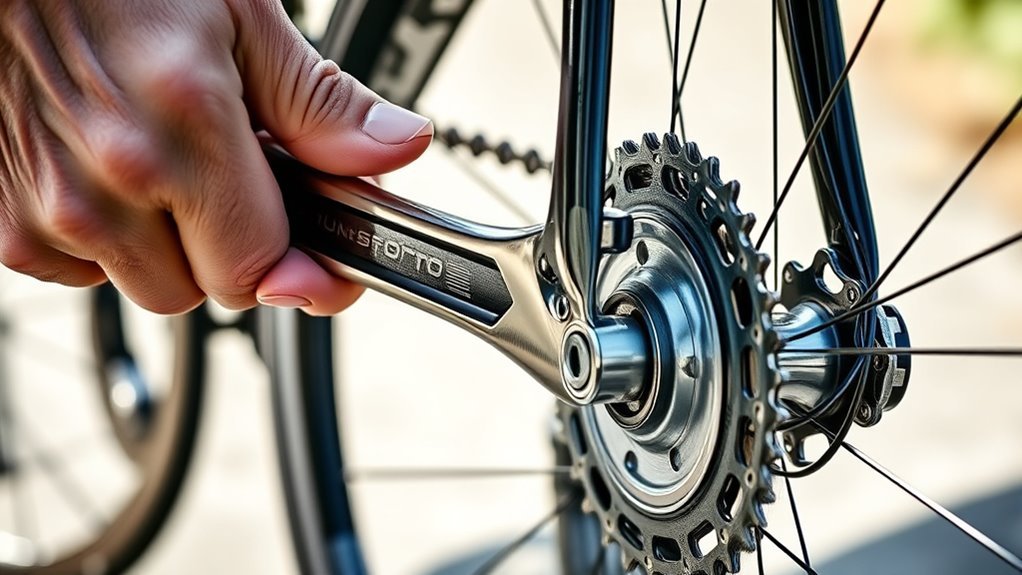
Before you start loosening your bike pedals, make sure you know which side you’re working on. The left pedal loosens clockwise, and the right pedal loosens counterclockwise.
Use a 6mm or 8mm Allen wrench, and insert it into the pedal’s hex fitting. For the right pedal, turn the wrench counterclockwise, and for the left pedal, turn it clockwise.
Always pull the pedal back toward the rear of the bike as you turn. This helps prevent stripping the threads or damaging the crank arm.
Keep the pedal facing forward while loosening it to avoid cross-threading. Once the pedal starts turning, just keep going until it’s fully removed.
How to Remove Stubborn Bike Pedals
If your bike pedals won’t budge with a standard wrench, you’ll need extra leverage and some patience to free them. Start by applying penetrating oil to the pedal threads and let it sit for several minutes to break down corrosion or dirt.
Use a longer handle or leverage tool, like a pipe wrench, to increase torque without straining your hands. Remember the threading directions: turn clockwise to loosen the right pedal and counterclockwise for the left, which uses reverse threading.
To tackle stubborn pedals, keep these tips in mind: use an adjustable wrench or pedal removal tool for a firm grip to avoid slipping or damage. Gently tap the wrench with a hammer if the pedal remains stuck, but avoid damaging the threads.
Be patient and apply steady pressure rather than forcing sudden, sharp movements. With the right tools and approach, those stubborn pedals will come off smoothly.
Prepare and Reinstall Bike Pedals
After loosening and removing stubborn pedals, cleaning the pedal threads thoroughly is a smart next step. Use a rag or brush to remove dirt and old grease from the threads to guarantee a smooth reinstall.
Next, apply a small amount of fresh grease to the pedal threads—this helps prevent seizing and makes future removal easier.
Make sure you identify the correct pedal for each side; pedals are marked “L” for left and “R” for right, with these markings facing outward. Remember, the right pedal tightens clockwise, while the left pedal tightens counterclockwise due to reverse threading.
Use a pedal wrench or an Allen key to snugly tighten the pedals, but avoid over-tightening to prevent damage.
Finally, double-check that the pedals are securely attached and spin smoothly before you ride. This simple preparation ensures your pedals stay firmly in place and operate efficiently.
Frequently Asked Questions
What Is the Easiest Way to Remove Bike Pedals?
The easiest way to remove bike pedals is by using the right-sized Allen wrench. Turn clockwise on the right pedal and counterclockwise on the left.
Make sure to pull the wrench toward the bike’s rear to loosen the pedals smoothly. It really helps to keep things steady and avoid stripping the threads.
How to Remove a Bicycle Pedal Without a Tool?
They say, “Where there’s a will, there’s a way.” You can loosen pedals by prying gently with a flat screwdriver, tapping it with a hammer, and turning by hand.
Which Way Do I Turn to Remove Pedals?
You turn the right pedal counterclockwise to remove it, and the left pedal clockwise since it has a reverse thread.
Always check pedal markings and turn towards the bike’s rear for easier loosening.
It’s a little tricky at first, but once you get the hang of it, it becomes second nature. Just remember which way to turn each pedal!
Why Can’t I Remove My Bike Pedals?
About 70% of pedal removal issues happen because you’re turning the wrong way—remember, the left pedal loosens clockwise due to reverse threading.
Using the wrong tool or ignoring rust buildup can also make pedals stubborn and tough to remove.
Conclusion
Removing bike pedals may seem tricky, but with the right tools and know-how, it’s a breeze. Remember, “measure twice, cut once” applies here—taking care to identify your pedals and loosen them correctly saves time and frustration.
If a pedal’s stuck, don’t force it; use the proper techniques to avoid damage. A little patience and the right approach go a long way.
Follow these steps, and you’ll be ready to maintain or replace pedals like a pro. Knowing how to remove pedals properly keeps your ride smooth and safe, making bike maintenance straightforward and hassle-free every time.