How to Adjust Bike Seat Height in 10 Easy Steps
To adjust your bike seat height for a comfortable and efficient ride, start by measuring your inseam. Multiply that number by 0.885 to get a good baseline for your saddle height. This simple calculation helps ensure your legs have the right extension, which is key for both comfort and performance.
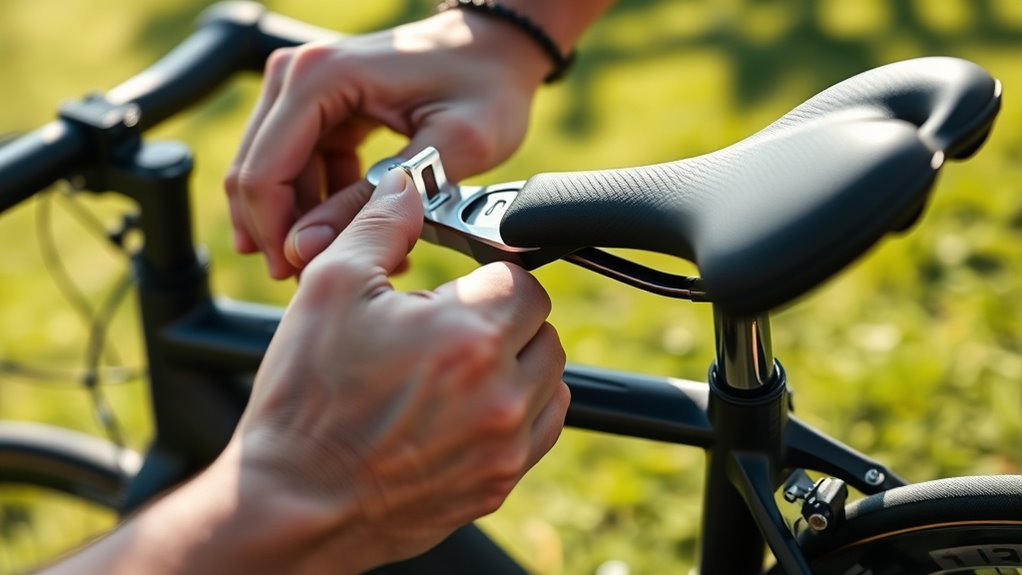
Next, loosen the seat post clamp so you can move the saddle up or down along the seat tube. Set the height using the measurement you just calculated.
After that, use the heel method to check your leg extension. When your heel is on the pedal at its lowest point, your leg should be fully extended without locking the knee. This helps you avoid overextension or cramped pedaling.
Now, adjust the fore-aft position of the saddle so your kneecap lines up directly over the pedal axle. This alignment improves your pedaling efficiency and reduces knee strain.
Make sure the saddle is level or tilt it slightly if that feels more comfortable for you. Once you’re happy with the positioning, tighten the seat post clamp securely.
Finally, take your bike for a test ride. Pay attention to how your legs feel and make small tweaks as needed. With these steps, you’ll be on your way to a perfect bike seat height that boosts both comfort and performance.
Key Takeaways
- Measure your inseam by standing against a wall with a book between your legs. This helps you figure out your initial saddle height using inseam × 0.885.
- Loosen the seat post clamp, then adjust the saddle height along the seat tube. Once it’s where you want, tighten the clamp securely.
- Use the heel method to check your saddle height. Make sure you have a 25–35° knee bend when the pedal is at its lowest point. This helps get the fit just right.
- Adjust the saddle fore-aft position by aligning your kneecap over the pedal axle when the crank is at 3 o’clock. This positioning really helps with pedal efficiency.
- Set the saddle angle level or with a slight tilt—up to about 3° works well for comfort. Take it for a test ride and fine-tune as needed until it feels just right.
Measure Your Inseam to Find a Starting Point
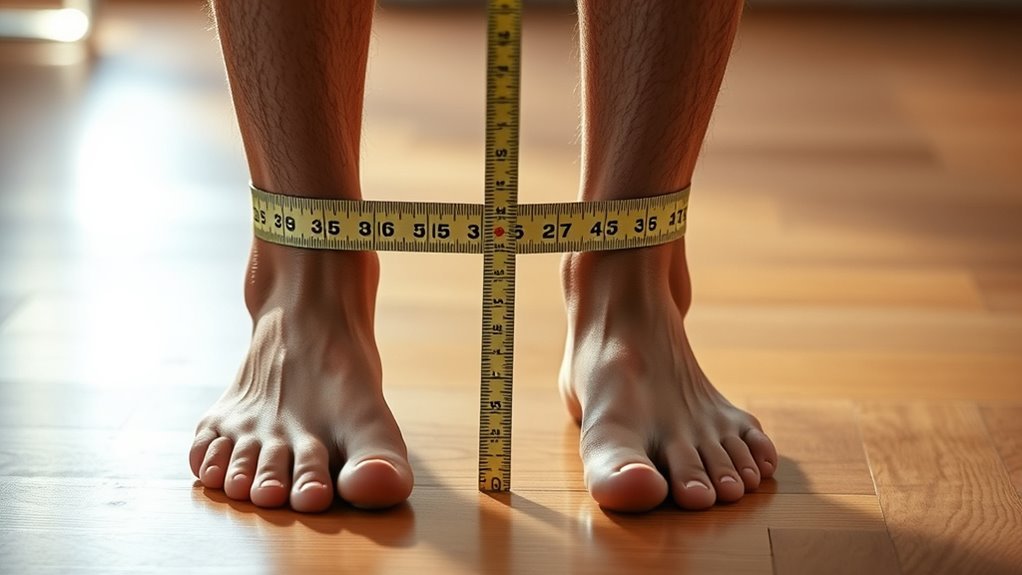
How do you find the right bike seat height? Start by measuring your inseam, which serves as the essential starting point for setting your saddle height.
To get an accurate measurement, stand in a standing position with your back against a wall and your shoes off. Use the book method: place a book or a similar object snugly between your legs, pressing it up against your crotch.
Stand straight against a wall, shoes off, and use the book method for precise inseam measurement.
Mark the exact spot where the top of the book touches the wall. Then, use a tape measure to measure from the floor up to that mark. This gives you an accurate inseam length.
Recording this measurement is vital because it forms the basis for adjusting your saddle height properly. Without this precise inseam measure, you risk an uncomfortable ride or inefficient pedaling.
Use Simple Formulas to Calculate Saddle Height
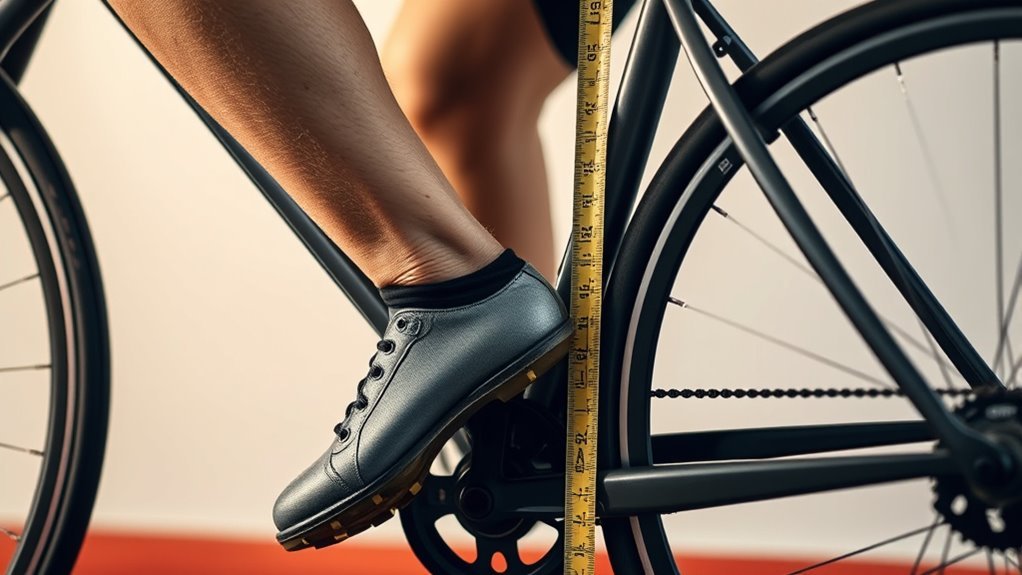
Now that you’ve measured your inseam accurately, you can use simple formulas to calculate the ideal saddle height. The most common formula is to multiply your inseam measurement by 0.885. This gives you a solid starting point for your saddle height, making the initial adjustment straightforward.
By applying this formula, you guarantee your riding position supports efficient pedaling and reduces strain. It’s a great way to get close to the right height without any guesswork.
Keep in mind, this calculation isn’t the final step—it’s just a reliable baseline. After setting your saddle height using the formula, you’ll want to fine-tune it based on comfort and performance.
Small adjustments can make a big difference in your pedaling efficiency and overall riding experience. Using this formula helps you avoid guesswork, making it easier to achieve the correct saddle height for your body.
With a properly calculated starting point, you’re well on your way to a comfortable and effective riding position. Give it a try, and you’ll notice the difference!
Loosen the Seat Post Clamp to Adjust Saddle
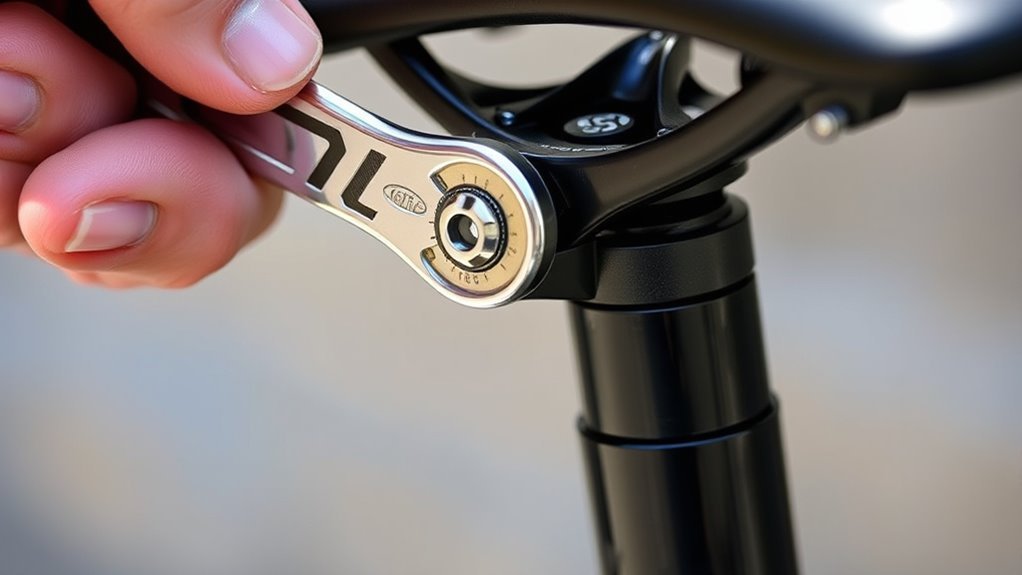
First, locate the seat post clamp where the seat post meets the bike frame. Then, loosen the quick-release lever or bolt just enough so the seat post can move freely up or down.
Make sure not to loosen it too much to avoid losing control of the seat post. You want it loose enough to adjust, but not so loose that it slips or falls out.
Locate Seat Post Clamp
Where exactly is the seat post clamp on your bike? You’ll find it right where the seat post slides into the bike frame. This clamp is usually held in place by a quick-release lever or bolts.
To adjust your saddle height, you first need to loosen this seat post clamp. Loosening allows vertical movement of the seat post so you can slide it up or down to your preferred level.
Once you’ve found the right height, make sure to secure the seat post by tightening the clamp firmly. It’s essential that the clamp is evenly tightened to prevent slipping and that the saddle stays level for a stable, comfortable ride every time you hit the road.
Loosen Clamp Properly
Before adjusting your saddle height, you’ll need to loosen the seat post clamp so the seat post can move freely. Start by identifying whether your clamp uses a quick-release lever or a bolt.
Then follow these steps:
- If it’s a quick-release, simply flip the lever open to loosen the clamp. For a bolt-on clamp, use the appropriate tool, like an Allen wrench, to loosen the bolt enough to allow free movement.
- Make sure the clamp is fully loosened so the seat post slides without resistance.
- After adjusting the height, tighten the quick-release or bolt securely—but don’t overtighten—to keep the seat post firmly in place during your ride.
Properly loosening and tightening the clamp guarantees a smooth height adjustment and safe riding. It’s a small step that makes a big difference!
Set Saddle Height Along the Seat Tube Axis
Although it might seem straightforward, setting your saddle height along the seat tube axis requires precise measurement from the top of the saddle to the center of the bottom bracket. Start by measuring this distance in a straight line along the seat tube, which serves as your baseline for saddle height.
Setting saddle height along the seat tube demands accurate measurement from saddle top to bottom bracket center.
To find the proper saddle height, compare this measured distance to your inseam length multiplied by 0.885. This calculation helps tailor the adjustment specifically to your body.
Loosen the clamp and raise or lower the saddle along the seat tube until the measured distance matches your inseam-based target. Be sure the saddle is aligned properly along the seat tube axis before tightening the clamp, as misalignment can affect comfort and pedaling efficiency.
Making this careful adjustment ensures your saddle height fits your unique measurements, leading to better performance and reduced risk of injury. Always double-check the measured distance after any adjustment to maintain the proper saddle height.
Use the Heel Method to Check Saddle Height
To use the Heel Method, sit on your bike and place your heel on the pedal when it’s at the 6 o’clock position. Your leg should be fully extended or have just a slight bend to guarantee the saddle is at the right height.
If your knee bends too much or your hips sway, you’ll need to adjust the seat accordingly. It’s pretty simple once you get the hang of it!
Heel Placement Technique
When you sit on your bike with your shoes on and place your heel on the pedal at the 6 o’clock position, you can quickly check if your saddle height is right by seeing whether your leg fully extends.
Using the heel method, follow these steps to adjust your saddle height precisely:
- Place your heel on the pedal at the lowest position (6 o’clock) and observe your leg’s position.
- If your knee is bent, raise the saddle until your leg is fully extended with your heel on the pedal.
- If you can’t reach the pedal or your hips rock, lower the saddle slightly for a better fit.
This technique ensures your leg is nearly fully extended, which enhances comfort and pedaling efficiency. It’s an easy way to make sure your bike feels just right.
Leg Extension Check
Since proper leg extension directly impacts your comfort and pedaling efficiency, you’ll want to use the heel method to check your saddle height.
Sit on your bike with your cycling shoes on and place your heel on the pedal at the lowest position (6 o’clock). Your leg should be fully extended with a slight knee bend at the bottom of the pedal stroke.
If your knee stays bent when your heel is on the pedal, raise your saddle slightly for better leg extension. Conversely, if your hips sway or your heel can’t reach the pedal, lower the saddle.
This saddle adjustment guarantees a proper bike fit by promoting efficient pedal stroke and reducing strain. It helps you ride more comfortably and effectively.
Adjust Saddle Height Based on Knee Angle
Achieving the right saddle height hinges on getting your knee angle just right—about 25 to 35 degrees at the bottom of the pedal stroke. To guarantee this proper knee bend, sit on your bike with your shoes on and place the pedal at its lowest point.
Finding the perfect saddle height means aiming for a 25 to 35-degree knee angle at the pedal’s lowest point.
Then, adjust the saddle height until your knee bends slightly but not fully extended. It’s a simple way to make sure you’re comfortable and efficient while riding.
You can use your inseam measurement multiplied by 0.885 as a starting point for saddle adjustment. From there, fine-tune based on the knee angle to improve comfort and efficiency.
Follow these steps to adjust saddle height effectively:
- Sit on your bike and place the pedal at the lowest position in the pedal stroke.
- Extend your leg fully, then lower the saddle until you achieve a 25-35° knee angle.
- Check that your knee is just slightly bent at the bottom of the pedal stroke for suitable pedaling and joint health.
This method guarantees a proper knee bend and better riding performance. Give it a try and feel the difference!
Adjust Saddle Fore-Aft Position for Knee Alignment
To guarantee your knees stay comfortable and your pedaling remains efficient, align your saddle fore-aft position so your kneecap sits directly over the pedal axle when the crank is at the 3 o’clock position. Place your foot on the pedal at this position and use a plumb line or ruler to check that your kneecap is in line with the center of the pedal axle.
If your kneecap is behind the pedal axle, slide the saddle forward. This adjustment reduces knee strain and improves pedaling efficiency.
Conversely, if your kneecap is ahead of the pedal axle, move the saddle backward to prevent knee discomfort and optimize power transfer.
After making these changes, make certain to securely tighten the saddle to maintain proper knee alignment during your ride. Proper fore-aft position adjustment ensures your knees track correctly with the crank’s motion, enhancing comfort and performance on every pedal stroke.
Set Saddle Angle for Comfort
Start by setting your saddle nose level with the horizon. Use a spirit level for accuracy.
Then, adjust the tilt gradually within a few degrees to find the angle that feels most comfortable and reduces pressure points.
Remember to tighten the bolts securely once you find the ideal saddle angle. That way, it stays in place while you’re riding.
Ideal Saddle Angle
While adjusting your bike seat height is essential, setting the ideal saddle angle plays an equally important role in your comfort. The saddle angle affects how your weight distributes, influencing pressure points and overall comfort.
Aim for a level saddle—one that’s perfectly horizontal—using a carpenter’s or spirit level for accuracy. Slight saddle tilt adjustments, usually within 3 degrees, are acceptable if they enhance comfort without causing numbness or pain.
To get the ideal saddle angle:
- Set the saddle to a horizontal position for balanced weight distribution.
- Make minor saddle adjustments—tilting the nose slightly downward or upward based on your preference.
- Check for any discomfort or pressure points during rides and fine-tune accordingly.
This careful saddle adjustment helps prevent discomfort and improves your riding experience. Give it a try and see how much better your ride can feel!
Adjusting Saddle Tilt
Setting the saddle angle correctly builds on finding the right height and affects how your weight spreads across the seat. Start by setting the saddle tilt in a level position (0°) to ensure even pressure and maximize comfort.
Use a spirit level to check the saddle angle precisely. You can then adjust the angle slightly—up to 3° upward to reduce perineum pressure or a small downward tilt if that suits your riding posture better.
Avoid large angle changes, as they may cause instability. Remember to recheck the saddle tilt whenever you adjust height or fore-aft positions since these affect your overall posture.
| Saddle Tilt Angle | Effect on Comfort |
|---|---|
| 0° (Level) | Balanced weight distribution |
| Up to +3° | Reduces perineum pressure |
| Slightly downward | May suit specific riders |
Effects On Comfort
Although small, the angle of your saddle plays a big role in comfort by evenly distributing pressure across your sit bones during long rides.
Adjusting your saddle angle can greatly affect your riding position and overall comfort. Here’s what to take into account:
- Set the saddle angle level or with a slight downward tilt to improve pressure distribution and reduce pressure points.
- Avoid tilting the saddle upward, as it increases pressure on the pubic area, causing numbness or discomfort.
- Make small adjustments (no more than 3 degrees) to alleviate crotch or lower back pain.
A little change goes a long way, so tweak it gently and see how it feels. Your comfort matters!
Test Ride and Observe Saddle Fit Signs
Once you’ve adjusted your bike seat height, take your bike for a test ride to evaluate how well it fits. Pay close attention to your knee bend at the bottom of the pedal stroke—it should be around 25–30°.
After adjusting your bike seat, test ride and ensure your knee bend is about 25–30° at the pedal’s lowest point.
If your knees are too straight or overly bent, the saddle height needs tweaking. Notice if your hips rock side to side while pedaling; excessive rocking means your saddle is too high and you should adjust it lower.
Be alert for any discomfort or numbness in your groin or perineal area, as these are signs your saddle angle or height might be off. Also, confirm you can comfortably reach the handlebars without overextending or feeling cramped, which affects overall saddle fit.
After your ride, reassess for joint pain or fatigue. These observations will help you fine-tune your saddle height for a smoother, more comfortable ride.
Make Small Adjustments for Long-Term Comfort
Because even small changes can greatly impact your comfort, make incremental saddle height adjustments of about 2–5 mm to find the best fit. These small adjustments help you avoid overcorrection, preventing knee pain, hip discomfort, and pedaling instability.
To fine-tune your saddle height for long-term comfort, follow these steps:
- Use precise measurement tools, like a ruler or level, to guarantee consistent incremental changes.
- Make one small adjustment at a time, then take a test ride to assess comfort and performance.
- Repeat the process, fine-tuning saddle height as your flexibility, riding style, or bike setup evolves.
Frequently Asked Questions
How Do I Adjust the Height of My Bicycle Seat?
Loosen your seat post clamp, then slide the saddle up or down to your preferred height. Tighten the clamp securely.
Now, sit on the bike and check how it feels. Adjust until your leg extends comfortably with a slight knee bend. Easy, right?
Should You Be Able to Touch the Ground When Sitting on Your Bike?
You shouldn’t fully touch the ground when seated; a slight knee bend boosts pedaling efficiency. Use your toes for balance at stops.
Sacrificing ground contact actually improves comfort and performance during rides. It might feel a bit tricky at first, but you’ll get the hang of it!
Should Your Seat Be Higher Than Your Handlebars on a Road Bike?
You might feel unstable with your seat lower than your handlebars, but yes, your seat should be higher on a road bike.
This setup boosts pedaling power and keeps you comfortable during those long, challenging rides. It’s all about finding that sweet spot that works best for you.
How Do I Know if My Bike Saddle Is Too Far Back?
You’ll know your saddle is too far back if you feel hip or lower back discomfort, struggle to reach the handlebars, or notice knee pain.
Also, if you see your knees aren’t aligned over the pedal axle during pedaling, that’s a clear sign something’s off. It’s all about finding that sweet spot where you feel comfortable and efficient on your bike.
Conclusion
Now that you’ve fine-tuned your bike seat like a sculptor perfecting their masterpiece, you’re ready to ride with comfort and confidence.
Remember, your bike is an extension of you—adjusting that seat height is like finding the perfect rhythm in a dance. With each small tweak, you’ll release smoother rides and happier knees.
So, take your time, listen to your body, and let every pedal stroke be a step toward your cycling bliss. Adjusting your bike seat height properly is key for comfort and injury prevention. Keep these tips in mind, and enjoy every ride with better posture and efficiency.