How to Clean a Bike in 7 Easy Steps
Gather your cleaning tools and place your bike in a stable spot. Starting with a gentle rinse helps remove loose dirt and grime from your bike’s surface.
Next, apply degreaser to your drivetrain and let it soak for a bit. This step is key to breaking down built-up grease and dirt that can affect your bike’s performance.
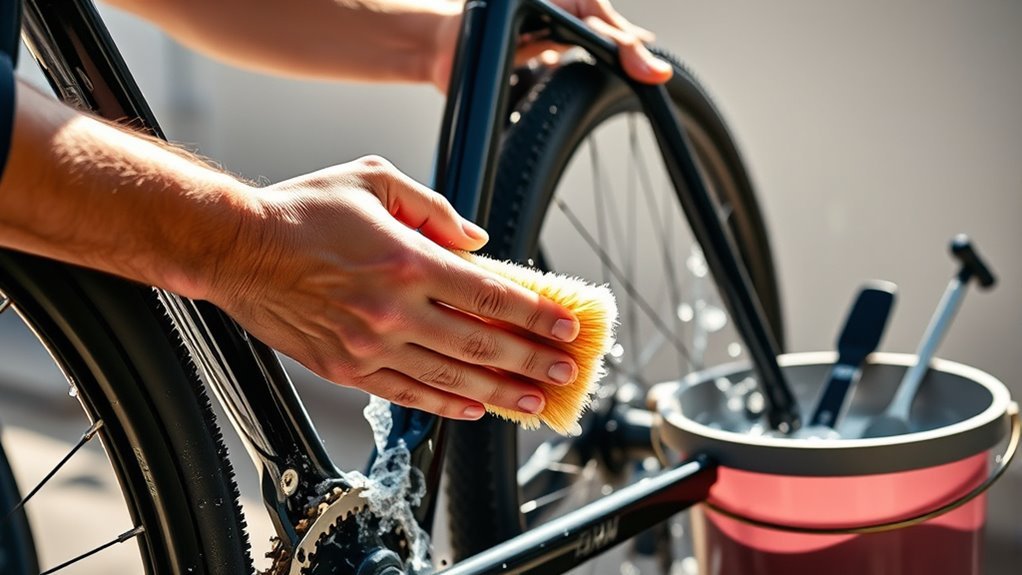
Now, wash the frame and components from top to bottom. Make sure to rinse thoroughly to get all the soap and dirt off.
Dry carefully, especially around the brakes to avoid any moisture-related issues. Cleaning brake rotors and pads is important to keep your bike safe and responsive.
Finally, apply chain wax to protect and lubricate the chain. Finish up with a protective polish on the frame to keep your bike looking great.
Keep following these easy steps, and you’ll master proper bike care and maintenance in no time!
Key Takeaways
- Rinse the bike gently with low-pressure water to remove loose dirt and debris from all surfaces. This helps get rid of the bigger mess before you dive into the details.
- Apply degreaser to the drivetrain, let it soak, then scrub with brushes to remove grime. It might take a few minutes, but it’s worth it to get everything nice and clean.
- Wash the frame and components from top to bottom using bike-specific soap and soft brushes. Take your time here to make sure you don’t miss any spots.
- Rinse thoroughly, dry with microfiber cloths, and clean brake rotors and pads with brake cleaner. Drying properly helps prevent rust and keeps everything working smoothly.
- Lubricate the chain with wax, wipe excess, and apply protective polish to the frame for lasting protection. This final step helps your bike stay in great shape for your next ride.
Gather Your Cleaning Tools and Get Your Bike Ready
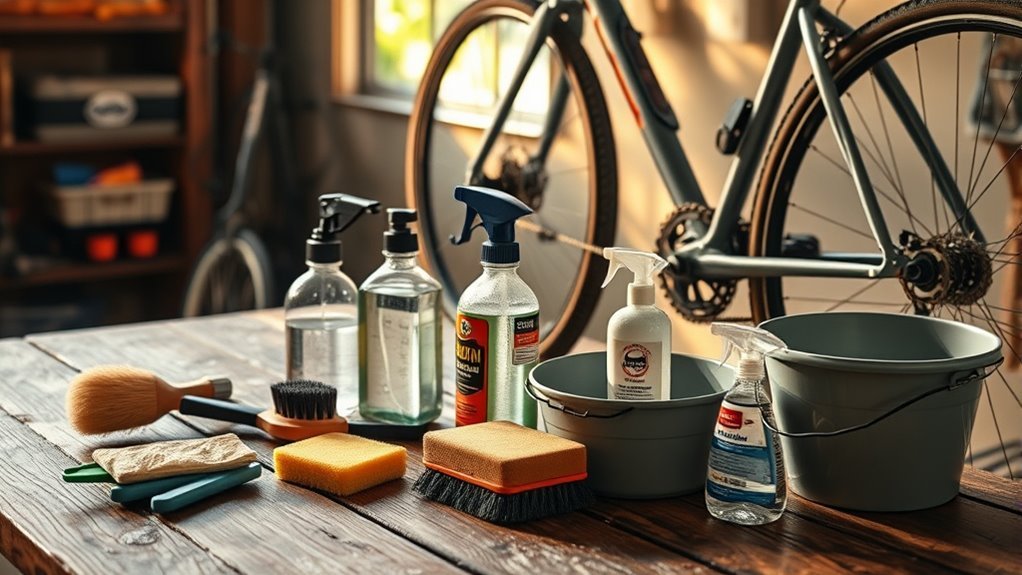
Before you start scrubbing, gather all your cleaning tools like brushes, sponges, microfiber cloths, degreaser, bike-specific soap, and a water source. Having everything ready guarantees a smooth process without interruptions.
Choose a stable spot with easy access to water—a bike stand works perfectly, keeping your bike steady and at a comfortable height. Use separate brushes for the drivetrain and frame to avoid spreading grease and grime.
Grab a sponge and microfiber cloths for gentle cleaning and drying. Don’t forget a degreaser for tough grease buildup.
Wear clothes that can get dirty, and keep towels or rags nearby to quickly wipe drips or excess water. Make sure all your cleaning tools are within arm’s reach before you start so you can stay focused and efficient.
Getting your bike ready this way sets you up for a thorough and hassle-free cleaning session.
Initial Rinse to Remove Loose Dirt
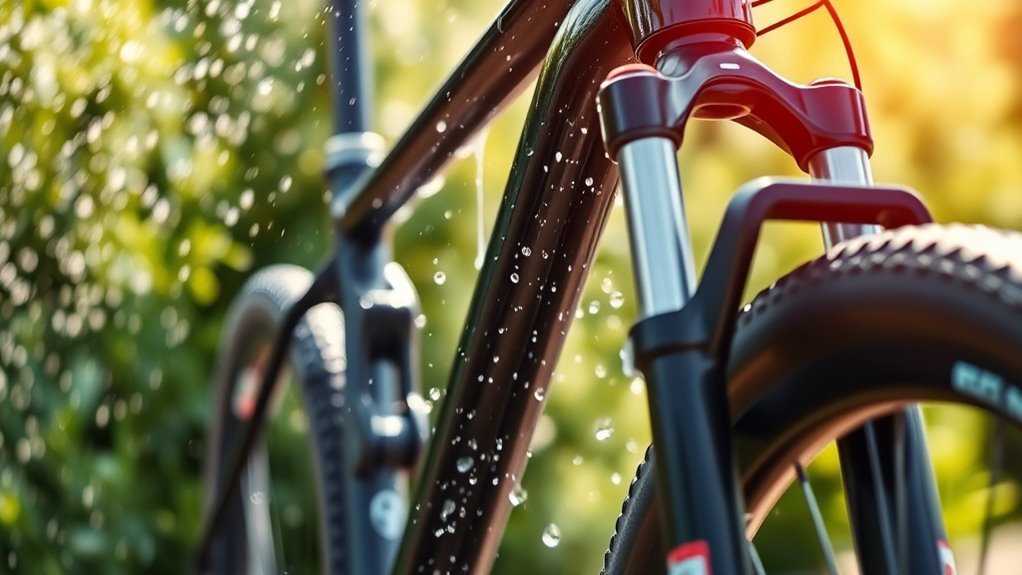
When you start rinsing your bike, use a gentle flow of water from a clean hose, bucket, or water bottles to wash away loose dirt and debris. This way, you avoid forcing grime into sensitive bearings.
The initial rinse is super important for effective dirt removal. It helps you avoid pushing sand or mud deeper into components. Aim for a quick rinse that covers all bike surfaces, including hard-to-reach spots like between spokes, under the chainstay, and around the cassette.
Keep these tips in mind for your initial rinse:
- Use low-pressure water to protect bearings and avoid damage.
- Focus on removing loose dirt and debris from the frame, wheels, and drivetrain.
- Check that no grit remains in your cleaning container before moving on.
This quick rinse sets the stage for thorough bike cleaning by loosening grime while preserving delicate parts. It’s a simple step that makes a big difference!
Apply Degreaser and Let the Drivetrain Soak
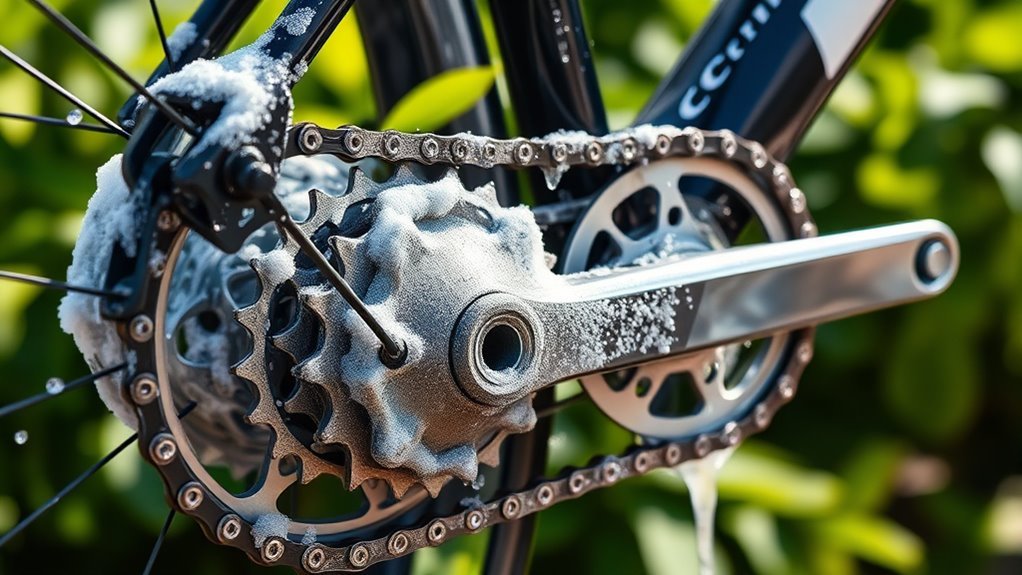
After rinsing away loose dirt, it’s time to tackle the greasy buildup on your bike’s drivetrain. Start by applying a degreaser—spray it directly onto the chain, cassette, derailleur, and crankset.
To make sure every link and cog is coated, spin the cranks backward slowly. This helps the degreaser reach all parts of the drivetrain, breaking down grime stuck in hard-to-reach spots.
Once applied, let the degreaser soak for 5 to 10 minutes. This soaking period is essential; it loosens stubborn dirt and grease, making the cleaning process much easier.
While it soaks, go ahead and prepare your brushes and a bucket of soapy water for the next step. Avoid rinsing the degreaser off immediately—letting it work gives you a deeper clean.
This approach will effectively break down grime, guaranteeing your chain and other components are ready for detailed cleaning.
Wash the Frame and Components From Top to Bottom
Start cleaning your bike from the top to keep dirt from spreading downward. Use soft brushes or sponges to gently scrub the frame, paying close attention to tight spots like the head tube and seat stays.
Rinse thoroughly as you go to make sure no soap or grime is left behind. This way, your bike gets a proper clean without any residue hanging around.
Start Cleaning At Top
Because dirt naturally drips downward, you’ll want to clean your bike from the top first, focusing on the handlebars, seat, and upper frame. Start by applying soapy water with a sponge or soft brush to cover all the upper areas thoroughly.
This prevents dirt from falling onto parts you’ve already cleaned and makes the process more efficient. Pay special attention to the saddle, handlebars, and top tube, where grime tends to build up.
Wipe these areas gently to avoid damage. Make sure you cover every inch for a thorough clean before moving down.
Use Soft Brushes
When you use soft-bristled brushes to clean your bike, you protect the paint and delicate components from scratches. Start at the top and work downward, using soft brushes to gently clean all surfaces.
Apply minimal pressure, especially on delicate parts like decals and carbon areas, to avoid damage. Different sizes of soft bristled brushes help you reach tight spots around gears and brake calipers.
Remember to rinse brushes often to remove dirt and keep clean surfaces spotless. It really makes a difference in the final shine!
| Brush Type | Use Case | Tip |
|---|---|---|
| Large soft brush | Frame and large parts | Use minimal pressure |
| Medium soft brush | Gears and brake calipers | Rinse brush regularly |
| Small soft brush | Tight spots | Gently clean with care |
Focus On Tight Spots
How do you tackle those hard-to-reach areas on your bike? Start by washing the frame and components from top to bottom. This way, you avoid dirt falling onto spots you’ve already cleaned.
Focus on tight spots using small brushes or detail brushes. These help you reach tricky areas like derailleurs, brake calipers, and headsets. Apply degreasers directly onto grime buildup, then gently scrub to loosen dirt without harming delicate parts.
Remember to target areas where grime tends to hide, such as cassette cogs, brake pads, and chainring gaps. Using the right brushes makes it easier to navigate narrow spaces around components.
Don’t forget to thoroughly dry and inspect those tight spots afterward. This helps prevent corrosion and mechanical issues.
Rinse and Dry Your Bike Thoroughly
Start by rinsing your bike thoroughly with clean water. Make sure to wash from top to bottom to remove all dirt and soap.
Next, use a microfiber cloth or soft towel to dry every part. Pay close attention to hubs, rotors, and brake calipers.
Don’t forget to dry between cassette cogs and spokes. This helps prevent moisture buildup and protects your bike from rust.
Effective Rinsing Techniques
Why is thorough rinsing essential for your bike’s maintenance? Rinsing with a gentle stream of water removes dirt and soap residue. This prevents grime buildup that could damage components.
To rinse effectively, start from the top and work your way down. This way, you guarantee every part is clean.
Focus on these key steps for a thorough rinse:
- Use a gentle stream of water to avoid forcing moisture into sensitive areas.
- Pay attention to removing soap and dirt from hubs, rotors, and brake areas.
After rinsing, immediately dry your bike. This helps prevent corrosion and water spots.
Taking these simple steps will keep your bike in great shape and ready to ride!
Comprehensive Drying Methods
Although rinsing removes most dirt and soap, you’ll need to dry your bike thoroughly to prevent water spots and corrosion. Use a clean microfiber cloth or a dry towel for effective moisture removal.
Focus on areas prone to water retention, like hubs, rotors, and brake calipers. Don’t forget to run the chain through a dry towel to guarantee it’s completely dry before lubrication.
Finally, buff your entire bike with a soft cloth to enhance shine and guarantee complete moisture prevention.
| Drying Method | Purpose |
|---|---|
| Microfiber cloth | Absorb excess water |
| Dry towel | Dry chain and tight spaces |
| Focused drying | Prevent water spots |
| Buffing | Restore shine, remove moisture |
Clean Brake Rotors and Pads for Safe Stopping
When you clean your bike, paying close attention to the brake rotors and pads guarantees safe stopping. Start by spraying brake cleaner onto a clean microfiber cloth and thoroughly wiping down the brake rotors to remove grease, dirt, and oil buildup.
Use a separate cloth for each rotor and set of brake pads to avoid cross-contamination. Carefully pull the cloth through the brake calipers to clean pads, eliminating embedded contaminants without touching the rotor surface with your fingers. This helps prevent oil transfer, which can reduce brake performance.
Remember these key points:
- Use brake cleaner and a microfiber cloth for effective cleaning.
- Avoid touching rotors with your hands to prevent contamination.
- Guarantee all components are completely dry before riding to prevent brake squeal.
Proper cleaning and drying of brake rotors and clean pads maintain peak stopping power. This keeps your bike safe on every ride.
Apply Chain Wax and Protective Frame Polish
To keep your chain running smoothly and protect your bike’s finish, you should apply chain wax and a protective frame polish regularly. Start by dropping a small amount of chain wax on each link while turning the pedals backward, ensuring even coverage on the inside of the chain.
Apply chain wax on each link while pedaling backward to keep your chain smooth and protect your bike’s finish.
Let the wax sit for 2-3 hours for proper penetration and adhesion. Afterward, use a microfiber cloth dampened with warm water to wipe off any excess wax, preventing dirt buildup.
For the frame, spray a protective wax polish evenly on the frame and wheels, avoiding drivetrain and brake parts. Then, buff with a clean microfiber cloth to achieve a shiny finish.
Regularly reapplying the protective wax helps maintain a barrier against dirt, scratches, and moisture, extending your bike’s appearance and lifespan. Consistent application of chain wax and frame polish keeps your bike looking great and running efficiently.
Frequently Asked Questions
How to Clean a Bike Step by Step?
Start by rinsing your bike to remove dirt. Apply degreaser to the drivetrain, scrub thoroughly, then clean the frame with soft brushes.
Rinse everything, dry it well, and finish by cleaning brakes and applying lubricant. It’s easier than it sounds, and your bike will thank you!
Can I Use Dawn Dish Soap to Wash My Bike?
Yes, you can use Dawn dish soap to wash your bike, but make sure to dilute it with water.
Avoid using it too often or undiluted, as it might strip lubricants and damage protective coatings.
It’s a handy option, just remember to be gentle and rinse thoroughly afterward.
What Not to Do When Cleaning a Bike?
Don’t use high-pressure water, harsh chemicals, or spray degreaser on brake parts. These can cause serious damage and affect your bike’s safety.
Also, avoid neglecting the drivetrain. It’s easy to forget, but keeping it clean is key to smooth rides.
And always dry your bike thoroughly to prevent rust. Leaving it wet can lead to corrosion over time.
These mistakes can damage your bike and reduce performance, so it’s best to steer clear of them!
What’s the Best Thing to Clean a Bicycle With?
You’ll want to use a bike-specific wash or biodegradable soap mixed with water to clean your bike. These options remove dirt effectively without damaging components.
That way, you keep your bike safe and looking great after every ride. It’s a simple step that really pays off!
Conclusion
Now that you’ve mastered these simple steps, cleaning your bike will feel like a breeze rather than a chore. Keeping your bike spotless not only boosts its performance but also extends its life. It’s like giving it a fresh breath of air.
So, roll up your sleeves, grab your tools, and treat your bike to some well-deserved TLC. You’ll enjoy every ride even more on a bike that shines as bright as your passion for cycling.
Regular bike cleaning helps prevent rust, removes dirt that can wear down parts, and keeps everything running smoothly. Plus, it’s a great way to spot any issues early before they turn into costly repairs. With these easy steps, maintaining your bike’s cleanliness and performance has never been simpler or more rewarding.