How Do You Remove a Bike Chain in 10 Easy Steps?
You’ll start by gathering tools like a chain rivet extractor and master link pliers. Then position your bike upright. Shift to the smallest gears to reduce tension on the chain, making it easier to work with.
Next, locate the joining link or chain pin. Align your tool properly, and release the chain by either squeezing the master link or pushing out the pin.
Pull the chain clear from the derailleur and confirm it’s fully detached. Then, handle and store it safely to avoid any damage or tangling.
Following these steps prepares you for a smooth chain replacement. Stick around—there are more helpful tips coming up to keep your bike running smoothly!
Key Takeaways
- Position the bike upright on a stable stand. Then, shift to the smallest front chainring and rear sprocket to reduce chain tension.
- Next, locate the master link or chain pin. You can do this by identifying the distinct joining link or an accessible rivet for removal.
- Grab your chain rivet extractor or master link pliers. Make sure to align the tool precisely with the chain link or rivet.
- Now, apply steady pressure to release the master link or push out the chain pin. Be sure to support the chain as you do this to avoid any damage.
- Finally, confirm the chain is fully detached. Gently pull both ends to ensure no links remain connected before removing it completely.
Gather the Tools You’ll Need
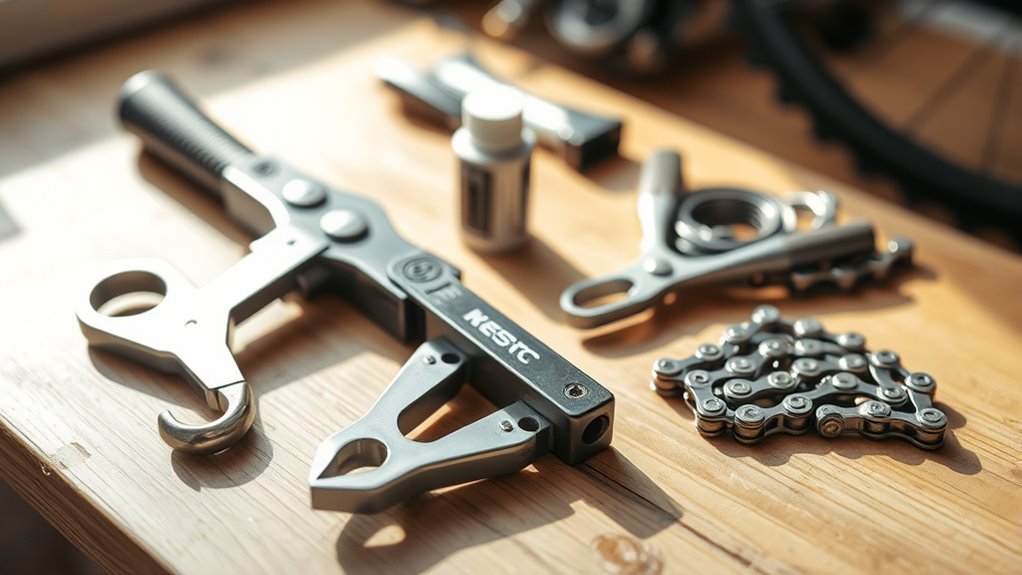
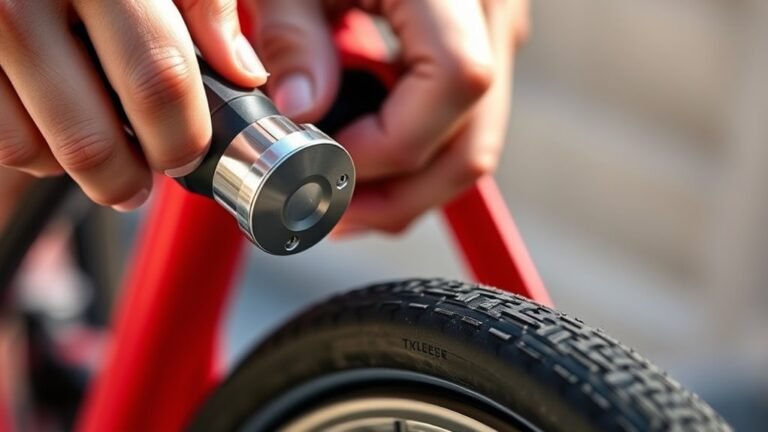
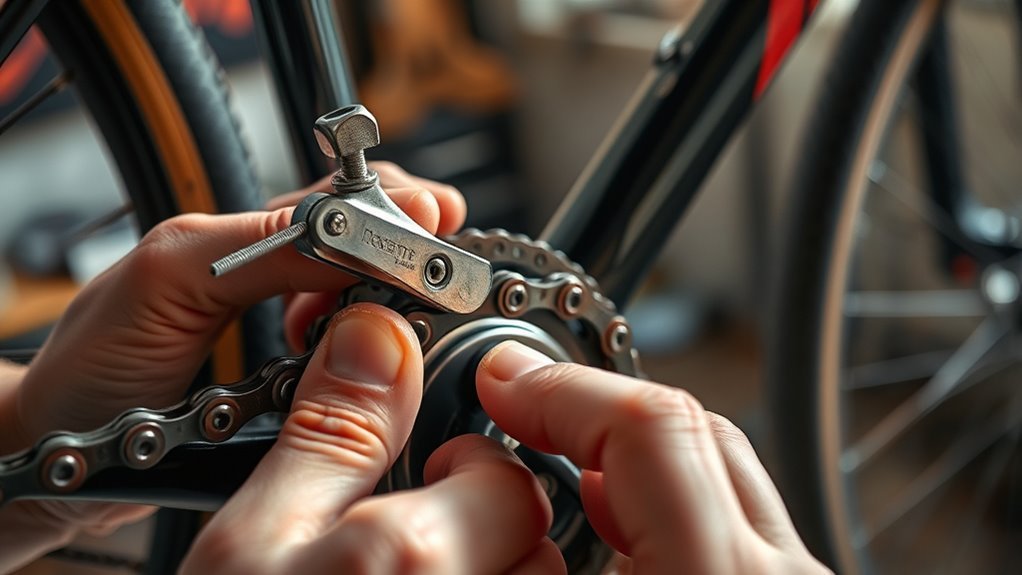
Before you start removing your bike chain, gather the essential tools to make the process smooth and damage-free. The most important tool you’ll need is a chain rivet extractor, which pushes out the chain pins during removal.
Make certain your extractor has multiple sets of teeth to fit different chain sizes, giving you versatility for any bike. Alongside this, master link pliers are invaluable. They help you easily open and close the chain’s connecting links, speeding up the removal process without damaging the links.
Having the correct tools ready not only saves time but also minimizes the risk of harming your bike components or the chain itself. Proper alignment when using these tools is key, so take a moment to familiarize yourself with their operation.
Position Your Bike Upright and Shift to Smallest Gears
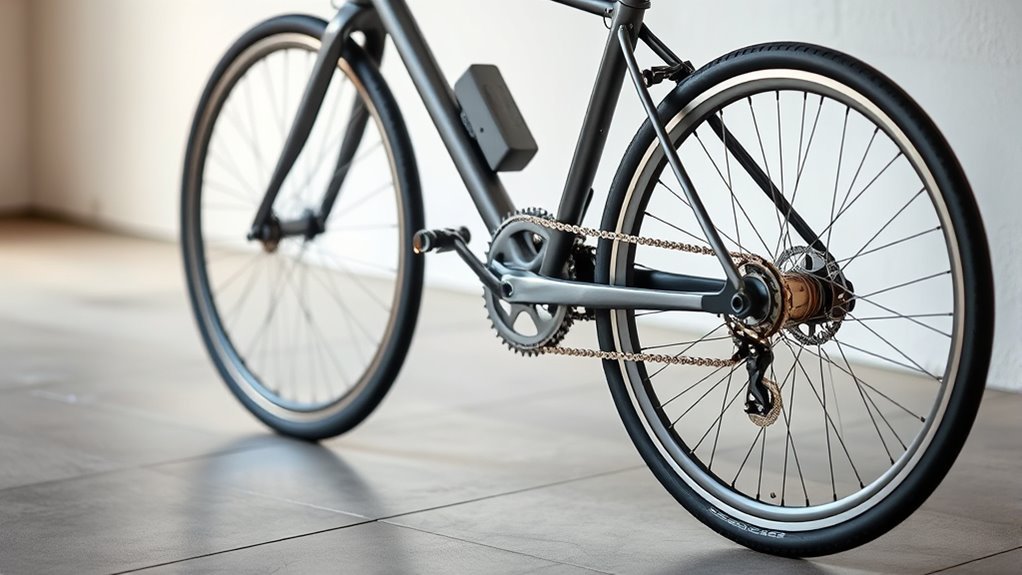
Once your tools are ready, position your bike upright on a stand to keep it stable and accessible. Using a bike stand prevents wobbling and helps you work safely.
Next, shift gears to reduce tension on the chain: move the front derailleur to the smallest chainring and the rear derailleur to the smallest sprocket, usually the highest gear. This releases slack and makes chain removal easier.
Make sure both front and rear gears are in their smallest settings before you proceed. Proper gear positioning stops chain tension from making removal tricky or causing injury.
| Step | Action | Reason |
|---|---|---|
| 1 | Position bike upright | Stability and accessibility |
| 2 | Use bike stand | Prevent wobbling |
| 3 | Shift front derailleur | Reduce chain tension |
| 4 | Shift rear derailleur | Release slack on chain |
| 5 | Confirm gear settings | Easier chain removal |
Locate the Joining Link or Chain Pin
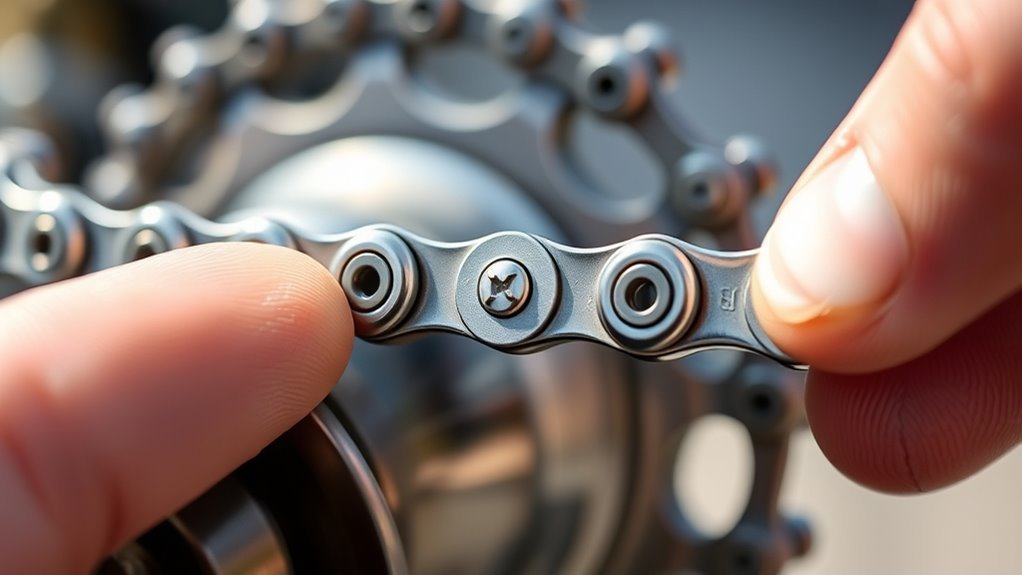
One of the easiest ways to remove your bike chain is by finding the joining link, a special connector designed for quick release. This link usually looks a bit different from the others—sometimes marked or slightly thicker—and is meant to be opened by hand or with pliers.
As you inspect the chain running through the derailleur, look for this distinct joining link since it’s the ideal spot to remove the chain without extra tools.
If your chain doesn’t have a joining link, you’ll need to locate a chain pin instead. The chain pin secures the links together and must be pushed out to separate the chain.
Focus on finding a pin that’s accessible for removal. Once you identify either the joining link or chain pin, you’re ready to proceed with detaching the chain safely and efficiently.
This step is vital for a smooth chain removal process.
Align and Adjust Your Tools for Chain Removal
After identifying the joining link or chain pin, it’s time to get your tools ready for the removal process. Properly align and adjust your tools to guarantee a smooth chain removal without damaging components.
Make sure you focus on positioning the rivet extractor or master link pliers precisely before applying pressure.
Keep these points in mind for effective tool adjustment:
- Align the rivet extractor so the pin or link is centered for even force distribution.
- Use the correct size on the rivet extractor’s multiple teeth options to fit your chain.
- Secure the chain firmly in the tool’s jaws or slots to prevent slipping.
- Turn the tool handle smoothly and steadily to maintain alignment throughout the process.
- Double-check that the tool is perfectly aligned with the chain pin before proceeding.
Remove the Chain Using the Joining Link Method
If you spot the master link on your bike chain, you’ve found the easiest way to remove it. First, position the chain so the master link is centered and easy to reach.
With your fingers, grasp the chain near the master link and gently squeeze or wiggle it to release the connection. If you have master link pliers, place their handles on either side of the master link and squeeze to open it smoothly.
Once the master link separates, carefully pull the chain away from the derailleur and sprockets. This method simplifies removing the chain without extra tools or force.
Remember, the master link is designed for quick disconnection, making removing the chain straightforward and less time-consuming. By focusing on the master link, you avoid damaging the chain or other components.
This ensures a clean removal ready for maintenance or replacement.
Push Out the Chain Pin With a Rivet Extractor
Start by aligning the rivet extractor so the chain pin lines up perfectly with the tool’s teeth. Make sure you’ve selected the right size teeth to avoid damaging the chain.
Then, turn the handle clockwise slowly to push the pin out smoothly. It’s all about going steady to keep everything in good shape.
Aligning Rivet Extractor Correctly
To push out the chain pin effectively, you’ll need to align the rivet extractor precisely with the chain’s rivet. Proper alignment guarantees you don’t damage the chain or the gear shifter when you pull the chain apart.
Here’s how to get it right:
- Support the chain together firmly on the extractor.
- Position the rivet directly under the tool’s top slot.
- Select the extractor teeth that best fit your chain size.
- Turn the handle slowly and steadily clockwise.
- Adjust the chain or tool if the rivet skews or resists.
Make sure the rivet is fully pushed out before you remove the chain. This precise alignment makes separating the chain smooth and protects your bike’s drivetrain components.
Selecting Appropriate Tool Teeth
When you select the appropriate teeth on your rivet extractor, you guarantee a snug fit that keeps the tool firmly engaged with your bike chain’s rivet. First, match the extractor’s teeth size to your chain to ensure proper alignment.
This step is essential for a smooth pin removal without slipping or damaging the links. After positioning the chain so the rivet aligns with the extractor’s top teeth, check that the teeth grip the rivet securely.
If the rivet doesn’t move after a few turns, stop and reposition the tool to maintain perfect alignment. Using the right teeth size helps you apply steady pressure effectively. It makes the pin push-out cleaner and safer for your chain.
Turning Handle To Extract
Although it requires steady pressure, you’ll find that turning the handle clockwise on your rivet extractor pushes the chain pin out smoothly when the tool is properly aligned.
To do this effectively, keep these tips in mind:
- Position the chain so the rivet lines up with the extractor’s top part.
- Turn the handle steadily to apply consistent pressure.
- Make sure the tool is perfectly aligned to avoid slipping or damage.
Keep going until the rivet is fully pushed out, letting the chain come apart.
If needed, just reposition the chain or tool to keep the extraction smooth.
Pull the Chain Away From the Rear Derailleur
Since the rear derailleur holds the chain tightly against the cassette, you’ll need to gently pull the chain away from its pulleys to free it. Start by slightly moving the derailleur outward to create enough space for the chain to slip off easily.
Use your fingers or a small tool to carefully lift the chain over the derailleur’s guide and tension pulleys. Be sure not to force the chain, as pushing too hard can damage the derailleur or other components.
Take your time and work slowly to avoid any unnecessary strain. As you pull the chain away, watch closely to ensure it’s coming free without catching on anything.
This step is vital to smoothly removing the chain without harming your bike. Once you feel the chain has cleared the pulleys, you’re ready to proceed to the next step.
Check That the Chain Is Fully Detached
Before moving on, make sure the chain is fully detached by gently pulling both ends apart and confirming no links remain connected. This step is essential to avoid any surprises when you remove the chain completely.
Take a moment to inspect the chain closely and verify it’s not still linked or tensioned anywhere. If you find any resistance, the chain isn’t fully free yet.
Here’s what to check:
- Pull both ends gently to confirm no links are still connected.
- Verify there are no pins or connectors holding the chain together.
- Make sure the chain slides smoothly out from beneath the derailleur.
- Look for any tension or signs that the chain is still partially attached.
- Double-check the chain is free from the frame and other bike parts.
Once you’ve confirmed these points, you’ll be ready to proceed confidently without the chain catching or snagging unexpectedly.
Handle the Removed Chain Safely
When you handle the removed bike chain, wearing gloves is essential to keep grease and dirt off your skin. Gloves protect you from grime and make cleanup easier.
Once the chain is off, place it in a sealed bag or container. This prevents grease from dripping onto your workspace and keeps small parts like pins or links from getting lost.
Place the removed chain in a sealed container to contain grease and keep small parts secure.
Avoid leaving the chain on the ground to prevent it from becoming a trip hazard or contaminating the environment. It’s just safer that way.
Store the chain in a dry, cool place to stop rust and corrosion before you decide to recycle or dispose of it.
When it’s time to get rid of the chain, make sure you follow your local regulations for recycling metal components. Handling the chain safely not only protects you but also helps keep your workspace clean and supports environmentally responsible disposal.
Prepare Your Bike for a New Chain Installation
To prepare your bike for a new chain installation, start by positioning it securely on a stable stand or upright to keep it steady. This ensures safety and ease as you work on the drivetrain.
Next, shift the gear shifter to the smallest sprockets at both the front and rear. Doing this slackens the chain and makes removal smoother.
Spin the cranks to locate the chain’s connecting or rivet link—this part is easier to access with the chain slackened. Before removal, identify the master link or rivet that you’ll be working on, and have the proper tools ready.
Finally, align the chain and tools carefully to avoid damaging your chain or derailleur components.
To sum up:
- Secure bike on a stable stand or upright
- Shift to smallest front and rear sprockets
- Spin cranks to find the connecting link
- Identify the master link or rivet for removal
- Align chain and tools precisely before removing
Following these steps sets you up for a smooth new chain installation.
Frequently Asked Questions
How to Take a Bike Chain off Without a Tool?
You can take your bike chain off without a tool by locating the master link or quick-release link. Then, use your fingers or a small screwdriver to gently pry it open.
This will allow you to separate and remove the chain carefully. Just take your time, and don’t force it too much!
How Do You Remove a Chain off a Bike?
You’ll open the chain’s secret link by spotting the master link or rivet, then twist your tool like a key turning in a lock.
Once released, gently slide the chain free from the bike’s gears.
It’s pretty straightforward once you get the hang of it! Just take your time and be gentle so you don’t damage anything.
What Can I Use Instead of a Chain Tool?
You can use master link pliers or a multi-tool with a chain breaker feature. Sometimes, you might even open a master link by hand.
But try to avoid makeshift tools like nails since they can damage your chain. It’s better to use the right tool to keep things running smoothly.
How to Take a Bike Chain off With a Tool?
You’ll feel like a mechanic wizard when you use the chain tool: just align the chain pin perfectly, turn the handle clockwise, and watch the pin slide out smoothly.
Then, pull the chain free like a pro! It’s easier than it sounds, and once you get the hang of it, you’ll wonder why you ever hesitated.
Conclusion
Removing your bike chain might seem intimidating, but with these simple steps, it’s as easy as pedaling downhill. You’ve gathered your tools, found the link, and carefully detached the chain—like opening a secret passage on your bike.
Remember, every chain you remove is a step closer to smoother rides and better performance. So, don’t hesitate; embrace the process and keep your bike ready for the road ahead.
Taking the time to remove your bike chain properly is key to maintaining your bike’s overall health. Whether you’re cleaning, repairing, or replacing the chain, these steps ensure your bike stays in top condition. Keeping your bike chain well-maintained leads to smoother rides, improved efficiency, and longer-lasting components.
So, whenever you need to remove a bike chain, follow these easy steps with confidence. Your bike will thank you with better performance and a more enjoyable ride every time you hit the road.