How Do You Measure Bicycle Frame Size in 7 Easy Steps
To measure your bicycle frame size in seven easy steps, start by measuring your inseam while standing straight with a book placed at your crotch. This simple trick helps you get an accurate measurement of your leg length, which is crucial for choosing the right frame size.
Next, convert your inseam measurement to frame size using a straightforward formula designed for this purpose.
After that, confirm your frame size by measuring the seat tube length. This measurement gives you a clear idea of the bike’s main frame dimension.
Then, check the top tube length to assess your reach and overall comfort when riding. It’s important because a good fit here can prevent strain during long rides.
Next, evaluate your handlebar reach and make adjustments to your seat height and handlebar setup for the best fit possible.
Finally, compare all your measurements to standard bike size charts before making a purchase. Keep going to discover how each step guarantees a perfect fit for your riding style and comfort.
Key Takeaways
- Measure your inseam by standing against a wall with a book between your legs at crotch level and marking the height.
- Calculate frame size by multiplying inseam in centimeters by 0.67 for road bikes. For mountain bikes, multiply by 0.66 and then divide by 2.54.
- Measure the seat tube length from the bottom bracket center to the top of the seat tube to confirm the frame size.
- Next, measure the top tube length horizontally from the head tube center to the seat tube center. This helps you assess your reach and riding posture.
- Finally, adjust the seat height so you have a 25-30 degree bend in your knee. Set the handlebar reach for comfortable arm extension and good control.
Measure Your Bike Inseam to Start Your Fit
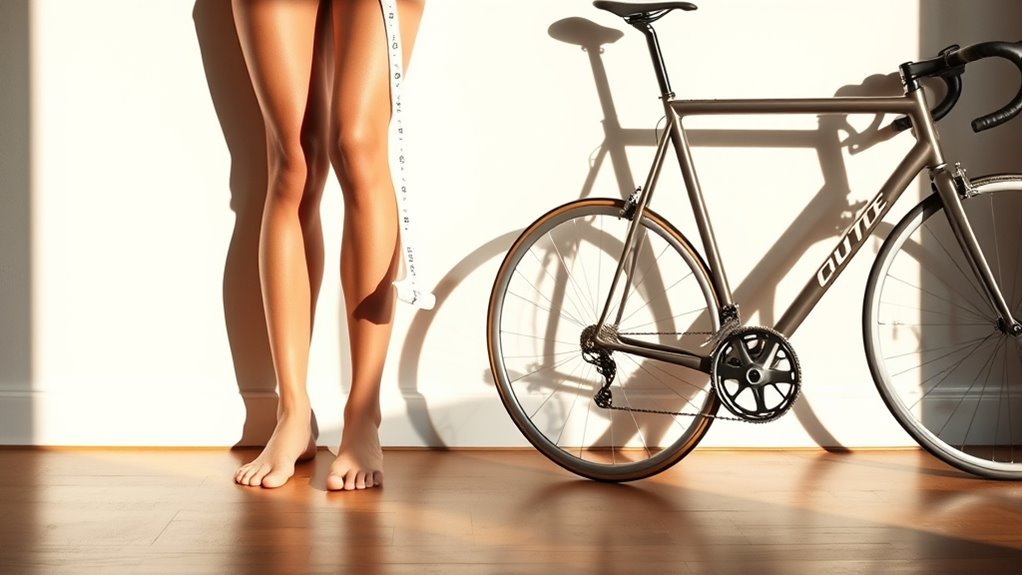
Before choosing your bike frame size, you’ll need to measure your inseam accurately. Stand with your back against a wall, feet shoulder-width apart, and wear your cycling shoes to mimic real riding conditions.
To select the right bike frame, begin by accurately measuring your inseam while wearing cycling shoes.
Place a sturdy book or flat object snugly between your legs at crotch level, pressing firmly but comfortably. Mark the wall at the top edge of the book. Then, use a tape measure to record the distance from the floor to that mark—this is your inseam measurement.
This precise inseam length plays a pivotal role in bike fit, influencing saddle height, seat tube length, and overall riding position. Accurate body measurements help guarantee your frame size matches your physique, optimizing riding comfort and performance.
It’s a good idea to repeat this process a few times to make sure you get consistent results. Taking the time to get your inseam right sets a solid foundation for a well-fitted bike that supports your riding style and prevents discomfort.
How to Calculate Bike Frame Size From Your Inseam
Once you’ve measured your inseam accurately, you can calculate your bike frame size using simple formulas tailored to road and mountain bikes.
For road bikes, convert your inseam to decimal centimeters and multiply by 0.67 to estimate the frame size in centimeters.
For mountain bikes, multiply your inseam in centimeters by 0.66, then divide by 2.54 to get the size in inches.
This calculation helps you find the correct bike frame size, making sure you ride more comfortably. It’s a quick and easy way to get a better fit without guesswork!
Confirm Frame Size by Measuring the Seat Tube
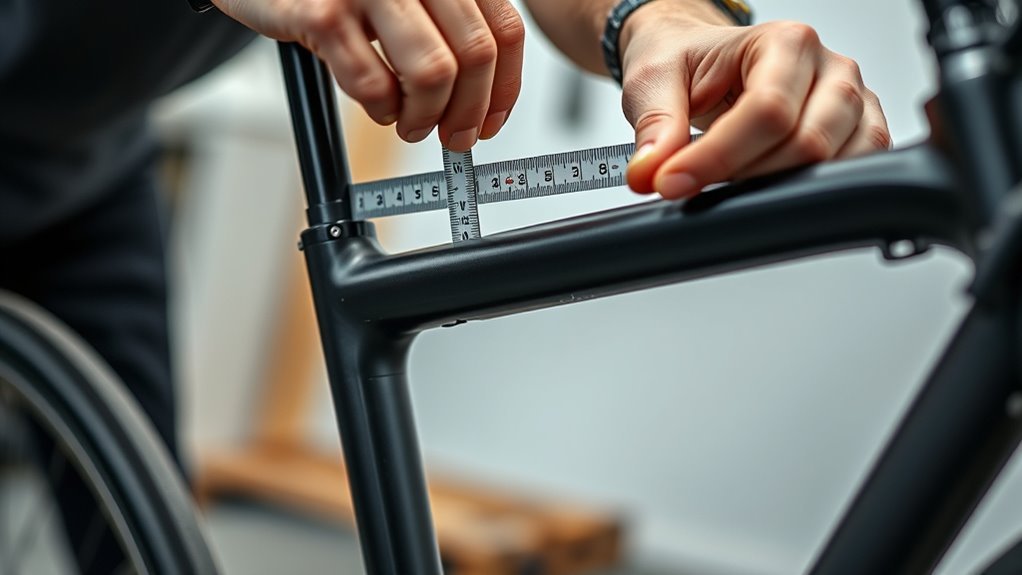
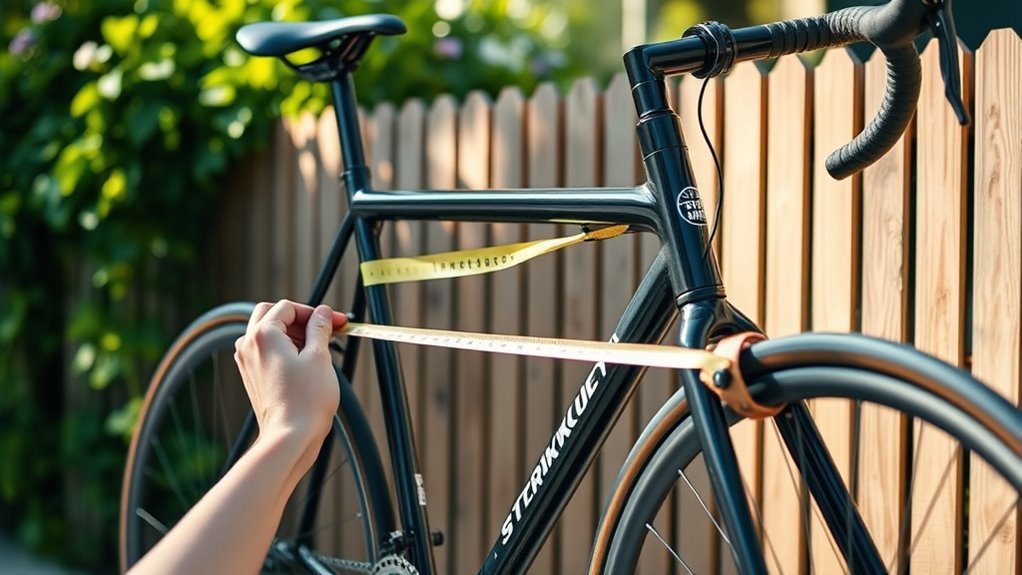
To confirm your bike’s frame size, measure the seat tube from the center of the bottom bracket shell up to the top of the tube. Make sure the bike is upright and use a reliable tape measure or caliper for accuracy.
This measurement helps you match your bike to the manufacturer’s sizing chart confidently. It’s a simple step but super important to get the right fit.
Seat Tube Measurement
Although measuring a bike’s frame might seem tricky, you can verify the correct size by accurately measuring the seat tube. Start by positioning the bike upright and straight to guarantee an accurate measurement.
Use a tape measure to measure from the center of the bottom bracket shell to the top of the seat tube, where the seat post inserts. This tube length directly reflects your bike frame’s size.
Compare your measurement against the manufacturer’s sizing chart to confirm the proper frame size for your upright position. It’s a simple step that makes a big difference when you want a comfortable ride.
| Measurement Point | Description |
|---|---|
| Bottom Bracket Center | Starting point of the seat tube |
| Seat Tube Top | Where the seat post enters the frame |
| Tape Measure Used | For precise tube length measurement |
| Frame Size Confirmation | Match with sizing chart for accuracy |
Measurement Tools Usage
Measuring the seat tube accurately depends on using the right tools and techniques. Grab a tape measure or calipers as your primary measurement tools. Position the bike upright and stable to prevent errors.
Measure from the center of the bottom bracket up along the seat tube’s axis to the top where the seat post inserts. For sloping top tubes, target the highest point of the seat tube instead.
Take multiple readings to confirm accuracy and consistency in your results. This measurement technique guarantees you get a reliable seat tube length, which directly impacts your frame size and bike fitting.
Always cross-check your findings with manufacturer-specific size charts to select the correct frame size and optimize your ride comfort. It’s a simple step that makes a big difference!
Check Top Tube Length to Assess Bike Reach and Comfort
To check your bike’s reach and comfort, start by measuring the top tube length horizontally from the head tube to the seat tube. This measurement helps you evaluate how easily you can reach the handlebars without stretching too much or feeling cramped.
Adjusting your riding posture depends largely on this length, so it’s key to get it right. It’s a simple step but makes a big difference in how comfortable you feel on your bike.
Measuring Top Tube Horizontally
When you want to check your bike’s reach and comfort, start by measuring the top tube length horizontally. Position your bike upright on a level surface to guarantee accuracy. Use a tape measure to take a horizontal measurement from the center of the head tube to the center of the seat tube.
This measurement represents the effective top tube length, which is especially important for bikes with a sloping top tube. Measuring this correctly helps you determine your bike frame size and ensures a proper bike fit.
Keep in mind, the top tube length directly influences your riding posture and comfort. Combining this measurement with others like stack height and inseam will help you choose a bike that suits your body and riding style perfectly.
Evaluating Handlebar Reach
Although top tube length is just one factor in bike fit, it plays a crucial role in determining your handlebar reach and overall riding comfort. To evaluate handlebar reach, focus on the horizontal distance from the center of the head tube to the center of the seat tube. This top tube length directly influences how stretched out or upright you feel.
Make sure the frame’s alignment is correct to guarantee measurement accuracy.
Here’s how to assess your handlebar reach:
- Sit on the bike and lightly grip the handlebars to check if your arms remain slightly bent in a comfortable position.
- Understand that frame geometry combined with stem length affects your reach and riding posture.
- Use top tube length as a baseline before adjusting stem length or handlebar position for the best bike fit.
Adjusting Riding Posture
Checking your top tube length gives you a clear picture of how your bike’s reach affects your riding posture and comfort. Measuring from the center of the head tube to the center of the seat tube helps you assess whether the reach suits your torso and arm length.
During a fit check, sitting on the bike and measuring the horizontal distance between the saddle and handlebars reveals if your top tube length promotes a balanced riding posture. If the reach feels too long, you might overstretch, causing discomfort in your neck, shoulders, and wrists.
Adjusting saddle height, stem length, or handlebar position can improve comfort and control. Making sure these elements align with your body lets you ride efficiently without strain, which really boosts overall comfort and control on your bike.
Evaluate Handlebar Reach and Riding Posture
Since your comfort and control depend heavily on handlebar reach, you should measure it by extending a tape horizontally from the center of the head tube to the furthest part of the handlebars while seated as if riding. This reach measurement helps guarantee an ergonomic fit and proper riding posture.
Measure handlebar reach seated, from head tube center to handlebar tips, ensuring ergonomic fit and posture.
To evaluate handlebar reach and riding posture effectively, start by checking that your elbows are slightly bent and your hands comfortably reach the brake levers without overstretching.
Next, make sure your saddle height allows a slight knee bend at the bottom of the pedal stroke. This helps support a relaxed back.
Also, assess stem length and handlebar position to avoid cramped or overextended positions. These can affect control access and cause fatigue.
Using a tape measure and making precise bike adjustments will help you maintain an ideal riding position. This will improve comfort and control during your rides.
Adjust Seat Height and Handlebar Setup for Optimal Fit
When you adjust your seat height, aim for a slight bend of about 25 to 30 degrees in your knee at the bottom of the pedal stroke. This helps maximize both power and comfort.
Make sure your saddle height allows for this angle. Also, position the saddle horizontally and align it with the top tube or center it over the seat post clamp to keep proper balance.
Next, set your handlebar height based on your riding style. Go lower if you want a more aerodynamic position, or higher for a comfy ride that reduces back and neck strain.
Fine-tune your reach by changing the stem length or handlebar position. Your elbows should bend slightly, and your hands should easily reach the brake levers.
This careful bike setup promotes an efficient riding posture and ensures a solid bike fit. Take short test rides to make sure your seat position and handlebar height support relaxed shoulders and a balanced, secure posture.
That way, you’ll enjoy a comfortable ride every time.
Compare Your Measurements to Bike Size Charts Before Buying
Before you buy a bike, you should always compare your inseam and height measurements to the manufacturer’s size charts. This step helps you pick the right frame size and avoid any discomfort.
Keep in mind, different bike brands use different sizing standards. So, it’s a good idea to check each brand’s geometry and size charts carefully.
Here’s how to do it:
- Measure your inseam in centimeters and use it along with your height.
- Look at the bike brand’s official size chart to find the recommended frame size based on your measurements.
- Double-check whether the sizing chart uses seat tube length, top tube length, or overall frame size. This way, you’ll get an accurate fit.
Frequently Asked Questions
How Can I Tell the Size of My Bike Frame?
You can tell your bike frame size by measuring from the center of the bottom bracket to the seat tube’s top. It’s a simple way to get a good idea of your frame’s size.
Make sure to check your bike’s brand chart to confirm the measurement. Sizing can vary quite a bit between manufacturers and different types of bikes. So, don’t skip that step!
What Size Is a 20 Inch Bike Frame?
Imagine a sturdy mountain bike frame rising about 20 inches from the bottom bracket to the seat tube’s top.
That size fits riders around 5’7” to 5’10”, giving you a solid, comfortable ride tailored to your height.
It’s a great choice if you want something that feels just right without being too big or too small.
How Is a 26 Inch Bike Measured?
You measure a 26-inch bike frame by measuring from the center of the bottom bracket up to the top of the seat tube.
That gives you the frame size, which usually ranges between 13 and 19 inches.
It’s a simple way to figure out if the bike will fit you well or not. Just keep in mind that different brands might have slight variations in how they measure.
What Size Bike Is a 17 Inch Frame?
A 17-inch bike frame is usually a medium size, fitting riders with a 30-32 inch inseam.
You’ll want to check brand-specific charts and test ride to make sure it feels comfortable for you.
Every brand can fit a little differently, so trying it out is always a good idea!
Conclusion
Now that you’ve measured your inseam, seat tube, and top tube, you’re holding the keys to revealing your perfect ride.
Like a tailor fitting a suit, these steps guarantee your bike hugs you just right, balancing comfort and control.
Don’t forget to adjust your seat and handlebars before matching your numbers to size charts.
With these measures in hand, you’re ready to find a frame that feels like it was made just for you.
Measuring your bicycle frame size accurately is the first step toward a comfortable and efficient ride.
By focusing on inseam, seat tube, and top tube measurements, you ensure your bike fits your body perfectly, enhancing both performance and enjoyment.
So, take your time with each measurement, adjust your seat and handlebars, and use your numbers to find the ideal frame size.
This way, your bike won’t just be a ride—it’ll be an extension of you.