How to Pump Up a Bike Tire in 10 Easy Steps
First, identify your valve type—Presta or Schrader—and remove the valve cap. Open the valve stem, loosening the Presta locknut if needed.
Attach the pump securely, ensuring an airtight seal. Then, pump while watching the pressure gauge closely.
Check your tire’s recommended PSI on the sidewall and stop once reached.
Carefully remove the pump, close the valve, and replace the cap.
Finally, inspect the tire for proper fit and inflation. Follow these steps, and you’ll be ready to explore further key tips for safe riding.
Key Takeaways
- Identify your valve type (Presta or Schrader) and remove the valve cap before preparing the valve for inflation.
- Attach the pump head securely to the valve and engage the locking mechanism for an airtight seal.
- Use a pump with a pressure gauge and steadily pump while monitoring to avoid overinflation.
- Detach the pump carefully, secure the valve by tightening the locknut or screwing on the cap, and prevent air leaks.
- Check tire pressure with a gauge, ensure the tire is properly seated on the rim, and confirm no air leaks before riding.
Identify Your Valve Type (Presta or Schrader)
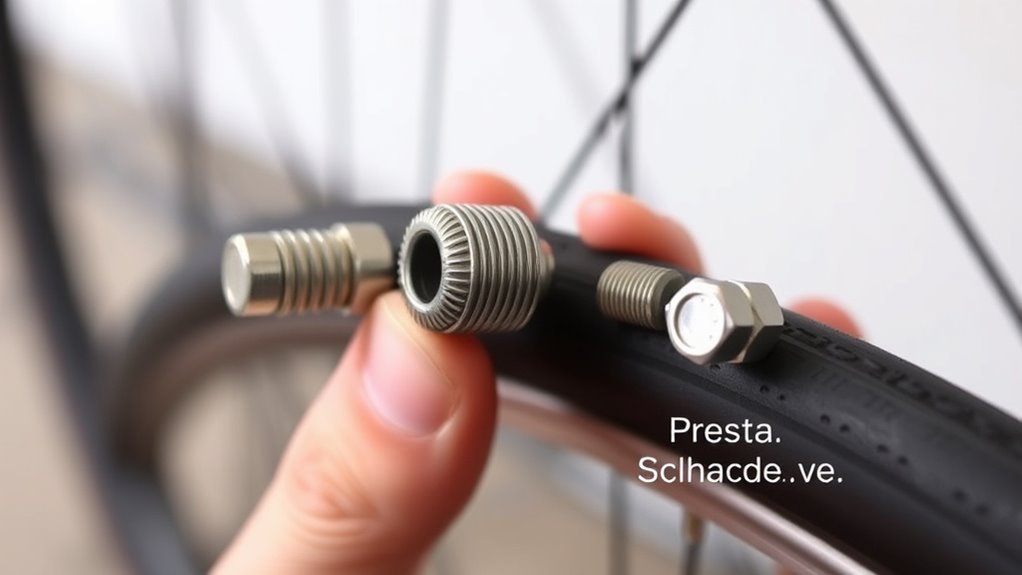
Before you start pumping, you’ll need to identify your bike tire’s valve type—either Presta or Schrader—because each requires a different pump head or adapter. Valve identification is straightforward once you know what to look for.
Presta valves are thinner and metal with a slender stem featuring a threaded top that you have to unscrew before inflating. They often come with a removable cap or dust cover.
Schrader valves, on the other hand, are wider and look like car tire valves with a spring-loaded core you can press or remove using a valve core tool. They’re typically shorter and broader than Presta valves and have a valve cap that screws on securely.
Understanding the Presta vs Schrader difference helps you choose the right pump nozzle, ensuring a snug fit and efficient inflation. Knowing your bike tire valves makes pumping quick and hassle-free.
Remove the Valve Cap and Open the Valve Stem
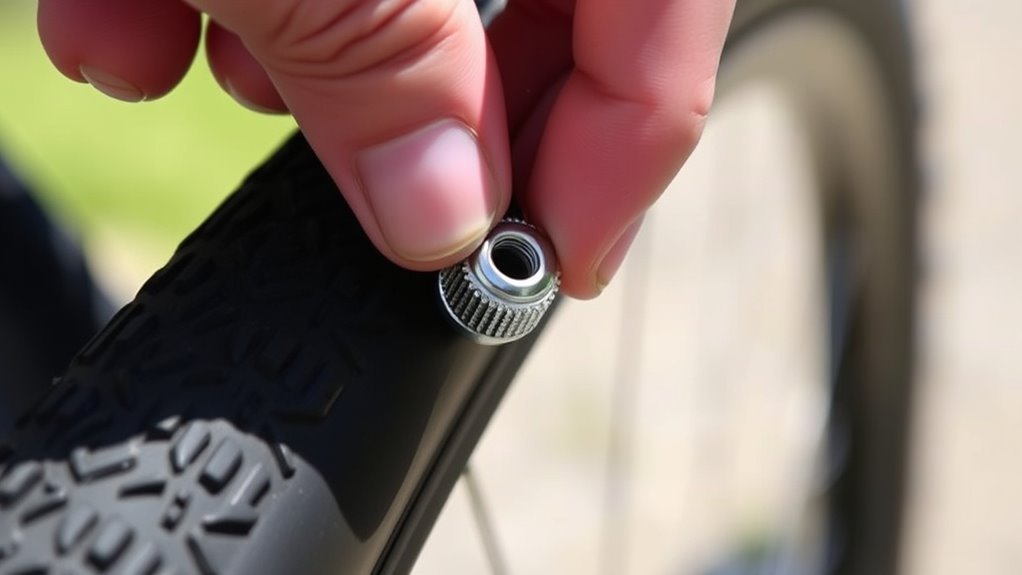
Start by unscrewing the valve cap counterclockwise to expose the valve stem.
If you have a Presta valve, make sure to loosen the small locknut before opening the valve.
Then, open the valve stem fully to let air flow smoothly into the tire. Easy enough, right?
Removing The Valve Cap
While the valve cap may seem small, it plays an essential role by protecting the valve stem from dust and debris. Before you start pumping, you might need help removing this cap if it’s tight—just unscrew it counterclockwise by hand.
Make sure you keep the valve cap in a safe place so it doesn’t get lost during inflation. Once removed, check the valve stem for dust or dirt and gently remove any dust to avoid blockages.
This step is important because a clean valve ensures smooth airflow when you open the valve stem later. Removing the valve cap exposes the valve stem, getting your tire ready for inflation.
Taking these simple precautions helps you pump up your bike tire easily and efficiently.
Opening The Valve Stem
How do you open the valve stem once the cap is off? First, check if your bike tire has a Presta or Schrader valve. This will tell you how to open it for pumping.
For Presta valves, loosen the small locknut or screw at the top by twisting it counterclockwise. Keep turning until it’s free to move.
For Schrader valves, just press down on the valve core or flip the valve stem to open it.
Next, check the valve core by gently pressing it. This makes sure air can flow freely during inflation.
Make sure the valve is fully open before attaching your pump nozzle. This helps avoid resistance and lets air flow smoothly into the tire.
Attach the Pump Securely to the Valve
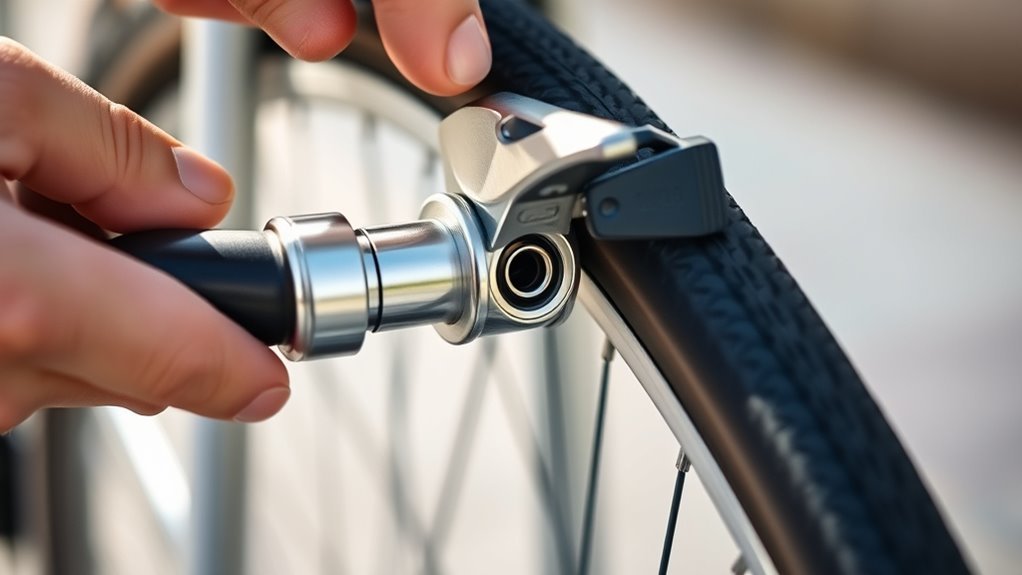
Before attaching the pump, make sure its head matches your valve type—Presta or Schrader—to guarantee a proper fit. If you have a Presta valve, unscrew the valve’s locknut first to allow airflow.
Firmly press the pump head onto the valve stem to create a tight, airtight seal. You should feel it snugly fit without any wiggling. Next, engage the pump’s locking mechanism or flip the lever to secure the connection and prevent air leaks.
Double-check by listening or feeling for any escaping air around the connection—if you detect leaks, reposition the pump head and lock it again. Getting this connection right assures efficient inflation without losing pressure.
Once the pump is securely attached, you’re ready to proceed with pumping up the tire. Remember, a proper seal not only saves time but also keeps your tire pressure consistent while inflating.
Pump Up Your Bike Tire While Watching Pressure
As you pump your bike tire, keep a close eye on the pressure gauge to track the PSI. You’ll want to stop once you hit the recommended pressure to avoid overinflation risks.
If your pump lacks a gauge, pause regularly to check with a separate pressure gauge. That way, you won’t accidentally pump too much.
Monitor Pressure Gauge
Why should you monitor the pressure gauge closely while pumping your bike tire? Keeping a close eye on the gauge helps you reach the recommended tire pressure without risking damage. It’s all about getting the right amount of air in there.
Accurate readings depend on securely attaching the pump’s pressure gauge to the valve. As you pump, watch the gauge needle or digital display carefully. Stop periodically to avoid overinflation—nobody wants a blown tire!
Here’s how to monitor your pressure gauge effectively:
- Use a pump with a built-in gauge or connect an external gauge for precise readings.
- Continuously observe the gauge to adjust your pumping effort and reach the correct PSI.
- Regularly check the gauge’s consistency and calibration to keep your pressure measurements accurate over time.
Keeping an eye on the gauge guarantees a safer, smoother ride every time. It’s a simple step that makes a big difference!
Avoid Overinflation Risks
Although it’s tempting to pump your bike tire quickly, you need to watch the pressure gauge closely to avoid overinflation. Overinflating can cause blowouts, damage your tire or rim, and make your ride unsafe.
Always check the recommended pressure range printed on your tire’s sidewall. Use a pump with an integrated gauge for precise control.
Keep an eye on the gauge as you pump to maintain optimal pressure. This will ensure a smooth, safe ride.
| Pressure Level | Risk | Action |
|---|---|---|
| Below recommended | Poor performance | Add more air |
| Within recommended | Ideal condition | Stop pumping |
| Slightly above max | Increased risk | Deflate slightly |
| Well above max | Blowout likely | Do not overinflate |
Check Recommended Pressure on the Tire Sidewall
Before you start pumping your bike tire, check the recommended pressure printed on its sidewall. This is usually listed in PSI or bar units and gives you the ideal range for safe and efficient riding.
Ignoring these markings can lead to overinflation or underinflation, which affects handling and tire life.
To make sure you pump the tire correctly, follow these steps:
- Locate the pressure range on the tire’s sidewall and note the minimum and maximum values.
- Use a reliable pressure gauge to measure the tire pressure accurately during inflation.
- Stay within the recommended pressure range to optimize performance, safety, and tire durability.
Inflate Tire Until Firm and Properly Seated
Once you’ve identified the recommended pressure range and have your pump ready, attach the pump nozzle securely to the valve to prevent air leaks. Pump air into the tire gradually, pausing to press the tire with your hand to check firmness.
Secure the pump nozzle and inflate the tire gradually, checking firmness by hand as you go.
Aim to inflate it until it feels firm and solid, but not rock-hard, matching the PSI range printed on the sidewall. As you pump, keep an eye on the bead—the tire’s edge—ensuring it seats evenly and fully against the rim.
Uneven seating can cause problems later, so be vigilant. To confirm a proper seal and spot leaks, apply soapy water around the valve and bead area; bubbles will reveal escaping air.
This simple check helps you guarantee the tire is inflated correctly and safely seated before you move on. Follow these steps carefully to get your tire ready for a smooth ride.
Carefully Remove the Pump to Keep Air In
When you finish pumping air into your tire, keep the pump nozzle firmly attached to the valve while you prepare to remove it. This helps prevent air from escaping unexpectedly.
To keep as much air in as possible, you need to be gentle and deliberate as you detach the pump.
Follow these steps to remove the pump carefully:
- Hold the valve steady with one hand to avoid twisting or bending it.
- Slowly and steadily pull the pump nozzle away from the valve, minimizing pressure loss.
- Handle both the pump and valve gently to prevent any sudden depressurization.
Close the Valve and Screw On the Cap
Although you’ve carefully removed the pump, you still need to close the valve securely to keep air from escaping. If your bike has a Presta valve, screw the valve’s locknut clockwise until it feels tight. This ensures a proper seal and prevents any air from leaking out.
For Schrader valves, make sure the valve core is fully closed by pressing it gently or screwing the cap on tightly. Using a pump with a valve attachment means you should double-check that the connection was snug before pumping, avoiding leaks.
Once the valve is closed, always screw on the valve cap firmly. This cap keeps dirt and debris out while maintaining the tire’s pressure. Taking these steps carefully helps your tire stay properly inflated longer, so you don’t have to pump it again too soon.
Closing the valve and securing the cap is a simple but essential part of maintaining your bike’s performance.
Inspect the Tire for Proper Inflation and Fit
Before you finish, take a moment to inspect the tire for proper inflation and fit to guarantee a safe and smooth ride. Proper inspection helps you avoid issues like uneven wear, poor handling, or sudden flats.
Here’s what to focus on:
1. Check Tire Seating and Bead Engagement****
Make sure the tire is evenly seated on the rim with no visible bulges or gaps. The bead should be fully engaged with the rim to prevent leaks or blowouts.
2. Verify Tire Pressure
Use a pressure gauge to confirm the tire matches the manufacturer’s recommended PSI, found on the sidewall. Correct pressure ensures ideal performance and comfort.
3. Inspect Inner Tube Distribution and Wheel Spin
Confirm the inner tube is evenly distributed inside the tire to avoid pinching. After inflation, spin the wheel gently to detect any wobbling or uneven contact with the ground.
Following these steps ensures your bike tire is ready for a safe ride every time.
(Optional) Reinstall the Wheel and Perform a Final Safety Check
If you removed the wheel, carefully align it with the frame and secure the axle nuts or quick-release lever. Make sure the wheel spins smoothly without wobbling or rubbing the brakes.
Finally, double-check the tire seating and take a quick test ride to confirm everything is safe and sound. It’s always better to be sure before you hit the road!
Wheel Reinstallation Steps
When reinstalling your bike wheel, make sure to align the axle carefully with the dropouts and slide it fully into the fork or frame. Once it’s seated, secure the wheel by tightening the quick-release lever or axle nuts firmly. You want to make sure the wheel doesn’t wobble or move side to side.
Next, spin the wheel to check that it rotates freely without rubbing against the brake pads or the frame. Also, take a moment to verify the tire is properly seated on the rim and that the valve stem stands straight and secure.
Follow these steps for a smooth reinstallation:
- Tighten the axle or quick-release lever securely to prevent lateral play.
- Spin the wheel to confirm it spins freely and clears the brakes.
- Check tire seating and valve stem alignment before finishing.
Final Safety Inspection
How do you guarantee your bike is truly ready to ride after reinstalling the wheel? First, make sure the wheel is securely attached to the frame, tightening all quick-release levers or axle nuts firmly.
Next, spin the wheel to check for any wobbling or misalignment that could affect safety. Inspect the brake calipers or pads to confirm they’re aligned properly and working well.
Verify the tire pressure matches the recommended PSI on the tire sidewall for peak performance. Finally, take a brief test ride to ensure the wheel spins freely and the bike handles smoothly.
This final safety inspection helps you avoid potential issues and ride with confidence every time.
Frequently Asked Questions
How Do I Pump up My Bike Tire?
You attach the pump securely to the valve, unscrew the Presta valve if needed, then pump steadily while checking pressure.
Once inflated to the recommended PSI, carefully remove the pump and secure the valve. You’re good!
How to Inflate Bike Tires for Beginners?
You’ll start by securely attaching the pump to the valve, then gradually pump air while checking pressure.
For Presta valves, loosen the locknut first.
Stop inflating once you reach the recommended PSI on your tire.
How Can I Pump My Bike Tire Without a Pump?
Why wait for a pump when you can use a CO2 inflator or a portable air compressor?
You’ll quickly fill your tire, turning a frustrating flat into a smooth ride without breaking a sweat or slowing down.
It’s super convenient and saves you time on the road.
Plus, these tools are compact enough to carry with you anywhere!
How to Pump a Bicycle Tire With a Hand Pump?
Attach the hand pump securely to the valve, making sure there are no air leaks. Pump steadily with short strokes, and keep checking the pressure often.
Stop once the tire reaches the recommended PSI. Then, carefully detach the pump to keep the air inside. Easy, right? Just take your time!
Conclusion
Now that you know how to pump up your bike tire in just 10 easy steps, you’re ready to hit the road like a pro! With your tire perfectly inflated, you’ll feel like you’re riding on clouds—no more worrying about flats or slow rides.
Just follow these simple steps every time, and your bike will always be ready for adventure. Pump it up, and enjoy the smoothest ride of your life! Properly inflated tires not only improve your bike’s performance but also extend the life of your tires and give you better control.
So, next time you gear up for a ride, remember these easy steps to pump up your bike tire. It’s quick, simple, and makes all the difference in your cycling experience!