

How to Measure Sit Bones for Your Bike Saddle in 3 Easy Steps
To measure your sit bones for a bike saddle, start by sitting upright on thick cardboard placed on a hard, flat surface. Make sure your hips and knees are at a 90° angle for the most accurate measurement.
Press down firmly but stay relaxed so you get clear impressions of your sit bones.
Once you’ve made the impressions, carefully stand up without smudging the marks. Then, mark the centers of the indentations left by your sit bones.
This step is key because it shows exactly where your sit bones make contact with the saddle.
Finally, measure the distance between those marks to find your sit bone width.
Knowing this measurement helps you choose a bike saddle that fits perfectly, improving comfort on every ride.
Keep exploring to discover how your posture can also affect these measurements and your overall riding experience.
Key Takeaways
- Sit upright on a flat, hard surface with thick cardboard or foam beneath to create clear sit bone impressions. Make sure you’re comfortable and balanced.
- Maintain a natural riding posture with hips and knees at 90° and feet flat on the ground for accurate pressure points. This helps capture your real sit bone position.
- Press down firmly and stay still to leave distinct sit bone indentations on the cardboard or foam. Don’t rush this part—it’s important to get clear marks.
- Carefully stand and mark the centers of the impressions to identify the exact sit bone contact points. Use a pen or marker to be precise.
- Measure the distance between the marked centers to determine your sit bone width and appropriate saddle size. This measurement will guide you to a more comfortable ride.
Prepare for Accurate Sit Bone Impressions
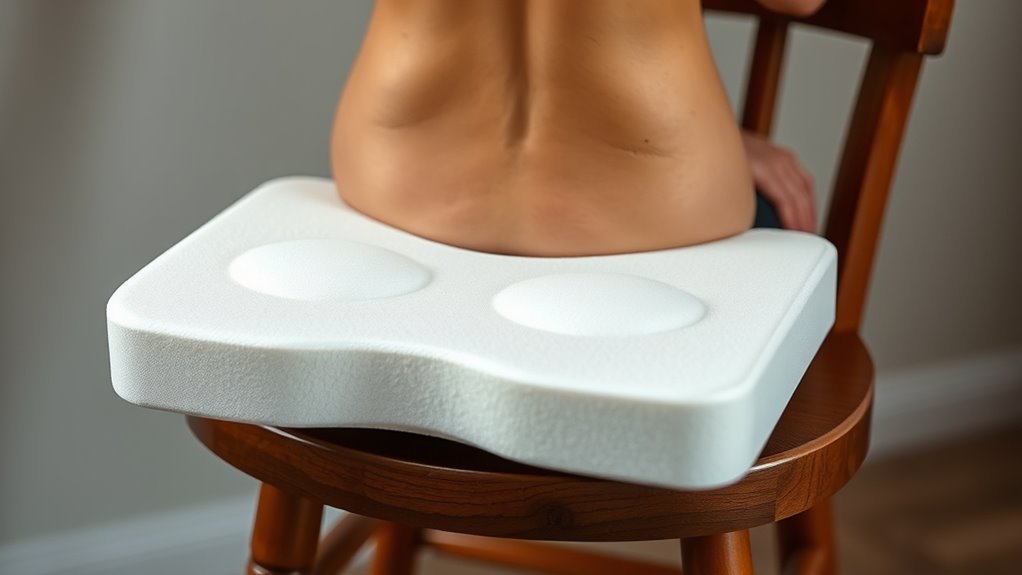
Before you measure your sit bones, make sure you’re seated on a flat, hard surface like a wooden floor to get clear impressions. This flat surface is vital for creating accurate impressions of your sit bones.
Use a thick piece of cardboard or foam to sit on, pressing firmly so your sit bones leave distinct pressure marks. Try to maintain a natural position that mimics your riding posture, ideally with hips and knees at a 90-degree angle.
This measurement technique guarantees the impressions reflect how you actually sit while biking. Stay still and relaxed to avoid smudging or distorting the pressure marks.
Once you have clear indentations, mark the center points of each sit bone’s impression with a pen or pencil. These marking points are essential for precise saddle fitting.
They help you choose a bike saddle that matches your anatomy and riding style. Following these steps will definitely enhance comfort and performance on your bike.
Make Your Sit Bone Impressions at Home
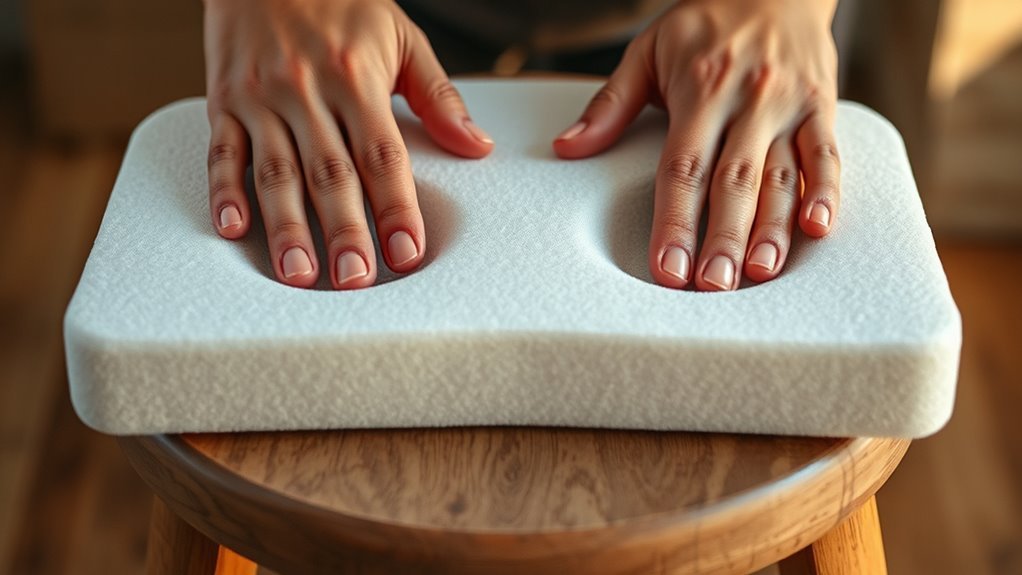
When you’re ready to make your sit bone impressions at home, sit on a thick piece of cardboard placed on a flat surface and press down firmly with your sit bones. Use the cardboard method to capture your contact points accurately.
Make sure you’re sitting upright with your feet flat on the ground; this position helps reveal true pressure points for an accurate fit. After applying pressure, stand up carefully to see the indentations left by your sit bones.
Sit upright with feet flat to reveal true pressure points; then stand carefully to view your sit bone impressions.
These sit bone impressions show where your weight transfers to the saddle. To get a reliable saddle measurement, measure the distance between the centers of these indentations—this gives you your sit bone width.
Repeat the process a few times to ensure consistency in measuring sit bones at home. Understanding your sit bone width is key to choosing a bike saddle fit that minimizes discomfort and maximizes support by aligning with your natural contact points.
Measure and Interpret Your Sit Bone Width
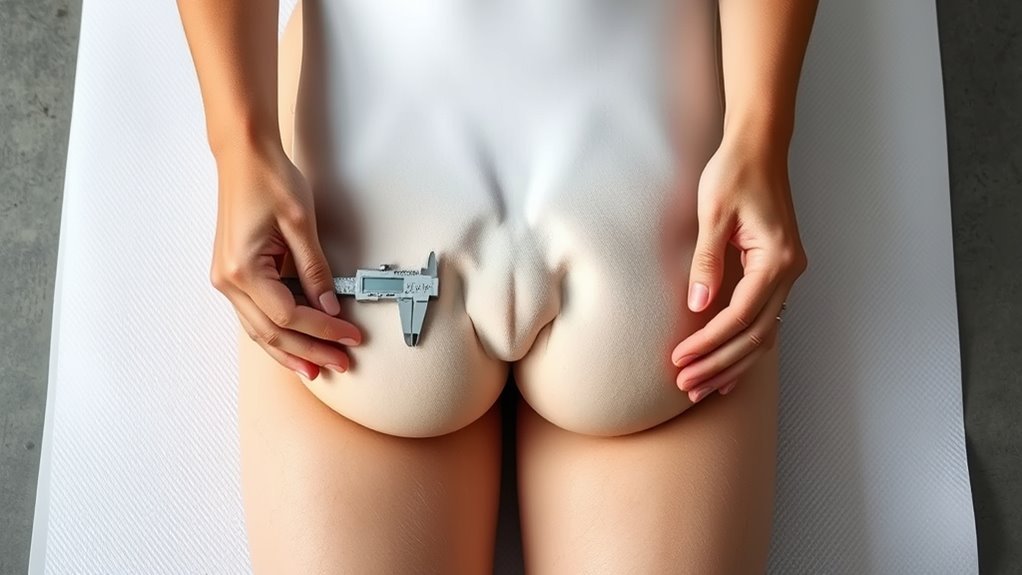
Although measuring your sit bone width at home is straightforward, interpreting those measurements correctly is essential to choosing the right bike saddle. When sitting on cardboard and marking your sit bone impressions, you’ll get a clear sit bone measurement by measuring the distance between the marks.
Remember, variations in posture or pelvic tilt can affect these contact points, so it’s a good idea to take multiple measurements in different riding positions. This way, you get a more accurate idea of your true sit bone width.
Understanding your sit bone width helps you select a bike saddle width that matches your anatomy, ensuring ideal pressure distribution and riding comfort. A broader sit bone width usually means you’ll need a wider saddle for better support and to avoid pressure points.
Matching your sit bone measurement with saddle width recommendations improves saddle fit and makes saddle selection easier. By focusing on the correct saddle size based on your sit bone width, you’ll enhance your overall riding experience and reduce discomfort.
Frequently Asked Questions
How to Measure Sit Bones for Bike Saddle Fit?
You sit upright on thick cardboard, pressing your sit bones to create impressions. Mark the centers, then measure the distance between them.
Repeat a few times for accuracy. This way, you make sure your saddle matches your sit bone width comfortably.
Is a 7 Inch Gullet Considered Wide?
A 7-inch gullet is definitely wide—imagine a broad bridge spanning your sit bones, offering extra support and comfort.
If your pelvis is wide, you’ll appreciate how it evenly distributes pressure and reduces discomfort during rides. It really makes a difference when you’re out cycling for long stretches.
Where Should Your Sit Bones Be on a Bike Saddle?
Your sit bones should rest on the widest part of the saddle, aligning with its support area. This helps distribute pressure evenly and prevents discomfort.
It also keeps your weight stable without putting pressure on soft tissues or sensitive areas. That way, you can ride longer and feel more comfortable.
How Do I Measure My Sitting Bones?
You can measure your sit bones by sitting upright on thick cardboard or foam, then marking the indentations.
Stand up and measure the distance between these marks to find your sit bone width accurately.
It’s a simple way to get a perfect fit for your seat or cushion!
Conclusion
Now that you’ve measured your sit bones, you can choose a saddle that fits perfectly and boosts your comfort. For example, Sarah, an avid cyclist, found her rides much easier after switching to a saddle matching her sit bone width.
Taking these simple steps guarantees you avoid pain and enjoy every mile. So, get measuring and experience the difference a well-fitted saddle makes on your next ride!
Choosing the right bike saddle based on your sit bones is key to a comfortable cycling experience. When your saddle fits well, it supports your pelvis properly, reduces pressure points, and helps prevent numbness or soreness. Whether you’re a casual rider or a serious cyclist, investing time in measuring your sit bones ensures you pick a saddle that enhances your performance and enjoyment. Don’t underestimate how much the right fit can improve your rides — start measuring today and feel the difference!