How to Put a Bike Chain Back On in 5 Easy Steps
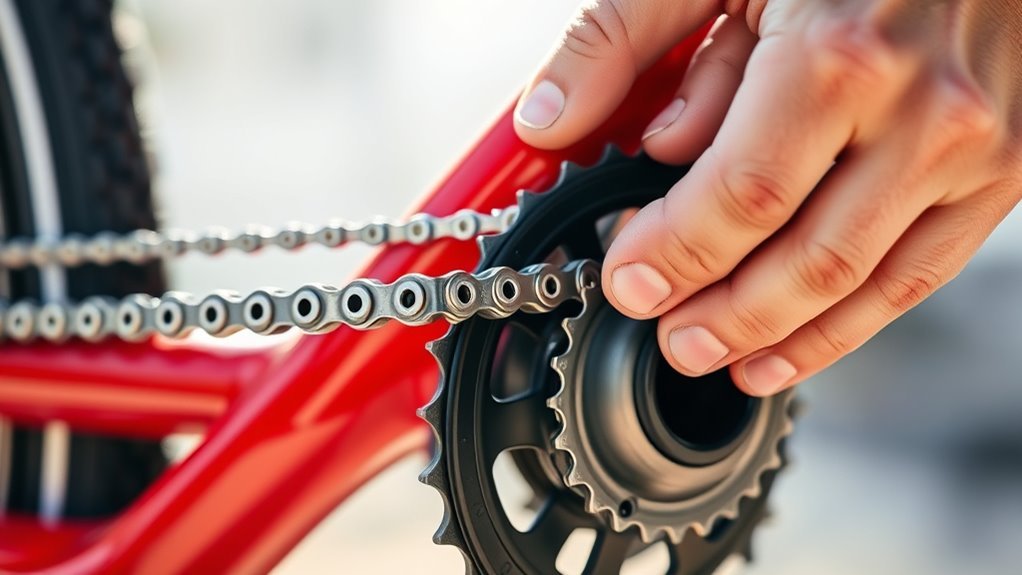
To put your bike chain back on, first shift both the front and rear derailleurs to the smallest gears. This gives you maximum slack, making the process way easier.
Next, thread the chain carefully through the derailleur’s path. Make sure it sits properly on the jockey wheels so everything lines up nicely.
Use a chain tool to reconnect the chain ends securely. Then, pedal slowly to check for smooth movement and that the chain is properly seated.
Finally, take a short test ride. Shift through all the gears to confirm everything runs smoothly without any skipping or slipping.
Keep following for more tips on avoiding common chain issues and keeping your bike running like new!
Key Takeaways
- Shift both derailleurs to the smallest gears. This gives you maximum chain slack, making the installation way easier.
- Thread the chain through the derailleur. Make sure it follows the correct S-shaped path and sits properly on the jockey wheels.
- Use a chain tool to reconnect the chain ends. Carefully press the pin back into place, and double-check that the links move freely.
- Pedal slowly to check for smooth chain movement. Also, watch for proper alignment across all gears.
- Take a short test ride. Shift through the gears to confirm the chain runs smoothly without any noise or resistance.
Shift to Smallest Gears to Ease Chain Installation
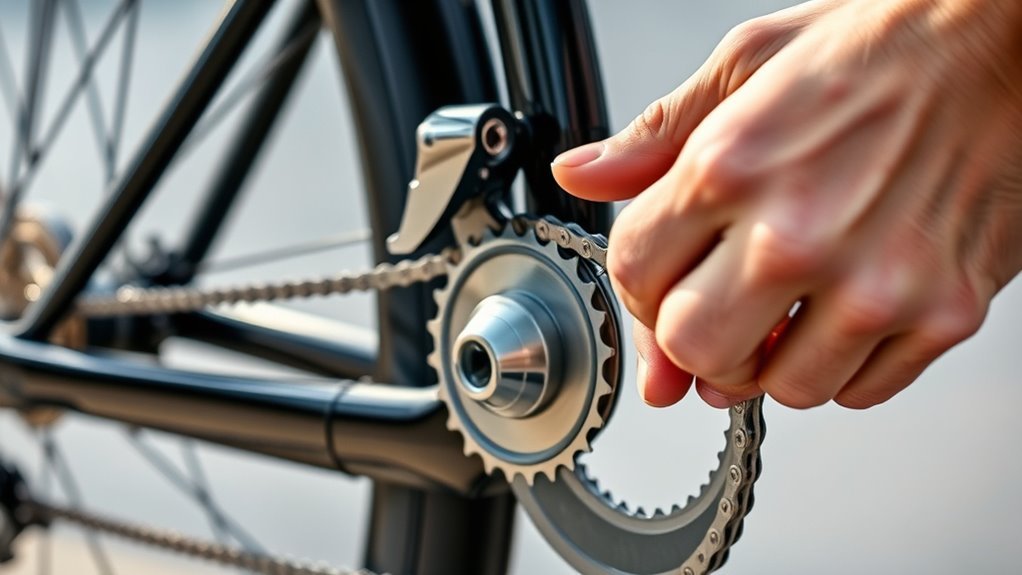
Before you begin reattaching the chain, shift both your front and rear derailleurs to the smallest gears. This step is vital because it creates maximum slack in the chain, making it much easier to get the chain back onto the bike.
Start by shifting both front and rear derailleurs to the smallest gears for easier chain reattachment.
When you shift to the smallest gears, the chainrings and sprockets provide the most room to maneuver the chain without tension. This reduces the chance of the chain snagging or binding during reinstallation.
Make sure your gear shifters are set to their lowest settings before you start; this lowers the chain’s tension considerably. Once you’ve placed the chain on the smallest gears, you’ll have enough give to work smoothly.
After you have the chain back on and properly seated, you can gradually shift to higher gears to guarantee everything runs smoothly and the chain moves freely across the drivetrain. This simple step sets you up for successful chain reattachment.
Thread the Chain Through the Derailleur Correctly
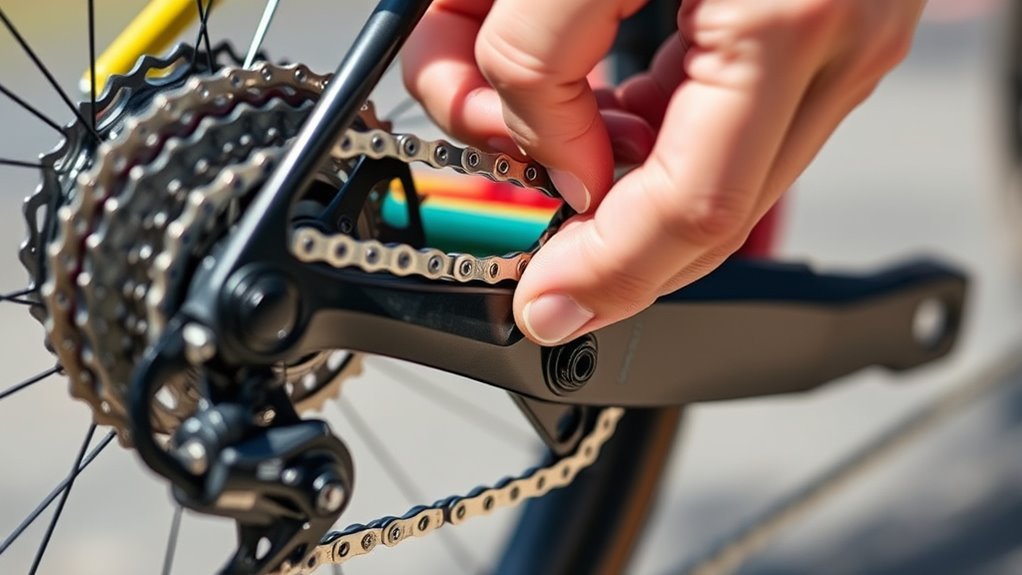
When threading the chain through the derailleur, lift the derailleur arm to create slack and make room for the chain to pass smoothly. Start by guiding the chain onto the smallest sprocket on the cassette, making sure it runs straight without twisting.
Next, pass the chain through the rear derailleur, following the S-shaped path carefully. Confirm the chain sits properly on the derailleur’s jockey wheels, which help maintain tension and guide the chain during shifts.
Check that the chain isn’t crossed or twisted and aligns correctly with the derailleur pulleys to prevent skipping or damage. Once the chain is threaded through the rear derailleur correctly, gently pull it to remove any excess slack.
This positioning sets you up perfectly to reconnect the chain ends or reattach the master link in the next step. Take your time here—it really helps ensure smooth shifting and prevents chain issues down the road.
Reconnect Chain Ends With a Chain Tool
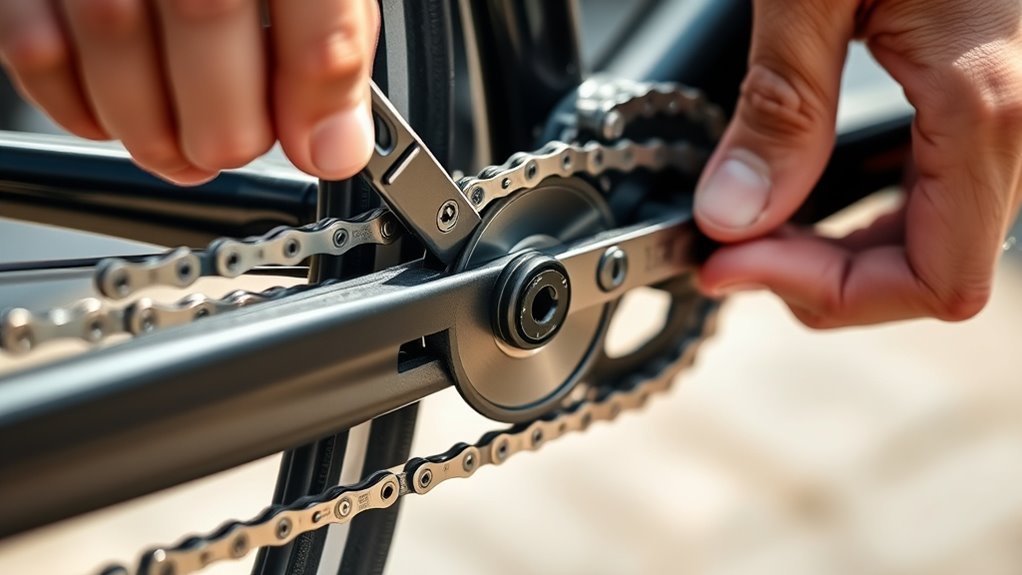
Although reconnecting the chain ends can seem tricky, using a chain tool makes the process straightforward. First, align the chain links carefully and place them into the chain tool’s groove.
Secure the chain so it doesn’t shift as you work. To reconnect chain ends, turn the handle of the chain tool slowly, pressing the pin back into the chain link. This pin joins the links securely.
It helps to use a small metal piece or a bent paperclip to hold the chain ends together during this step, ensuring the links stay aligned. Make sure the pin inserts evenly; uneven insertion can cause stiff links that affect the chain’s movement.
After securing the pin, check that the links move freely in the chain tool. Proper alignment and pin insertion are essential for a smooth-running chain, so take your time to get this step right before moving on.
Pedal Slowly to Ensure the Chain Runs Smoothly
After reconnecting the chain ends securely with the chain tool, you’ll want to pedal slowly to check how the chain runs. Pedaling gently lets you observe if the chain is properly aligned and engaging the sprockets without forcing it.
When you pedal slowly, you can spot any misalignment or binding issues early, preventing damage from a slipped or derailed chain. Moving the crank gradually gives you better control over the chain’s position, so you can stop immediately if something feels off.
Watch closely as you pedal slowly to verify the chain runs smoothly through each gear and over every sprocket. This careful approach confirms the chain’s correct placement and smooth operation before you apply more force.
Taking this step seriously helps avoid problems during your ride and keeps your bike running efficiently. It’s a simple habit that can save you from bigger headaches later on.
Test Ride to Confirm Smooth Chain Function
Before hitting the road, take a short test ride to make sure your chain runs smoothly under real conditions. Begin by gently turning the crank to check that the chain moves over the sprockets without skipping or catching.
As you pedal, shift through all gears to confirm the chain properly engages each sprocket and that gear changes are smooth. Pay close attention to any unusual noises or resistance from the chain and derailleur; these signs can indicate alignment or tension issues affecting chain function.
Feel for slack or tight spots while pedaling, and adjust the derailleur if needed to maintain ideal tension. During your test ride, observe how the chain behaves under load and verify it remains securely seated.
When you stop, inspect the chain once more to affirm it functions correctly and stays in place. This thorough test ride helps guarantee safe, reliable performance on your next ride.
Frequently Asked Questions
How Do I Put My Chain Back On?
You retract the derailleur to create slack, then thread the chain over the front sprocket and through the rear derailleur.
Turn the pedals gently to guide the chain onto the sprockets. Make sure it seats properly before riding.
It’s really just about being patient and taking it slow so the chain doesn’t slip off again.
How to Put a Bike Chain Back on Without a Tool?
Don’t rush—start by pulling the derailleur back to create slack. Slowly turn the crank, guiding the chain onto the sprocket.
Keep turning until it clicks into place. Then, check that it moves smoothly before you ride.
It’s a bit tricky at first, but you’ll get the hang of it! Just take your time and be patient.
How to Put a Bike Chain on Correctly?
You’ll want to align the chain on the chainring, retract the derailleur to create slack, then guide the chain over sprockets.
Turn the crank slowly to seat it properly and guarantee smooth movement before riding. It’s a simple step but really makes a difference!
How to Fix a Bike Chain That Fell Off?
If your chain just slipped off, don’t panic—it happens to everyone. Shift to the smallest gears, pull the derailleur back, place the chain on the sprockets, then slowly pedal to snap it back in place.
It’s easier than it sounds! Just take it step by step, and you’ll be back on the road in no time.
Conclusion
So, there you have it—putting your bike chain back on is as complicated as tying your shoes, right? Just shift to the smallest gears, thread it through the derailleur, and reconnect with your trusty chain tool.
Pedal slowly, and take it for a spin. If your bike still feels like a stubborn mule, well, maybe it’s time to reconsider your career as a bike mechanic.
But hey, at least you gave it a shot! Remember, knowing how to put a bike chain back on is a handy skill for any cyclist. It saves time, prevents frustration, and keeps your ride smooth. With these five easy steps, you’re ready to handle most chain mishaps confidently and get back on the road without missing a beat. Keep practicing, and soon it will feel like second nature!